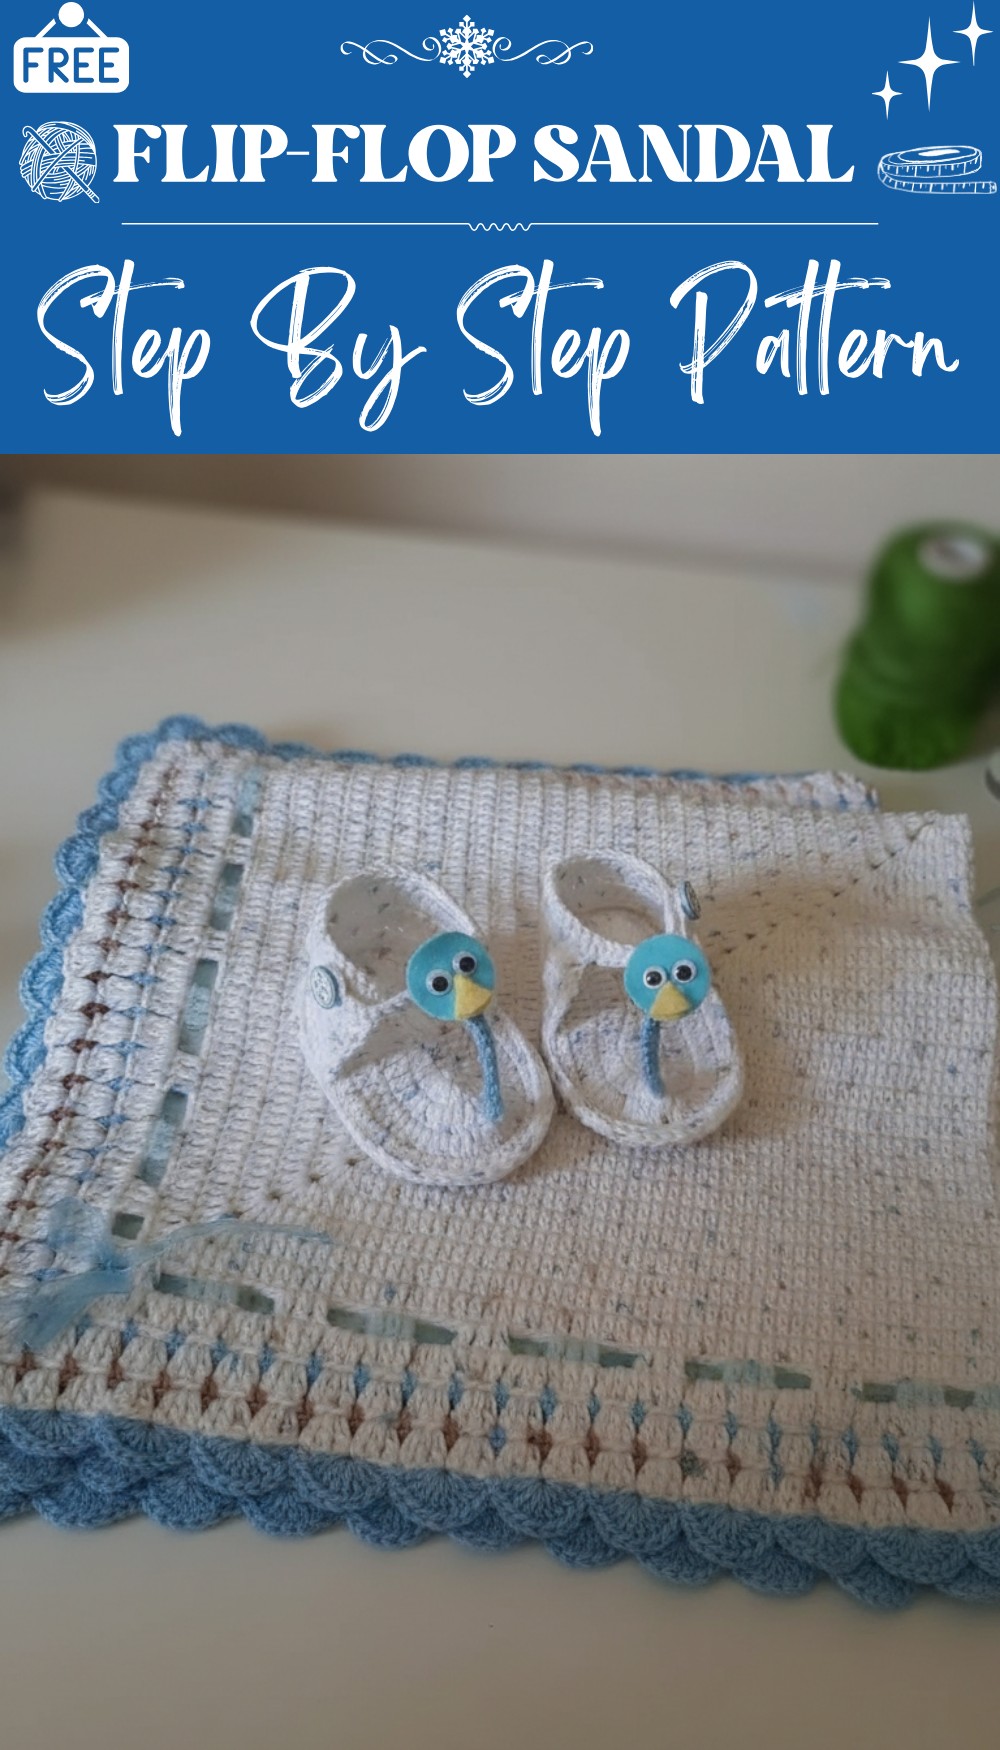
Stylish & Free Crochet Flip-Flop Sandal Pattern Guide
Slip on comfort and charm with this free crochet flip-flop sandal pattern that lets you personalize every pair for cheerful and breezy style.
For someone who loves comfortable footwear nothing beats the charm of a soft sandal made with love and colored threads. This sandal brings a fresh and fun feeling to your foot with each step. Using the crochet flip-flop sandal pattern offers a simple way to make a cozy sandal that fits well and looks beautiful. Every piece can be unique since you can choose your favorite color and even add a little decoration like a flower or a bead. The open design allows your foot to breathe and stay cool on warmer days.
Step into Style: Free Crochet Flip-Flop Sandal Pattern
Many people enjoy this sandal at home or outside because it is light and easy to slip on. The gentle feel of the yarn is soothing and the bright color can match any outfit for a happy appearance. No tricky tools or hard steps are needed anyone can enjoy making this sandal and sharing the idea with family or friends. Wearing your own handmade masterpiece turns every walk into a bright and joyful journey.
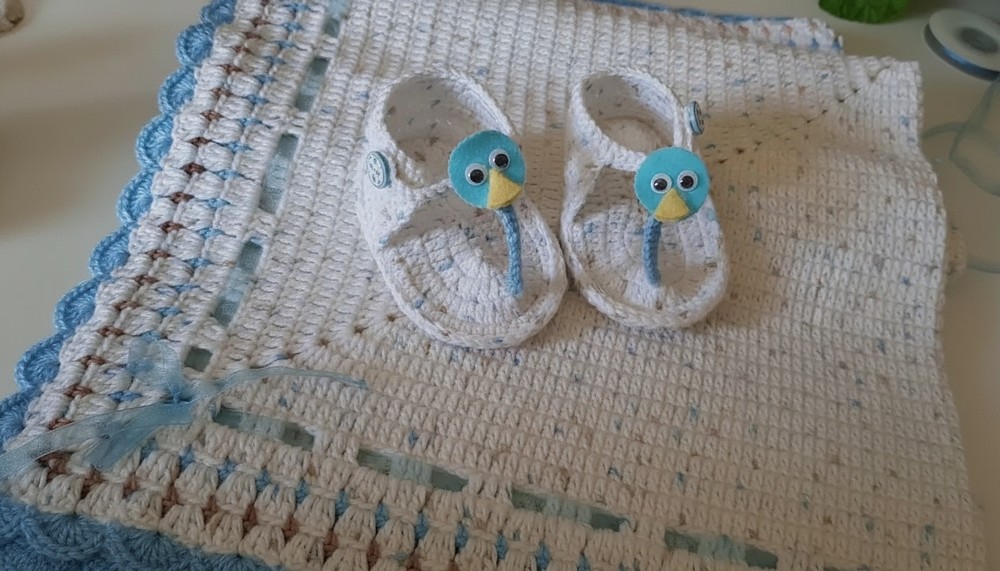
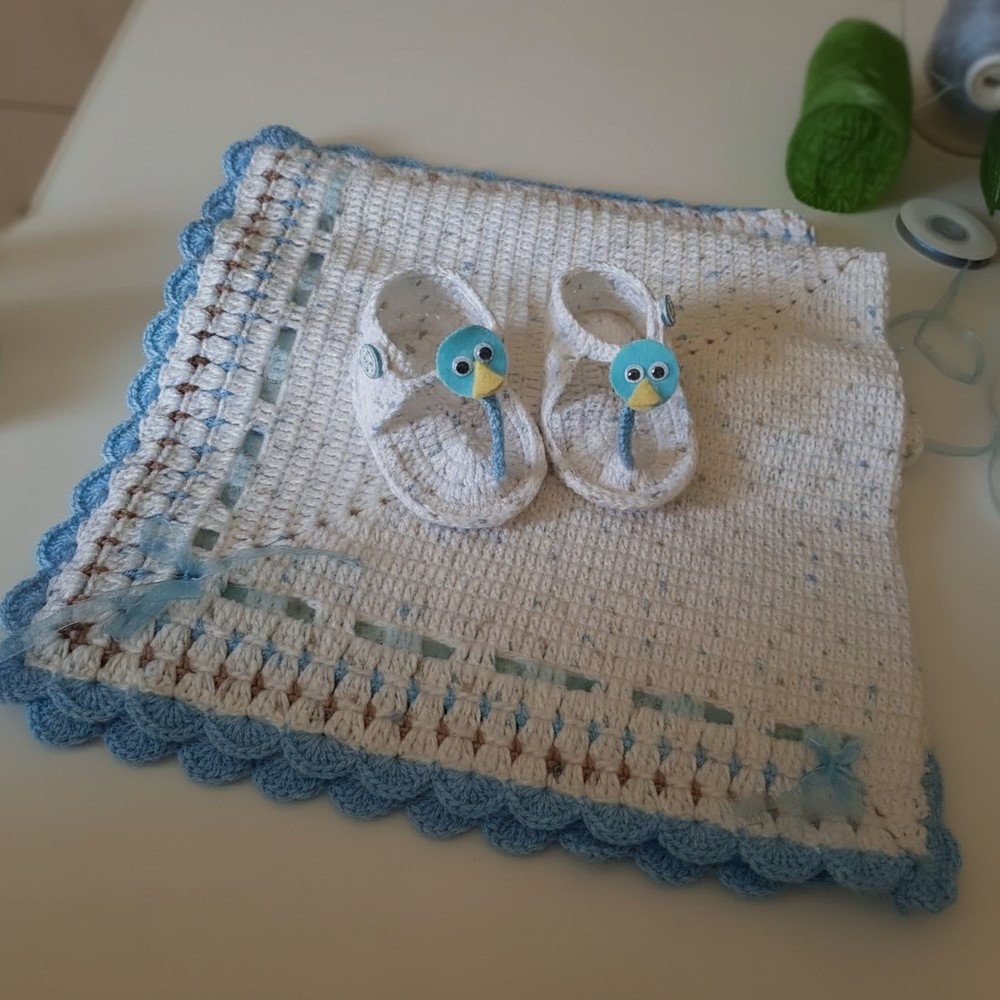
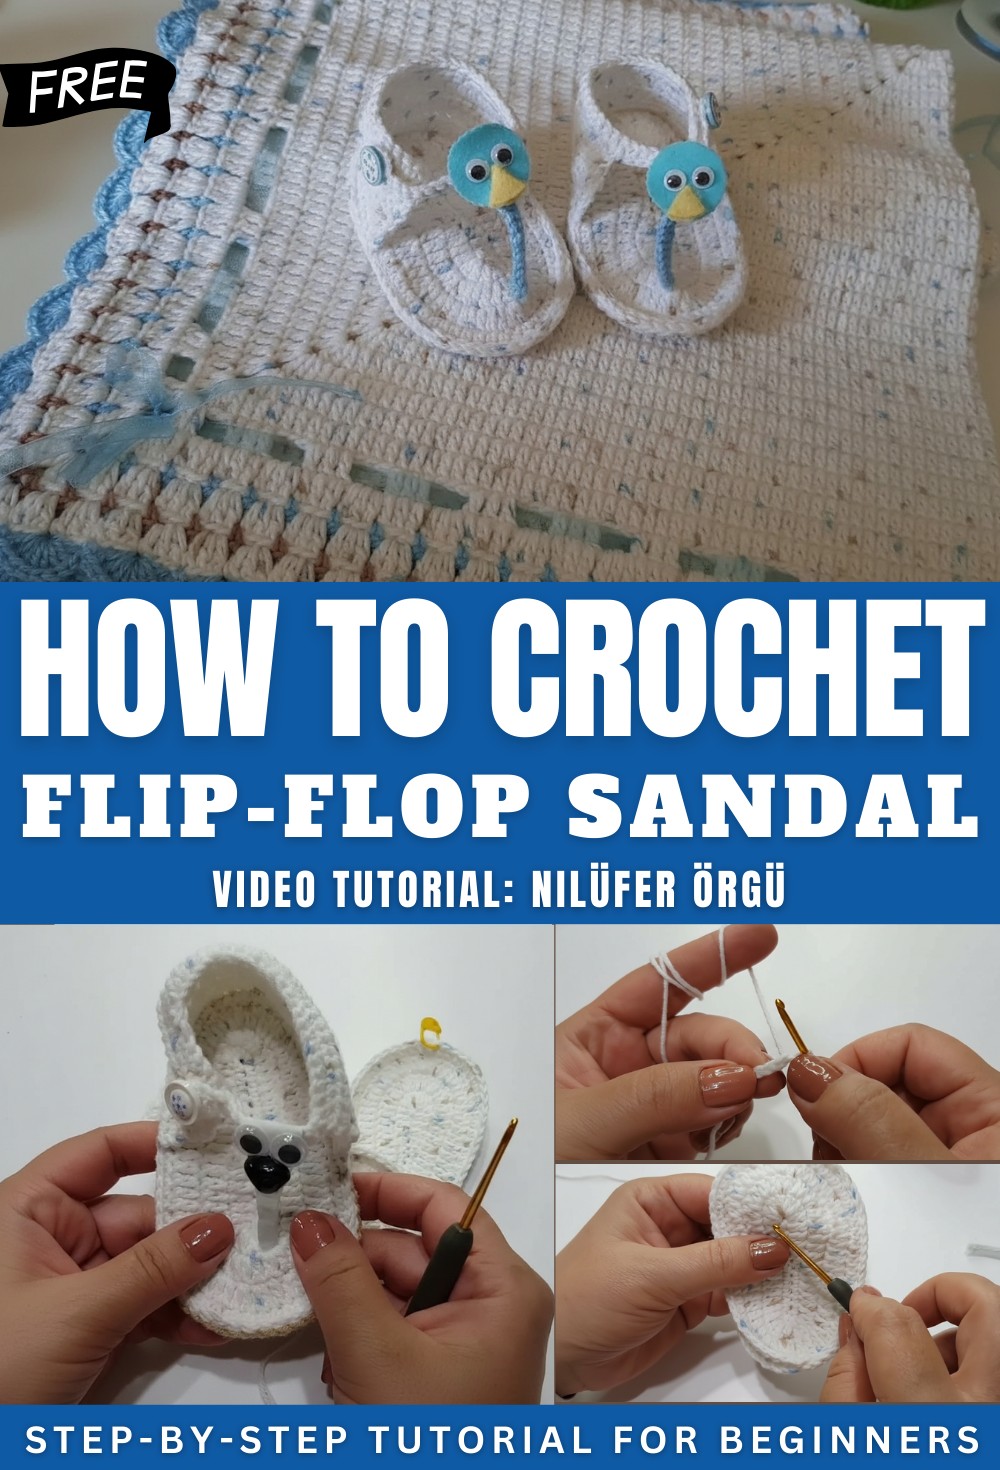
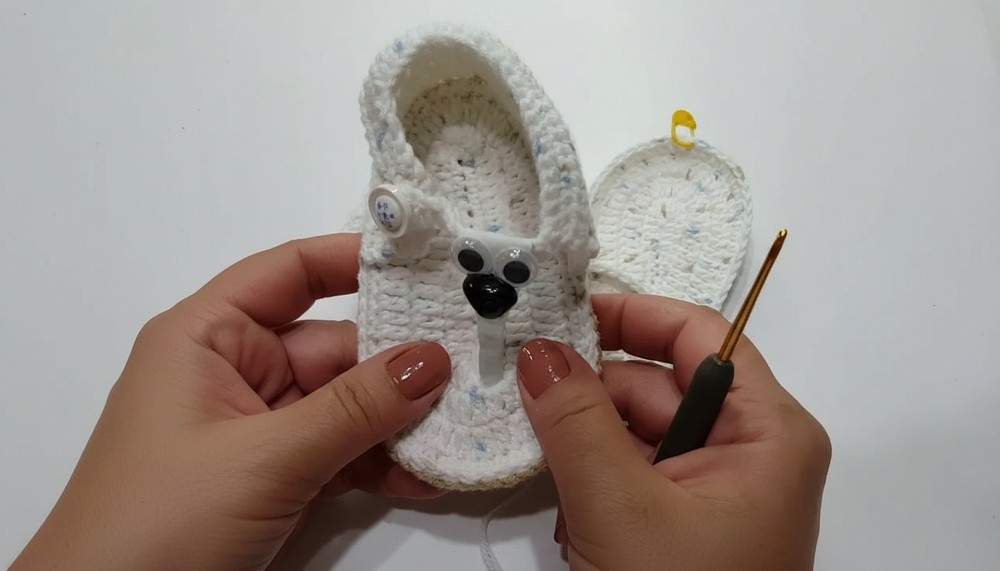
Flip-Flop Style Baby Sandals
Materials
- Yarn: Soft, baby-friendly cotton or cotton-blend yarn; bamboo/cotton blends are recommended for breathability and comfort.
- Hook: US C/2 or D/3 (2.5 – 3 mm) crochet hook (or size needed for gauge and a firm, neat fabric).
- Notions:
- 2 buttons (for closure)
- Tapestry or yarn needle
- Scissors
- Stitch markers (optional)
- Small felt/crochet figures/wobbly eyes for decoration (optional)
- Scrap fabric (for the toe thong)
- Optional glue for securing decorations
- Optional: silicone non-slip dots for the sole
- Sole reinforcement: Optional sock yarn, felt, or additional yarn for a double sole; adhesive if desired.
Key Abbreviations (US Terms)
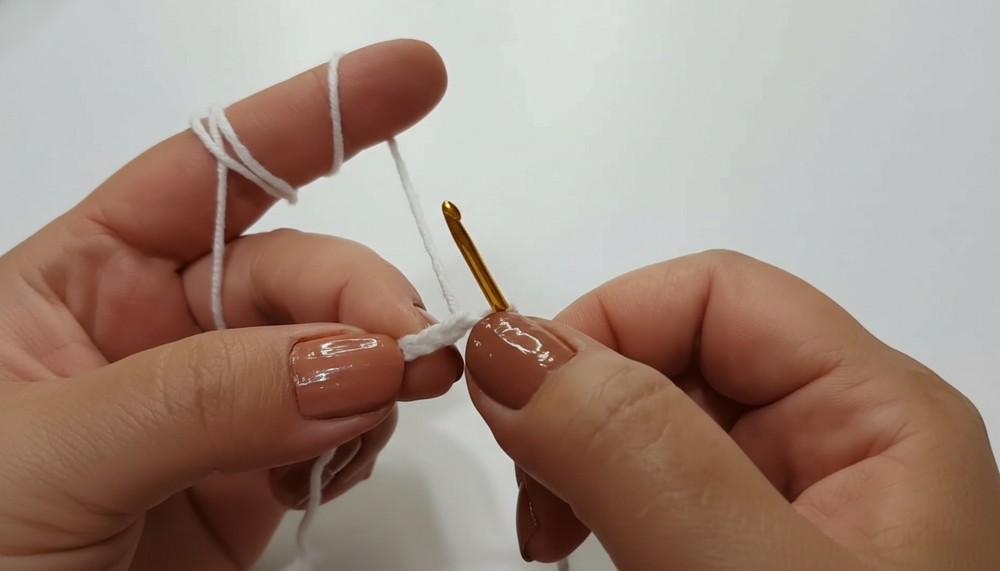
- ch: chain
- sc: single crochet
- hdc: half double crochet
- dc: double crochet
- sl st: slip stitch
- st(s): stitch(es)
Special Notes
- This pattern is made for a finished sole length of approximately 11.3 cm, suitable for a 12-month-old.
- Both the sole and the upper are worked with double thickness for comfort and durability.
- Toe separator is made with scrap cotton fabric for gentle toe comfort.
- The sandal is fully customizable for other sizes by adjusting the starting chain and number of increases.
Pattern
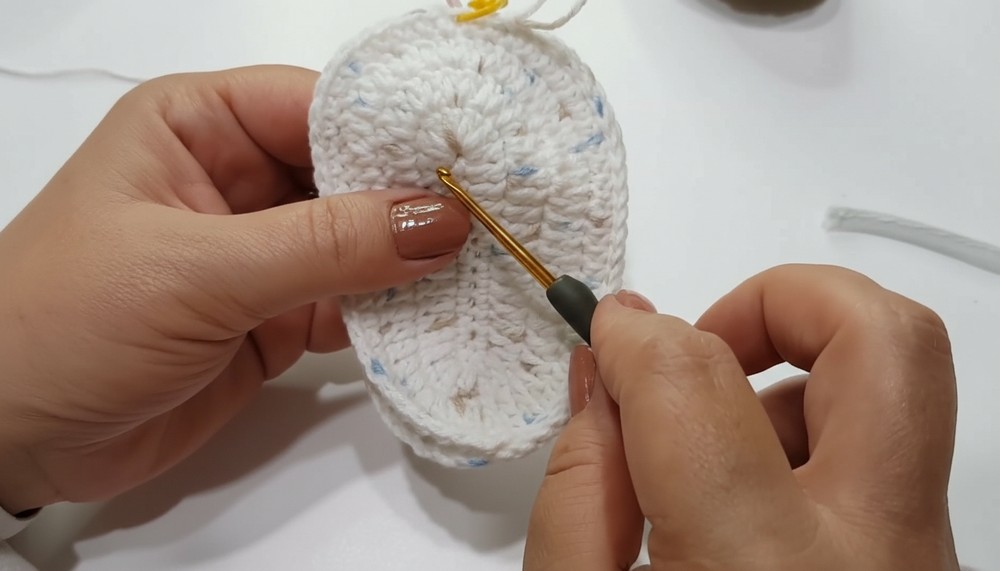
Sole (Make 4 in Total, 2 for Each Foot)
First Sole
- Ch 15.
- Row 1:
- Sc in 2nd ch from hook and each of next 8 ch (total 9 sc).
- Dc in each of next 3 ch.
- 7 dc in last ch (this will round the toe).
- Working on the other side of the foundation chain:
- Dc in each of next 3 ch.
- Sc in each of next 8 ch.
- Join with sl st to the first sc to form a round.
- Row 2:
- Ch 3 (counts as dc), dc in same st.
- Dc in each st to the 7 toe dcs.
- In each of the 7 toe dcs: 2 dc in each (increase).
- Continue dc in each st along the other side to the end.
- Join with sl st.
- You should now have 14 dc on the rounded toe and an equal number on the heel.
- Row 3:
- Ch 3, dc in same st, dc in each st to the rounded toe.
- Increase in every other st around the toe as follows: [dc in one st, 2 dc in next st], repeat.
- Dc in each remaining st.
- Join with sl st.
- Row 4 (and, if desired, 5):
- Ch 2, hdc in each st around (do not increase), join with sl st.
- You should have approximately 55–56 hdc.
- Fasten off and weave in ends.
Repeat for the other three soles. Make sure the stitch counts match all soles.
Joining Sole Pieces
- Place two soles with wrong sides together for each sandal (4 pieces = 2 sandals).
- Working with matching yarn, insert hook through both thicknesses at the center back of heel.
- Working through both soles, sl st all around the edge to join, being careful not to pull too tightly.
- Stop halfway to insert the toe separator and continue to join until the starting point; fasten off.

Toe Separator (Thong)
- Cut a strip of soft scrap fabric or upcycled t-shirt, approx. 1×10 cm (0.5×4”).
- Fold to reinforce thickness, rolling as needed for comfort.
- Securely sew or glue the fabric tongue at the front center of the joined sole, between the rounds at the toe.
Be sure it is firmly fixed and stands up but is soft.
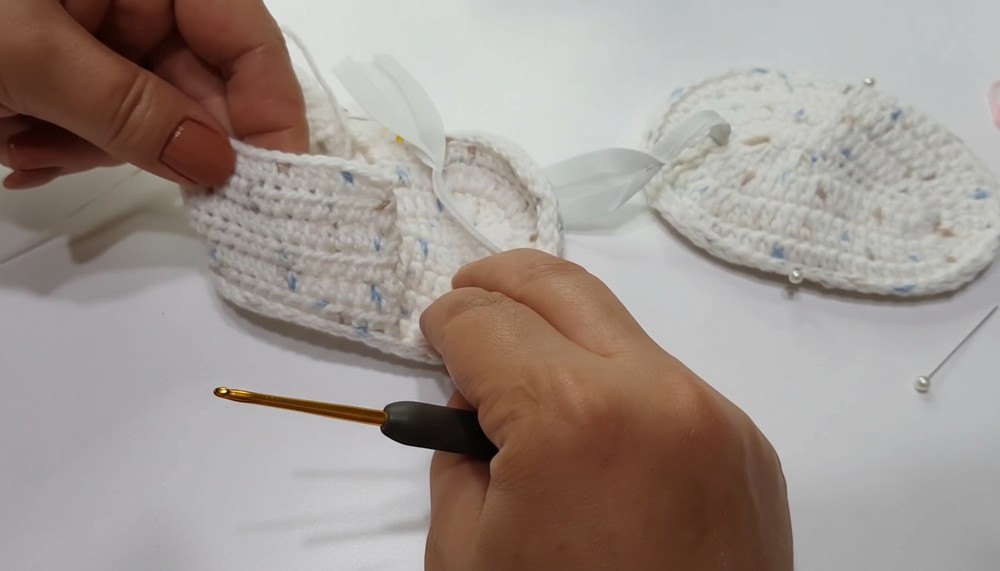
Upper Strap & Closure
Placement for Right and Left Foot
- Find the center top of the toe where you attached the thong and count out evenly from both sides for symmetry (see video step for counting instructions).
- Mark the spots (approx. 28 stitches from the center for the side straps, adjust for a snug fit).
Straps
- For right foot: Attach yarn at the marked side stitch.
- Row 1: Ch 1, sc in next 26 sts towards the inside, ch 1, turn.
- Rows 2–6 (or as desired): Hdc across (26 hdc per row), ch 1, turn.
- Button tab: At end of last row, ch 15, sl st to same st, creating a loop.
- If bigger or smaller, adjust the number of chains to fit button size.
- Work 1 row of sc on the chain to strengthen.
- Fasten off and weave in ends.
Repeat for left foot, mirroring the positioning of the strap.
Sewing the Button
- At the edge opposite the tab, securely sew the button to fasten the sandal.
Decoration (Optional)
- Add felt shapes, crocheted appliques, or small wobbly eyes on top of thong or straps.
- Use glue, thread, or a hot glue gun as appropriate for materials.
Non-slip sole (Optional)
- Use fabric paint, silicone dots, or pre-made non-slip products on underside of sole for traction.
Conclusion
This pattern creates a soft, breathable, and adorable flip-flop sandal for a 12-month-old, using a double-thickness sole for comfort and security. The cotton or bamboo/cotton blend makes these suitable for delicate baby skin. The design allows for full customization and creativity in decoration.
Pattern Corrections
- Gauge: Double-check each sole for consistent stitch count to ensure pairs are the same size.
- Fit: Adjust base and upper row counts if necessary for a snug but comfortable fit.
- Toe separator: Ensure placement is centered and does not rub or chafe.
Tips
- Wash and block after finishing for best shape and comfort.
- For best toddler comfort, ensure seams are flat and decorations are secure.
- Use a yarn color and button that coordinate for an appealing finish.
- Always use baby-safe materials for embellishment and assembly.