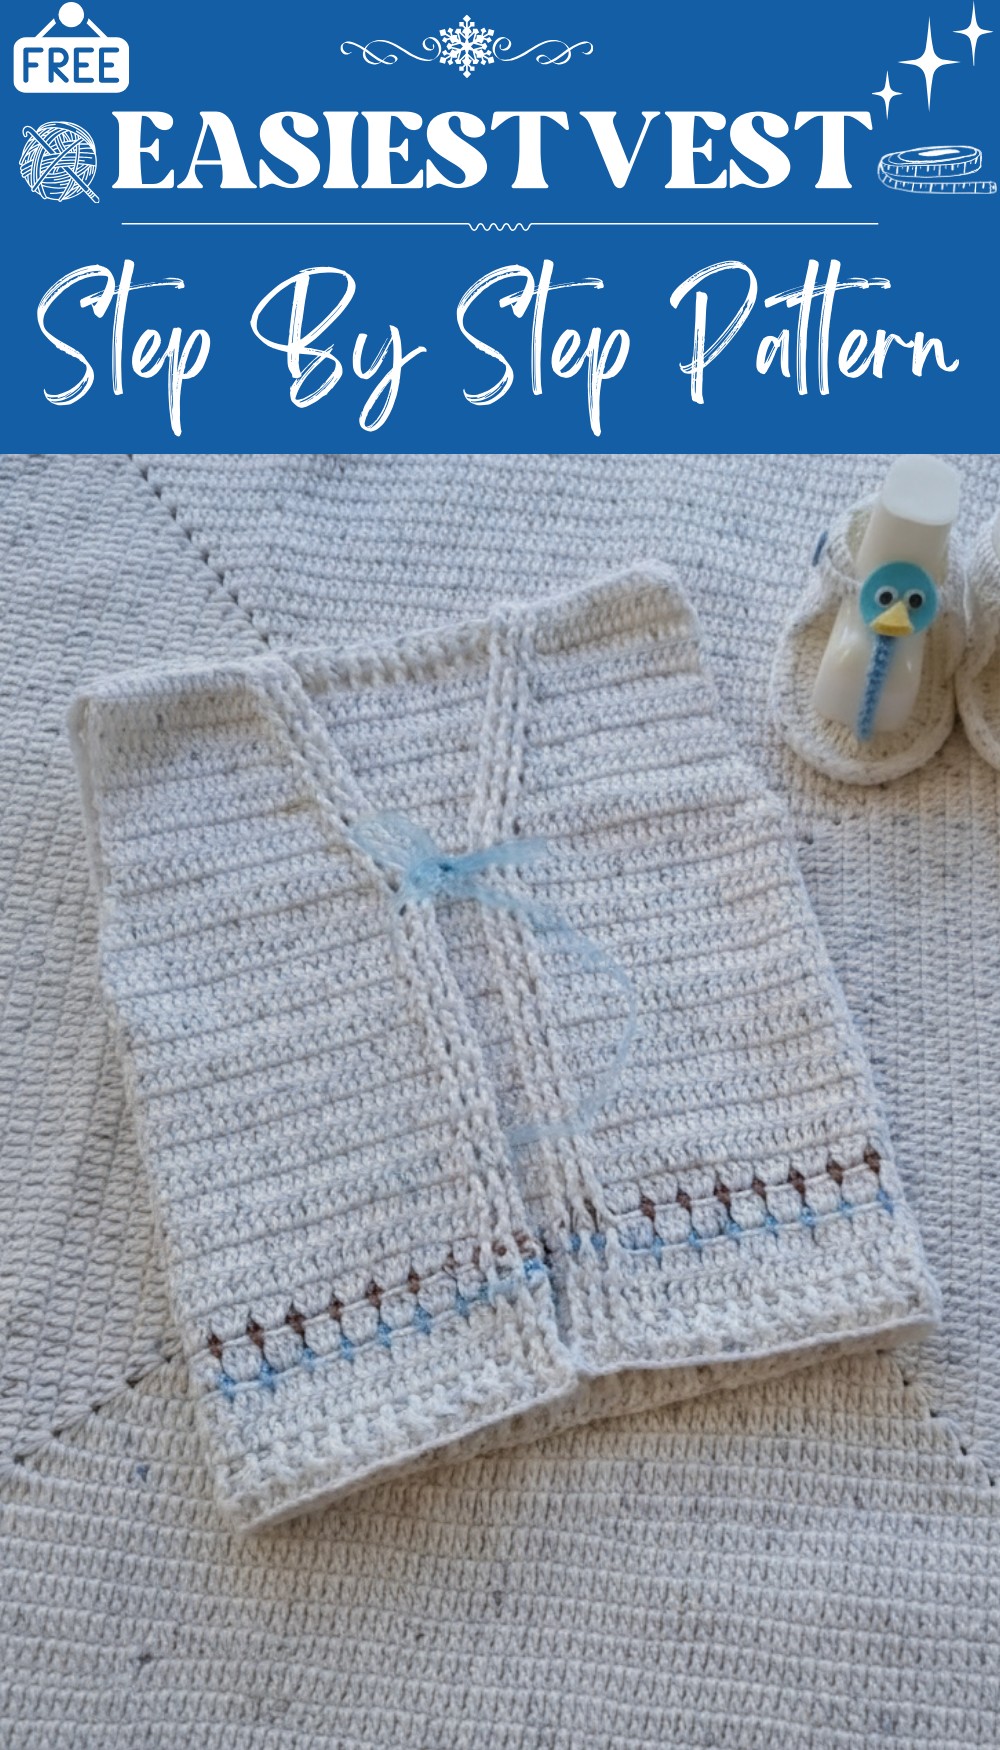
Best Free Crochet Vest Pattern for Everyday Wear
Upgrade your wardrobe with this free crochet vest pattern perfect for all and add a stylish touch to any outfit while staying cozy and chic.
Bright colors and gentle patterns make any outfit feel extra special when you add a stylish vest. A crochet vest pattern gives you the chance to make something beautiful with your hands that is both simple and eye-catching. The vest can be worn over a t-shirt, dress, or even a light sweater, making it a smart and useful choice for many occasions. With so many styles and yarns to pick from, each pattern brings its own charm and can be made to suit any age.
Fashionable Free Crochet Vest Pattern for Any Outfit

The best part is the vest feels comfortable and offers just the right bit of warmth whenever needed. Using a crochet vest pattern means you do not need much skill or fancy tools—just patience and yarn. Wearing or sharing a cozy vest becomes a way to show care and share smiles, brightening each day and bringing extra comfort to yourself or someone special.
Easiest Ribbed Crochet Vest Pattern
Materials
- Yarn: Soft cotton yarn, DK or light worsted weight; sample: 100 g = 260 m (about 285 yds). Approximately 1.5 skeins for a 1-year vest.
(You may use leftover yarns for color striping.) - Hook: US G/6 (4 mm) crochet hook or size to obtain correct width based on age chart.
- Notions: Scissors, yarn needle for sewing and weaving in ends, ribbon or cord (optional), stitch markers (for panel separation), measuring tape.
- Optional: Felt, buttons, or ready-made googly eyes for embellishing.
Key Abbreviations (US Terms)
- ch: chain
- sc: single crochet
- dc: double crochet
- sl st: slip stitch
- st(s): stitch(es)
- fpdc: front post double crochet
- bpdc: back post double crochet
Special Notes
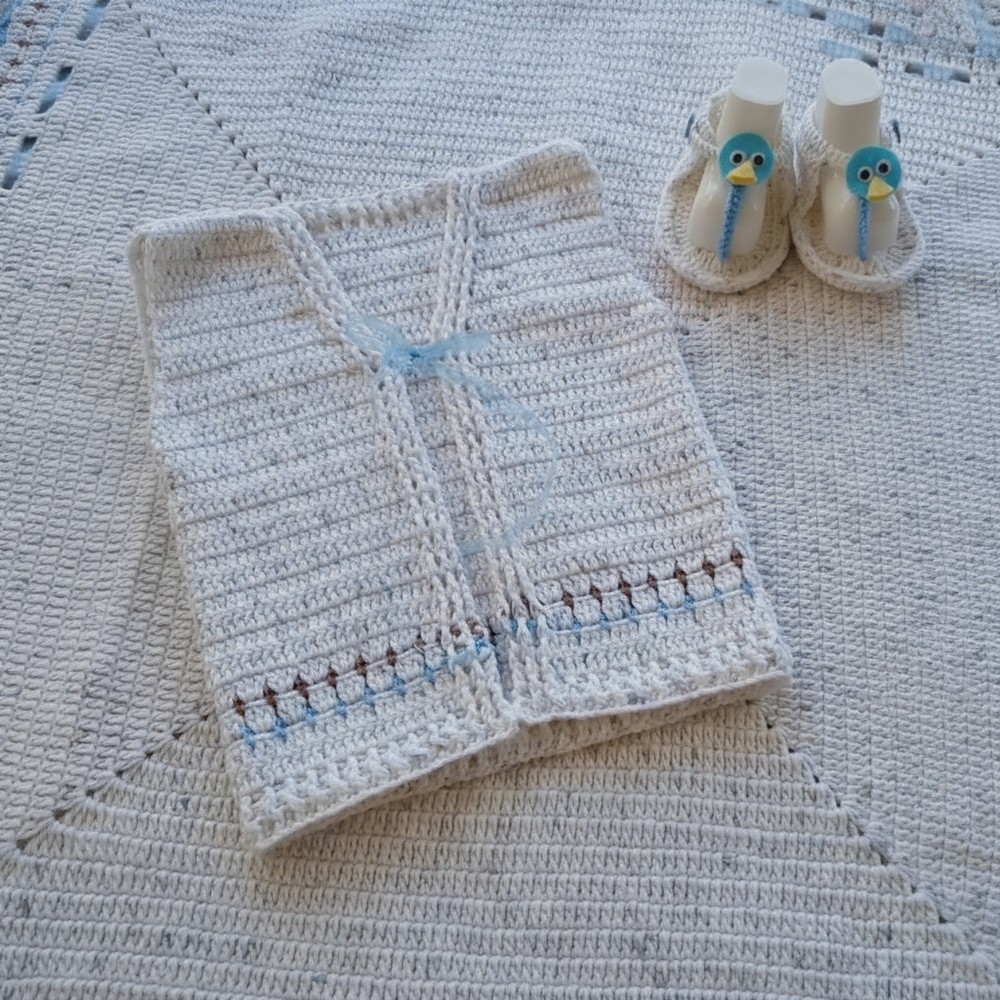
- Sizing: Pattern is for a 12-month-old (body width 27 cm, chest circumference 53 cm, length (hem to armhole) 20 cm) but can be easily adjusted—see the size chart and instructions for resizing.
- Construction: Vest is worked in one piece up to the armholes, then front and back panels are separated and shaped. Shoulders are joined with crochet or sewing.
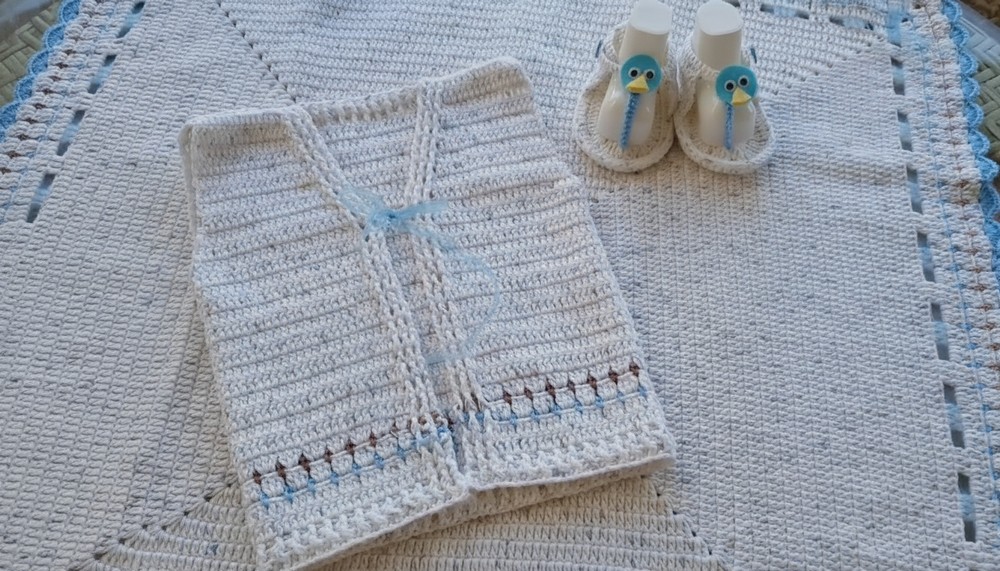
- Customizable: You may add color stripes with leftover yarn, and embellish with felt or accessories for a coordinated set with matching booties/hat/blanket.
Pattern
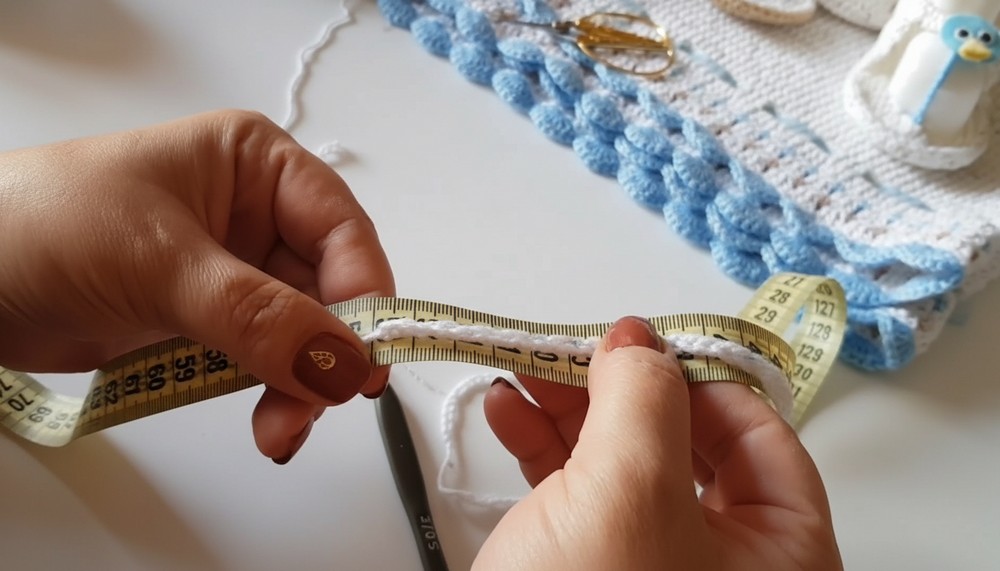
1. Measuring & Foundation Chain
- For a 12-month size, measure and mark a chain that equals 53 cm (approx. 21 in) or as needed for recipient.
- For sample gauge, ch 110 = 53 cm (adjust number of chains if your gauge differs).
Foundation Row (Slip Stitch Row)
- Ch 110. (Or size for your desired age; see notes above.)
- Begin working into back bumps of chain:
- Sl st in each ch across.
- Turn.
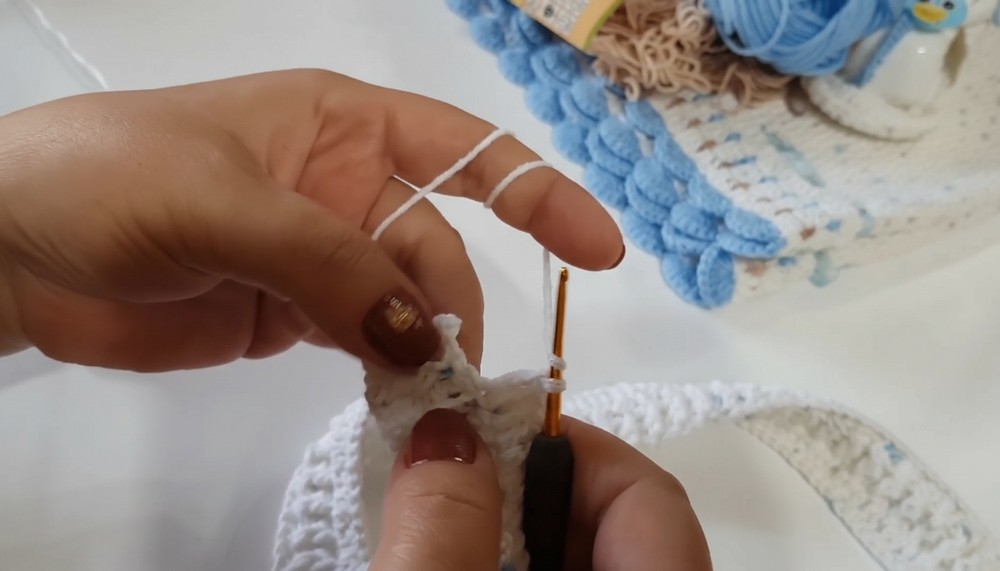
2. Lower Ribbing (Hem)
- Row 1: Ch 3 (counts as dc), [Alternate fpdc in next st, bpdc in next st] across for a ribbed look. (First row after slip stitch may be regular dc if working into slip stitches is difficult.)
- Row 2: Ch 3, continue fpdc in fpdc, bpdc in bpdc across.
- For babies/children, 2 rows of ribbing is sufficient; adults may prefer 4–5 rows.
- Turn at end of each row.
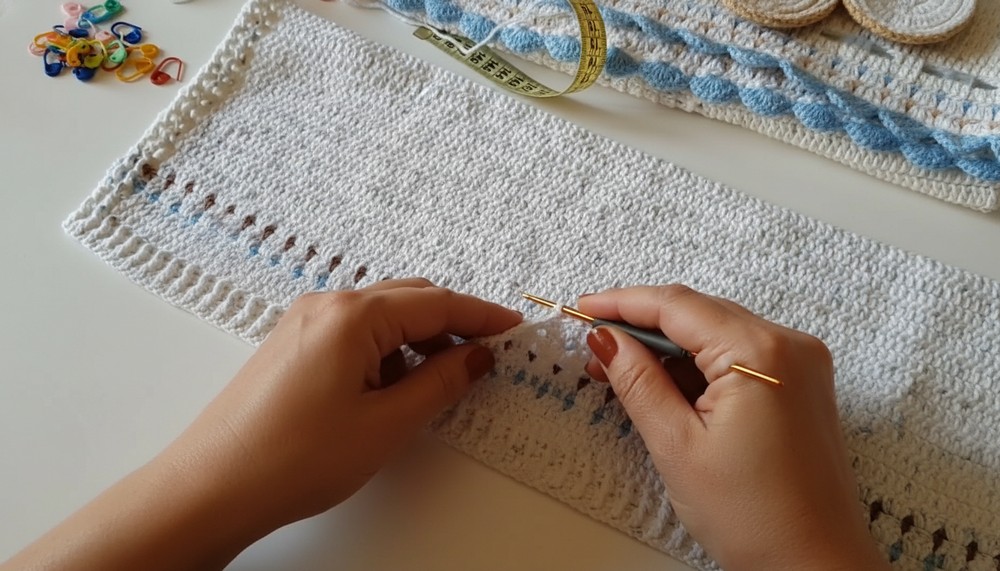
3. Body
- Row 3 (and subsequent even rows): Ch 3, continue ribbing for first 5 sts (fpdc, bpdc), then dc in each st across to final 5 sts, finish with ribbing (fpdc, bpdc).
- Continue as above for each row, maintaining 5-stitch ribbing at each end and plain dc in the center.
- (Optional) For color striping, change yarns at side of work as desired, securing new yarn and working over tails.
- Maintain the rib at the sides throughout the body.
Length: Work until body measures 20 cm (about 8 in) from hem to underarm.
4. Armhole & Front/Back Separation
- When body reaches underarm length, lay flat and divide as follows for 110 sts:
- Front Panels: 27 sts each (including 5 rib sts); mark both panels with markers.
- Back Panel: 56 sts.
- Note: The two front panels + back = total foundation width.
Left Front Panel
- Attach yarn (if needed) at armhole edge.
- Ch 3, continue across 27 sts, maintaining ribbing for 5 edge sts.
- At neck edge, decrease 1 st every row for shaping as follows:
- Work until 2 sts from neck edge remain, dc2tog over last 2 sts.
- Turn, ch 3, work back.
- Continue decreases every row at neck edge until only 13 sts remain (5 rib + 8 body sts).
- Work even until armhole edge equals back height, then fasten off.
Right Front Panel
- As for left, mirroring decreases.
- Always keep 5 sts in rib at side; all other decreases at neck edge.
Back Panel
- Rejoin yarn at armhole.
- Work across 56 sts, straight, no decreases.
- When equal in height to front panels’ shoulder seams, work final row with 5 rib sts at each end, and dc in center sts.
- Fasten off.
5. Shoulder Seams
- Join Shoulders: With WS together or by sewing/crocheting across the shoulder stitches (13 sts on each front, to 13 sts on each side of back).
- For a neat finish, join with sl st or whip stitch through outer loops only.
6. Edge & Finishing
- Armholes: (Optional) Work 1 row of sc or slip stitch around each armhole for a neat edge.
- Neckline: (Optional) Work 1 row of sc or slip stitch around neck.
- Ties (Optional): Weave ribbon/cord through holes at front to close, or leave open.
- Weave in ends.

7. Decoration
- Sew or glue on felt shapes, buttons, or appliques as desired.
- Coordinate with matching flip-flop booties or hat for a set.
Conclusion
This vest is suitable for any age and is extremely adaptable. The ribbing provides a gentle stretch and professional finish, while the simple construction is ideal for new and experienced crocheters alike. The use of leftover yarns makes it economical and great for stash-busting.
Pattern Corrections
- Always check stitch counts at each division to ensure panels are even and seam up cleanly.
- Ribbing at the armholes and neck prevents curling and gives a polished edge.
Tips
- For other sizes, refer to a child/adult size chart or measure the recipient; make the foundation chain to match the chest (front + back width).
- Use a neutral base and add color stripes for interest, especially if using leftover yarn.
- For a lighter vest, use a larger hook or lighter weight yarn.
- Add simple button loops if you prefer a buttoned closure.