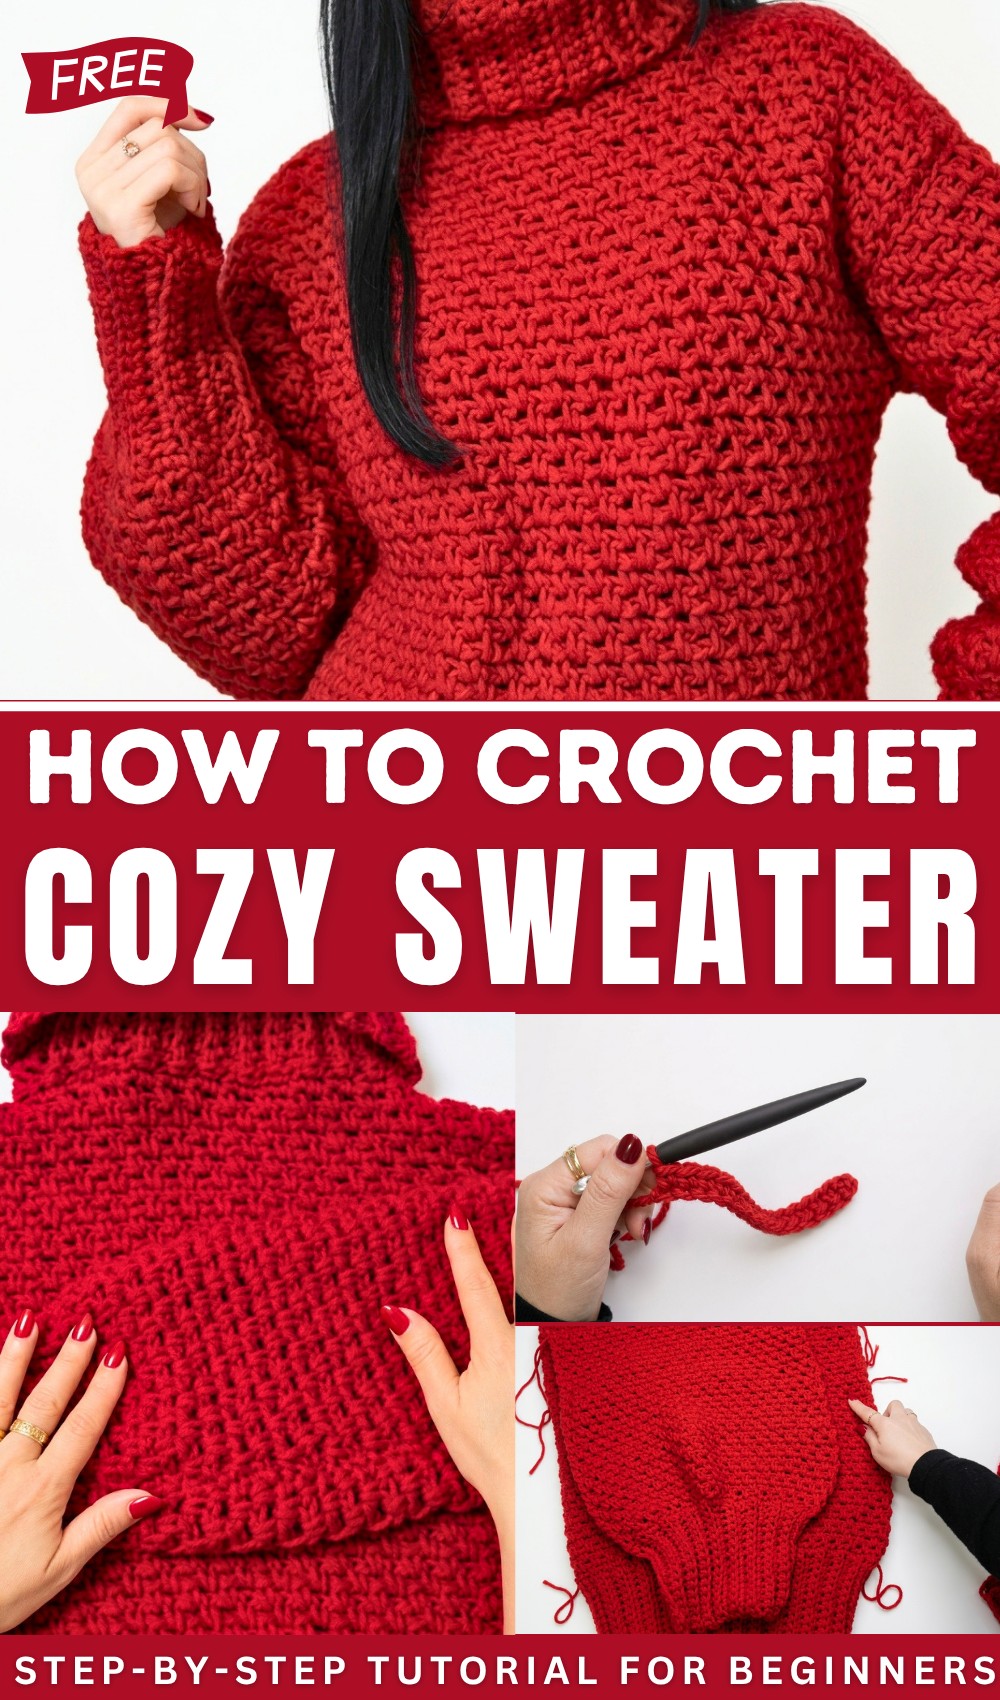
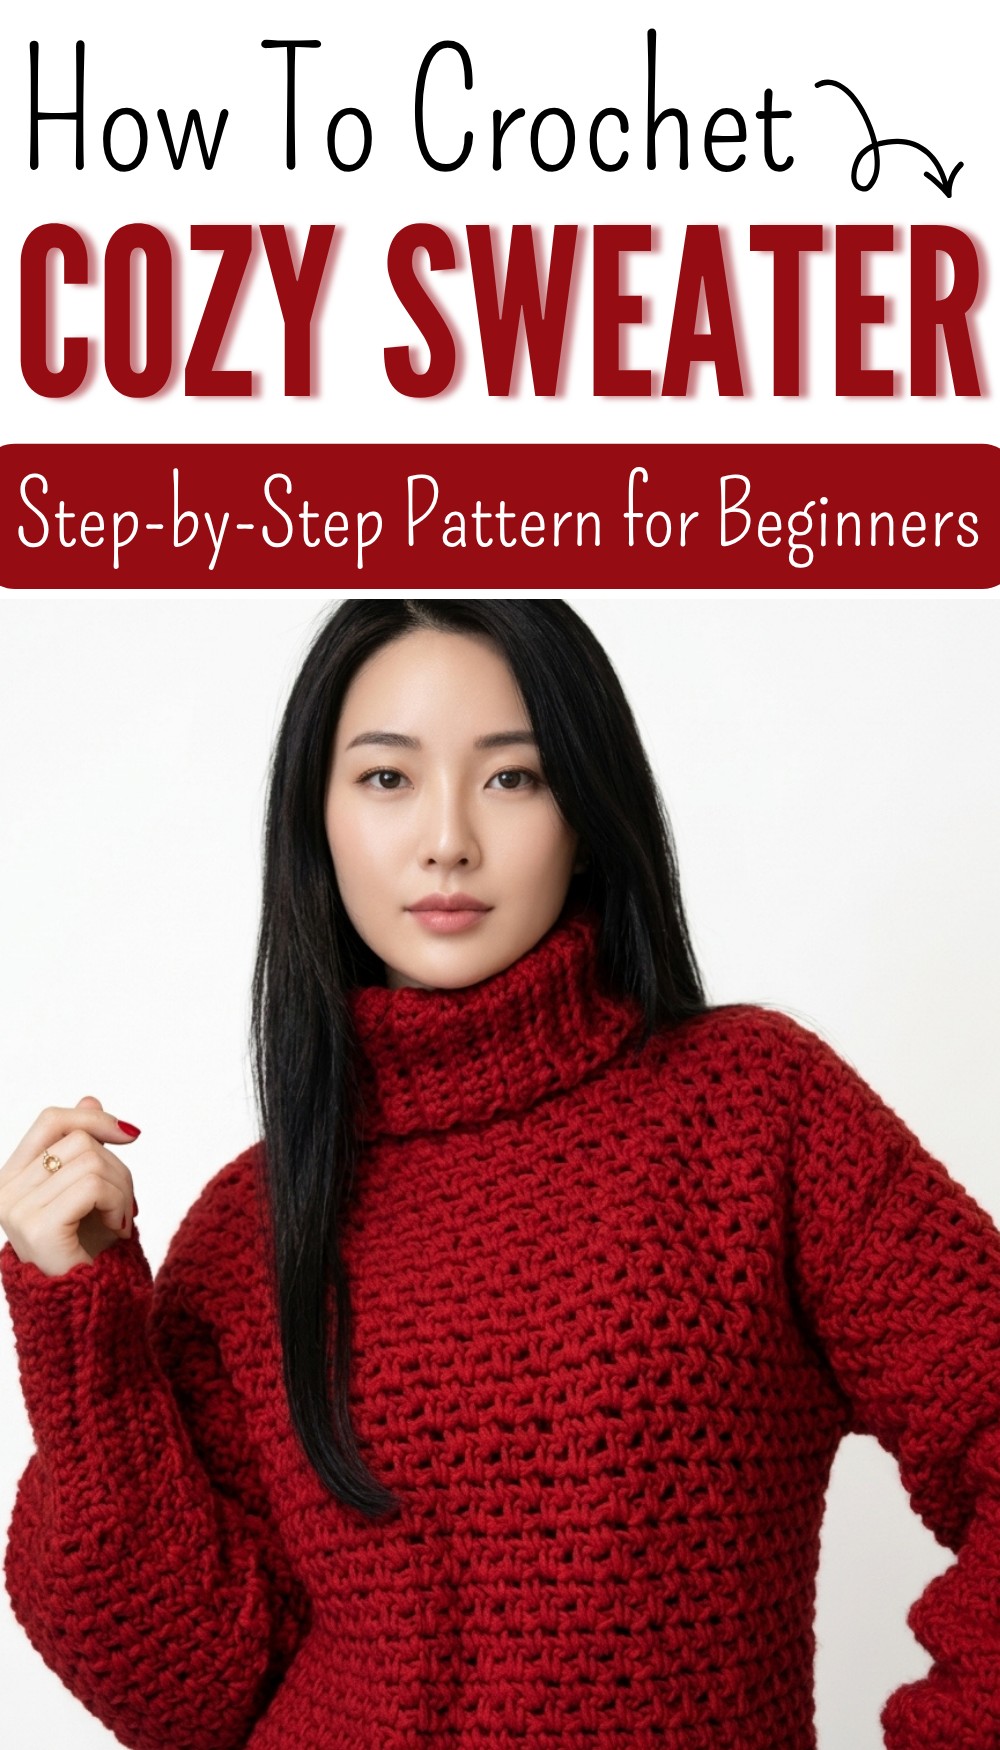
Easy Crochet Sweater Pattern for Beginners
Learn how to make a soft and cozy sweater with this Free Crochet SWEATER Pattern that is simple to follow and great for beginners to wear or gift with love.
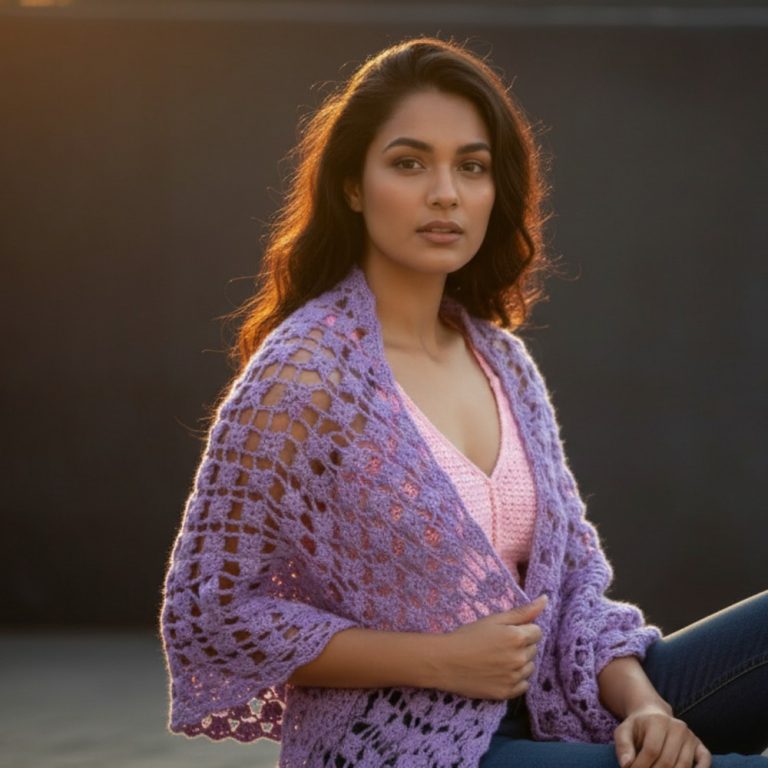
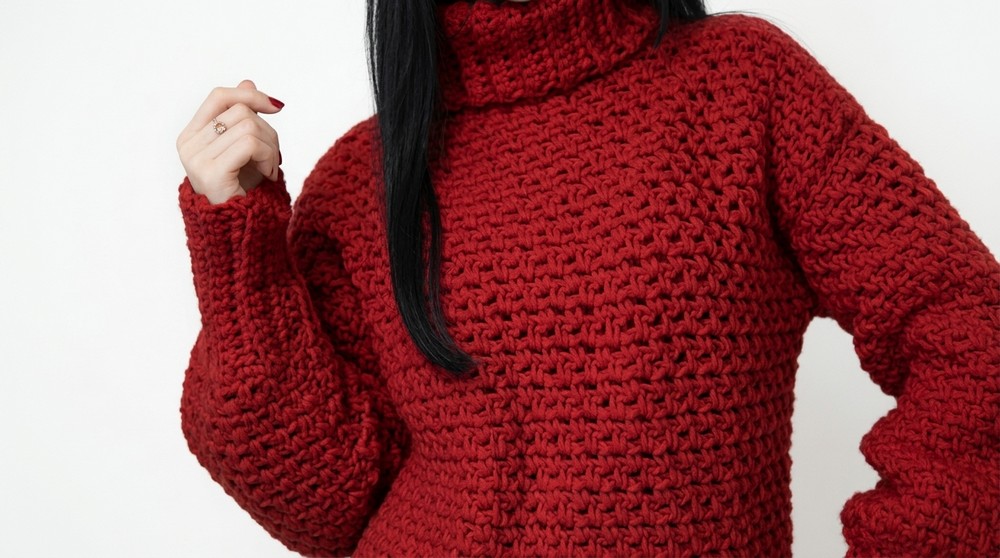
On a cool day, wearing something soft and warm always feels nice and comforting. A sweater can make a simple outfit look beautiful while keeping the body cozy at the same time. The Free Crochet SWEATER Pattern helps in making a lovely sweater at home with simple steps that are easy to follow. It gives a neat and stylish look, with gentle textures and clean shapes that make it special. This sweater is useful for daily wear, school, or small outings, and it can also be a thoughtful handmade gift.
simple free crochet sweater pattern with step by step help
One good feature is that it can be made in different colors and sizes, so it fits anyone perfectly. The design looks attractive but is not too hard to make, which makes it great for beginners as well. Its softness, warmth, and handmade feel make it unique and enjoyable to wear in every season where light warmth is needed.
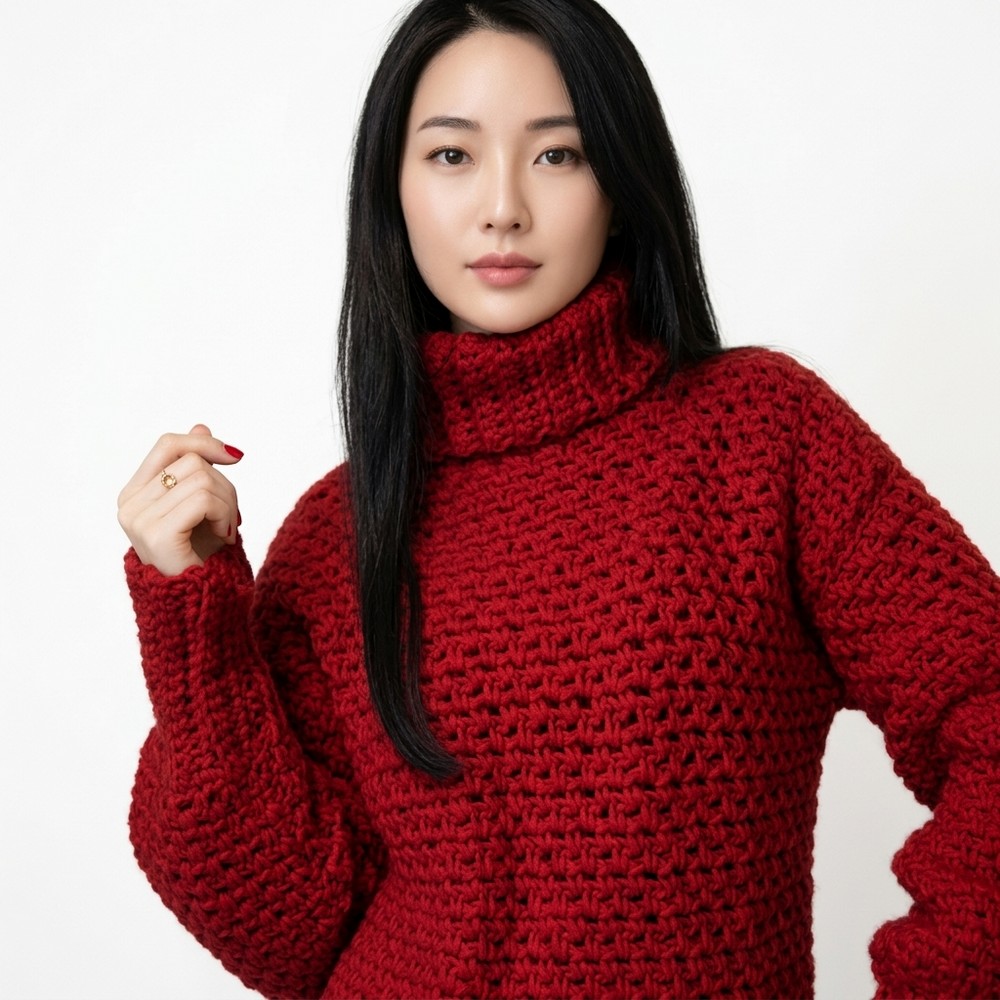
Crochet Pattern Textured Sweater with Ribbed Details
Skill Level
Intermediate
Materials List
- Yarn: Thesis Barry or similar medium-weight (Aran) yarn
- Composition: 30% wool, 70% acrylic
- Approx. 100g per skein, 150m per skein
- Total yarn: 5 skeins (approx. 500g) for size Small (S)—adjust for other sizes
- Crochet Hooks:
- 8mm (US L-11): For ribbing
- 9mm (US M-13): For the main body and sleeves
- Scissors
- Tape Measure: For checking panel dimensions and ensuring a custom fit
- Tapestry Needle: For sewing panels together and weaving in ends
- Stitch Markers (optional): To mark key points (e.g., shoulder seams, sleeve placement, etc.)
Key Abbreviations
- ch: Chain
- sc: Single crochet
- sl st: Slip stitch
- st(s): Stitch(es)
- hdc: Half-double crochet
- dc: Double crochet
- yo: Yarn over
Special Techniques
- Ribbing (Back Loop Only – BLO): Creates elastic texture for cuffs, waistbands, and necklines.
- Textured Rice Grain Stitch: Combines chain spaces and single crochet (sc) stitches to create a textured fabric.
Sweater Dimensions (Size S)
- Front and Back Panels:
- Elastic Waistband: 36cm (14″) wide x 14cm (5.5″) high
- Panel (after waistband): 51cm (20″) wide x 50cm (19.5″) high
- Sleeves:
- Elastic Cuff: 20cm (8″) wide x 14cm (5.5″) high
- Sleeve Panel Length: 36cm (14″)
- Head Opening: Approx. 23cm (9″) wide
Note: Adjust dimensions for different sizes as needed.
Pattern Instructions
Step 1: Front and Back Panels
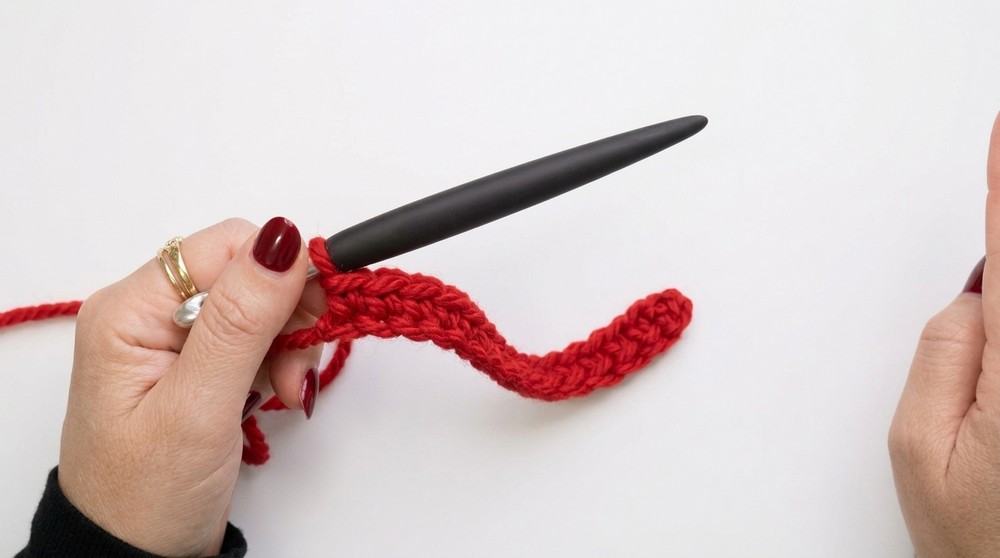
Ribbed Waistband
- Hook: Use the 8mm hook.
- Foundation Chains: Chain 15 ch.
- Row 1: Work sc into the 2nd chain from the hook and across the row. You’ll have 14 sc.
- Row 2:
- Ch 1, turn. Work sc in the back loop only (BLO) across the row.
- Repeat Row 2 until the ribbing measures 36cm (14″) wide (or adjust for your size).
- Do not fasten off. Proceed to collect stitches for the main panel.
Collecting Stitches for the Main Panel
- Switch to the 9mm hook for the main panel.
- Work 1 sc for every row of ribbing, ensuring an even number of stitches.
- For size S, collect 54 sc.
- Once you’ve collected the stitches, move on to the rice grain pattern.
Textured Rice Grain Stitch
- Row 1:
- Ch 2, skip the first sc, and work 1 sc into the next st.
- Ch 1, skip 1 st, work 1 sc into the next st.
- Repeat: (Ch 1, skip 1, sc in next st) across the row.
- Row 2 and Beyond:
- Ch 2, turn.
- Work 1 sc into each ch-1 sp from the previous row. After each sc, chain 1, and skip the sc from the previous row.
- Repeat: (Sc in ch-1 sp, ch 1, skip sc) across.
- Repeat the Rice Grain Stitch Rows until the entire panel, including the ribbed waistband, measures 50cm (19.5″) in height.
- Fasten off and weave in ends.
Make a second panel following the same instructions.
Step 2: Sleeves
Ribbed Cuff
- Hook: Use the 8mm hook.
- Foundation Chains: Chain 15 ch.
- Row 1: Work sc into the 2nd chain from the hook and across. You’ll have 14 sc.
- Row 2:
- Ch 1, turn. Work sc in the back loop only (BLO) across the row.
- Repeat Row 2 until the ribbing measures 20cm (8″) wide.
- Do not fasten off. Proceed to collect stitches for the sleeve.
Collecting and Increasing Stitches for the Sleeve
- Switch to the 9mm hook for the sleeve.
- Collect sc stitches evenly along the edge of the ribbing, while working some increases to shape the sleeve:
- For size S, collect 38 sc, ensuring you have an even number of stitches.
Work the Textured Rice Grain Stitch
- Follow the same instructions (Rows 1 and 2) for the rice grain stitch as described for the main panels.
- Work the rice grain stitch for 36cm (14″) to form the sleeve’s length.
- Fasten off and weave in ends.
- Create the second sleeve by repeating these instructions.
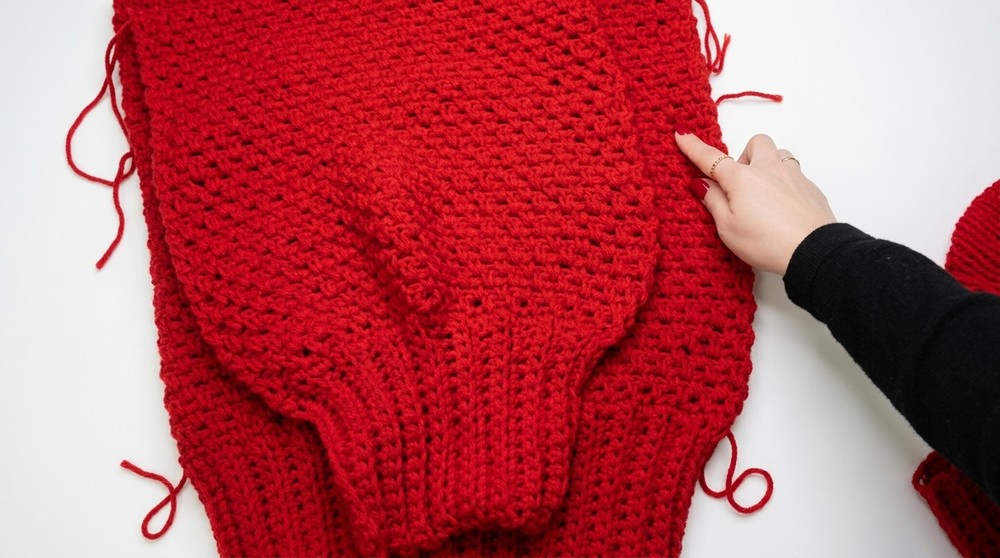
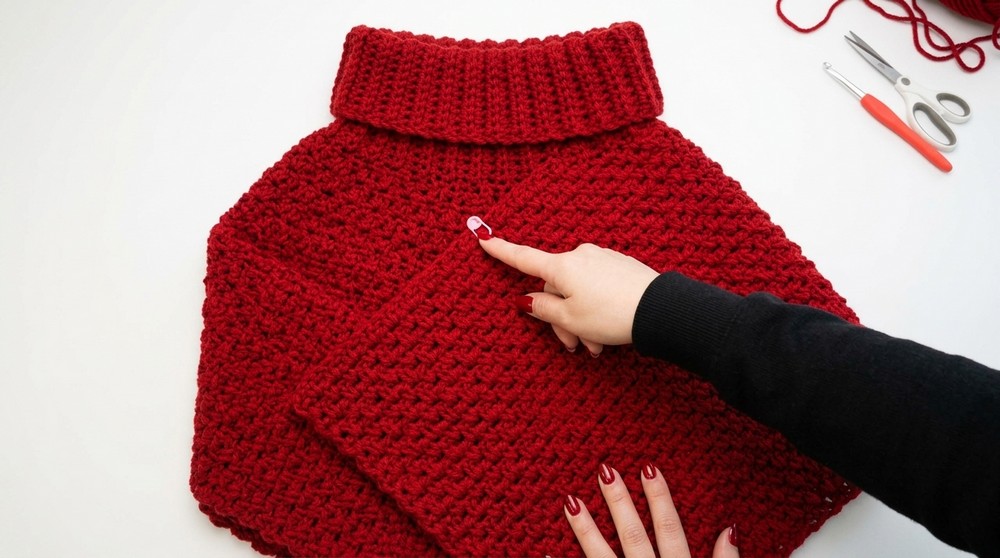
Step 3: Assemble the Sweater
Sew Shoulders
- Place the two main panels together, with the right sides facing inward.
- Leave a 23cm (9″) head opening at the top of the sweater for the neckline.
- Sew the shoulders together on both sides using a tapestry needle and whip stitch or mattress stitch.
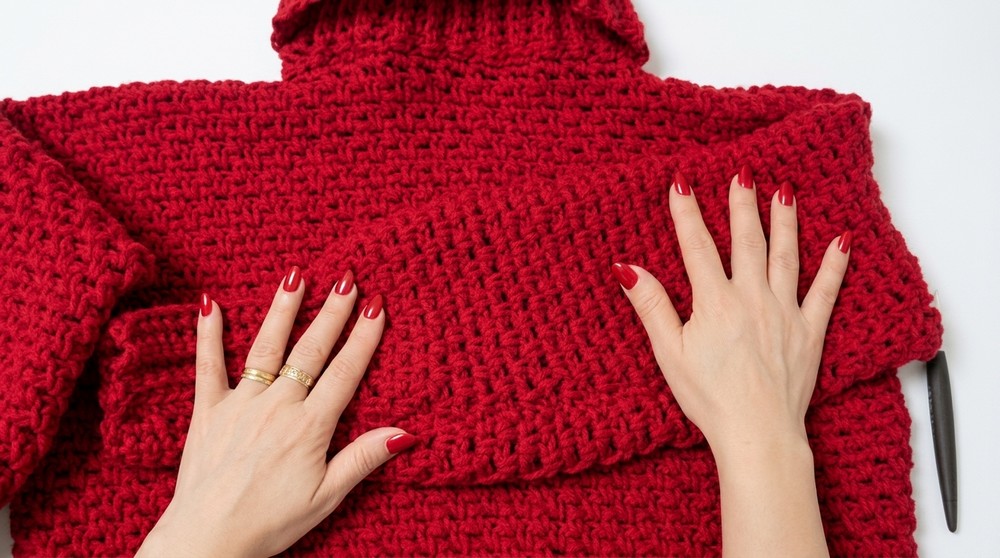
Attach Sleeves
- Fold each sleeve in half to find the center.
- Match the center of the sleeve to the shoulder seam.
- Sew the sleeve seam to the body, working from the center outward on each side.
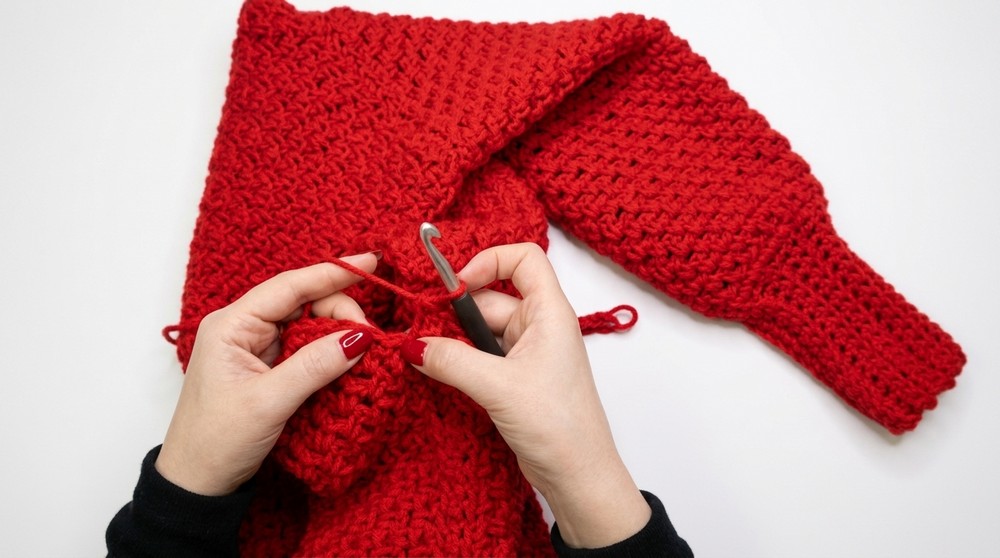
Sew the Side Seams and Underarms
- Fold the sweater inside out, with the sleeves aligned.
- Sew the side seams and underarm seams in one continuous motion.
- Fasten off and weave in all loose ends.
Step 4: Neckline Ribbing
- Attach yarn to any neckline point using the 8mm hook.
- Work sc around the neckline as evenly as possible.
- Ribbed Collar:
- Ch 18, work sc in the 2nd ch from the hook, and sc across (17 sc).
- Slip stitch into the next neckline stitch to secure.
- Work back in BLO for each sc row, attaching it to the neckline with a sl st after each row.
- Repeat for the entire neckline. Sew the ribbed edges together to finish.
Finishing
- Weave in all loose ends using a tapestry needle.
- Lightly block the sweater if needed to shape and soften the stitches.
Final Words
Congratulations! You’ve finished your textured crochet sweater featuring the elegant rice grain stitch and cozy ribbed details. This sweater works well for casual outings or cozy at-home wear, with an adaptable design perfect for all sizes.
Tips for Maintenance
- Washing: Hand wash or use a gentle machine cycle with cold water. Lay flat to dry to maintain the sweater’s shape.
- Custom Fit: Adjust the panel and sleeve widths to ensure a perfect fit for any size.
- Yarn Substitution: Use any medium-weight yarn that’s soft and has good drape.