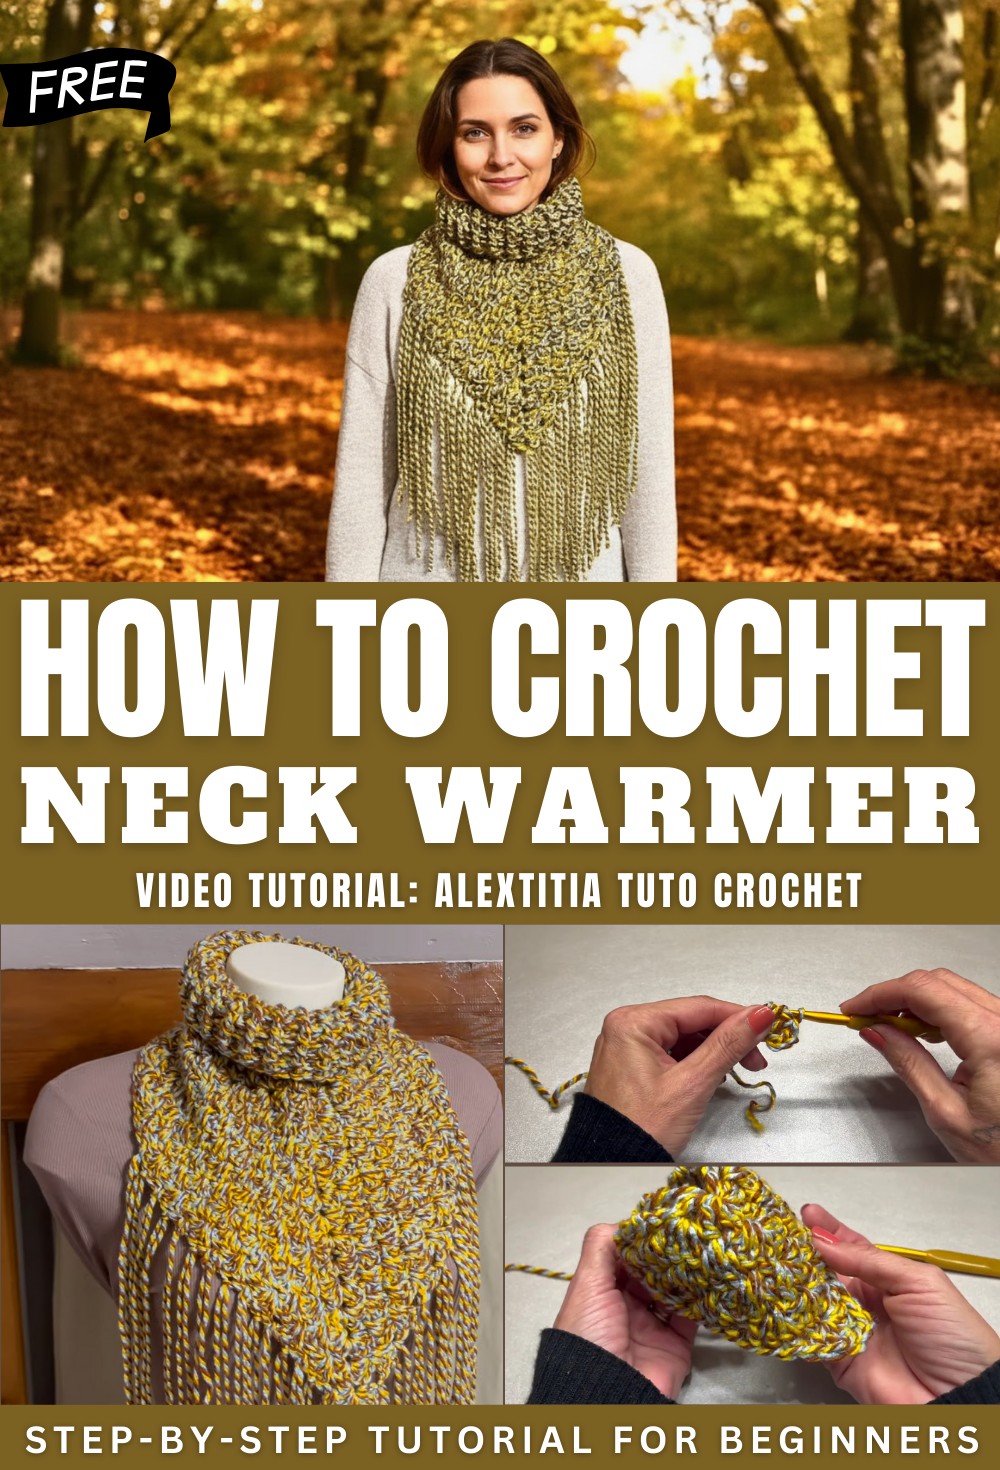
Modern Crochet Neck Warmer Pattern Make It Your Style
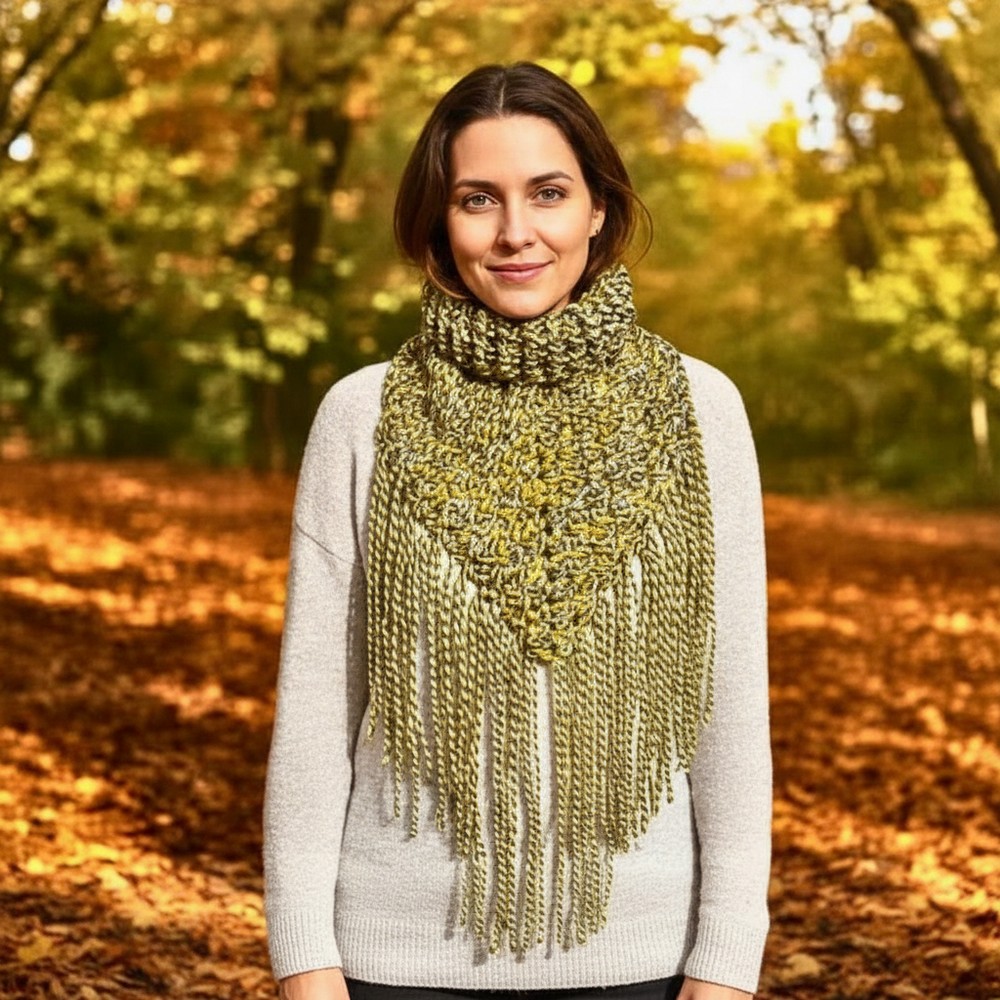
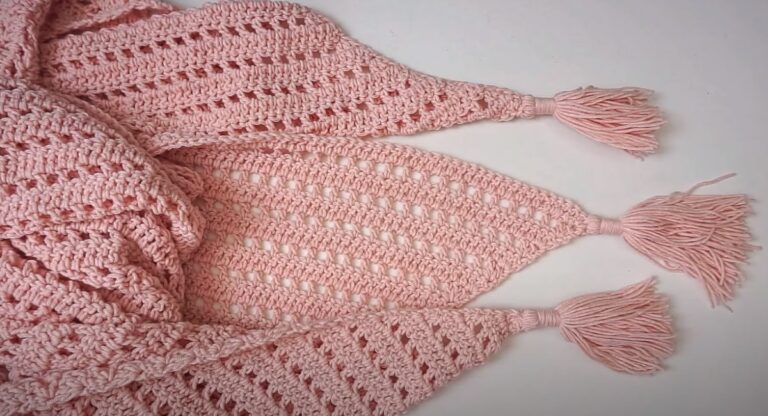
Wrap yourself in style and warmth with this Free Crochet Neck Warmer Pattern that’s perfect for adding a cozy and chic touch to any outfit.
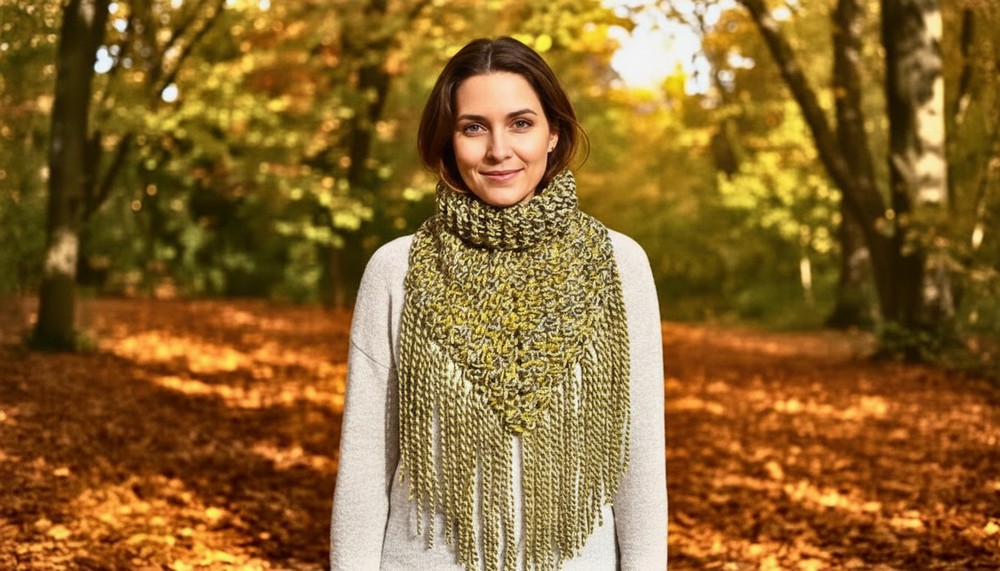
Dreamy Crochet Neck Warmer Pattern Cozy Up Instantly
A hand-crocheted neck warmer is both practical and elegant, effortlessly bringing style and comfort to any outfit while providing gentle warmth. With beautiful textures and thoughtfully designed patterns, this accessory offers a refined alternative to traditional scarves, making it a favorite for those who appreciate both comfort and chic. Its snug fit ensures warmth without bulk, creating a streamlined silhouette that enhances sweaters, jackets, or coats.
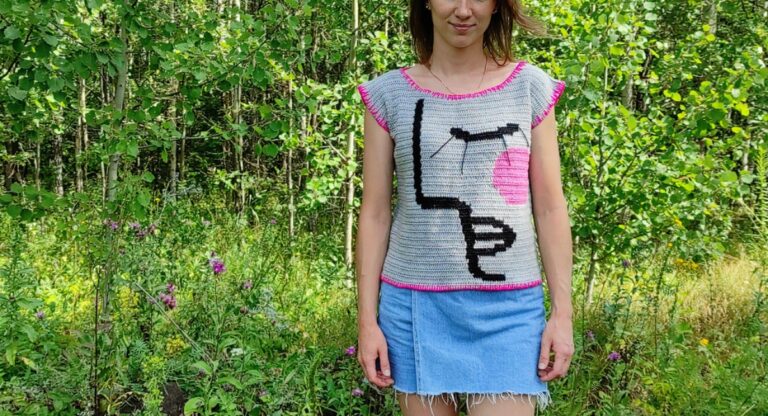
The variety of available designs, from simple stitches to intricate motifs and vibrant colors, encourages endless creativity and personalization. Perfect for gifting or gracing your own wardrobe, a crocheted neck warmer reflects a balance of handmade artistry and everyday function. Whether dressed up or down, it remains an essential addition that blends sophistication with wearability, offering both fashion and practicality in every stitch. This unique blend of features ensures the neck warmer stands out as a timeless and beloved accessory.
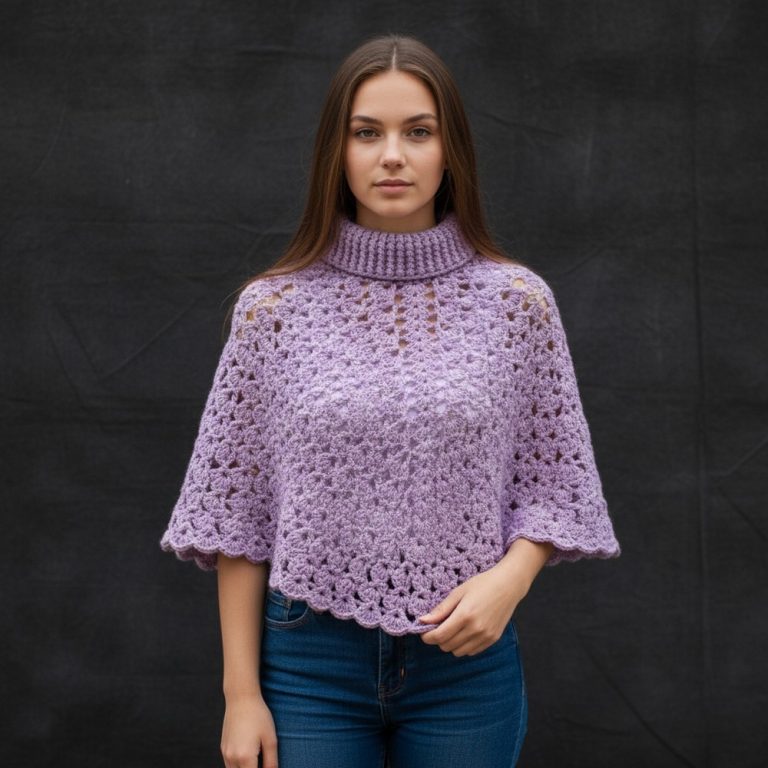
Crochet Neck Warmer with Collar Pattern
Special Features
- Closed, Snug Front: Adapted granny-triangle minimizes gaps for warmth.
- Built-in Foldable Collar: Raised relief stitches finish the piece and can be worn doubled or standing.
- Custom Sizing: Easily make it larger or smaller for any recipient.
- Optional Fringe: Add decorative fringes for a finished look.
- One Piece Construction: No seaming—just join the triangle into a cowl and crochet the collar.
Difficulty Level
Adventurous Beginner to Intermediate
The pattern requires confidence with double crochet, working in the round, and front/back post stitches for the collar. The unique method for snugging up the granny triangle makes it a good challenge for advancing crocheters.
Suggested Uses
- Cozy neck warmer for winter or fall
- Makes a quick, practical gift
- Great for market or charity projects
Materials
- Yarn: Approximately 150g–200g of bulky or aran-weight yarn (three 50g balls, 75m each). Sample uses Pingouin Tornado.
- Hook: 6 mm crochet hook
- Scissors
- Yarn needle for finishing
- (Optional) Extra yarn for fringe
Step-by-Step Pattern
1. Start the Triangle Base
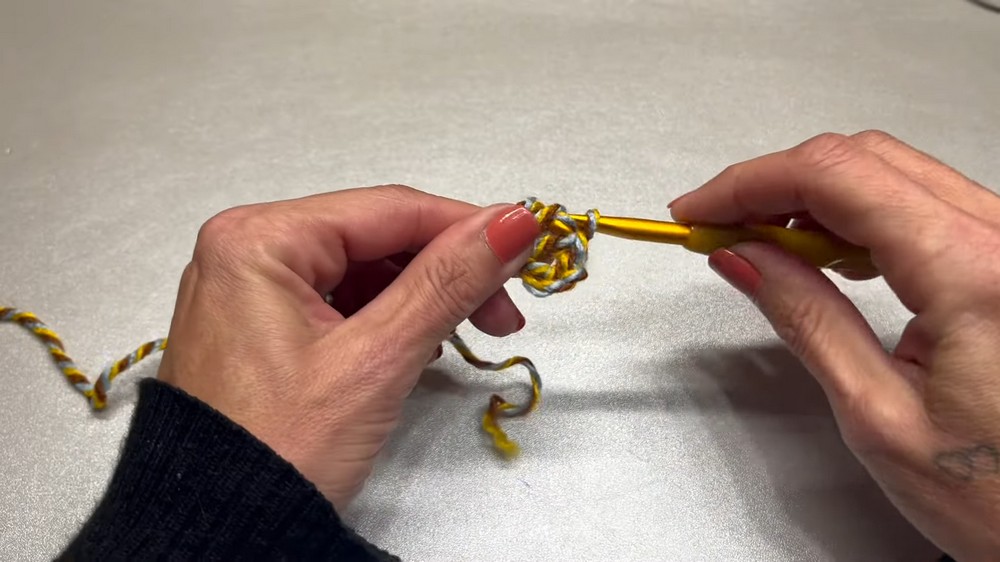
Magic Ring Start
- Make a magic circle.
- Chain 3 (counts as first DC), chain 1 (for separation; a total of 4 chains).
- Into the ring: DC, chain 1, DC. These count as “brides” (aka DCs with space).
- Continue: Make a group of three DCs with a chain between each (3 DCs total in the ring, separated by chain 1s).
- Chain 2 (for turning and shaping the corner).
- Make another group of 3 DCs, chain 2, 3 DCs, all separated by chain 1s.
- Slip stitch to close the round.
2. Build the Triangle
Row 2 (and All Subsequent Rows)
- Chain 3 (counts as DC), chain 1 (for separation).
- In each space: Make a cluster/group of three DCs separated by a chain.
- At the central point of the triangle: Work (3 DC, chain 2, 3 DC) into the center space to add increases and maintain triangular shape.
- On the next sides, continue to make three DCs in each chain space, separated by chain 1.
- At the end, finish with your usual corner cluster plus chain, then slip stitch to the top of the starting chain.
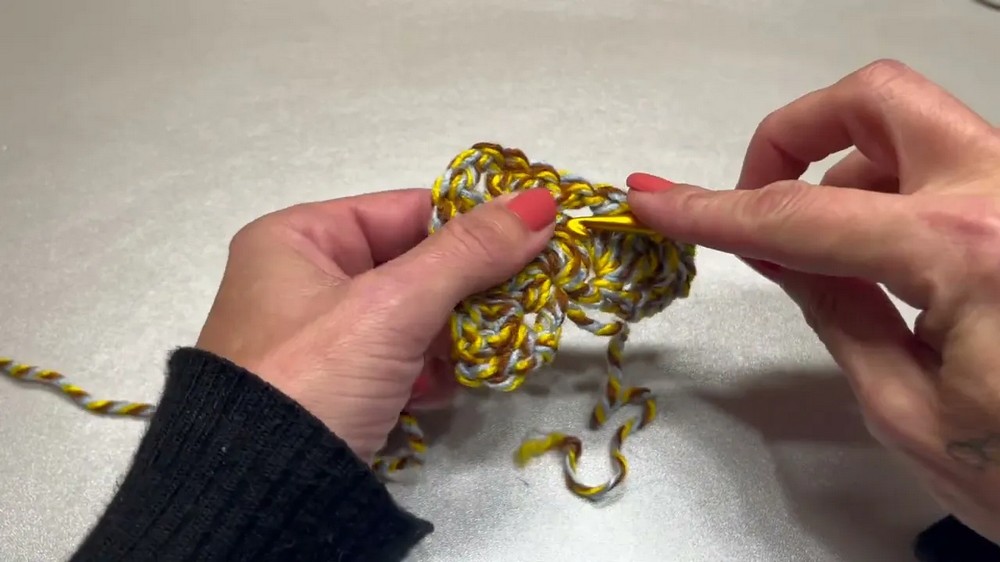
Unique Detail for Snugness:
- For each new row, when filling side spaces:
- First DC goes into the space,
- Second DC goes into the second DC of the previous row’s 3DC group (this closes gaps for warmth),
- Third DC goes back into the space.
- Continue this for a denser fabric.
- Repeat rows until the triangle measures about 52 cm across from peak to side peak (or adjust for your head size).
3. Join to Form a Cowl
- Fold the triangle so the two side tips meet at the back of the neck.
- Lay the scarf with the right side out, overlap the two back triangle points.
- Slip stitch or sew across the back edge to join, forming a continuous cowl/neck warmer.
(You should be able to comfortably slip it over your head.)

4. Crochet the Collar
Setup
- Turn work so you can crochet around the new neck edge (formed at the joined triangle).
- Attach yarn at the back seam (or where desired for continuity).
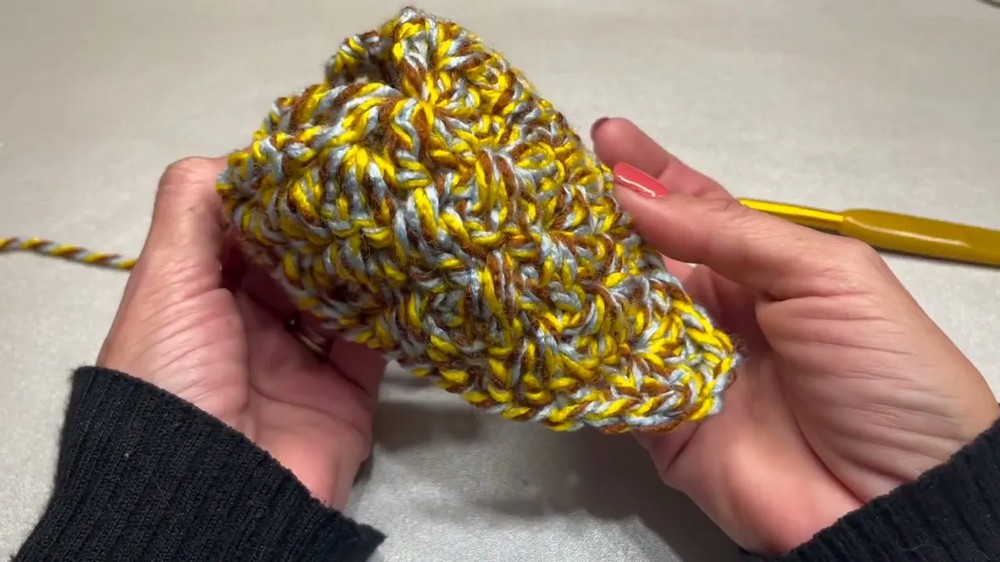
Collar Rounds—Ribbed with Relief (FPDC/BPDC)
- Foundation Round:
- Chain 3 (counts as DC), work two DCs into each space around (for a snug, ribbed collar), join with slip stitch.
- Rib Collar (Post Stitches):
- Chain 3,
- [Front Post DC (FPDC)] into next DC, [Back Post DC (BPDC)] into next DC, repeat around.
- Join with slip stitch.
- Repeat Collar Round:
- For the remaining rounds, work the post stitches as they appear: FPDC on previous FPDC, BPDC on previous BPDC.
- Make as many rounds as desired for collar height.
- Fewer rounds for a short standing collar; more rounds for a foldable/double collar.
- Fasten off and weave in ends.
5. Add Fringe (Optional)
- Cut several lengths of yarn (as long as you like).
- At triangle tips or along the bottom edge, fold yarn pieces in half and use a crochet hook to pull the fold through a stitch, pulling tails through the loop to secure (as with a typical fringe).
- Trim to even length.

Conclusion
Your snug, modern scarf neck warmer with a built-in ribbed collar is ready to keep you cozy all season! The unique closed granny triangle provides extra warmth, while the flexible collar and optional fringe add style and function.
Tutor’s Suggestions and Tips
- Fit Tip: Before joining the triangle, make sure you can slip the opening comfortably over the head but that it isn’t too loose.
- Collar Customization: Work more or fewer collar rounds to adjust the height—double it for a plush fold-over look!
- Keep Stitches Dense: Use the “DC-in-DC” trick along sides to minimize gaps.
- Fringe Finishing: If you’re unsure about fringe length, make them a bit longer and trim after assembling.
Final Tip
For best comfort and warmth: Always check your triangle’s width before closing! Try it on or measure against the recipient. Small adjustments here make a big difference in fit and coziness.