How to Crochet a Kufi Hat – Free & Easy Pattern
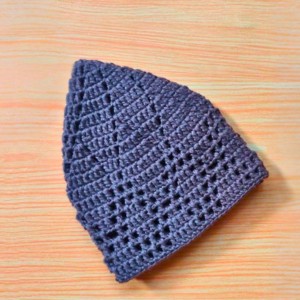
Elevate your wardrobe with a custom crochet kufi hat make from our free pattern that blends tradition and modern style effortlessly.
A well-made traditional hat offers both comfort and cultural significance, serving as a warm and meaningful accessory for many. Thanks to Rajutan Whita for providing an easy-to-follow video tutorial that helps anyone create this beautiful hat with simple yarn and stitches using a double yarn technique. Starting from a magic ring, the hat grows round in even rows using combinations of double crochet and chain stitches, making the shape smooth and stretchy to fit the head comfortably. This method is great because it allows the hat to hold its form well while still being soft and breathable.
Free Crochet Kufi Hat Pattern – Men’s Classic Style
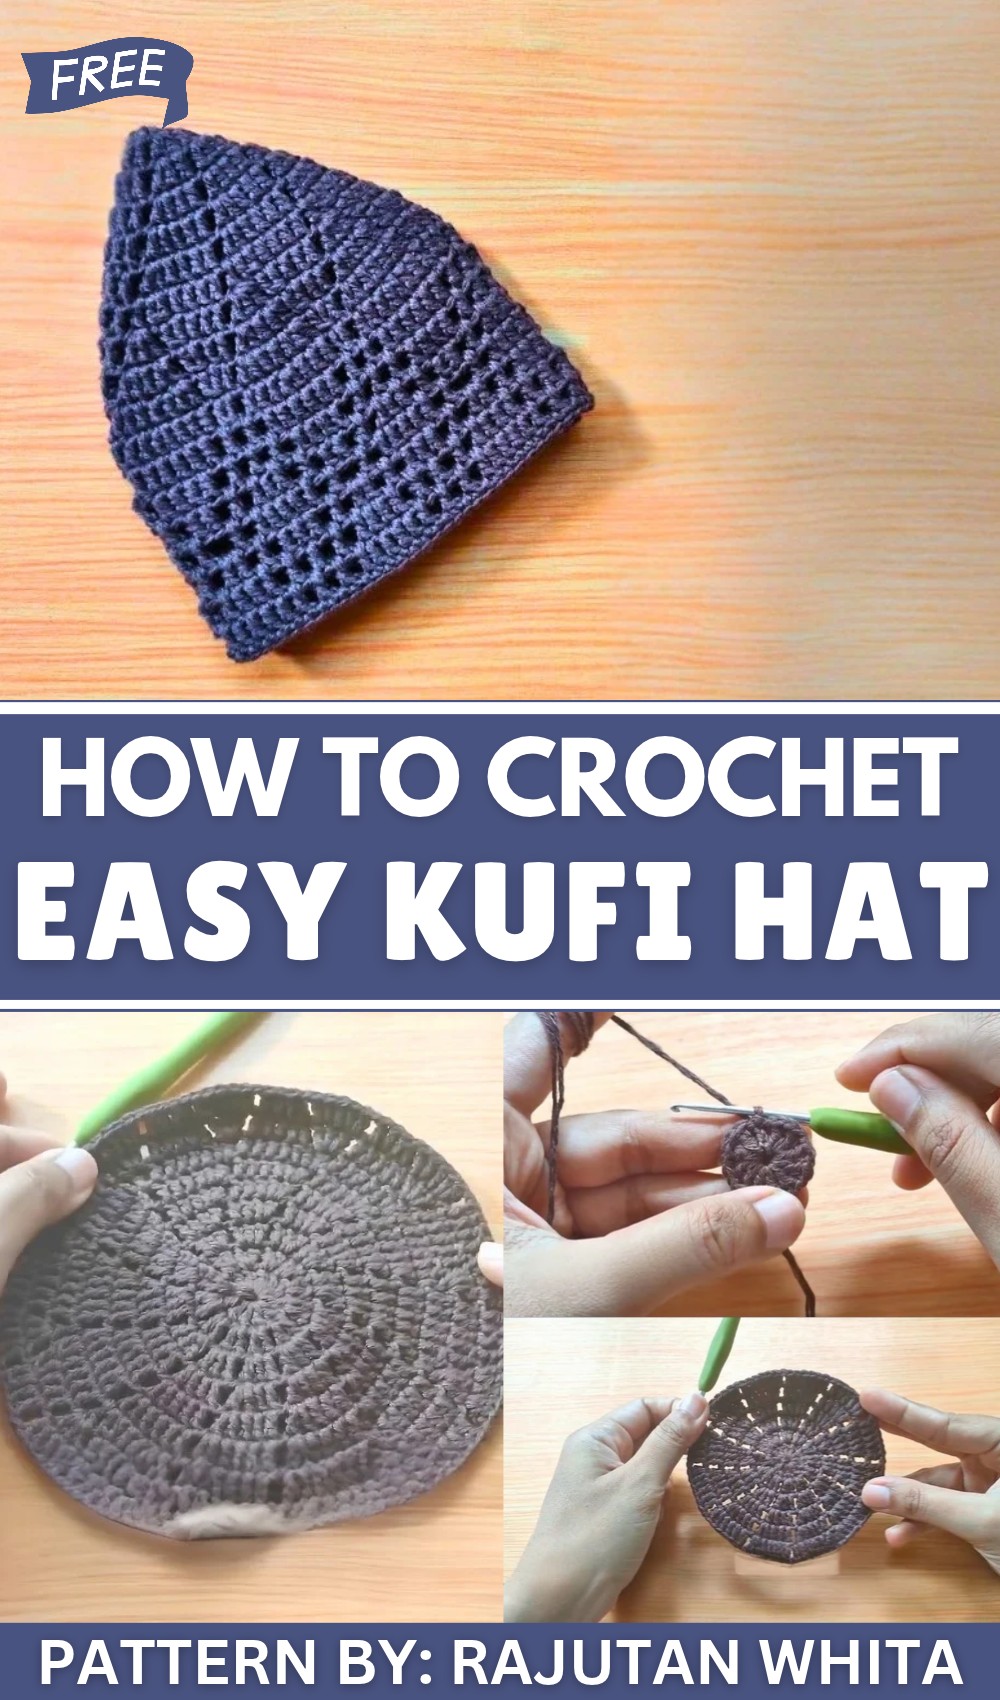
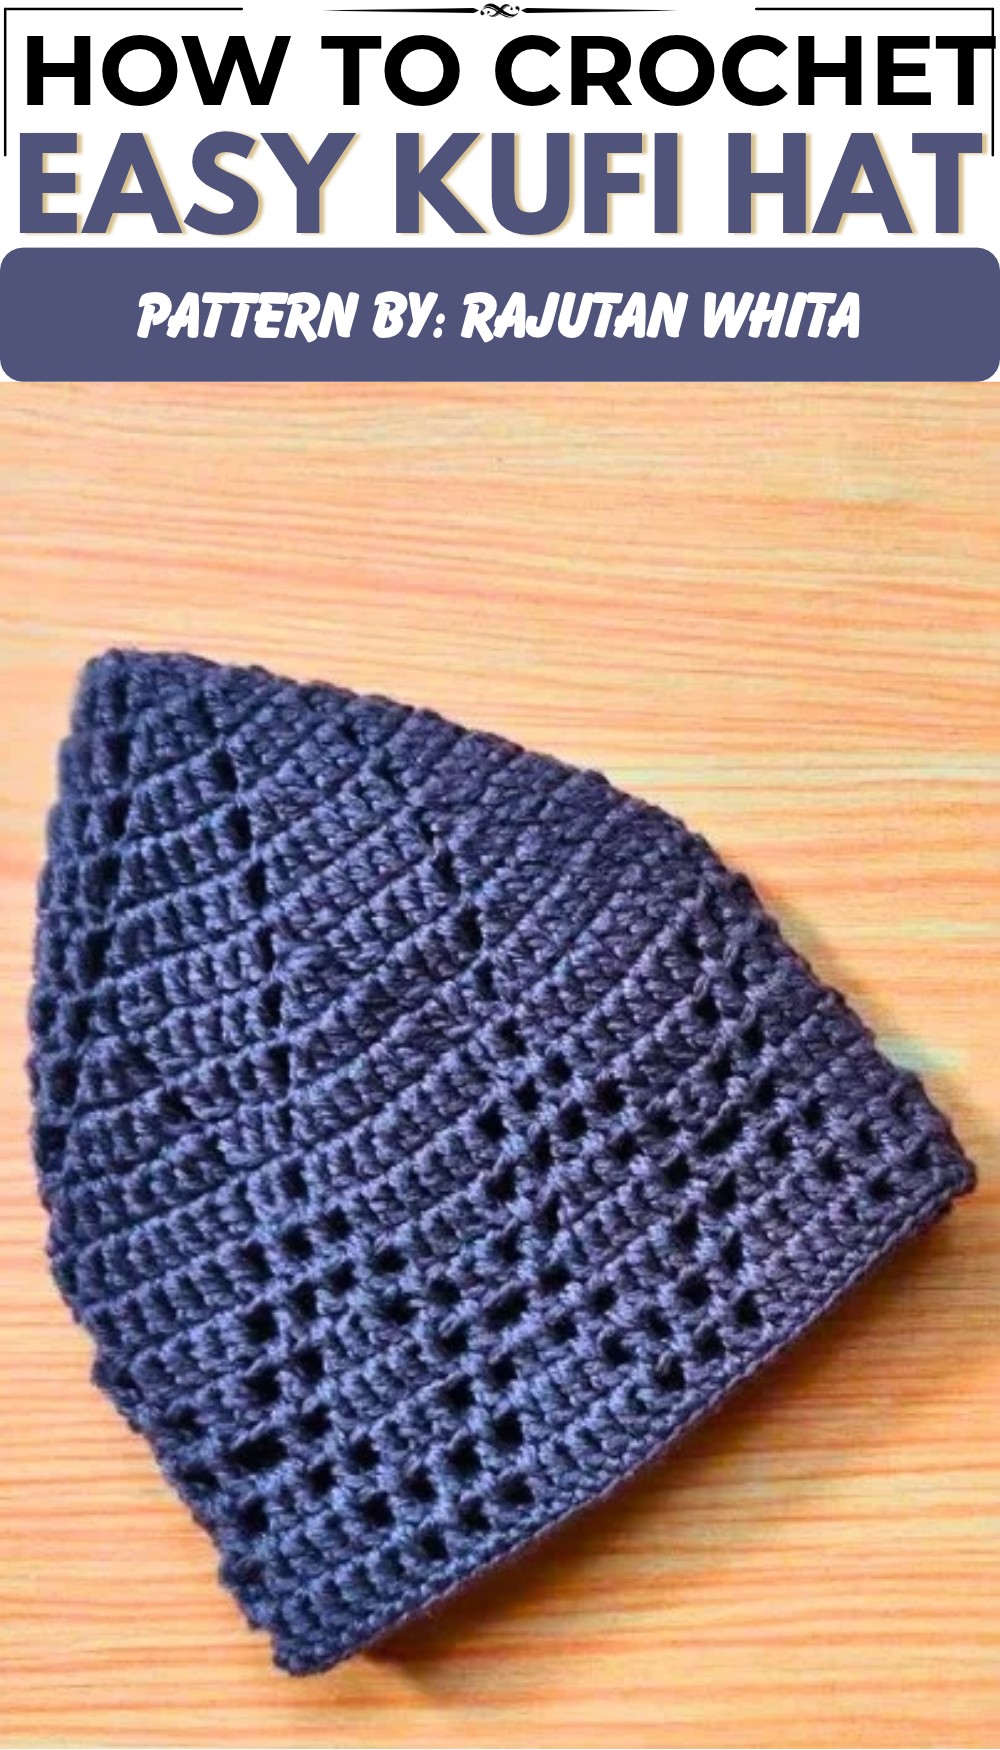
The design’s most eye-catching feature is the unique motif inspired by leaves, visible at the top near the flower petal shapes. These large and small leaves add a natural, elegant touch that makes the hat stand out with its delicate texture and beauty. The height reaches about 15 cm, providing enough coverage while remaining flexible enough to fit different head sizes. The simple, rounded dome shape is timeless and suits many styles and occasions.
This piece is useful for daily wear, especially during colder months, or as a thoughtful gift to family members like husbands, sons, or fathers. The finishing edge can be adjusted by making single crochet or half double crochet stitches depending on head size, ensuring a perfect fit. Overall, this design balances practical warmth with graceful style, making it an excellent choice for anyone looking for a meaningful and attractive head covering.
Crochet Pattern: Adult-Sized Kufi Hat
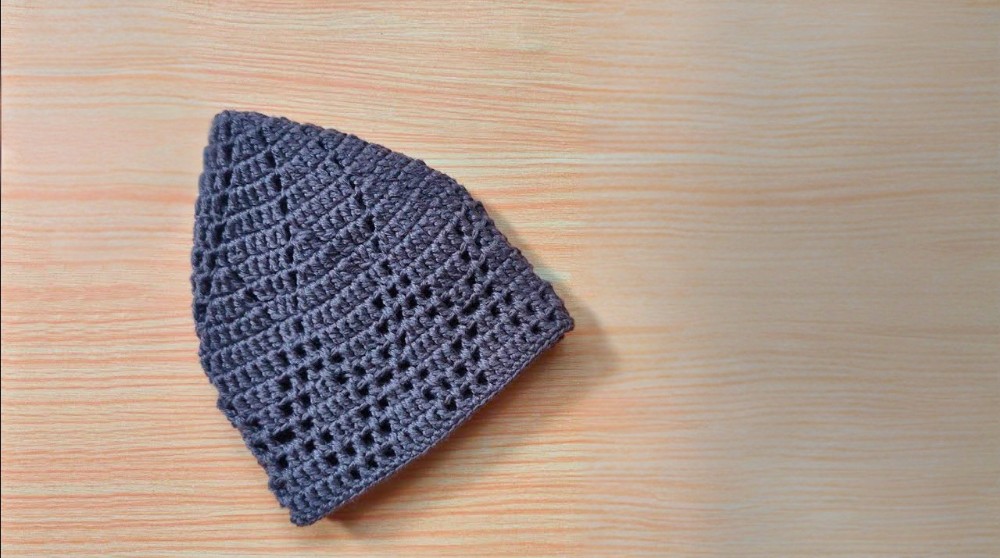
This Kufi Hat is a comfortable and stylish accessory, crocheted using basic yet sophisticated techniques. The design involves creating a crown with an expanding pattern, followed by structured side walls and finished with a clean border. The hat is perfect for formal or casual wear, making it a versatile addition to your wardrobe.
Skill Level
Intermediate – This pattern involves creating a magic ring, working with increases and decreases, chaining spaces, and maintaining consistent stitch patterns for shaping the crown and body of the kufi.
Materials
- Yarn: Bali cotton yarn (used doubled for thickness).
- Hook: 2.0 mm crochet hook.
- Additional Tools:
- Scissors
- Tapestry needle (for weaving in ends).
Stitch Abbreviations
- MR: Magic Ring
- Ch: Chain
- Sl St: Slip Stitch
- SC: Single Crochet
- DC: Double Crochet
- DC dec: Double Crochet Decrease
Special Stitches
Magic Ring (MR)
- Wrap the yarn around two fingers to create a loop.
- Insert the hook into the loop, yarn over, and pull up a loop.
- Chain 1 to secure the ring.
- Once the first round is complete, pull the starting tail to tighten the ring.
Double Crochet Decrease (DC dec):
This stitch combines two double crochet stitches into one:
- Yarn over, insert the hook into the first stitch, yarn over and pull up a loop (3 loops on hook).
- Yarn over, pull through the first two loops (2 loops remaining).
- Yarn over, insert the hook into the next stitch, yarn over and pull up a loop (4 loops on hook).
- Yarn over, pull through the first two loops (3 loops remaining).
- Yarn over, pull through all three loops on the hook.
Useful Tips
- Double the Yarn: Using the yarn doubled for thickness provides a sturdy structure to the kufi.
- Consistent Tension: Work with consistent tension throughout to avoid uneven edges or distortion in the stitch patterns.
- Measure the Crown: Regularly check the diameter of the crown as you work. This ensures the hat fits as expected.
- Use Stitch Markers: Place markers to define chain spaces or motif repetitions in detailed rounds for accuracy.
- Finish Edges Cleanly: Use a round of single crochet (SC) to tidy up the edges for a neat and professional look.
Pattern Instructions
The kufi hat is constructed in three sections: the crown, the side walls, and the finishing border. Each round builds upon the previous, maintaining symmetry and structure.
Crown Section
The crown starts at the center, gradually expanding with increases to form a flat circular shape.
Round 1: Foundation Round
- Create a Magic Ring (MR).
- Ch 3 (counts as the first DC).
- Work (1 DC, Ch 1) into the ring. Repeat 12 times.
- Sl St into the 3rd Ch of the starting chain to join.
- (Total: 12 DC with Ch-1 spaces)
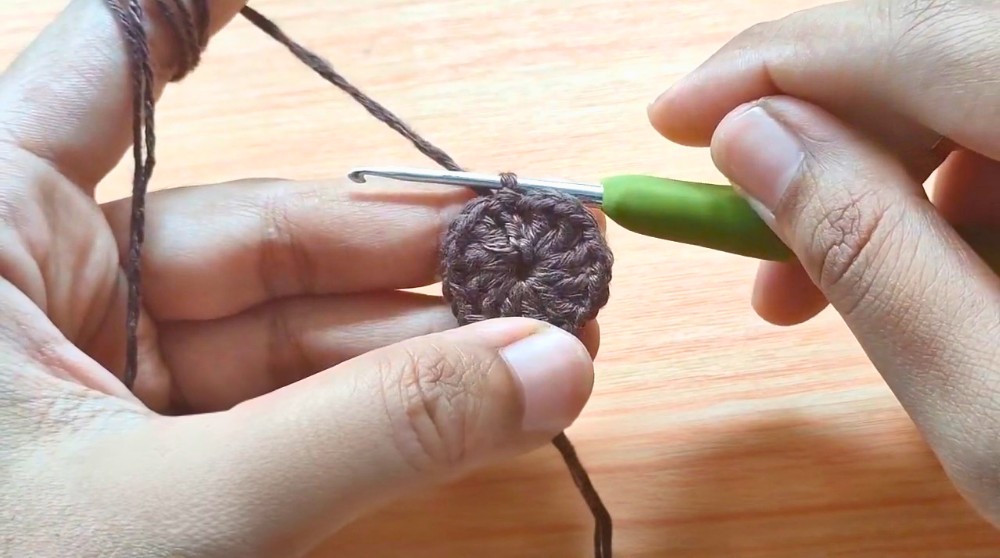
Round 2: First Increase
- Ch 3 (counts as the first DC).
- Work 1 DC into the same space, Ch 1.
- Repeat (2 DC in each Ch-1 space, Ch 1) around.
- Sl St to the top of the starting Ch-3 to close the round.
- (Total: 24 DC with Ch-1 spaces)
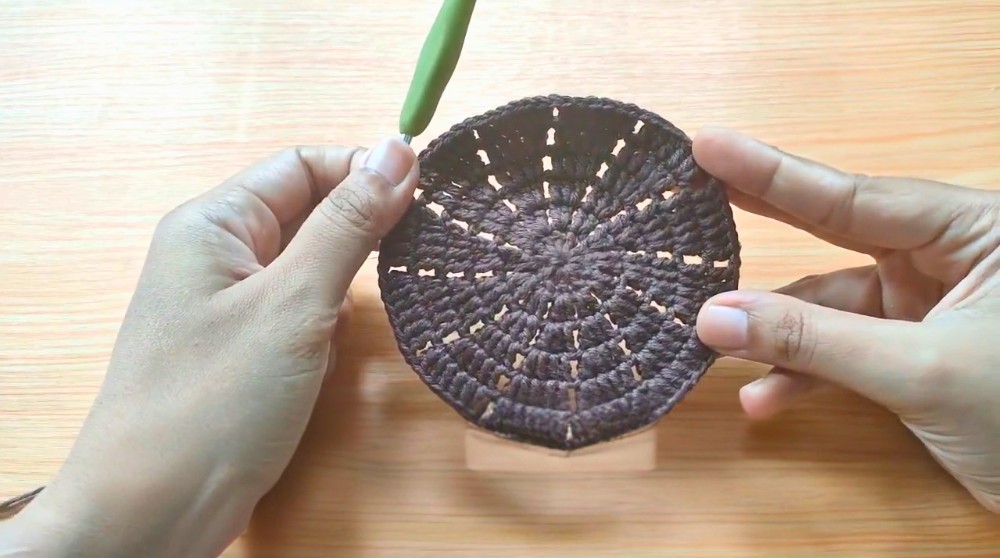
Round 3: Expanding Pattern
- Ch 3, work 1 DC in the same space.
- Work 1 DC in the next space, Ch 1.
- Repeat (Increase in the first space, 1 DC in the next space, Ch 1) around.
- Sl St to close.
- (Total: 36 DC with Ch-1 spaces)
Rounds 4–6: Increasing Rounds
- Continue expanding the crown by following the pattern:
- In each round, add one additional DC between increases.
- For example:
- Round 4: (Increase, 2 DC, Ch 1).
- Round 5: (Increase, 3 DC, Ch 1).
- Round 6: (Increase, 4 DC, Ch 1).
- Ensure the circle remains flat with even tension.
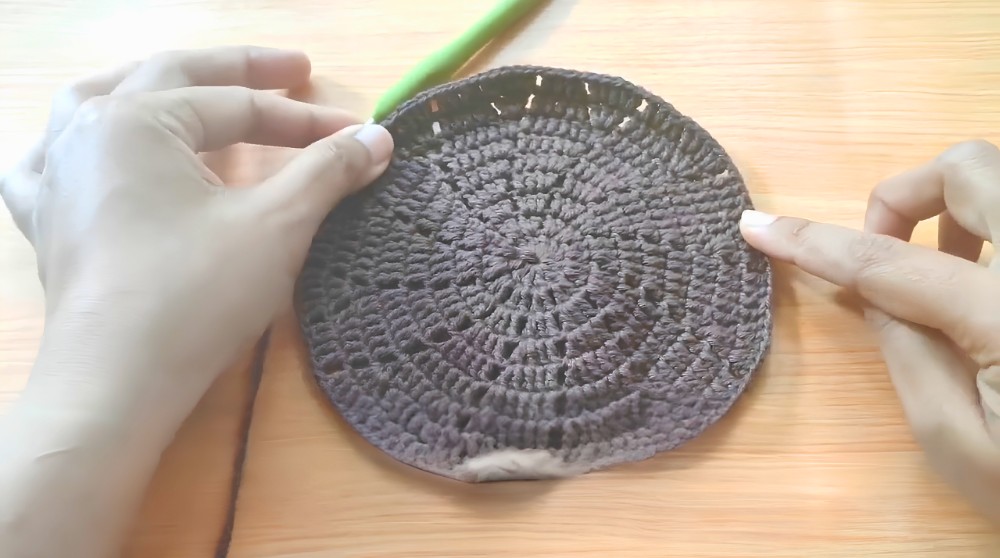
Side Walls Section
With the crown diameter complete, shaping transitions from increasing to maintaining the pattern and forming the sides of the hat.
Round 7: Beginning Decrease
- Ch 3, work DC dec across the next two stitches.
- Work 4 DC in subsequent stitches, then Ch 1.
- Repeat (DC dec, 4 DC, Ch 1) around.
- Sl St to close.
Round 8: Shaping the Motif
- Ch 2, work a DC dec in the first two stitches.
- Work 3 DC, Ch 1, then work 3 DC (increase) into the next Ch-1 space.
- Repeat (DC dec, 3 DC, Ch 1, 3 DC in Ch space) around.
Round 9:
- Repeat the established pattern, with the motif expanding as follows:
- DC dec, 2 DC, work 5 DC (1 increase, 1 middle, 1 increase) in Ch space.
Round 10:
- Follow the same logic: increase the DC segments to reach 7 DC per motif section.
Rounds 11–17: Consistency and Stabilization
- From Round 11, stop increasing further.
- Maintain the established motif structure (e.g., 7 DC, Ch 1) across all the sections to form the solid side walls.
- Begin tapering or slightly adjusting the pattern in Round 17 by skipping occasional stitches to create shape and fit.
Border / Finishing Section
Round 18: Final Design Element
- Work 6 DC in the main segments, separated by Ch-1 spaces.
Final Border: Single Crochet Edge
- Work 1 SC in every stitch and Ch-space around.
- This step ensures a clean and polished edge for the kufi.
- Fasten off the yarn and weave in ends using the tapestry needle.
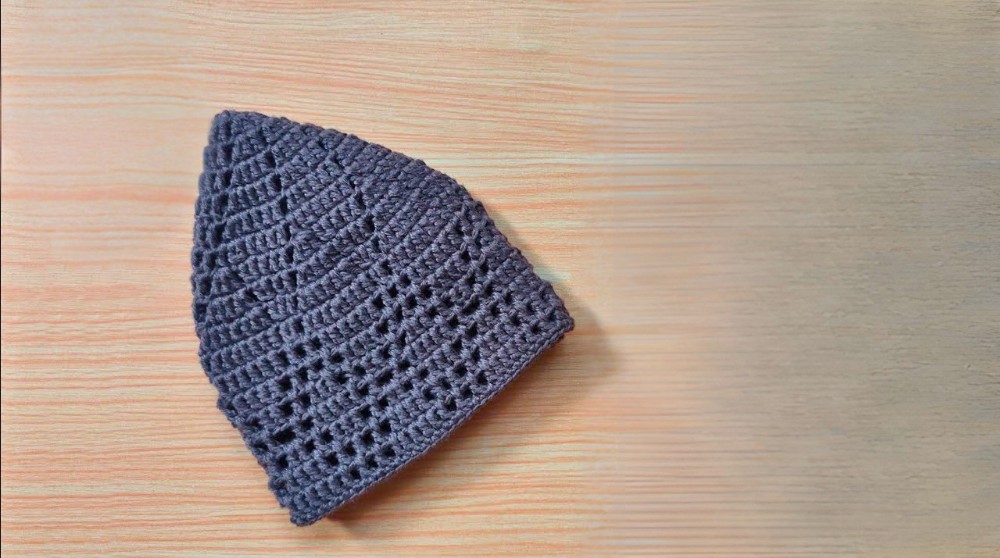
Conclusion
This kufi hat pattern combines form and function with elegant simplicity. The structured crown and side walls fit comfortably while maintaining a professional look. Customize the pattern with different yarn types or colors to create unique designs suited to your style.