How to Crochet Chevron Headband Pattern for Beginners
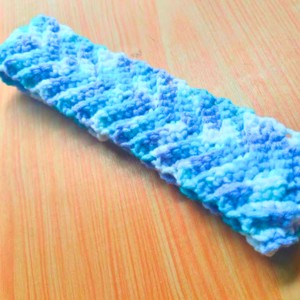
Style effortlessly with this free crochet chevron headband pattern that adds bold texture and cozy charm to any casual or sporty look.
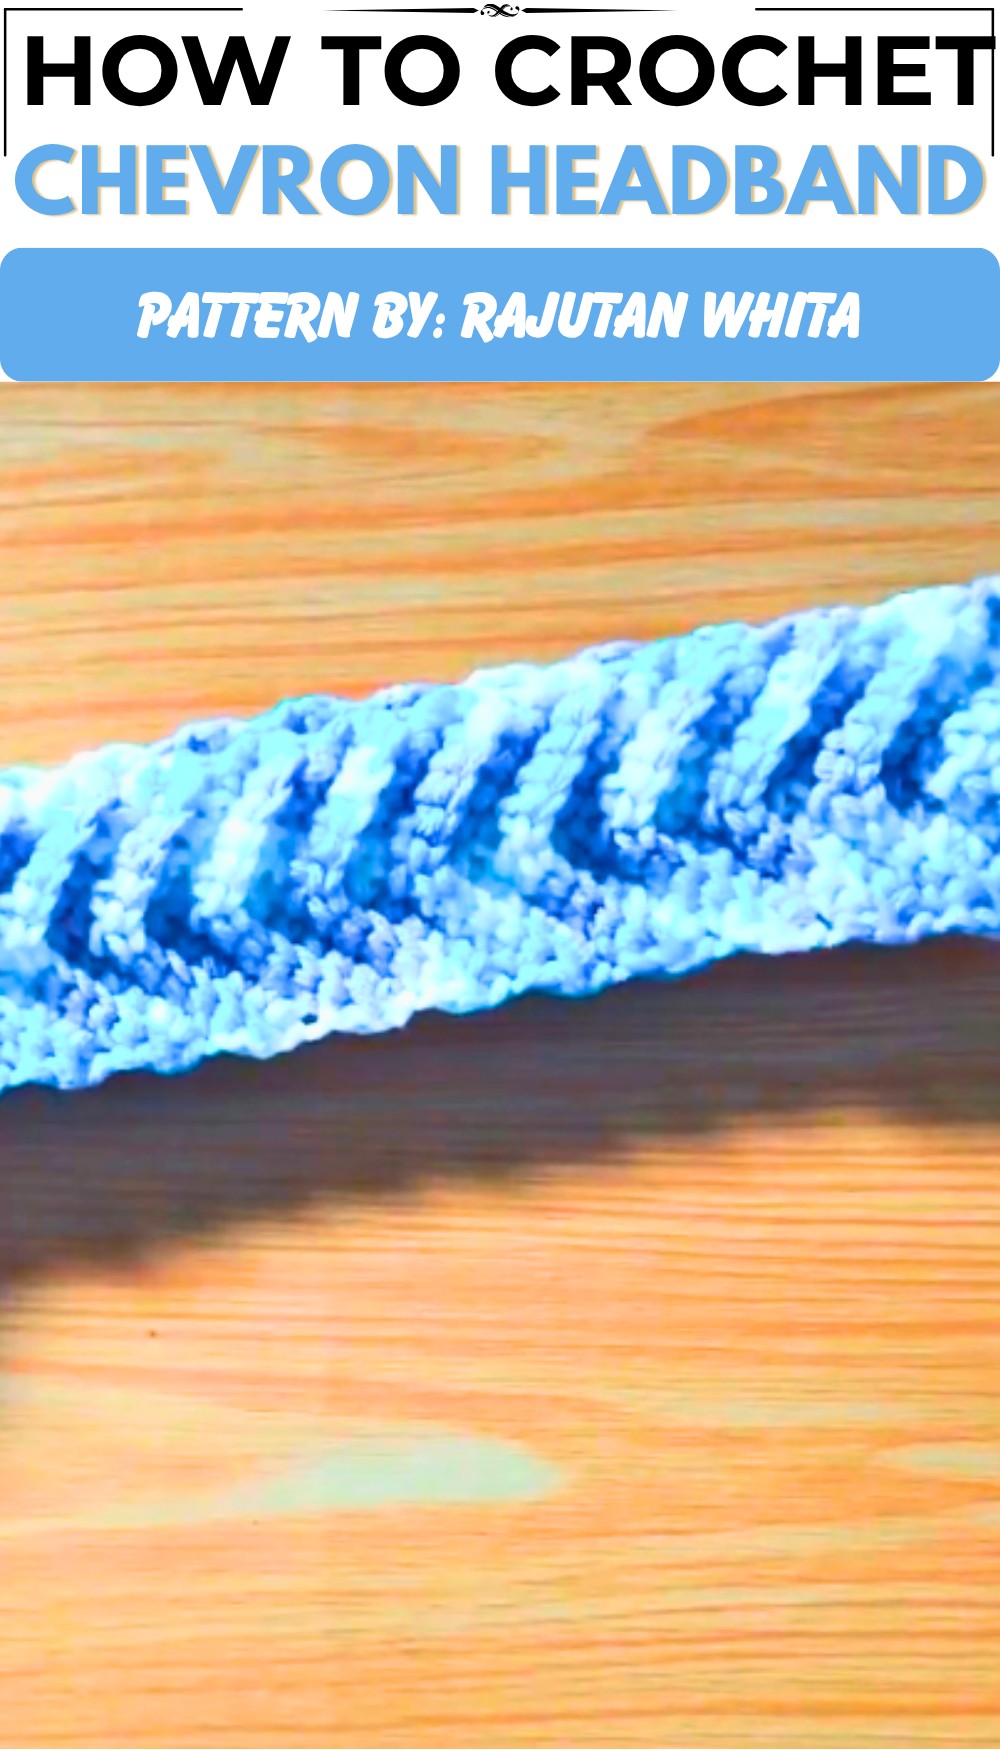
Keeping your hair neat while adding a stylish pop of color to your daily outfit is a wonderful fashion treat. When you want to stitch a charming accessory that keeps stray locks out of your face, following a free crochet chevron headband pattern shared by Rajutan Whita offers a lovely way to bring cozy handmade flair into your wardrobe.
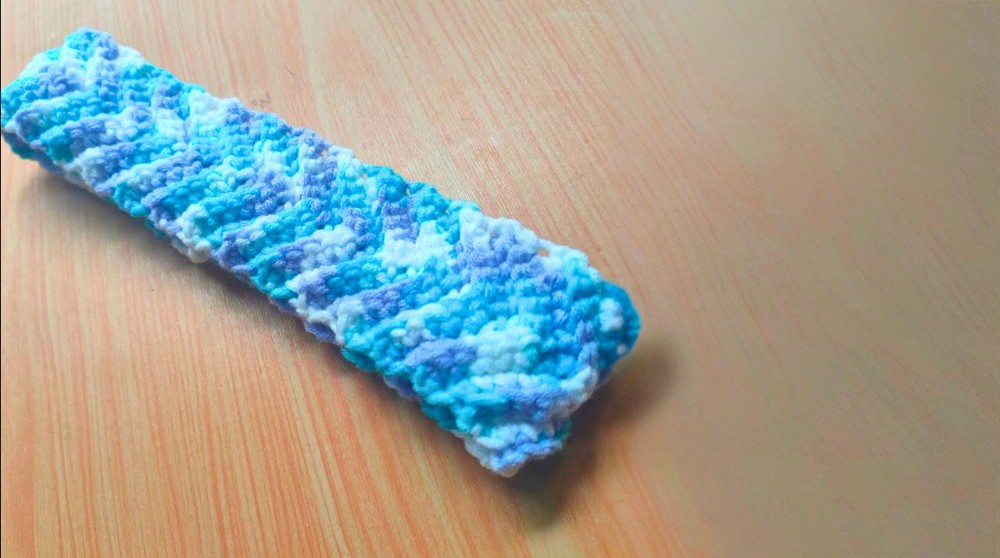
This pretty hair accessory features a distinct zigzag wave design with clean, sharp points and lovely textured stitches. The playful zig-zag pattern gives it a classic vintage charm that makes any casual outfit look extra special and put-together.
Free Crochet Pattern: Chevron Headband for Adults
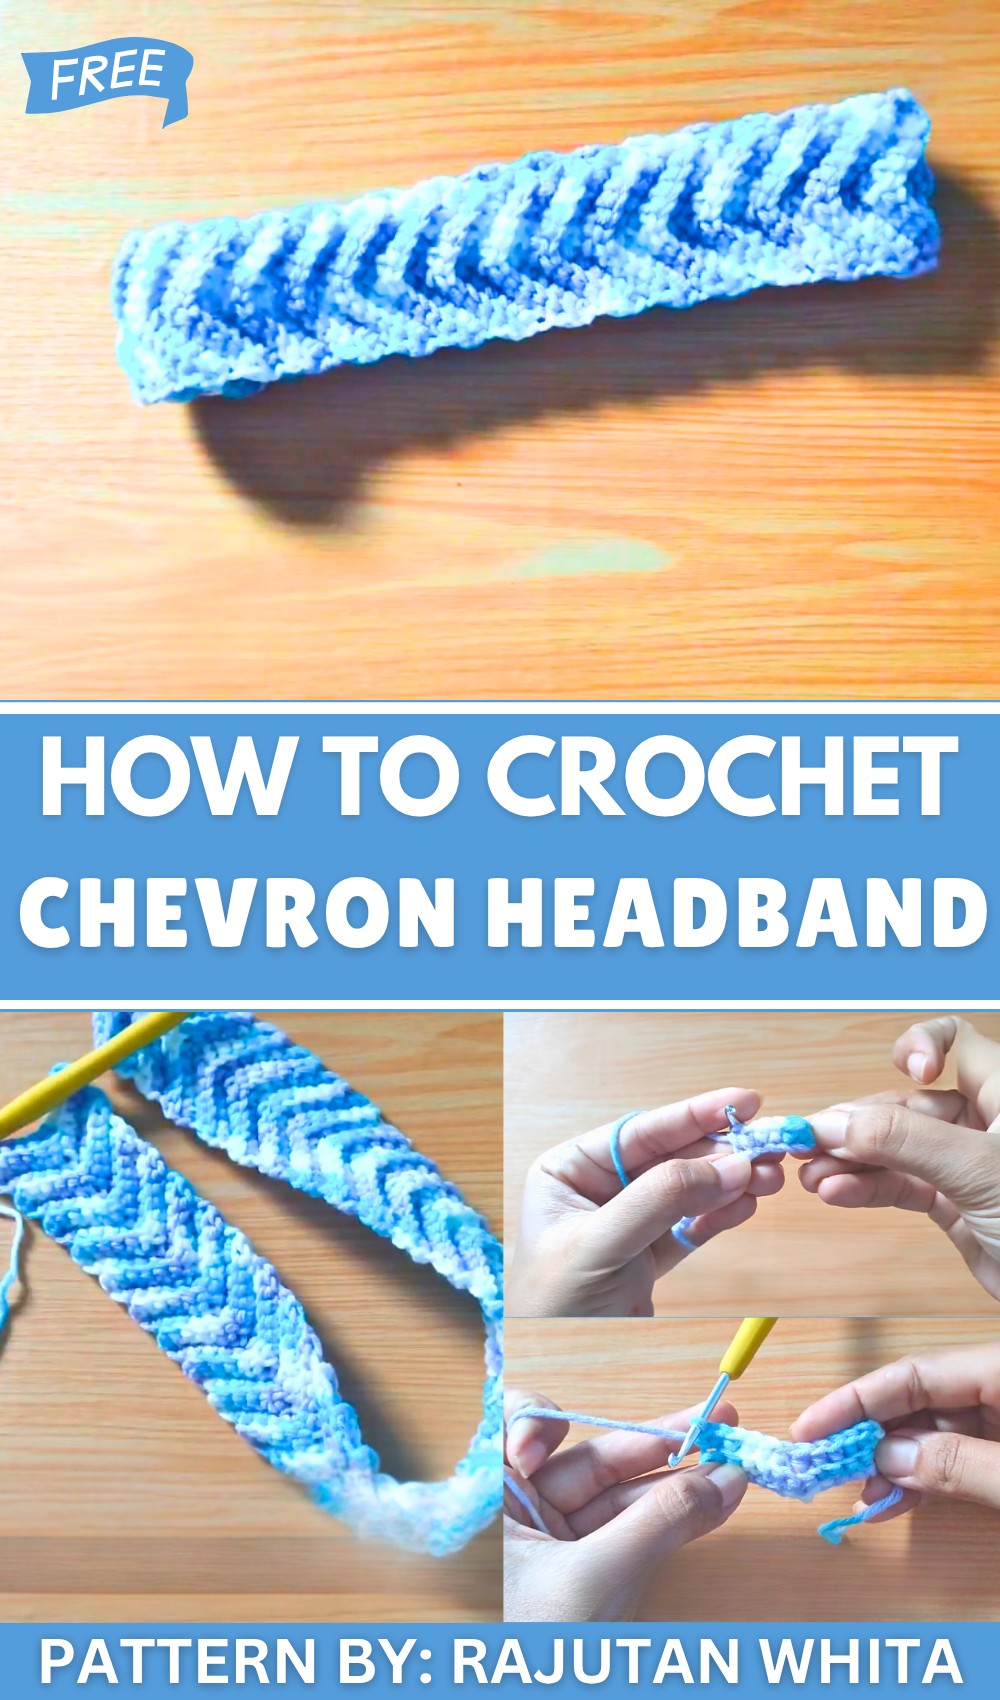
It makes a thoughtful handmade gift for best friends, sisters, or classmates on birthdays, holidays, or school events. You can wear this stretchy band while studying, washing your face, or walking outside on a breezy afternoon to keep your hair securely in place.
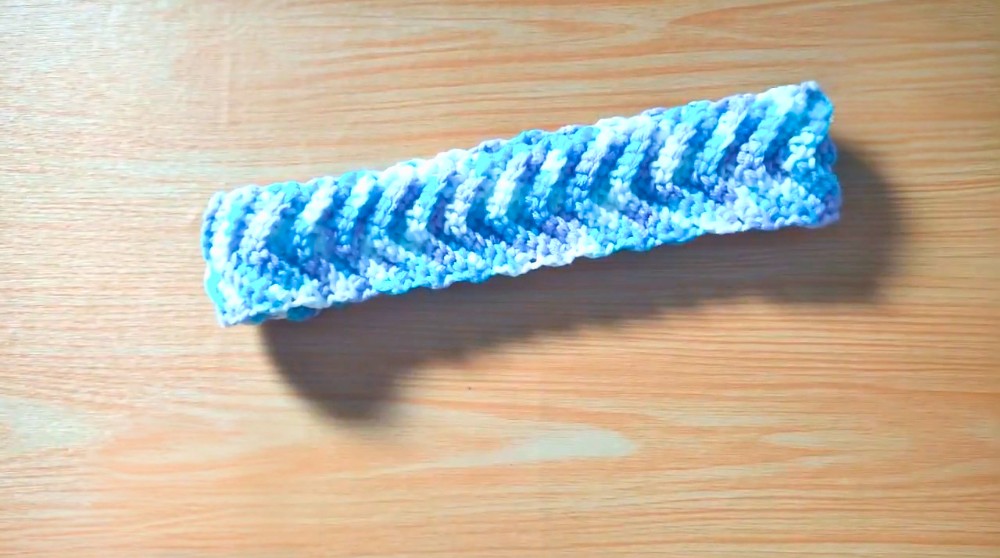
Working on this relaxing project lets you enjoy a quiet afternoon using up leftover yarn from your stash. The quick finished piece provides a wonderful wearable treasure that brings a big smile to your face every time you put it on.
Chevron Headband Crochet Pattern for Beginners
Using Stretchy Cotton Yarn and 3.5 mm Hook
Create a stylish and stretchy chevron headband with this easy beginner-friendly crochet pattern. Using simple stitches and a repeating pattern, this project teaches you how to work with back loop stitches and shape your fabric to make the classic zig-zag chevron design. The finished headband will comfortably fit your head or can be adjusted to size.
Pattern Highlights
- Uses basic crochet stitches: single crochet (sc) and back loop only single crochet (sc BLO)
- Creates a chevron (zig-zag) texture by skipping stitches and making increases
- Worked flat in rows, then joined to form a band
- Adjustable length to fit different head sizes
- Soft and stretchy using cotton yarn
Notes
- The foundation chain must have an odd number of stitches to get the correct chevron shape.
- Using a stitch marker can help you track the beginning of each row and skipped stitches.
- Skip 2 stitches in the middle of each row to create the chevron “valley.”
- Increase at the edges of each row to maintain the chevron peaks.
- Join the ends of the headband by slip stitching through the back loops only, adjusting for stitch count differences.
- Cotton yarn is recommended for stretch and comfort.
Skill Level
Beginner — perfect for those new to crochet who know how to:
- Create foundation chains
- Work single crochet (sc) stitches
- Work stitches through the back loop only (BLO)
- Turn work and chain for a new row
- Join ends with slip stitches
Materials Needed
- Stretchy cotton yarn (such as milky cotton)
- 3.5 mm crochet hook
- Scissors
- Measuring tape
- Yarn needle (for weaving in ends)
Measurements / Sizing
- Foundation chain example: 15 stitches (odd number)
- Length after crocheting: about 48 cm (fits a 12-year-old’s head)
- Adjust the number of rows to fit larger or smaller sizes
- Width depends on yarn and tension (approximately 5–7 cm)
Stitch Abbreviations
- ch = chain
- sc = single crochet
- sc BLO = single crochet worked in the back loop only
- sl st BLO = slip stitch worked in the back loop only
- rep = repeat
- st(s) = stitch(es)
Special Stitches
Single Crochet Back Loop Only (sc BLO):
Instead of inserting your hook under both loops of the stitch, insert it only through the back loop and complete a single crochet normally. This creates a textured ridge ideal for the chevron design.
Slip Stitch Back Loop Only (sl st BLO):
Insert the hook into the back loop only of the stitch and complete a slip stitch to join pieces while maintaining texture.
Free Crochet Headband – Step-by-Step Pattern
1. Foundation Chain
- Make a slip knot.
- Chain an odd number of stitches.
- Example: chain 15 stitches.
2. Row 1: Begin the Chevron
- Skip the first chain (closest to the hook).
- Work 1 sc into each of the next 6 chains.
- Skip 2 chains to form the dip in the chevron.
- Work 1 sc in each of the remaining 6 chains.
- Turn your work.
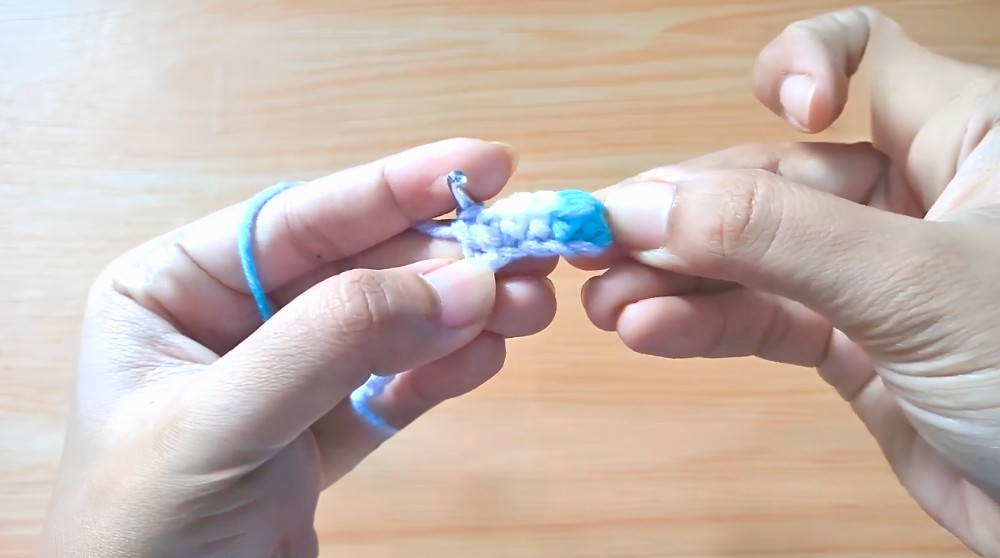
3. Row 2: Establish the Pattern
- Chain 1 and turn your work.
- Work 2 sc BLO into the first stitch (this creates an increase — a peak of the chevron).
- Work 1 sc BLO into each of the next 5 stitches.
- Skip 2 stitches to create the valley in the center.
- Work 1 sc BLO into each of the next 5 stitches.
- Work 2 sc BLO into the last stitch (another increase for the peak).
- Turn your work.
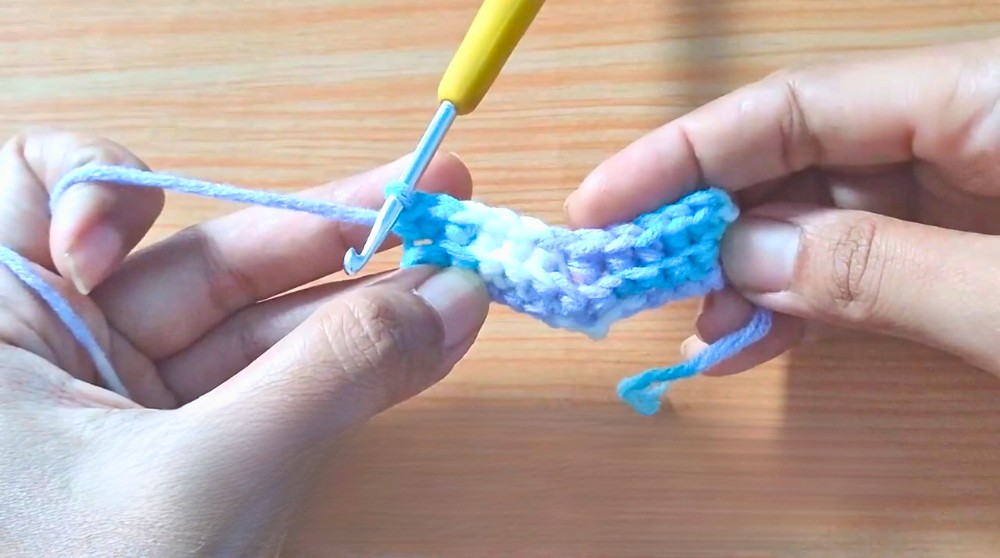
4. Repeat Rows
- Repeat Row 2 until the piece reaches your desired length or head circumference.
- The example reaches about 48 cm, which fits a 12-year-old child.
- Each row begins with 2 increases (2 sc BLO in first stitch) and ends with 2 increases (in last stitch), with 2 skipped stitches in the middle.
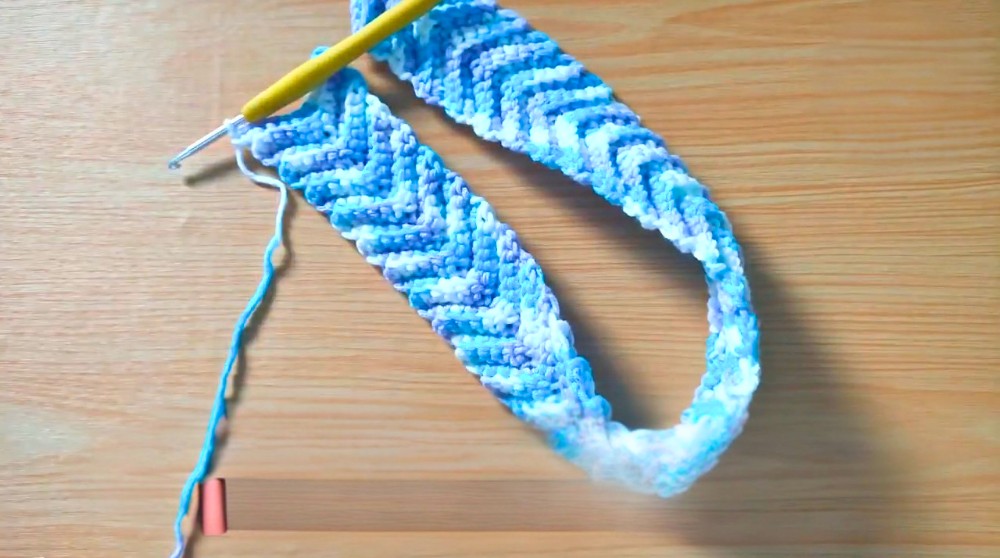
5. Joining the Headband
- Fold the crocheted piece so the wrong sides face out and the ends meet.
- Join the ends by working slip stitches BLO through both edges.
- Because one edge may have more stitches than the other (e.g. 14 stitches vs 16 stitches), work 2 slip stitches into one base stitch on the smaller edge to even the join.
- When fully joined, fasten off and weave in all loose ends with a yarn needle.
Assembly & Finished Size
- The final headband fits comfortably around the head with a circumference of approximately 48 cm.
- For smaller sizes, stop earlier; for larger sizes, add more rows following the pattern.
- The stretchy cotton yarn and textured chevron pattern create a flexible headband that gently hugs the head.
Conclusion
This crochet chevron headband is an excellent and approachable project for beginners looking to create textured crochet fabric with simple stitches. By working the back loop only single crochets and skipping stitches strategically, you will form a beautiful chevron pattern that is both stylish and stretchy.
Adjusting the number of rows allows you to customize the fit, and joining with slip stitch back loop only ensures a neat, elastic seam. The use of cotton yarn adds comfort and durability, making this headband practical for everyday wear.