Modern Free Crochet Raffia Bag Pattern for Sleek Style
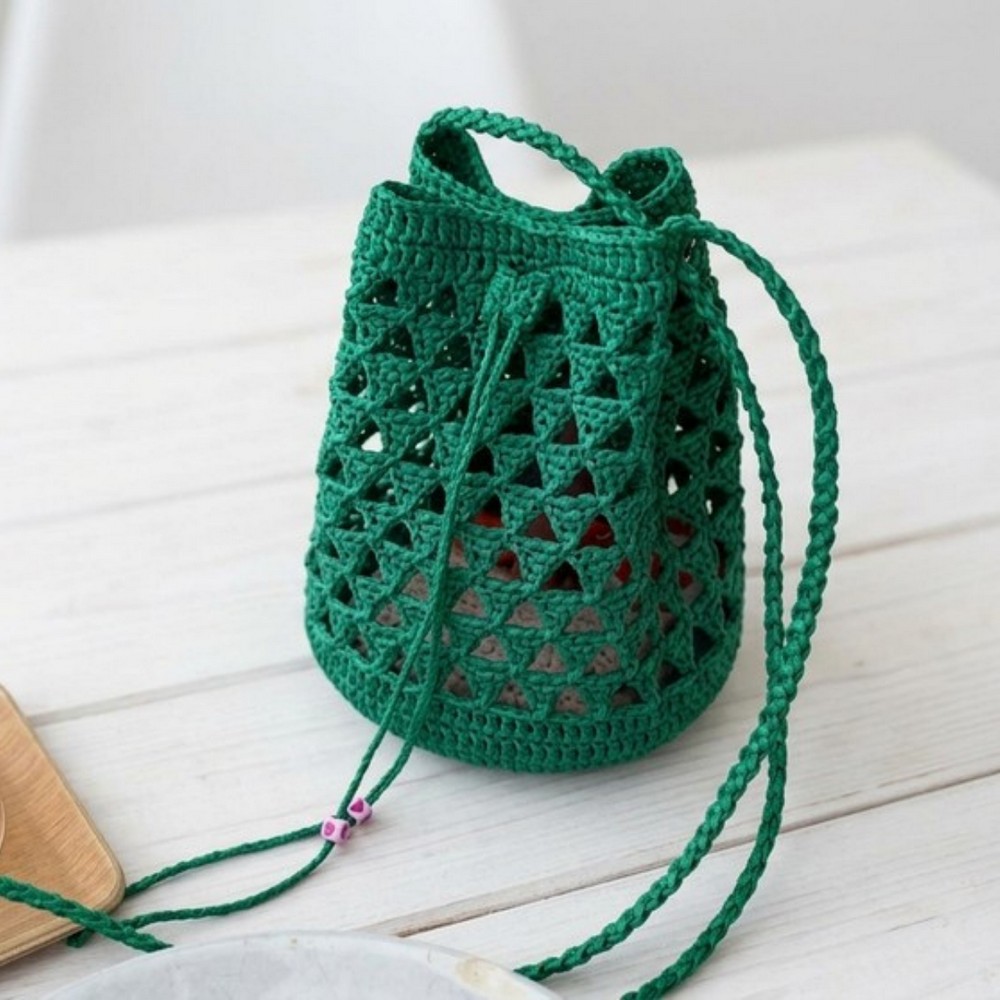
Pick a lovely summer accessory with this free crochet raffia bag pattern for a stylish look that remains extremely simple to complete.
This handy bag stays light on your arm while holding many heavy goods without any ripping or tearing. You will love how the straw-like thread stays safe and clean even if it gets wet or covered in sand. A crochet raffia bag pattern helps you make a special item that is both very tough and lovely to see. It makes a plain dress look very fancy and natural like you are on a beach trip. The tough loops keep all your fruit and bread tucked away while you walk to the market.
Chic Free Crochet Raffia Bag Pattern to Elevate Your Look
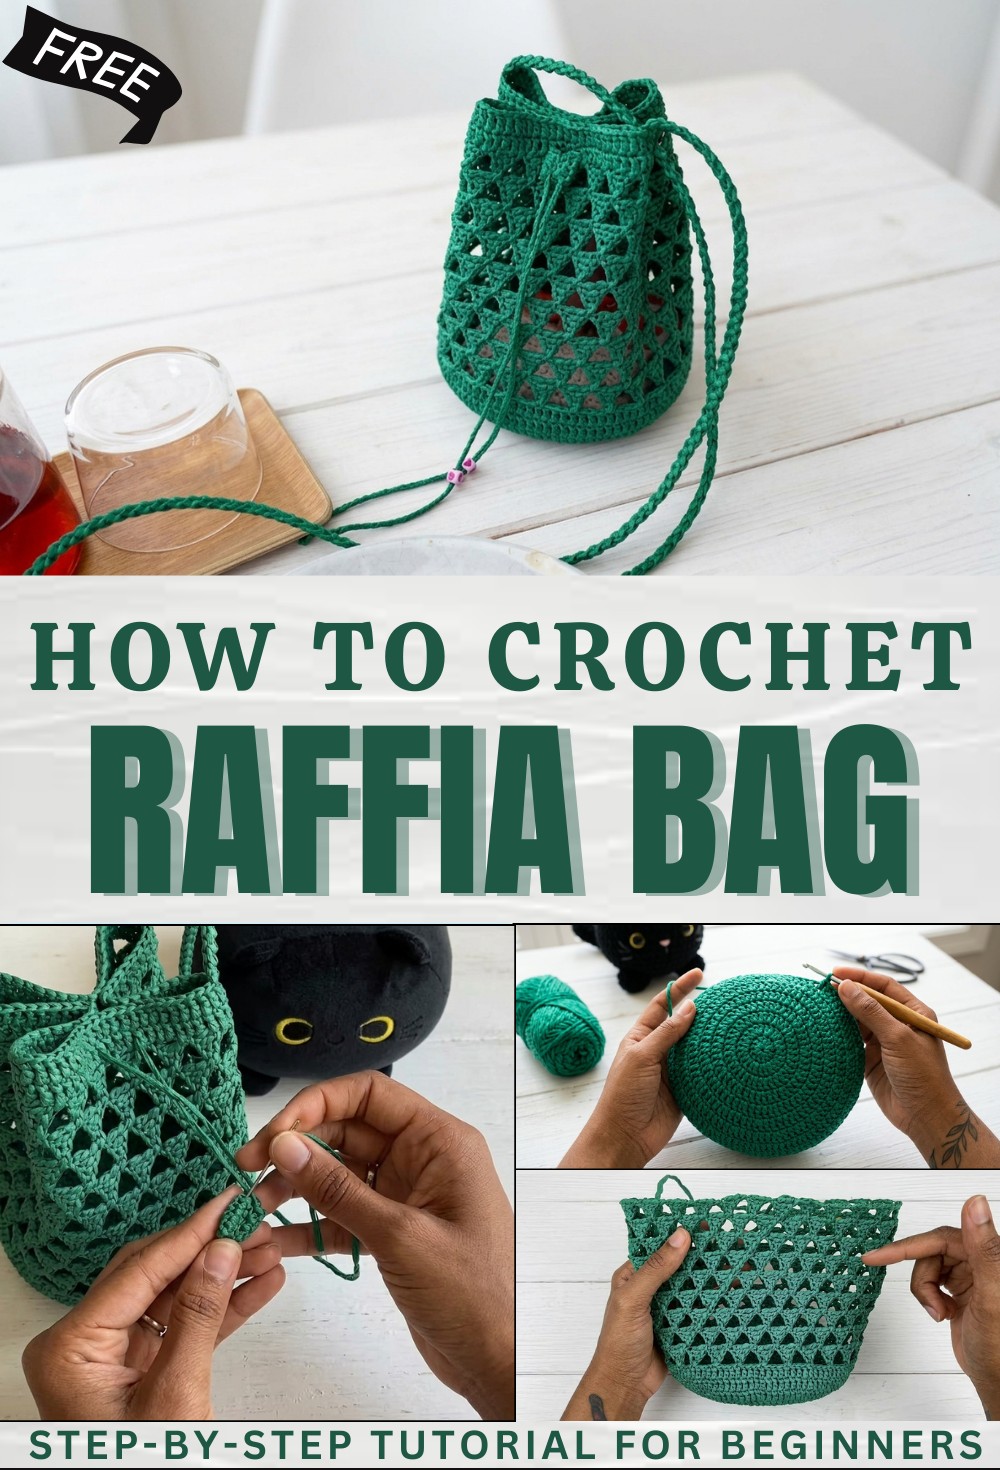
This item is a top pick because it lasts a long time and feels very soft in your hands. You can use it every day for work or play because it is so easy to carry around. It brings a bit of the sunny outdoors into your home and keeps your life very neat. You can also take it to a fun party or a quiet picnic under the big trees.
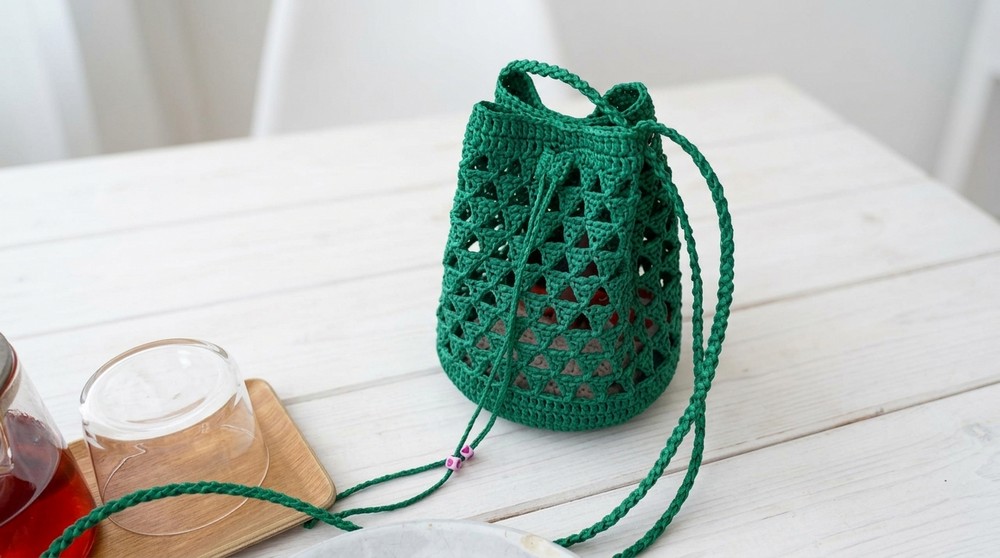
Crochet Raffia Drawstring Bag Pattern
Materials
- Yarn: Raffia yarn (approx. 1 ball or as required)
- Hook: 3.0 mm crochet hook (adjust for your tension/yarn thickness)
- Other tools: Stitch markers (different colors recommended), yarn needle, fabric glue, scissors, towel (for steaming and shaping)
- Optional: Steamer or iron for steaming and shaping
Abbreviations (US Terms)
- ch: chain
- sl st: slip stitch
- sc: single crochet
- dc: double crochet
- tr: treble (triple) crochet
- rep: repeat
- st(s): stitch(es)
- inc: increase (2 sts into the same st)
- MR: magic ring
Special Notes:
- Always start rounds with a chain to imitate the first stitch (as instructed in the video).
- When joining rounds, insert the hook from the wrong side as described.
- Place markers at indicated points for maintaining stitch count and increase accuracy.
- Steam and shape raffia very gently—it tears easily.
Instructions
Bag Base
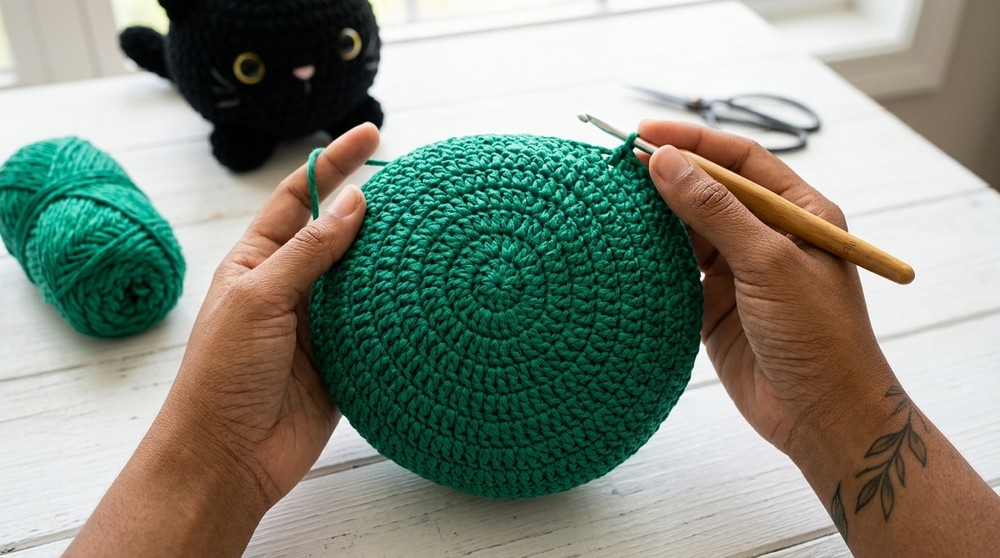
Base consists of 8 increasing rounds, then 2 plain rounds.
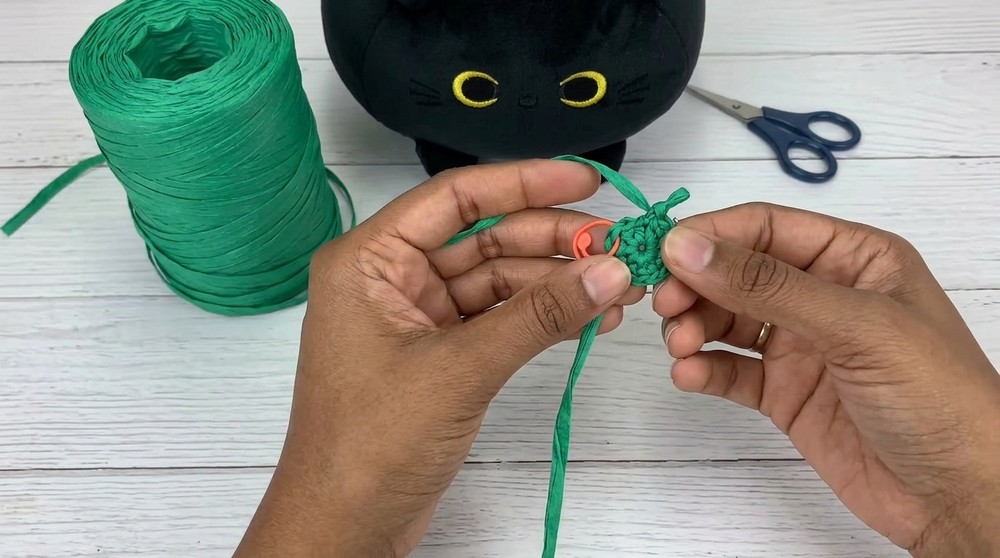
Round 1: (Circle Base)
- Begin with a MR.
- Ch 2 (counts as first dc).
- Work 11 dc into MR. (Total: 12 sts)
- Pull ring tight. Note: Be gentle—the raffia can break!
- Join: Insert hook from wrong side into first dc, pull through to join. Place a marker here.
Round 2: (Increase Each Stitch)
- Begin with a ch to imitate the first dc.
- 2 dc in each st around (inc in every st) (Total: 24 sts).
- Join: As before.
Round 3: (Increase Every Other Stitch)
- Begin with a ch as first dc.
- *(2 dc in next st, 1 dc in next st); rep from * to end (Total: 36 sts).
- Join.
Round 4: (Increase Every Third Stitch)
- Begin with a ch as first dc.
- *(2 dc in next st, 1 dc in each of next 2 sts); rep from * to end (Total: 48 sts).
- Place markers for increase positions for easier tracking.
- Join.
Rounds 5 – 8: (Continue Increasing)
- Continue as established, adding 1 more dc between increases every round.
- Round 5: (2 dc, 3 dc) (Total: 60 sts)
- Round 6: (2 dc, 4 dc) (Total: 72 sts)
- Round 7: (2 dc, 5 dc) (Total: 84 sts)
- Round 8: (2 dc, 6 dc) (Total: 96 sts)
- Tip: Always stagger your increases, placing them between previous round’s increases for a rounder shape.
- Join each round and place markers accordingly.
Steaming: After round 8 and securing ends with glue, steam the base while shaping gently over a towel.
Rounds 9 – 10: (No Increases)
- Work 1 dc in each st around (96 sts).
- Join rounds as before.
- Work 2 rounds total.
Bag Body – Triangles
Rounds 11–19: (Triangular Mesh Pattern)
First Triangle Section:
- Ch 8.
- Skip next 3 sts on base, sl st into 4th st.
- Ch 1, skip last chain. Work into back loops of the next 3 ch:
- 1 sc in next ch
- 1 dc in next ch
- 1 tr in next ch
- First triangle completed.
- Ch 4, skip 3 base sts, sl st to 4th.
- Ch 1, skip last chain. Work in pattern (1 sc, 1 dc, 1 tr) into next 3 ch.
- Rep from Step 5 around until end of round.
- Join: On last triangle, follow video joining sequence by pulling through multiple loops to create seamless transition.

Subsequent Triangle Rounds (12–19):
- Ch 8.
- Sl st under space between triangles of previous round, ch 1.
- Work (1 sc, 1 dc, 1 tr) into next 3 ch.
- Repeat all around as established.
- Join rounds as before.
- Work a total of 8 rounds of triangle mesh (including round 11).
Body – Finishing Rows
Rounds 20 – 21: (Solid Rounds)
- 1 dc in each st around (Total: 96 dc per round)
- Place 4 dc over each triangle as described.
- Join as before.
- Steam again after finishing, using towel for shaping.

Drawstring
- With raffia, ch to about 50 cm (standard, or as preferred).
- Cut and fasten off.

Strap
- Leave a starting tail. Make a slip knot (do not tighten).
- Insert hook, ch 2 into slip knot. (This forms the basis of the i-cord strap.)
- Working under 2 “legs” of the previous stitch, yarn over, pull through, turn, and keep pulling up a loop and turning after each stitch—forming a flat, strong strap.
- Continue to desired length.
- Fasten off. Use needle to sew securely to bag at designated points on each side (using the “wrong side” as anchor).
- Tip: Double check strap is not twisted before final sewing.
Drawstring Installation
- Insert drawstring evenly spaced through the top edge, weaving around by counting stitches as directed (divide top edge into 4 sides of 24 sts: 10 – 4 – 10—repeat).
- Make sure to start threading from the strap.
Drawstring Stopper
- Leave a tail. Ch 5.
- Turn, sc 4 across the back bumps.
- Ch 1, turn. Work 5 rows in total.
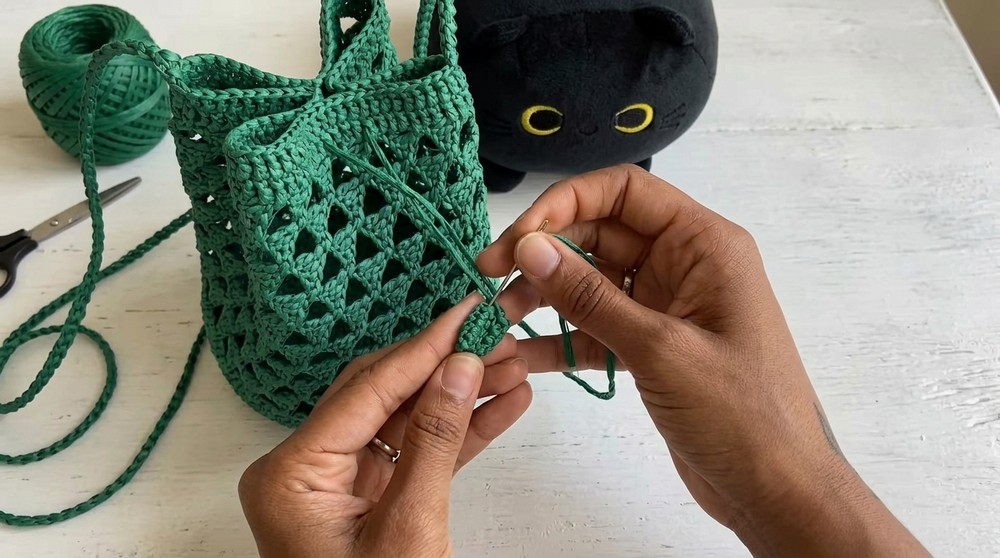
- Fold work lengthwise and seam sides together (see timepoint for detail).
- Weave in all ends.
- Thread both ends of drawstring through this stopper and knot securely.
Finishing
- Weave in all loose ends using glue as needed for extra security.
- Steam whole bag, shaping it with a towel inside if needed.
Conclusion
You have now completed a beautiful raffia drawstring bag with a unique triangular mesh body and a neat, flat i-cord strap. Secure the stopper, slide to cinch the bag closed, and enjoy your stylish handmade accessory!
Pattern Corrections & Tips
Correction:
- Place increases between previous round’s increases for a more circular base (stagger them), not just stacked.
Tips:
- Raffia tears easily. Avoid over-tightening joins and while pulling the magic ring closed.
- Use markers in different colors to mark beginnings and ends, as well as position of increases.
- Steam bag frequently to achieve desired shape.
- For a longer-lasting bag, reinforce areas where you attach the strap and the ends with glue.