Free Crochet Everyday Tote Bag Pattern for Shopping
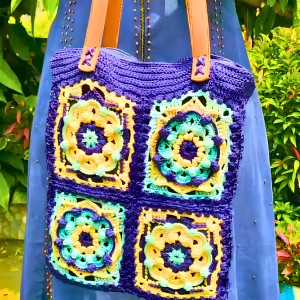
Bring a functional yet chic accessory to life with this free crochet tote bag pattern that’s offering timeless appeal and practical storage in one unique piece.
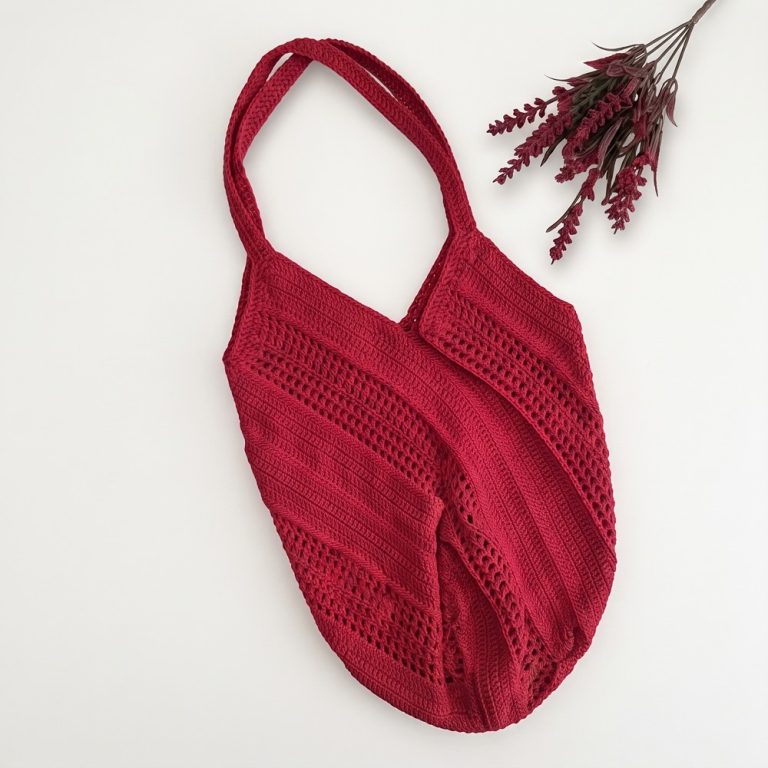
A crochet tote bag is both stylish and useful, making it a must-have accessory for everyday life. The Free Crochet Tote Bag Pattern teaches you how to create a beautiful, reusable bag that’s perfect for shopping, trips, or even carrying personal items. Handmade with love, this tote bag adds a creative touch to your style.
This wonderful pattern comes from the skilled creator behind the Rajutan Whita YouTube channel. Her clear, step-by-step tutorials make the process simple and enjoyable for people of all skill levels. Whether you make it for yourself or as a thoughtful gift, this crochet tote bag will surely be admired by everyone who sees it.
Trendy Free Crochet Tote Bag Pattern for Handmade Style
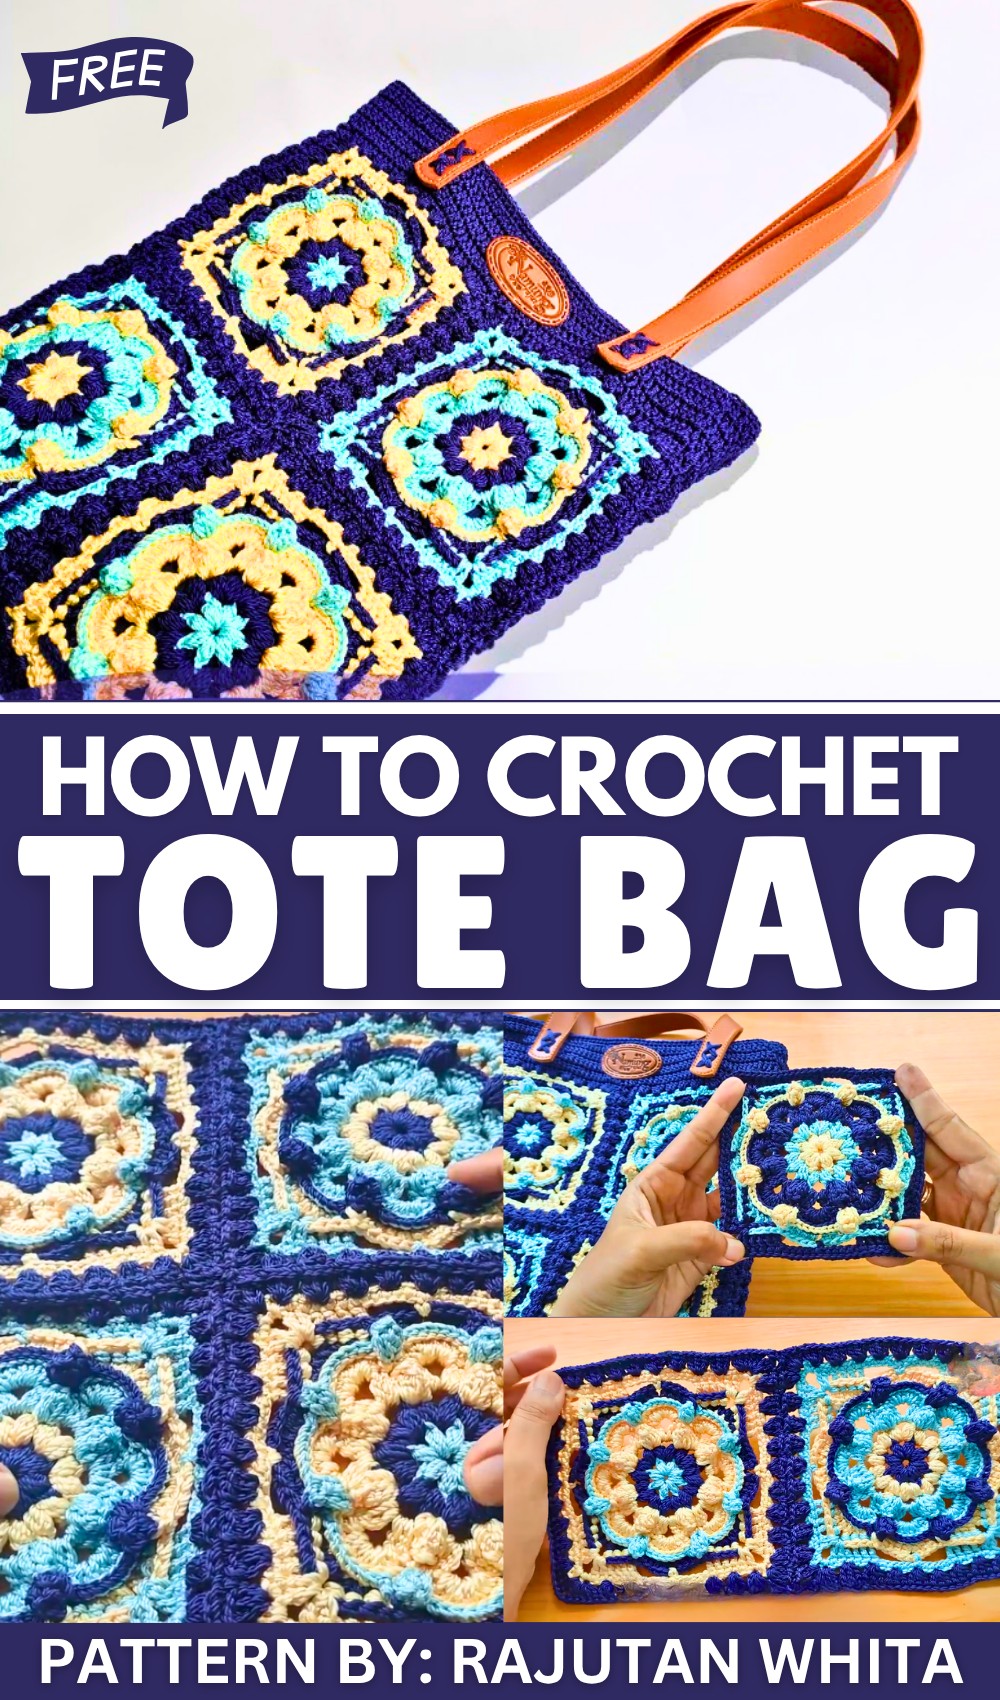
This bag has a spacious rectangle shape and features a timeless crochet design, giving it a soft yet sturdy structure. Its comfortable straps make it easy to carry around, and the textured pattern adds charm and elegance. You can customize the colors to suit your personality, creating something that’s not just useful but also uniquely yours.
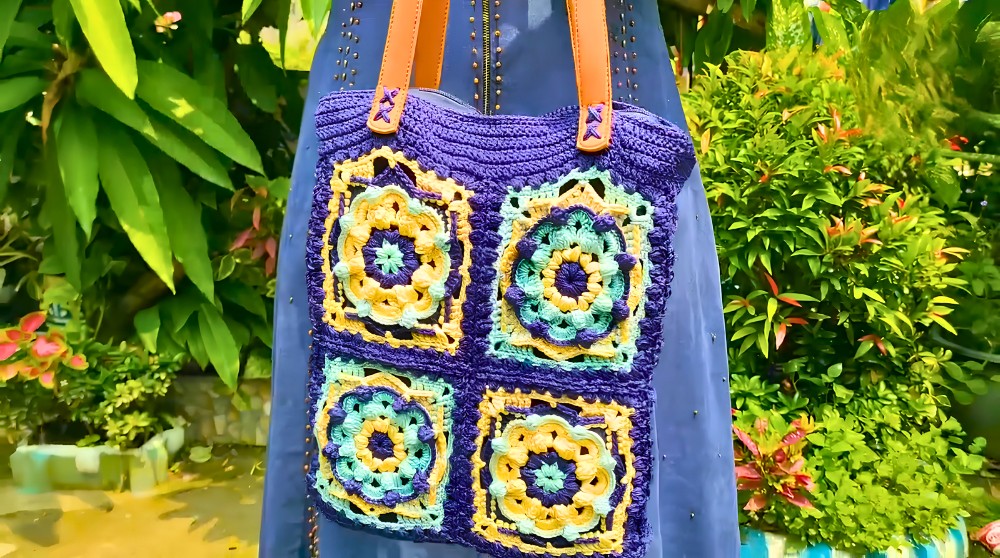
The Free Crochet Tote Bag Pattern is easy to follow, making it a great project for beginners and experienced crocheters alike. The finished tote is versatile and perfect for different uses, like carrying groceries, a laptop, or even your yarn and supplies. It’s lightweight, eco-friendly, and reusable, which makes it a practical and stylish choice for everyday life.
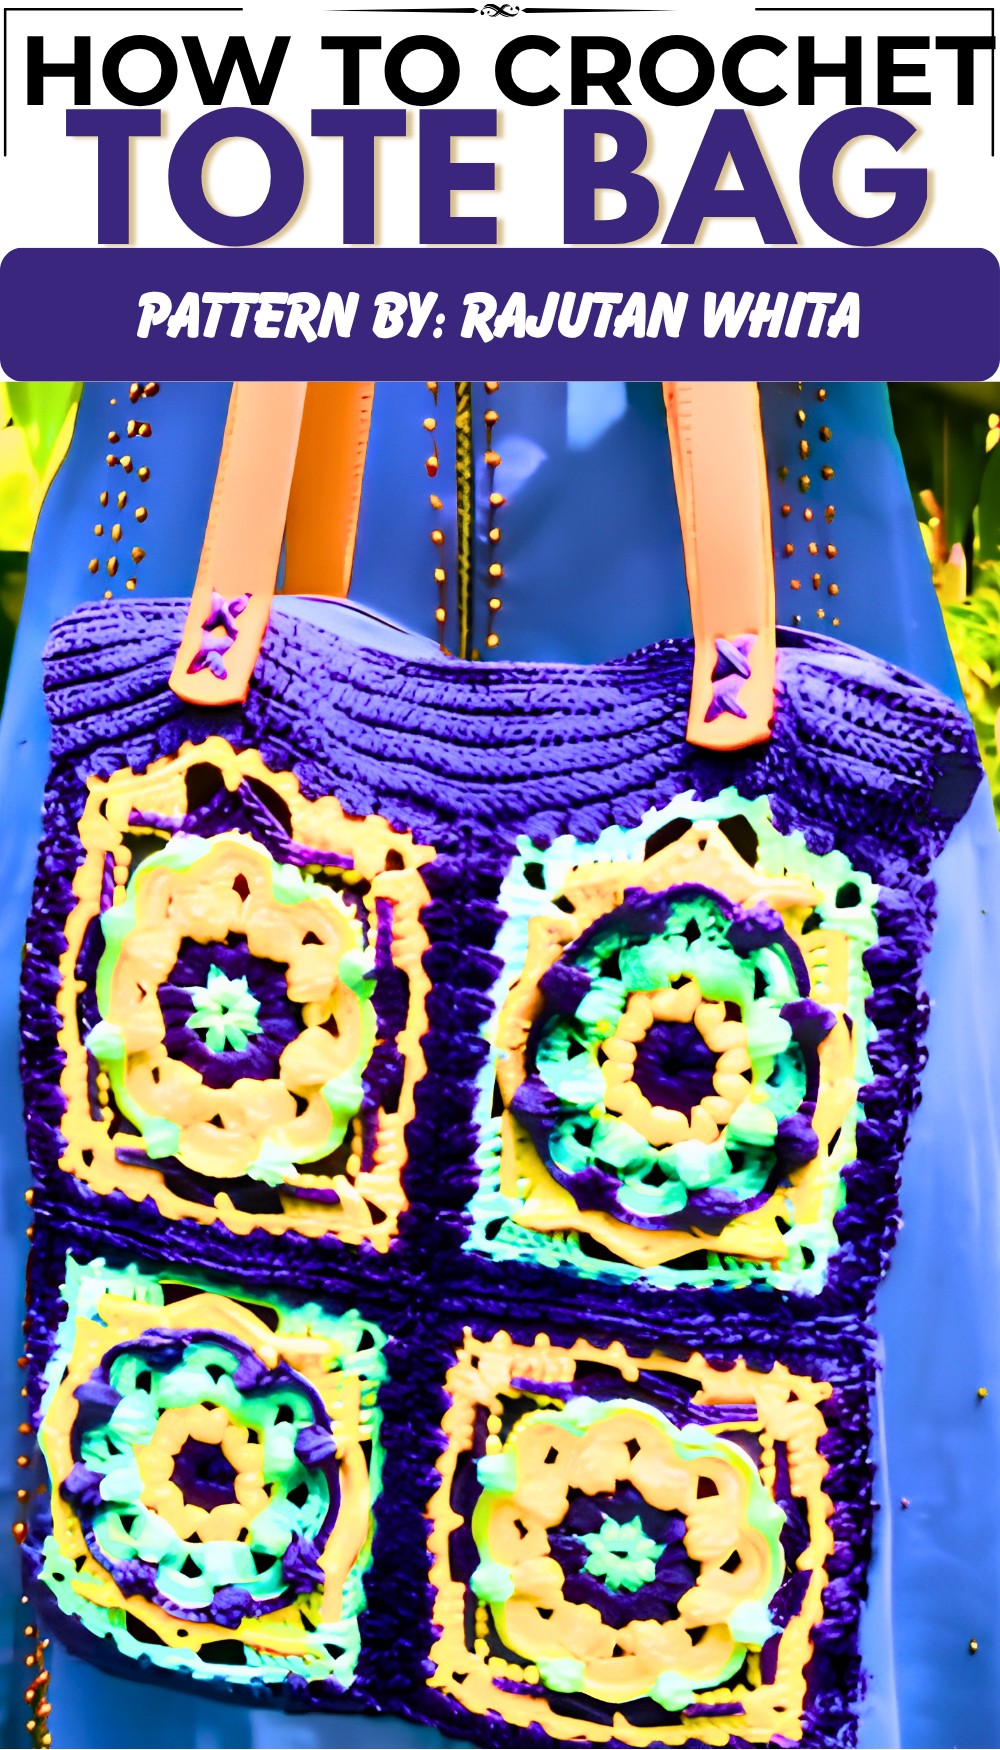
Granny Squares Tote Bag Part 2: Connecting Squares & Creating Base Structure
This tutorial (Part 2) guides you through the critical assembly stages of a stylish tote bag made from Granny Squares. Here, the focus is on connecting the Granny Squares with navy yarn, creating a rectangular base and sides, attaching these components seamlessly to the main body, and finalizing the bag with an edging, fabric lining, and sewn-on leather handles. The step-by-step pattern ensures precision and durability while maintaining the style integrity of the three-color theme (Navy, Mint, Salem).
Pattern Highlights
- Connecting Granny Squares using Navy yarn with double crochet and slip stitch joins.
- Constructing a sturdy rectangular base and side panels to add volume to the tote.
- Attaching base and side panels seamlessly to the Granny Squares body with slip stitches and double crochet clusters.
- Finishing the top edge with multiple double crochet rounds followed by single crochet for clean trim.
- Adding fabric lining (furing) and leather handles for strength and professional look.
Notes
- Use consistent tension when joining Granny Squares to achieve an even and professional look.
- Ensure careful stitch counting when constructing the rectangular base to match dimensions with the bag body.
- Secure joinings with alternating slip stitches and double crochet clusters for strength and flexibility.
- Use lighter carefully when securing yarn ends to prevent fraying, without burning the yarn.
- Fabric lining should be cut to fit precisely inside the bag and sewn securely before attaching handles.
Skill Level
Intermediate: Requires ability to
- Join motifs with slip stitches and double crochet.
- Crochet repetitive patterns consistently.
- Construct and attach separate rectangular panels.
- Work edging rounds and change yarn colors efficiently.
- Basic sewing skills for lining and handle attachment.
Materials
- Yarn: Poly-kilap yarn in Navy (dark blue), Mint, and Salem colors.
- Hook Size: 3.00 mm or 4.00 mm, depending on tension and yarn thickness.
- Tools: Scissors, lighter (for securing ends), measuring tape.
- Additional Assembly Supplies: Inner fabric lining (furing) and sew-on leather handles.
Measurements / Sizing
- Base foundation chain: 55 chains plus 5 extra chains for turning.
- Rectangular base and side panels sized to fit Granny Squares layout in diagonal color pattern.
- Finished bag size corresponds to the quantity and arrangement of Granny Squares connected.
Gauge and Stitch Pattern
- Pattern primarily uses Double Crochet (DC), Slip Stitch (sl st), and Single Crochet (SC) for edging.
- Base and sides worked with clusters of 3 DC stitches and chain spaces for texture and stability.
- Consistent tension ensures the rectangular base aligns perfectly with the Granny Square panel edges.
Stitch Abbreviations
- ch = chain
- sl st = slip stitch
- dc = double crochet
- sc = single crochet
Special Stitches
- 3 DC Cluster: Three double crochets worked into the same stitch or space, creating a textured cluster.
- Slip Stitch Join: Joining pieces by inserting hook into stitch or space, yarn over, pull through, then pull through loop on hook, creating a flat join without height.
- Chain Spaces: Skipping stitches by chaining and creating open spaces across the fabric for aesthetic texture.
Detailed Step-by-Step Pattern
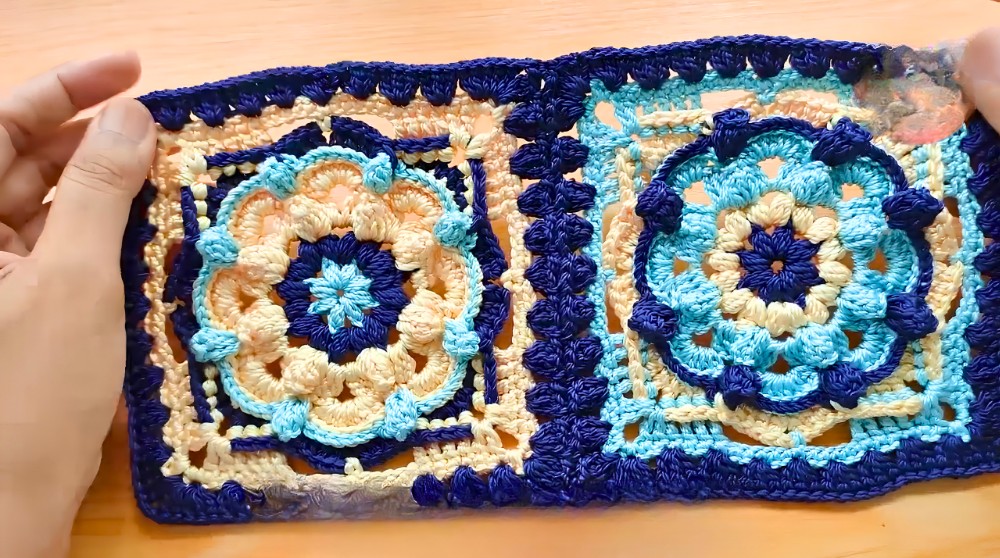
1. Connecting the Granny Squares
- Select navy yarn for joining.
- Begin joining Granny Squares starting from the corners to align motifs properly.
- Work into the chain spaces between the squares.
- Join squares by alternating between:
- Double Crochet (dc) stitches worked into chain spaces.
- Slip stitches (sl st) to secure connections and keep joins flexible.
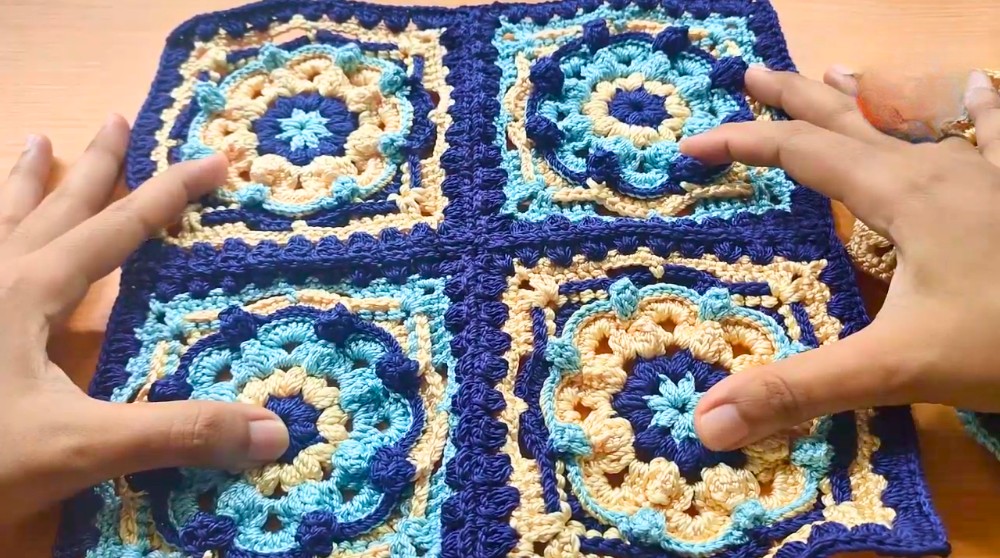
- Maintain a diagonal color pattern placement for visual interest, as per the reference layout provided at timestamp 08:13.
- Continue joining squares until the full Granny Square panel is assembled.
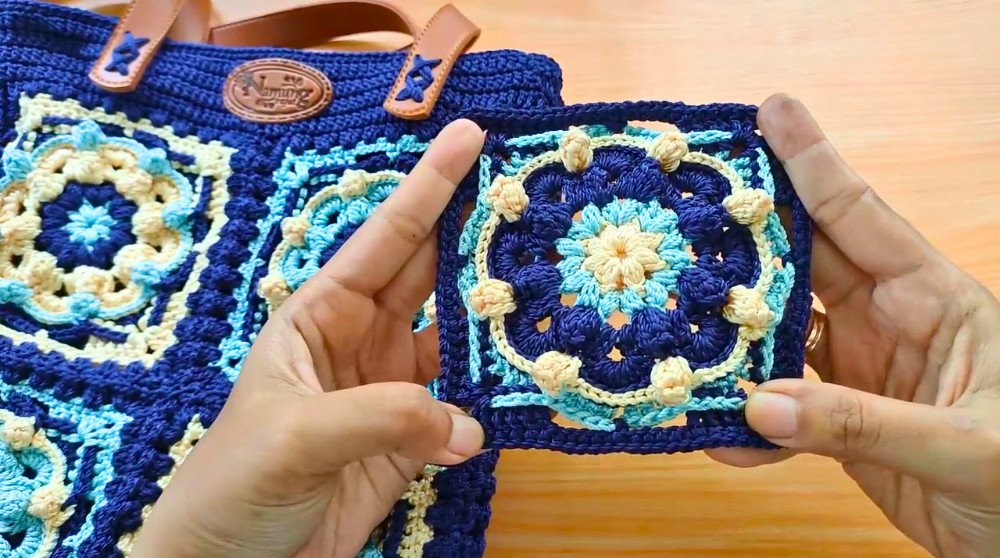
2. Creating the Rectangle Base and Sides
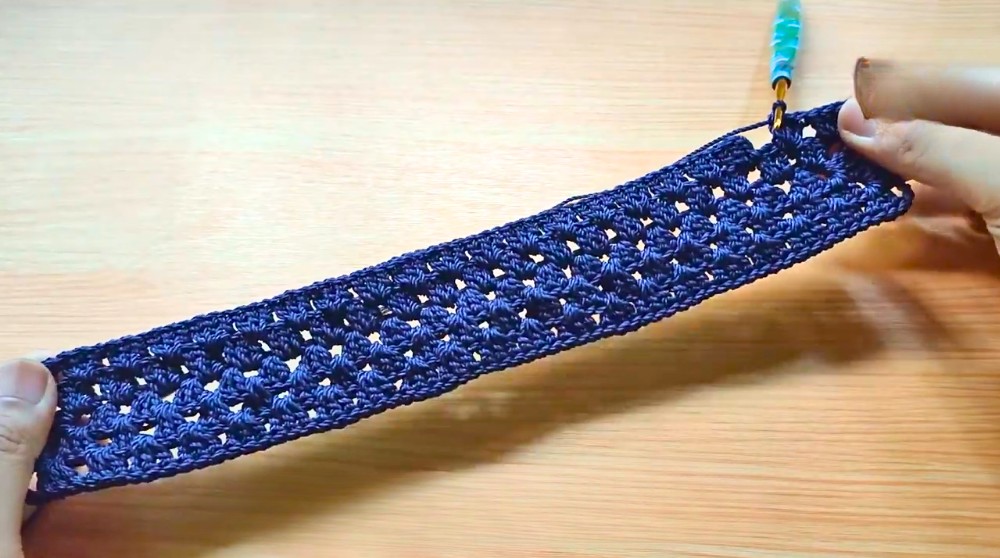
Foundation Chain:
- Make a slip knot.
- Chain 55, then chain an additional 5 chains (total 60 chains).
Pattern Setup:
- Starting in the 6th chain from the hook, work 3 double crochet (dc).
- Skip 2 chains.
- Repeat the pattern: 3 dc in one space, skip 2 chains across the foundation chain.
Round 1:
- When working the first round, create corner clusters at the turning points:
- 3 dc, chain 3, 3 dc in the corner chain spaces.
- In between corners, continue working 3 dc clusters in each chain space from the foundation chain.
- This will form a sturdy rectangular base outline.
Round 2:
- Continue building the height and structure of the base by working 3 dc clusters into every space between clusters from the previous round.
- Maintain the corners with 3 dc, chain 3, 3 dc clusters to keep the rectangular shape straight and clean.
3. Attaching Base and Sides to Granny Square Body
- Position the rectangular base and side panels to match the dimensions of the connected Granny Square main body.
- Using navy yarn and a crochet hook, join the base panels to the Granny Square body edge.
- Use a combination of:
- Slip stitches (sl st) which provide flat, flexible joins without adding bulk.
- 3 dc clusters alternately placed to strengthen the junction between base and body.
- This join technique creates a seamless and sturdy attachment while preserving the bag shape.
4. Final Edging and Assembly
Top Edge Edging:
- Around the top opening of the assembled bag, work 4 full rounds of Double Crochet (dc) stitches.
- This creates a thick, neat border that stabilizes the bag opening.
Final Trim:
- Work a final outer round of Single Crochet (sc) stitches all around the top edge.
- This last round provides a clean, polished finish and helps prevent fraying.
Finishing Touches:
- Sew the fabric lining (furing) tightly inside the tote bag for structure and durability.
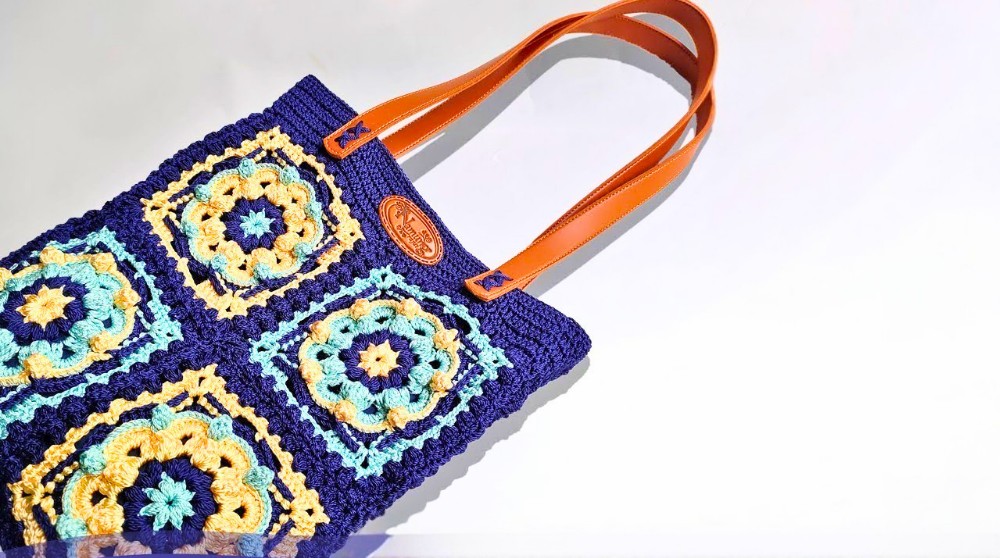
- Attach the leather handles securely by sewing onto the bag at the designated points for comfortable carry.
Assembly & Finished Size
- The combined Granny Square body, rectangular base, and side panels form a structured tote bag with harmonious color arrangement and functional form.
- The reinforced joins and multiple edging rounds ensure stability and robustness.
- Fabric lining adds durability and neat interiors, while leather handles provide comfortable and aesthetic finishing touches.
- Size is flexible depending on Granny Square quantity and base chain count but is based on a 55+5 chain foundation for the base.
Conclusion
This part of the Granny Square Tote Bag tutorial completes the essential assembly stages that bring the project from motif panels to a fully functional bag. The precise joining of squares with navy yarn and the artful construction of rectangular base and side panels anchor the bag’s shape and provide stability. Finishing with multiple edging rounds, a fabric lining, and luxurious leather handles not only completes the assembly but elevates the bag’s durability and style. This middle section of the project demonstrates key intermediate crochet skills including joining motifs, working base patterns, and combining crochet with sewing for professional results. Following this detailed guide guarantees a beautiful, sturdy tote bag ready for everyday use or gifting.