Free Crochet Chablis Sun Vest Pattern for Warm Days
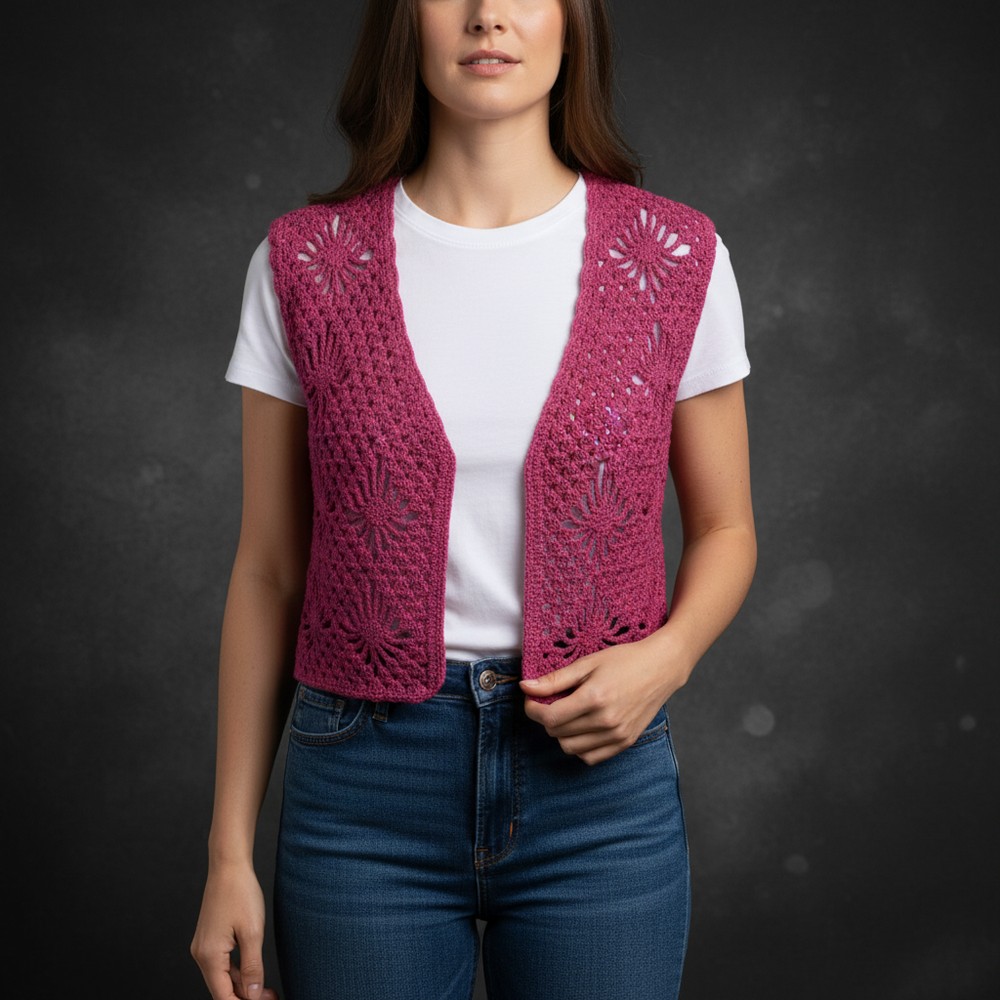
Feel the sunshine in every step with free crochet Chablis Sun Vest pattern that adds effortless beauty & charm to your outfits for any event.
Sunlight feels even warmer with light and lovely threads on your shoulders making you look bright and lively everywhere you go. A vest with open spaces and gentle patterns adds a soft touch that looks good with anything you wear from top, dresses to jeans. The crochet Chablis Sun Vest pattern brings out this beauty offering a perfect layer for sunny days or cool evenings. Each loop and twist in the vest gives a gentle hug while still letting your skin breathe in the fresh air.
Free Crochet Chablis Sun Vest Pattern to Light Up Any Outfit
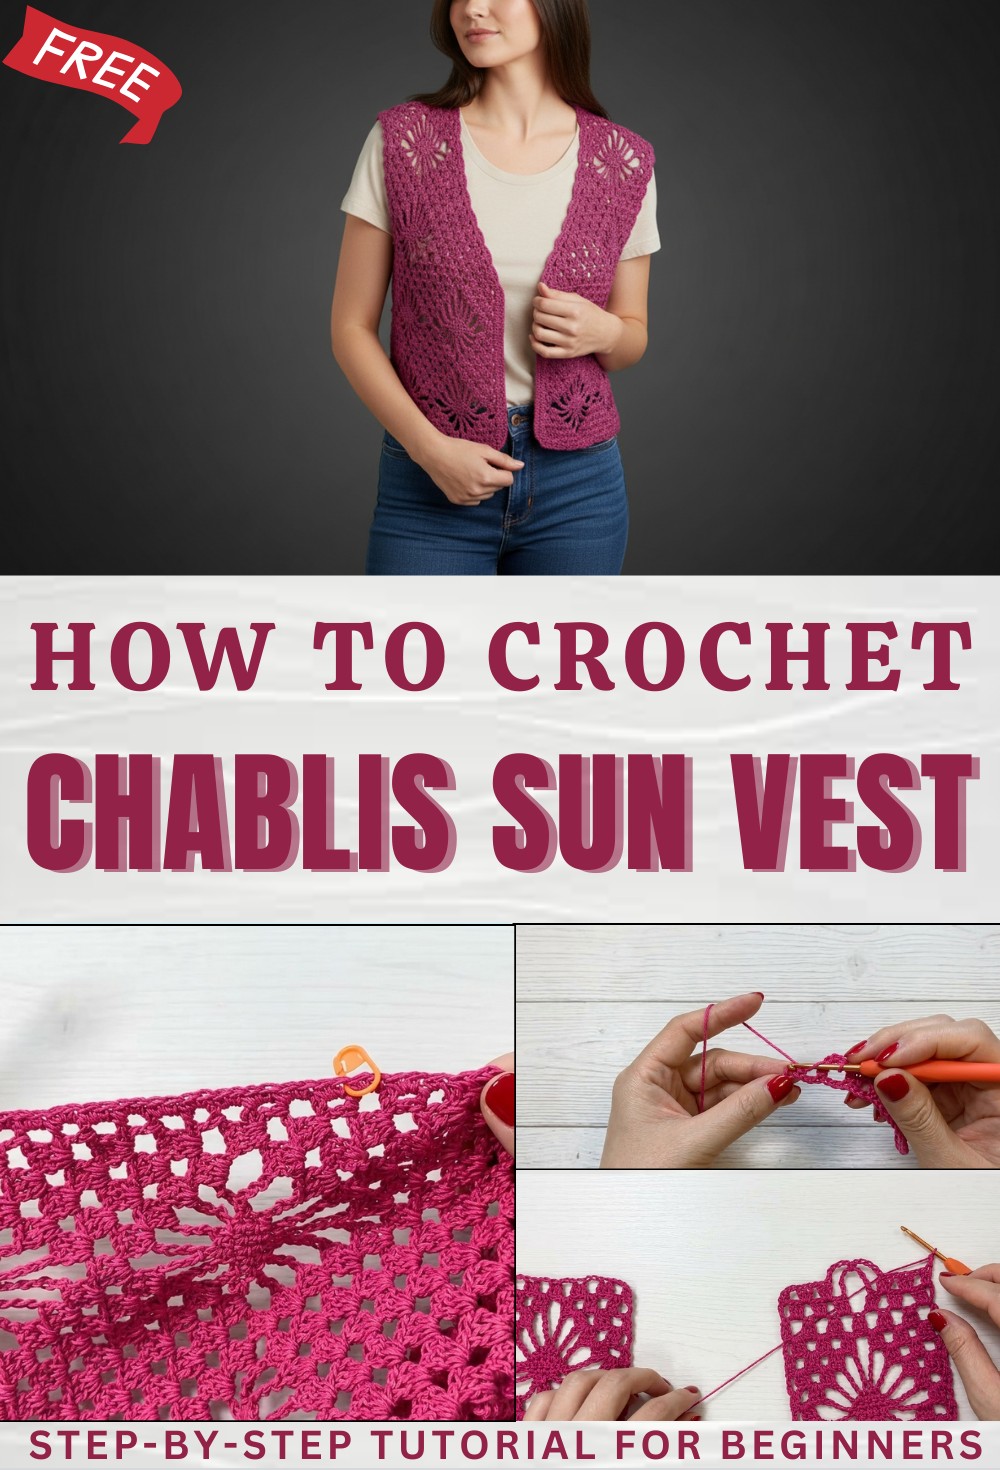
Easy ties or flowing edges keep the vest in place and never feel heavy so you can move freely. Wearing this vest is a simple way to turn a plain outfit into something special full of style and charm. The crochet Chablis Sun Vest pattern is loved by all ages and brings a special spark whether you are at home outside or with friends enjoying the day.
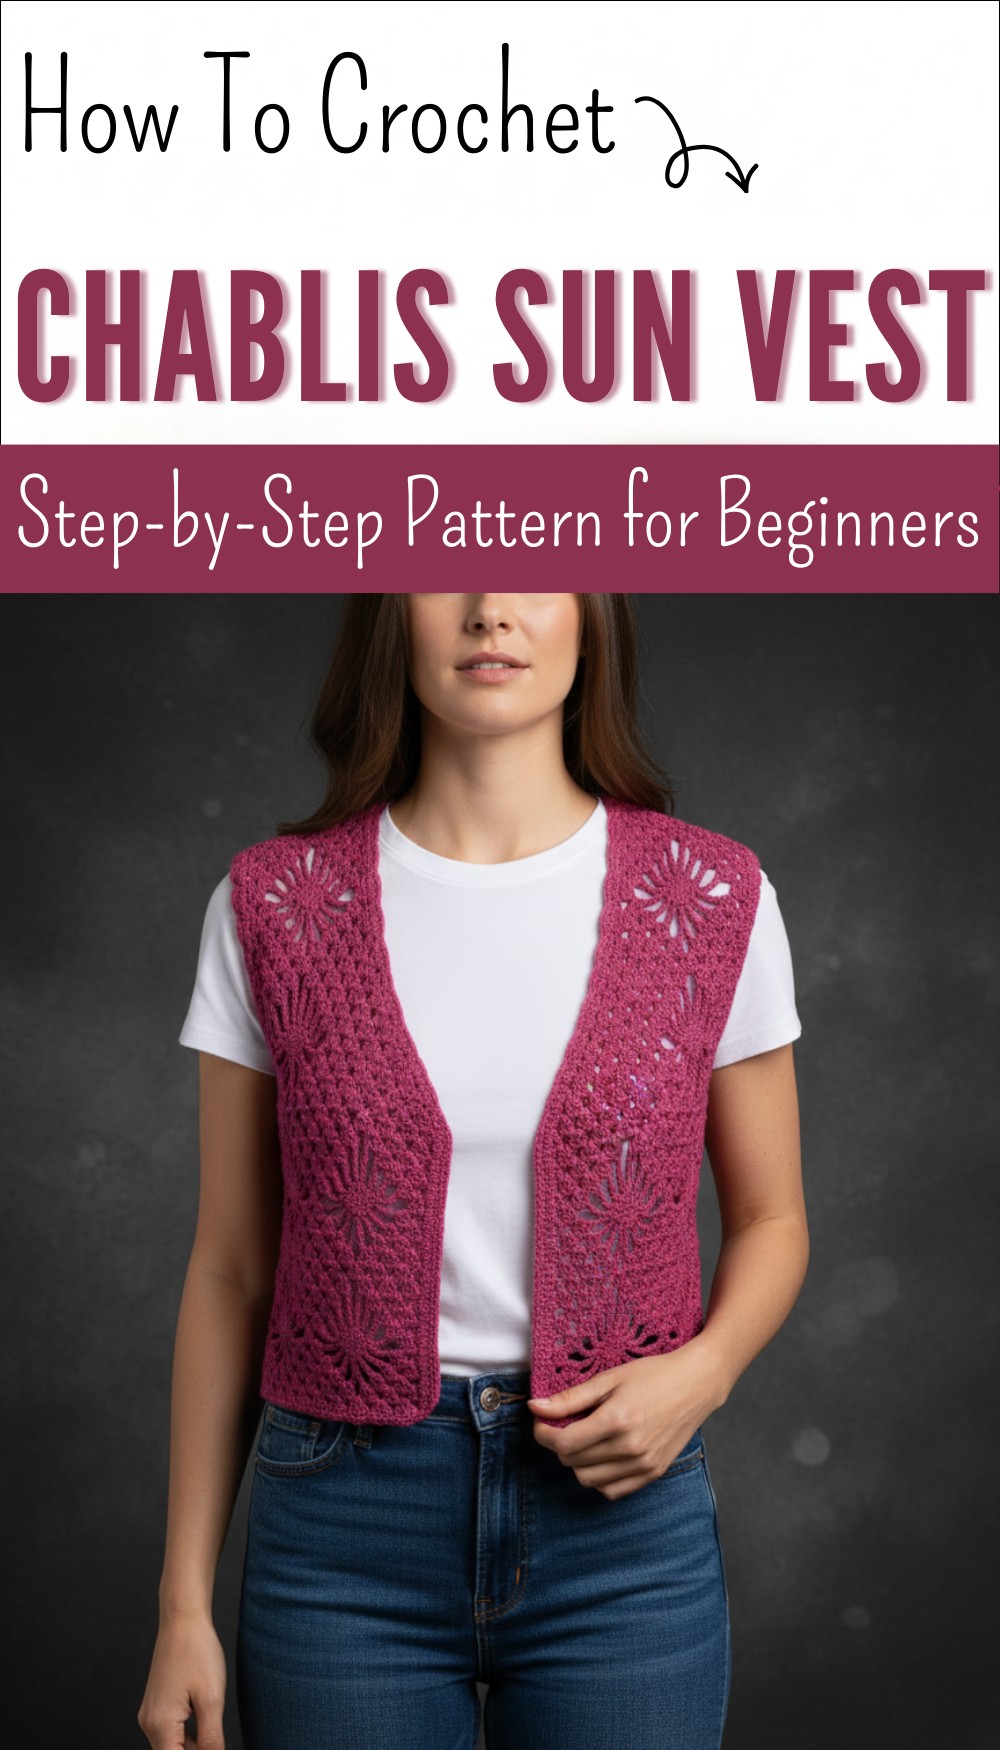
Easy Mesh Vest Pattern for Beginners
This pattern will help you make a stylish, airy mesh vest using basic stitches: chains, double crochet, and clusters. You’ll crochet two front panels and one back panel, then join them, add a button band, and finish the edges. Each step is explained in detail, even if you’re new to garment making, you’ll be able to follow along and create a beautiful vest.
Pattern Highlights
- Simple Construction: Three rectangles/panels (two fronts, one back) joined together.
- Mesh Stitch: Created with easy clusters of double crochet and chain spaces.
- Step-by-Step Shaping: Add armholes and neckline with clear instructions.
- Button Band: Learn to make a buttonhole row and add buttons.
- Customizable Size: Add or remove rows/panels for your perfect fit.
Notes
- This is a beginner-friendly version using simple US crochet terms.
- Don’t hesitate to use stitch markers to help keep your place, especially at increases/decreases.
- Try on your panels as you go for the best fit: Customize length and width as needed.
- Sew buttons on at the end—no buttonhole experience necessary!
- If you can chain and make a double crochet, you can make this vest.
- All steps refer directly to video instructions for visual reference.
Skill Level
Beginner
You need to know:
- How to do a foundation chain
- Double Crochet (dc)
- Chain (ch)
- Single Crochet (sc)
- How to turn your work
Materials
- Yarn: Worsted or DK weight (soft cotton or acrylic suggested), about 300–450g for most adult sizes
- Hook: 4.0–4.5 mm (US G/6 to 7) or the size you need for a loose, flexible fabric
- Yarn needle (for sewing and weaving in ends)
- Scissors
- Stitch markers (optional but very helpful)
- Buttons: 5 (about 1/2–3/4 inch each)
- Measuring tape
Measurements / Sizing
- Shoulder Width (foundation): About 10–11 inches (25–28 cm)
- Front Length: About 20–22 inches (50–56 cm) from shoulder to bottom hem
- Bust/Chest: Flexible, as mesh stretches
- Armhole Depth: About 8–9 inches (20–24 cm), but you can adjust!
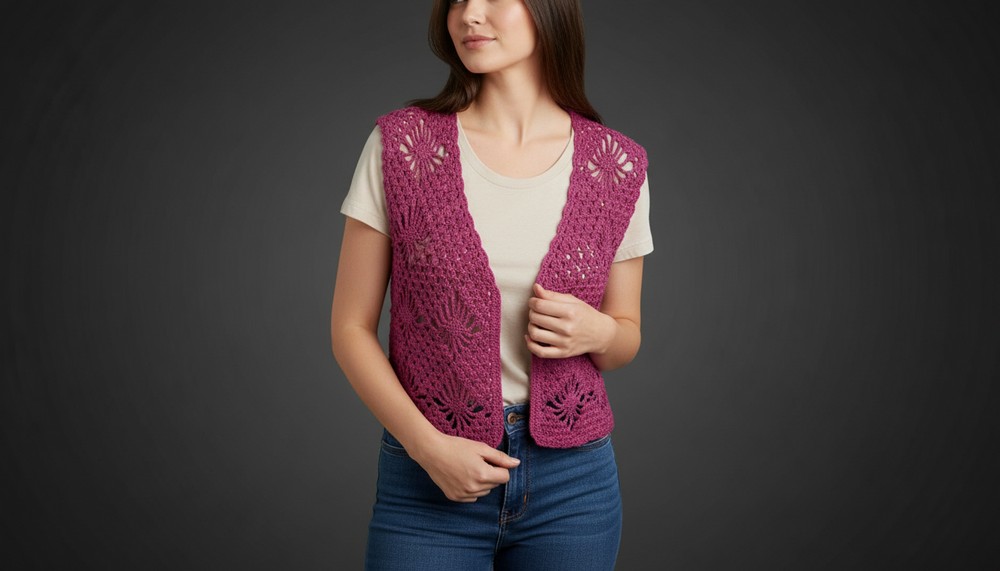
TIP: If you want the vest longer, add more rows; for wider, add clusters to the starting chain.
Gauge & Stitch Patterns
Gauge:
1 cluster (3 dc + ch) = about 1 inch wide
4 rows of mesh = about 1.5 inches high
Stitch Patterns Used:
- Cluster: 3 double crochet (dc) in same space
- Mesh: (Cluster, chain 1, skip a space, repeat)
Stitch Abbreviations
| Abbreviation | Meaning |
|---|---|
| ch | Chain |
| dc | Double crochet |
| sc | Single crochet |
| sk | Skip |
| st | Stitch |
| sp | Space (a gap made by a chain) |
| rep | Repeat |
Special Stitches Explained
- Cluster: Work 3 dc all in the same chain or space.
- Buttonhole: You’ll just chain 2 and skip 2 stitches—very easy!
- Shaping Gaps: You use chain-10 or chain-5 sections for larger gaps at the underarm or neckline.
Step-by-Step Instructions
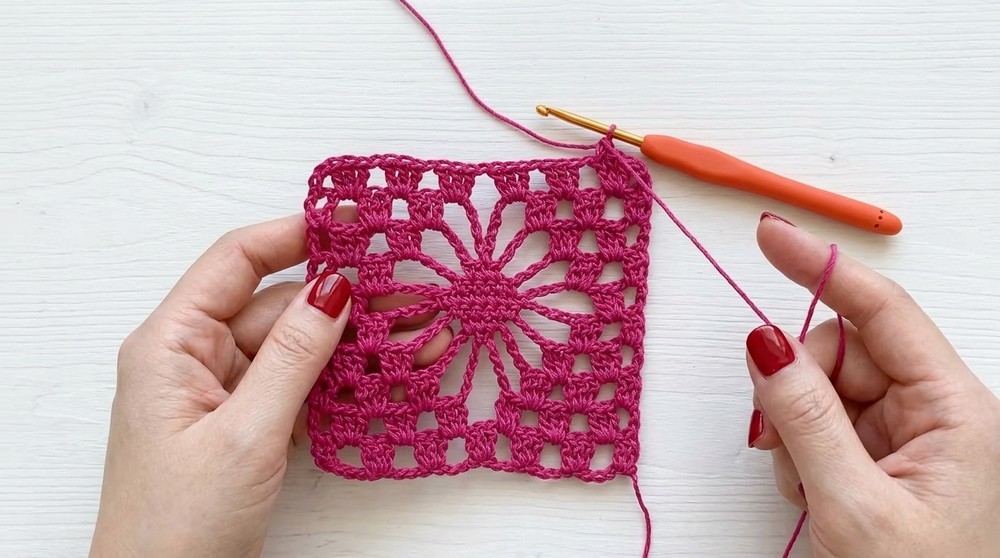
1. Make Your Foundation Chain
- Chain 25 for the shoulder and panel width.
- Add 3 chains (total 28 chains). These are the turning chains.
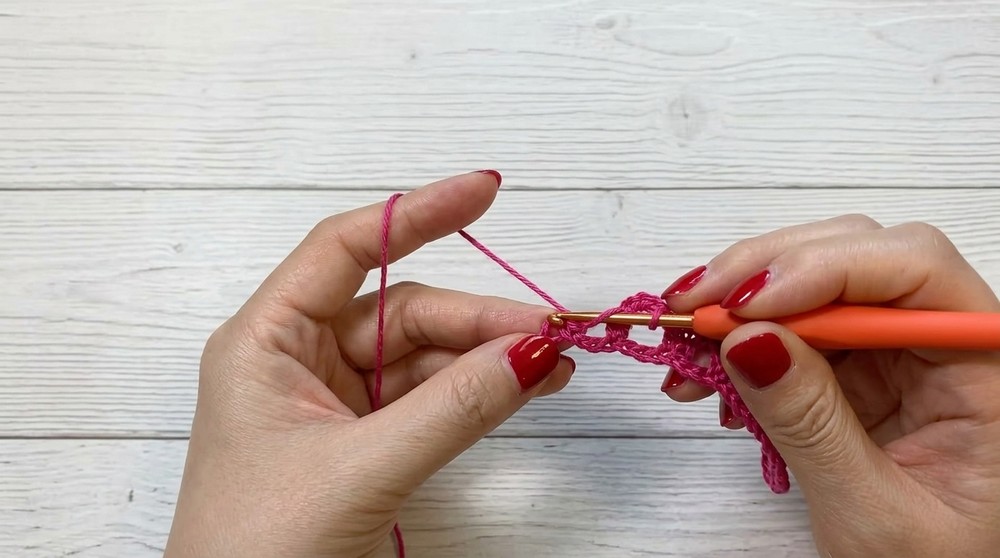
2. Row 1 — Start Mesh Pattern
- In the 4th ch from hook, double crochet (dc) (counts as your first cluster section).
- Ch 1, skip 3 chains, 3 dc in next chain (cluster group).
- Repeat between asterisks until you have 6 groups of 3 dc.
- For the last section, skip 3 ch, 2 dc in last ch (so you finish the row evenly).
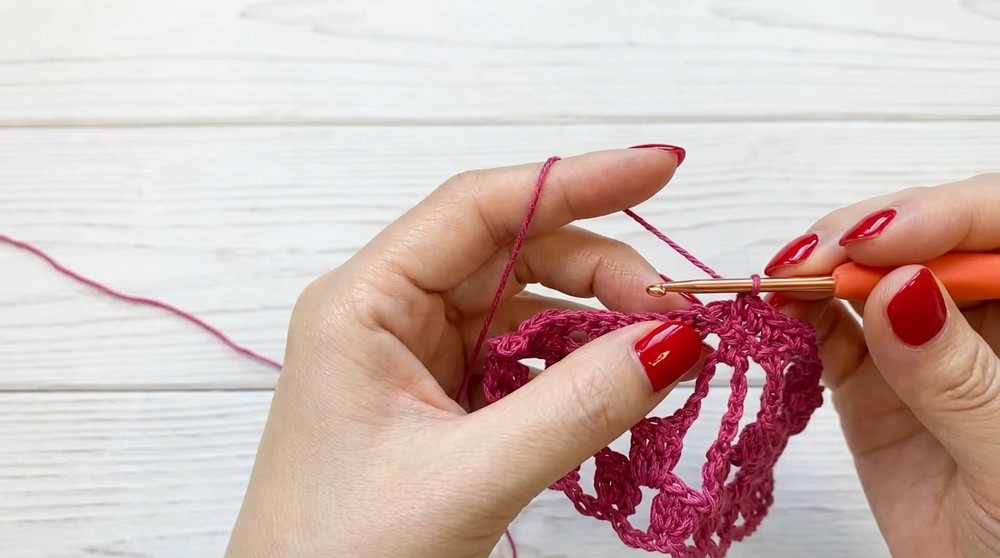
3. Row 2 — Build the Mesh
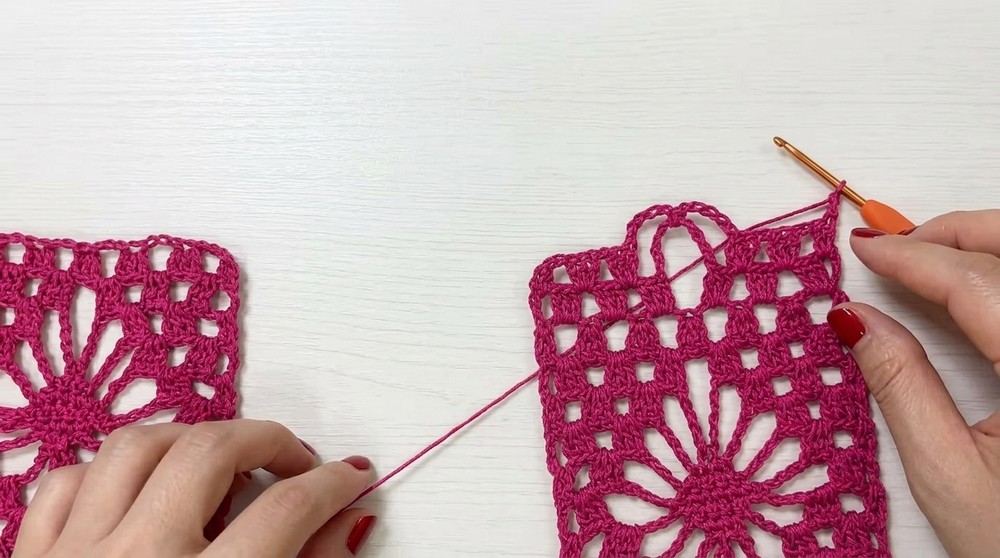
- Chain 4, turn your work.
- 3 dc in the large space between the first clusters below.
- Ch 1, then 3 dc in next gap, repeat across.
- After the 4th cluster, ch 10 (for the armhole opening), continue 3 dc clusters as before.
- Finish row with ch 1, dc in the last turning chain from the row below.
4. Row 3 — Continue Mesh and Shape Armhole
- Ch 3, turn.
- Dc in the ch-1 space right after your turning chain.
- Ch 1, 3 dc in next space, repeat mesh as before.
- When you reach the 4th group, ch 5, single crochet (sc) into ch-10 gap below, ch 5 (this builds the armhole).
- Continue 3 dc clusters as before.
- End row: ch 1, 2 dc in last stitch.
5. Rows 4–10 — Continue Mesh & Shaping
- Keep repeating the mesh pattern:
- Ch 1 between clusters, 3 dc clusters into each gap.
- Where the instructions/video shows, use ch 10 for big gaps (underarm), or ch 5 for narrower corners (neck).
- Shape the armhole and neckline by putting more or fewer clusters along one edge (the pattern/video will show you—using markers helps!).
- Add or remove clusters in big chain gaps as your sizing needs.
6. Rows 11–13 — Shape Neckline
- Ch 3, turn.
- Dc, ch 1, then 3 dc in next space.
- For these and next rows, add an extra cluster at the neckline edge for shaping (as shown in your reference).
- End these shaping rows with 3 dc (not 2 dc) at the edge; this makes the front curve smoothly.
7. Rows 14–20 — Continue Neck & Armhole Shaping
- Keep the mesh pattern.
- Continue increases at the neckline edge (as shown in the video).
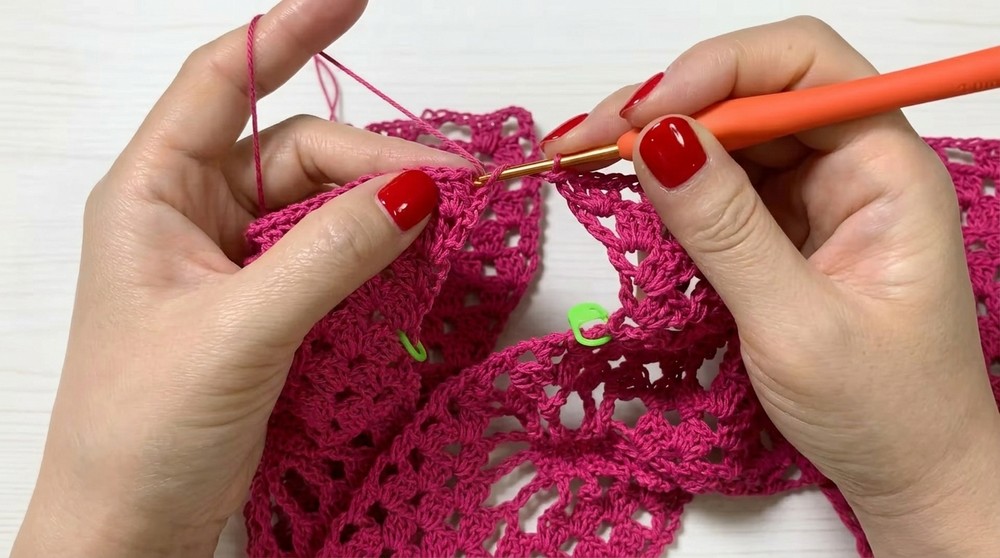
- Place stitch markers where you increase!
- After row 20, stop adding clusters at the neckline (the vest is as open as you want now).
8. Rows 21–25 — Armhole Only
- Keep doing mesh pattern.
- No more increases at neckline.
- Keep the mesh and shaping for the armhole only.
- Stop at row 25 for front panels (stop at row 24 for back panel).
9. Make Two Front Panels
- Repeat all the steps above twice.
- Make sure they are mirror images! (Flip them before joining.)
10. Make Back Panel
- Start at the right shoulder.
- Ch 4, 3 dc in next space to match your front panel edge.
- Continue mesh pattern, matching the look to the front.
- Add ch 10 armhole opening (lining up with the front’s ch-10 row).
- Work 17 rows for the back, to the shoulder.
- Attach back to front panels at the shoulder (slip stitch or sew them together).
- For the back neck bridge, chain 29, then keep the mesh pattern across.
11. Side & Underarm Seams
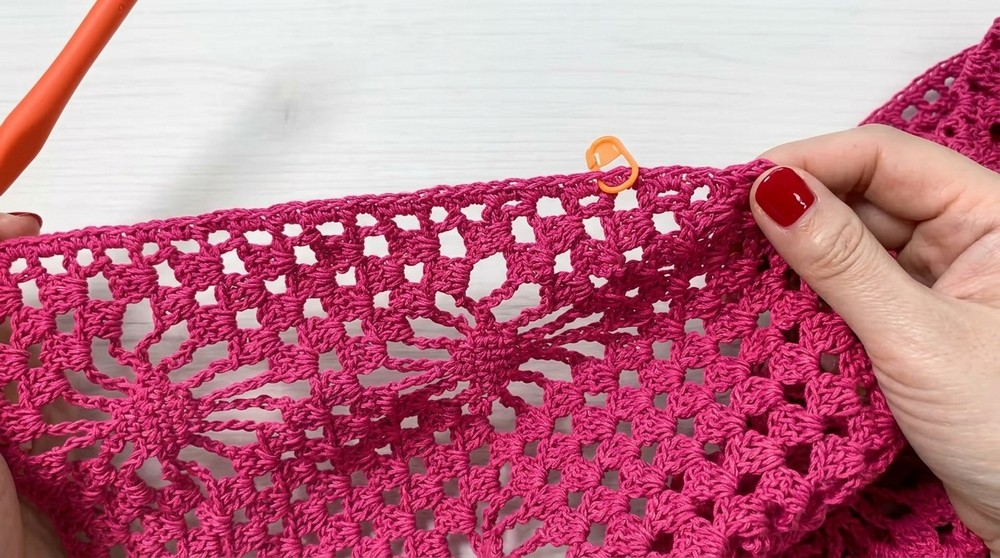
- Place front and back right sides together.
- Use yarn and hook or needle to join underarm area and sides, matching up 3 dc clusters and chain spaces so it all looks even.
- Work stitches through both panels for a flat seam.
12. Button Band & Buttonholes
- Work button band along front opening:
- Row 1: Join yarn, ch 1, sc 42 evenly up the edge.
- Row 2: Ch 1, 2 sc, skip 2, 7 sc, ch 2 (for buttonhole), repeat to make 5 buttonholes.
- Row 3: Ch 1, sc across row, working 2 sc into each ch-2 buttonhole.
- Sew buttons onto opposite front edge where you made the buttonholes.
13. Finishing Hem & Armholes
- Hem: Join yarn at the bottom, ch 3 (counts as dc), 2 dc, sc in next space, ch 3, 2 dc, sc in next, all the way around to give a mesh look.
- Armholes: Join yarn, sc, ch 3, 2 dc, sc in next space, repeat around openings for a neat finish.
14. Last Steps
- Weave in all ends with your yarn needle.
- Block vest (wash and lay flat to shape) if you want the mesh to really open and drape.
- Sew on buttons securely.
Assembly & Size
- Panels are joined at shoulders and sides, with buttons for closure.
- Fits most adults; for a custom fit, add/remove cluster groups or rows at shoulders or hem.
- The stitch is stretchy, so it’s not hard to fit!
Conclusion
You did it! You made a wearable mesh vest with easy stitches. Try it on and admire your work. This pattern builds a great foundation for other garments, and you can use these techniques for short-sleeve cardigans, tanks, or even dresses with a little practice.