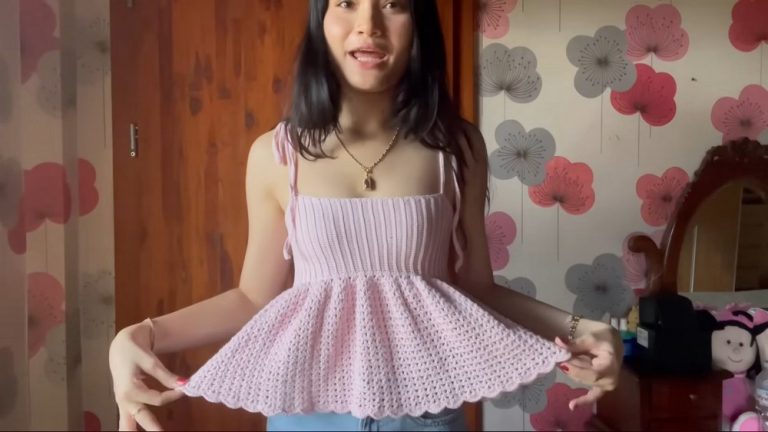
Crochet Vest Pattern With Free Bohemian Style
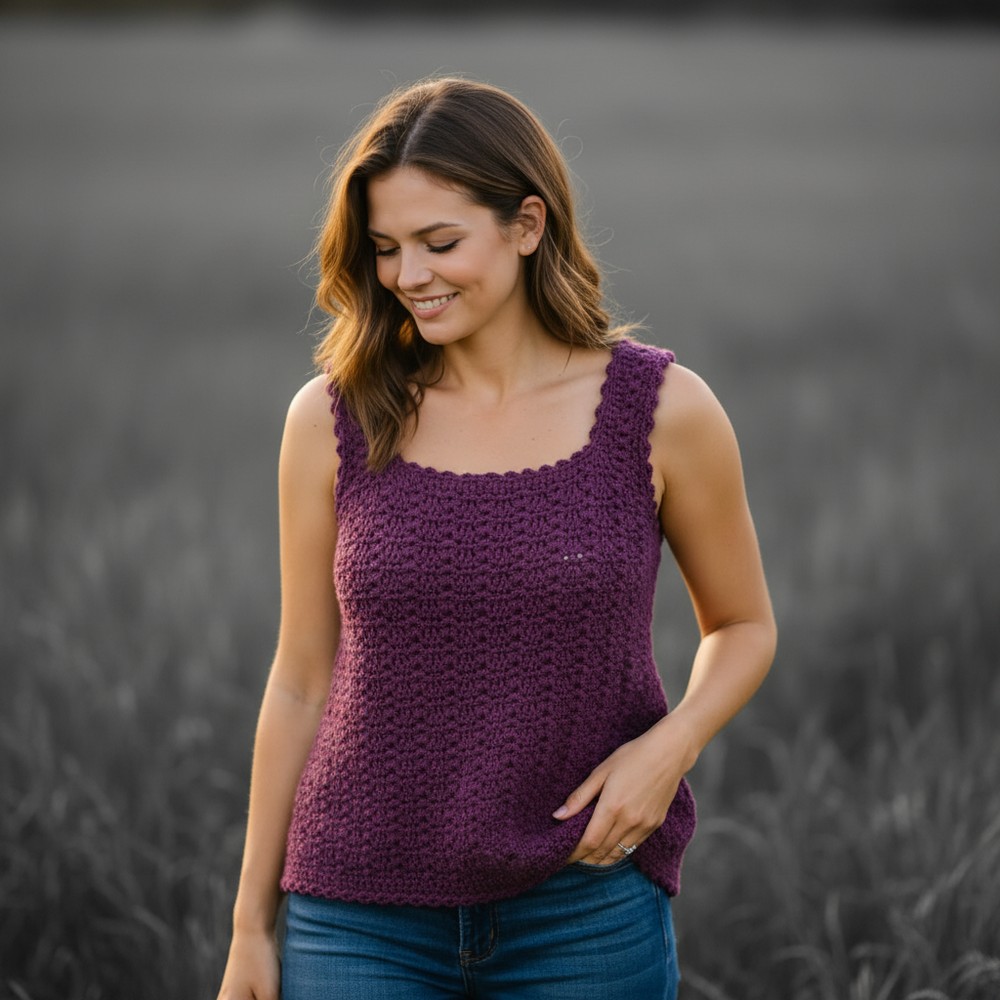
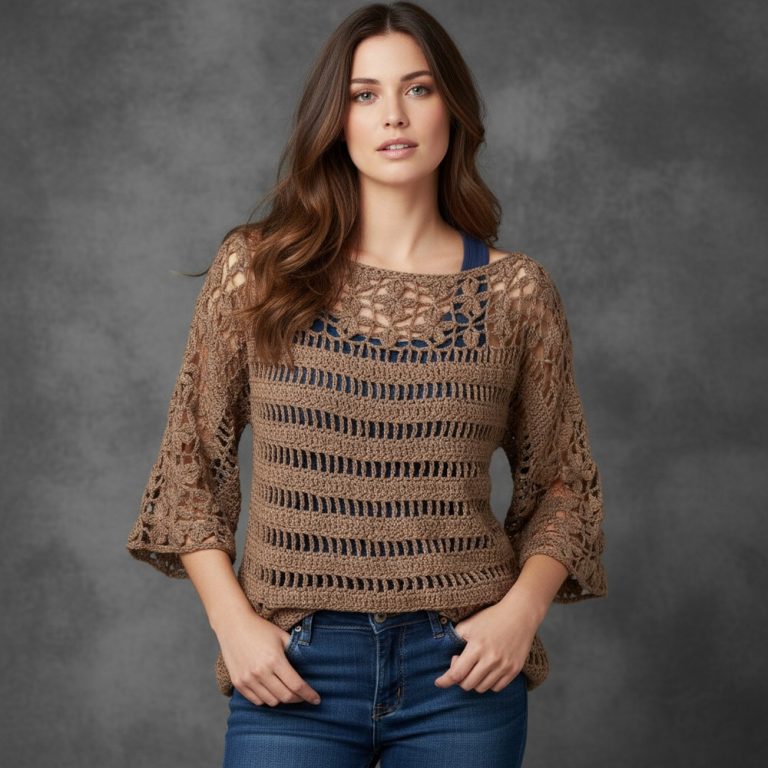
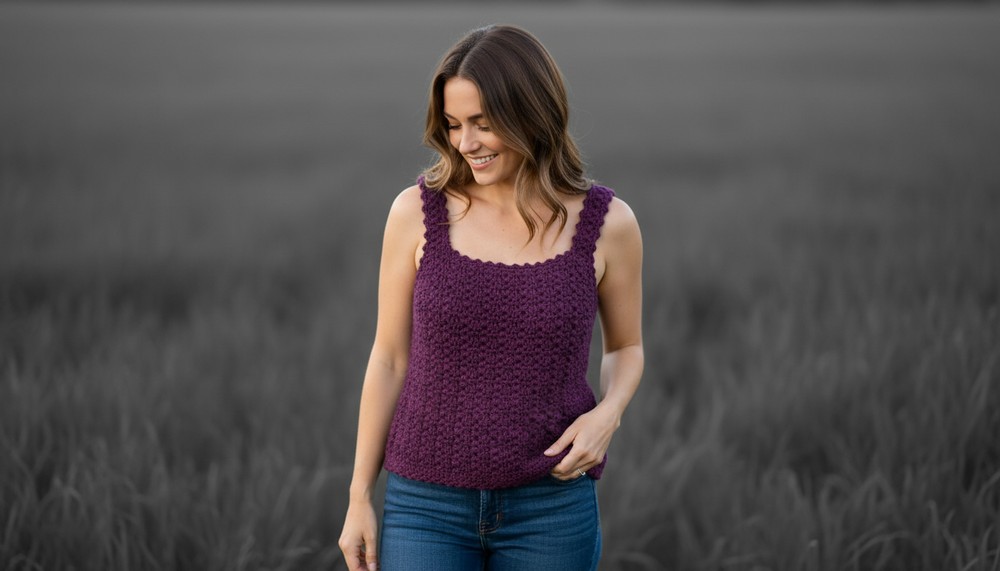
Upgrade your wardrobe with this free crochet vest pattern that blends comfort and style for a unique look you’ll love every day and night.
Bright colors and openwork designs bring a special charm to your everyday outfits. With thoughtful details and comfortable lines, a crochet vest pattern offers a fresh style that anyone can enjoy, no matter the occasion. Perfect for both warm days and slightly cool evenings, its breathable texture keeps you feeling just right without adding bulk. Simple steps make the vest easy for beginners, and the chance to pick your favorite yarn means it always matches your style and needs.
Modern Free Crochet Vest Pattern with Fashion Appeal
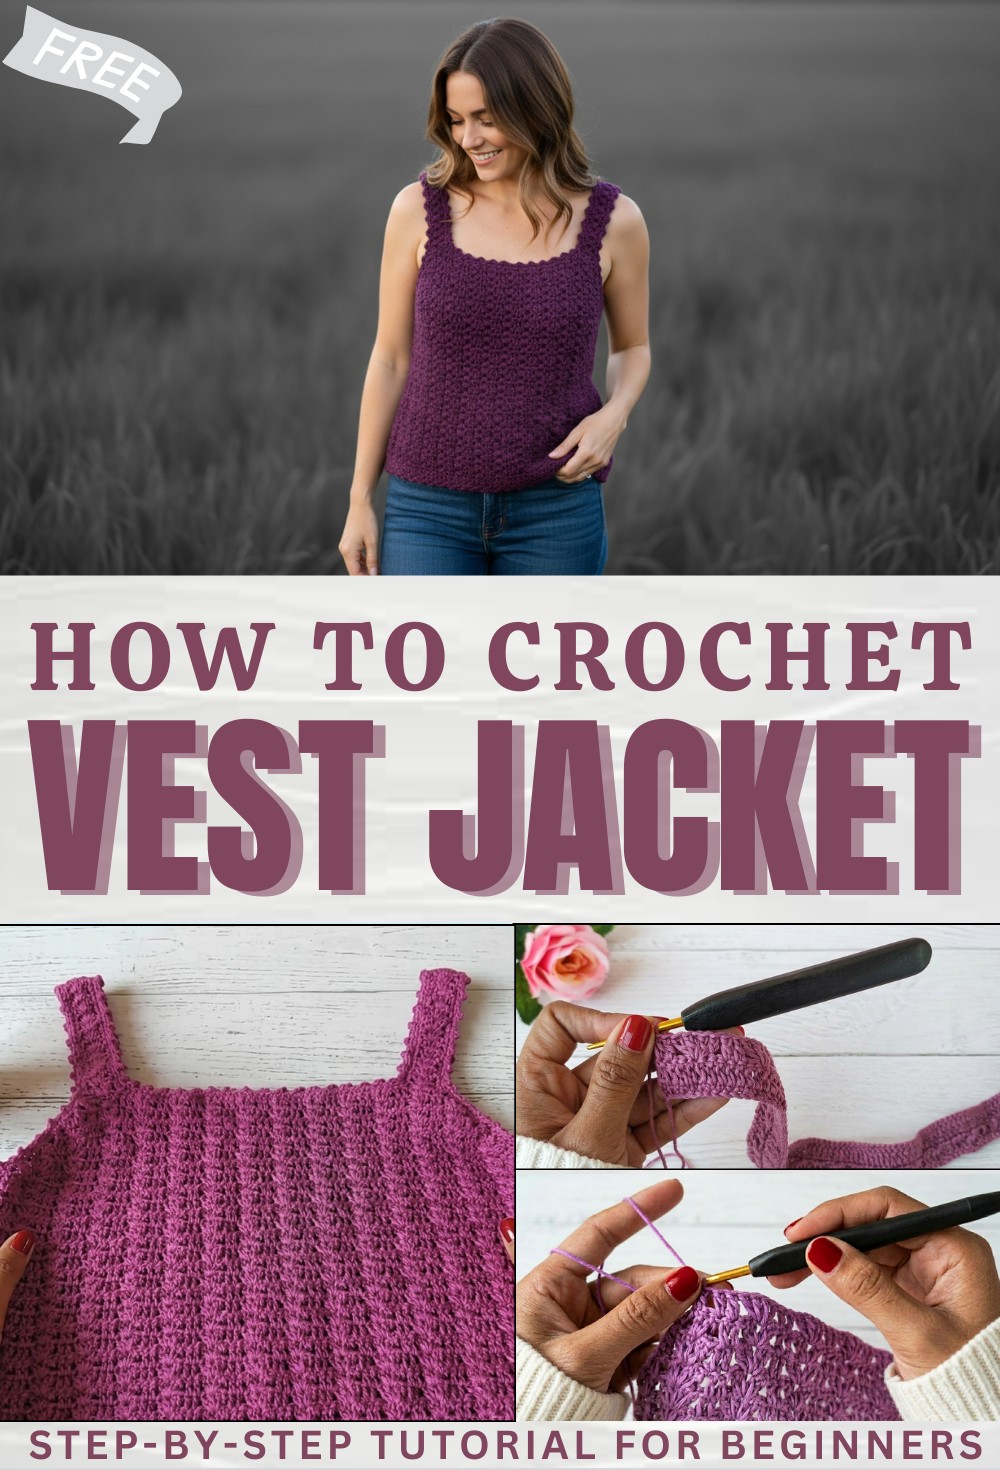
This pattern is not just about looks—it makes a useful addition to your closet, helping you layer clothes for comfort, save money, and even share handmade gifts with loved ones. Adding a vest made with this approach means each day brings both warmth and a personal touch, making fashion fun and practical at the same time.
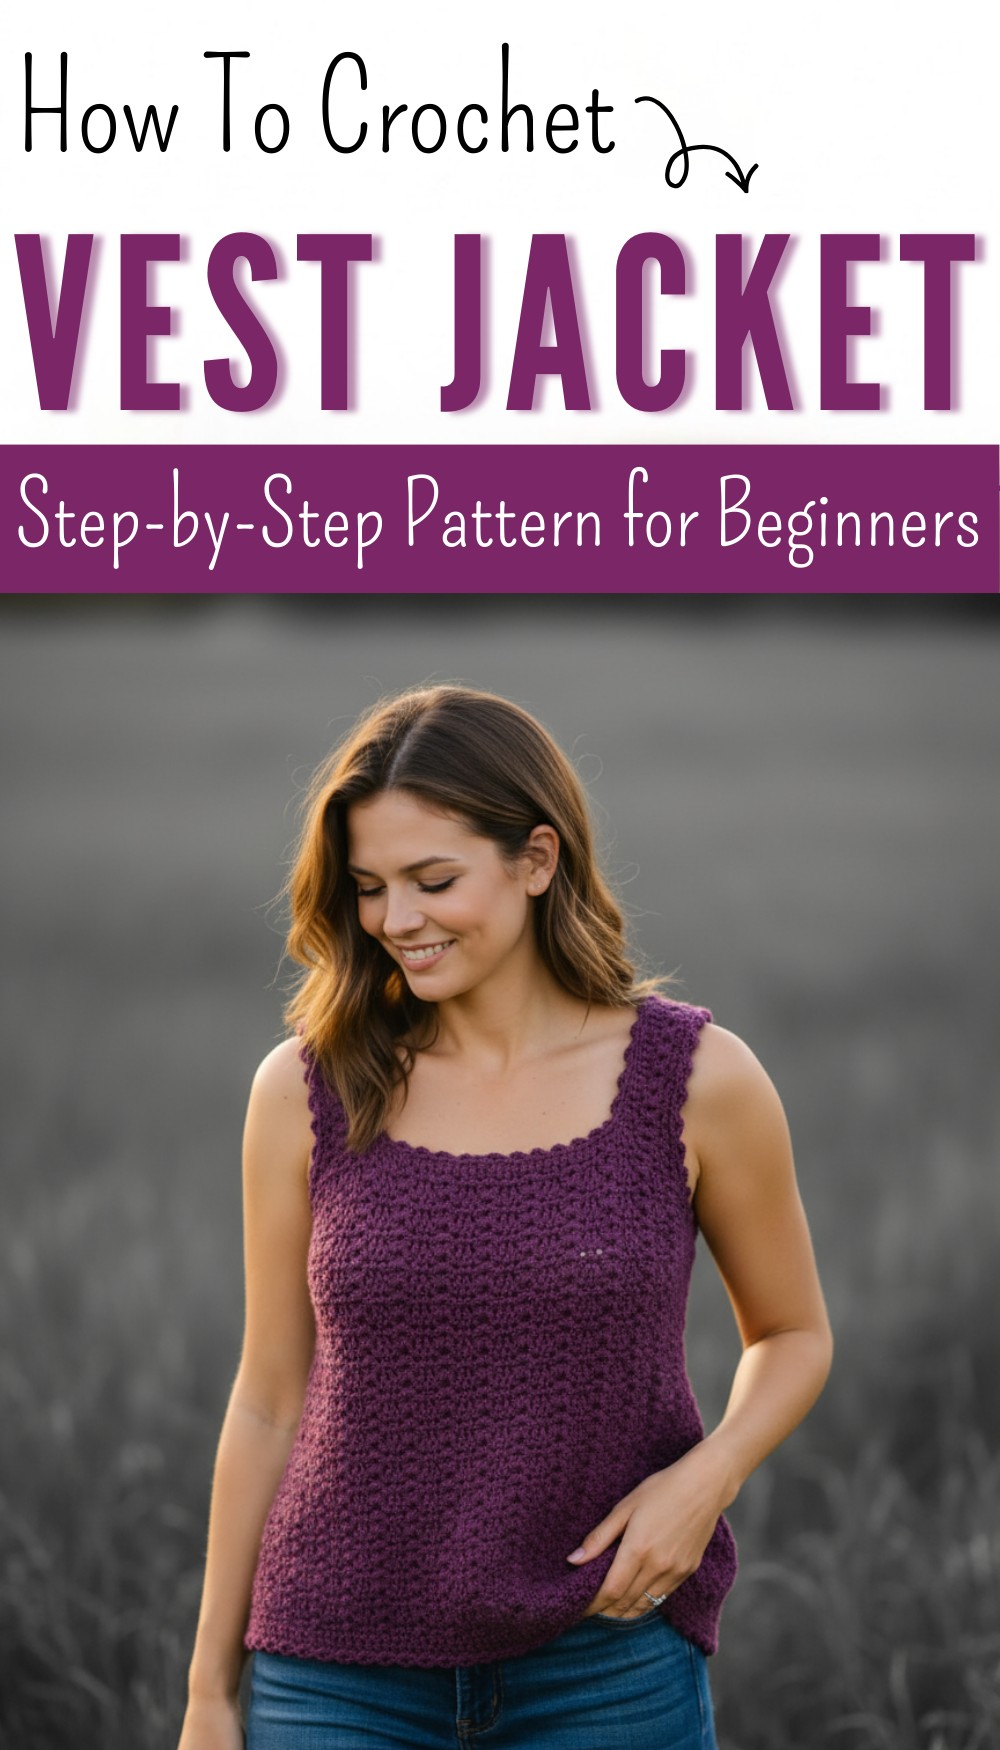
Lacy Shell Pattern crochet vest — Step-by-Step Pattern
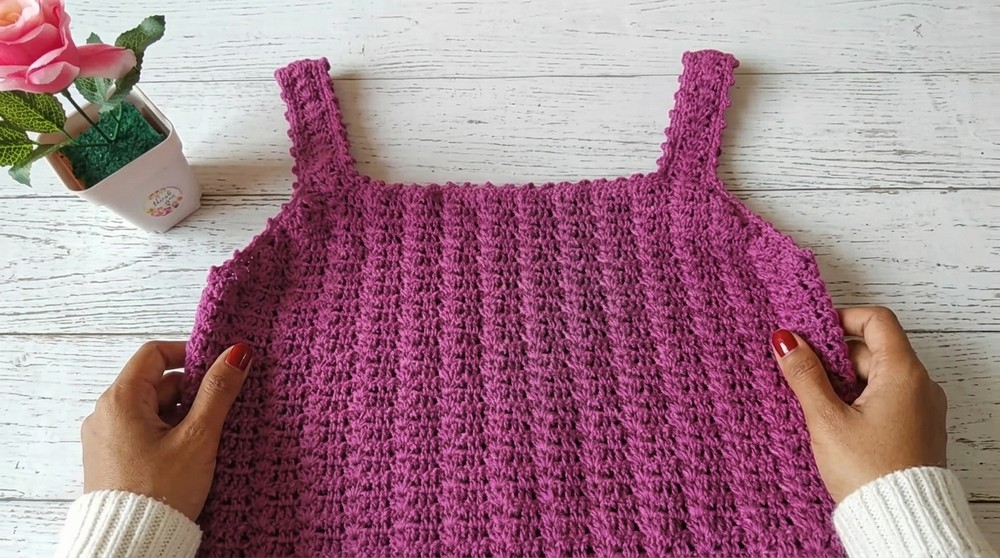
This pattern guides you through making a beautifully simple lacy shell crochet vest from start to finish. Constructed in two identical panels with a straightforward shell stitch motif, shaped armholes and neck, and neat straps, this garment is perfect for layering or summer wear. The finishing touch: dainty picot edging for a polished, feminine look.
Pattern Overview
- Easy Construction: Two flat panels (front and back) are crocheted identically, then seamed.
- Classic Shell Motif: Open lacework created using (2 dc, ch 1, 2 dc) shells separated by single dc for a breezy, elegant effect.
- Clear Armhole & Neck Shaping: Gradual decreases for a well-fitting armhole and neckline.
- Customizable Lengths: Adjust panel and strap length for a personalized fit.
- Decorative Edging: Picot and single crochet edging along neck, arms, and hem for a finished, refined trim.
Notes
- Pattern uses US crochet terms throughout.
- The body is worked back and forth in rows; turning at the end of each row.
- Panels are seamed at sides and shoulders; armholes and neck are left open.
- Read all instructions for shaping carefully—decreases happen at both ends of specific rows for armhole/neck shaping.
- Picot edging adds a delicate detail and helps reinforce edges.
- Adjust panel width, height, and strap length to suit your preferences.
Skill Level
Ambitious Beginner / Easy Intermediate
- Must be comfortable chaining, single and double crochet, working in rows, and basic seaming.
- Shell stitch and picot edging are easy to master.
Materials
- Medium weight cotton or cotton-blend yarn (quantity depends on size, typically 350–500g for a standard adult)
- Crochet hook: 4.0mm or size needed for gauge
- Large eye yarn needle for seaming and weaving ends
- Scissors
- Stitch markers (optional)
Measurements / Sizing
- Width (across bust): Approx. 41 cm (16 in) per panel
- Height to underarm: Approx. 37 cm (14.5 in)
- Strap length: Approx. 12 cm (4.7 in)
- Panel count: Two identical panels (front and back, construction is mirrored)
- You may adjust the initial chain to resize (in multiples of the motif, plus turning chains).
Gauge (and Stitch Pattern)
Gauge:
- 17 stitches across x 3 rows of shell pattern = 10 x 10 cm (4 x 4 in)
- Adjust hook size for best fit.
Main Pattern:
- Shell: (2 dc, ch 1, 2 dc) in ch-1 space
- Dc in the regular dc between shells
Stitch Abbreviations
| Abbreviation | Meaning |
|---|---|
| ch | Chain |
| sc | Single crochet |
| dc | Double crochet |
| sl st | Slip stitch |
| sp | Space (e.g., ch-1 sp = chain 1 space) |
| WS | Wrong side |
| RS | Right side |
Special Stitches
- Shell: (2 dc, ch 1, 2 dc) all in the same designated stitch or space
- Picot: ch 3, sl st into first ch made
Step-by-Step Pattern
1. Foundation & Body Panel
Step 1: Make Foundation Chain
- Ch 115. (This is the width and should measure approximately 41 cm or 16″.)
Step 2: Row 1 (WS) — Single Crochet Foundation
- Ch 1 (does not count as a stitch), sc in each ch across. (115 sc)
- Turn.
Step 3: Row 2
- Ch 1, sc in each st across (115 sc).
- Turn.
Step 4: Row 3 — Start Shell Motif
- Ch 3 (counts as dc, here and throughout this section).
- Dc in the next 16 sts (17 dc total, including turning ch).
- Turn.
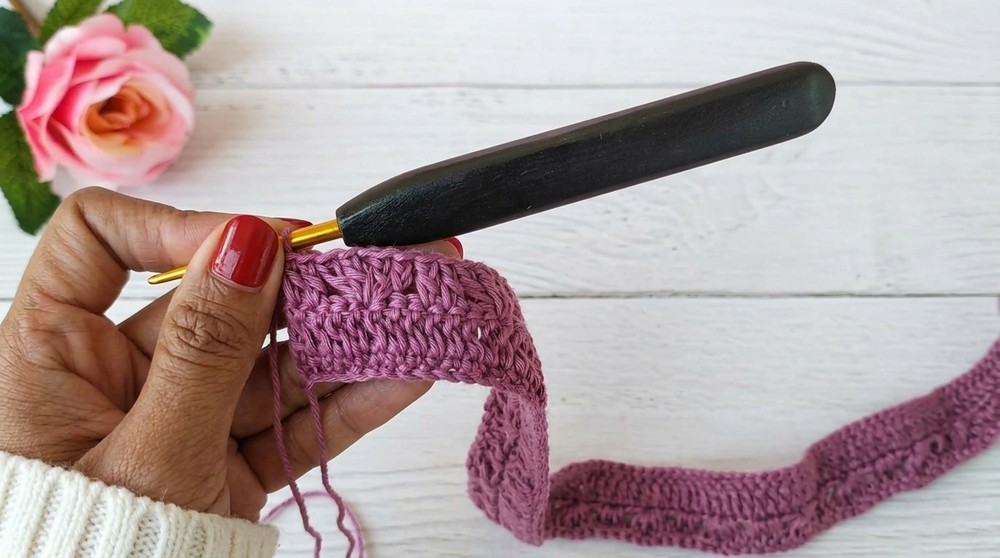
Step 5: Row 4 — First Shell Pattern Row
- Ch 3, turn.
- Dc in first st, skip next 2 sts.
- (2 dc, ch 1, 2 dc) in next st (makes a shell), skip 2 sts, dc in next st; repeat from * to end of row.
- At the end, your row should alternate between shells and single dc stitches across.
Rows 5–19: Continue Shell Pattern
- Each row: Ch 3, turn.
- (2 dc, ch 1, 2 dc) in ch-1 space of previous row’s shell, dc in next dc; repeat to end.
- Repeat for a total of 16 motif rows (your panel should now be about 37 cm tall).
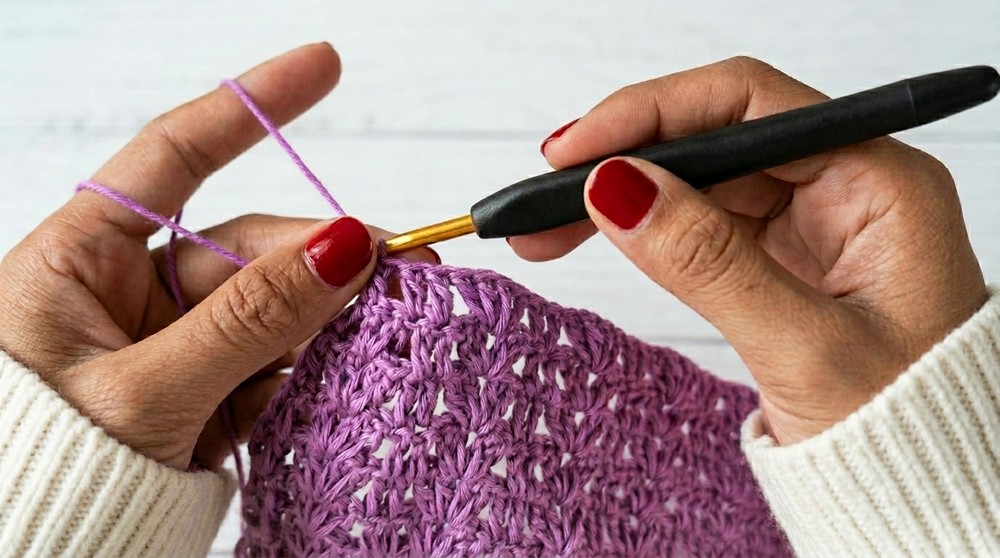
2. Armhole & Neck Shaping (Rows 20–28)
Step 6: Begin Armhole Decreases
- Row 20: Ch 3, turn.
- Skip the first ch-1 space (first shell), continue shell pattern up to the last shell, skip last ch-1 space, dc in turning ch or last st at the end of row.
- This removes one shell motif at each side, starting the curve of the armhole and neckline.
Rows 21–28: Continue Decreasing
- Each row: Continue shell pattern, skipping an extra shell at both the beginning and end of each new row.
- Repeat for a total of 8 decrease rows.
- Your panel will now be narrower at the top for armholes and neck.
3. Straps (Make Two)
Step 7: Attach Straps at Shoulder Corners
- At each top corner (shoulder area), attach yarn and ch 3.
- Row 1: Dc in same place; (2 dc, ch 1, 2 dc) in next ch-1 space; repeat across strap width.
- Work in this pattern for about 11 rows, or until the strap is 12 cm (4.7 in) long.
- Fasten off.
- Repeat for the other shoulder to make two straps.
4. Finishing Body & Edges
Step 8: Make Second Panel
- Make a second identical panel following steps 1–7 for the back of your top.
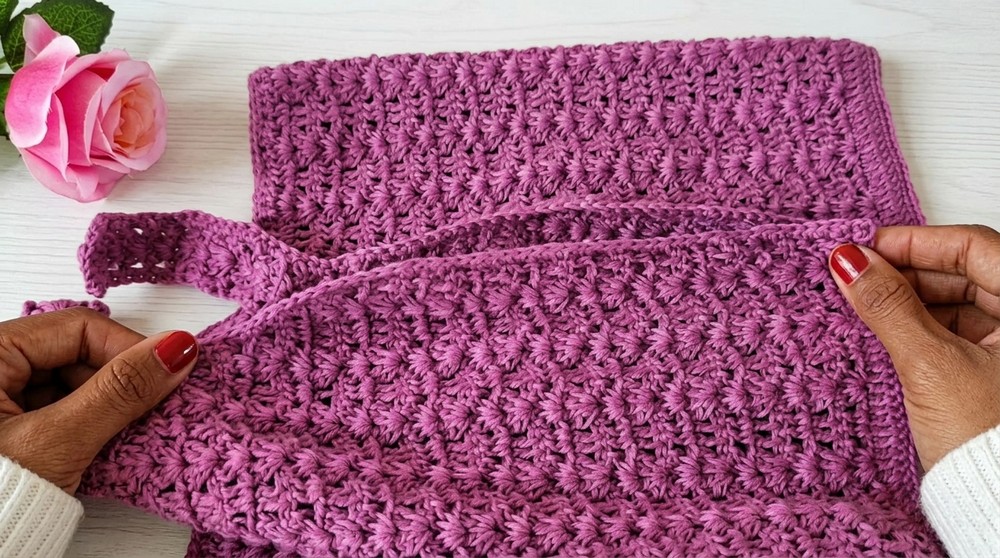
Step 9: Join Panels
- With right sides (RS) facing, align panels.
- Use a yarn needle or sc/whip stitch to seam side edges from armhole (row 19) down to bottom hem.
- Seam shoulder tops, joining strap ends.
- Leave armholes and neck opening unseamed.
5. Edging
Step 10: Work Edging Around Openings
- Attach yarn at neck, armhole, or hem.
- Work sc evenly around the opening of each armhole and neck for a neat finish.
Step 11: Picot Edging for Hems and Sides
- Along bottom and side seams:
- Work 2 sc, ch 3, sl st into first ch (picot made), 3 sc, ch 3, sl st into first ch (repeat).
- Continue this pattern all around.
- Fasten off and securely weave in all ends.
Assembly & Finished Size
- Your crochet top will measure about 41 cm across and 49 cm from shoulder to hem, with 12 cm straps.
- Shell fabric stretches; for a looser fit, increase foundation chain and add more rows as desired.
- Panel construction makes for easy adjustments and sizing.
- Neatly weave in all tails on the wrong side for a clean finish.Ftop
Conclusion
You’ve now completed your elegant lacy shell crochet vest! Thanks to its simple panel construction, motifs, and easy shaping, you’ve created a fashionable, lightweight garment suited for warm days or layering. Wear your top proudly or share it as a thoughtful handmade gift. Continue to explore motif patterns and make variations—your crochet wardrobe has only just begun.