Free Crochet Granny Square Headscarf Pattern (Step-by-Step)
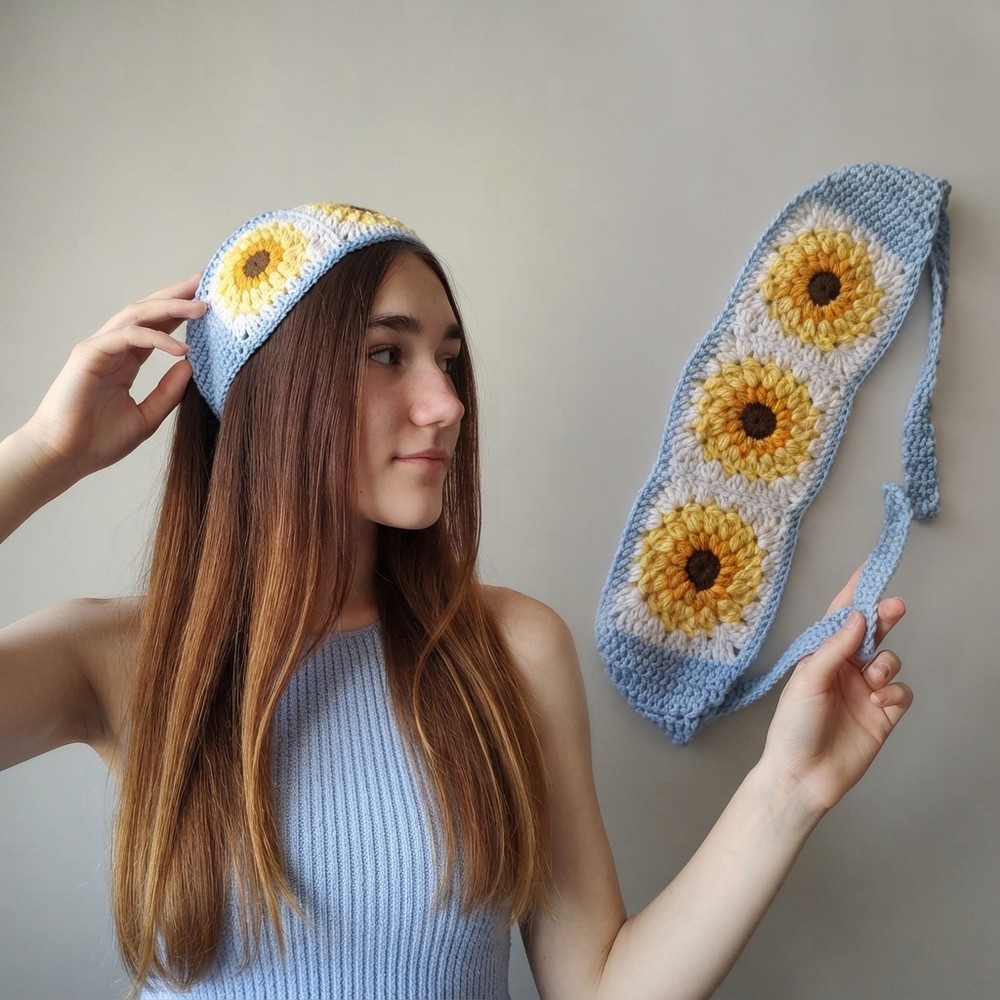
Enhance everyday looks using this free crochet granny square headscarf pattern that offers lightweight comfort and vibrant design elements.
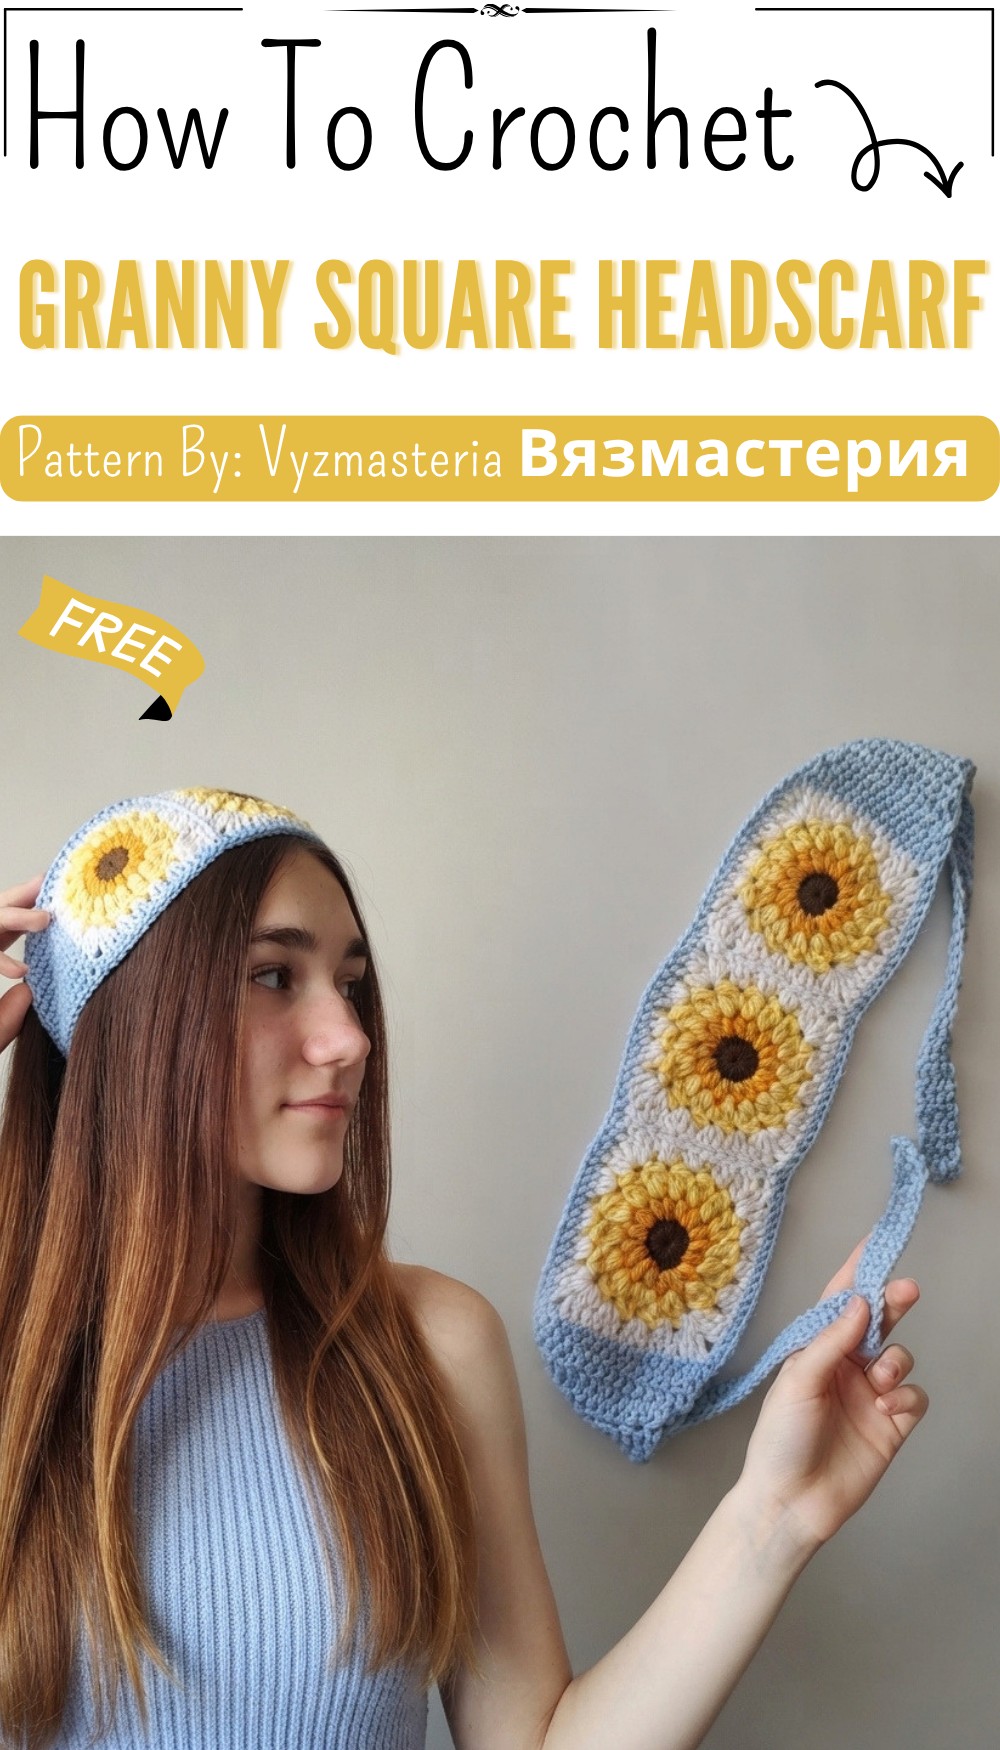
There’s something so wonderfully timeless and free-spirited about a granny square accessory. It brings a touch of handmade warmth and retro style to any modern wardrobe, making it a truly special piece to own. If you’ve been searching for a fun and stylish project to dive into, this Free crochet Granny Square Headscarf pattern is the perfect place to start. You can create your very own vintage-inspired headscarf with the excellent visual guide provided by the creator at Вязмастерия.
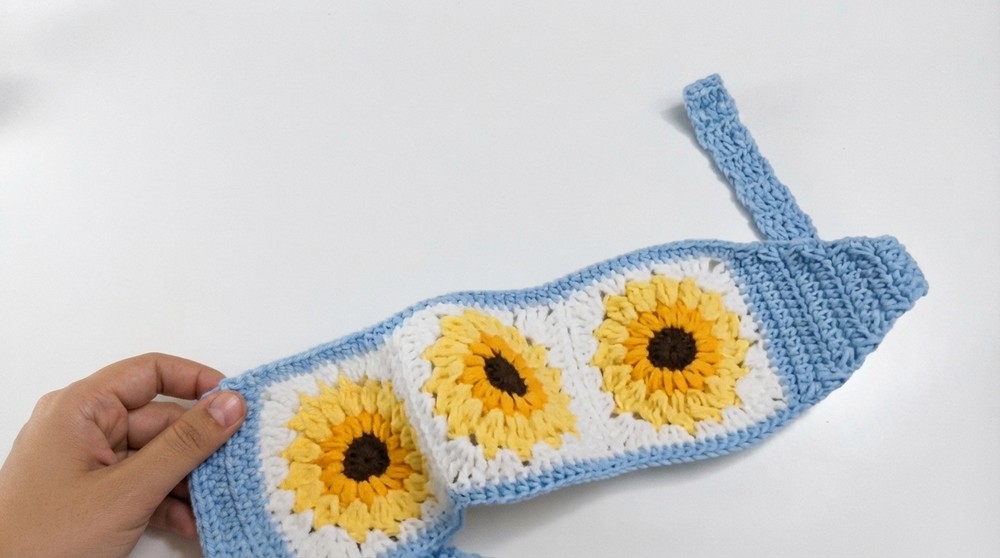
This charming headscarf, often styled as a bandana, is built from classic granny squares joined together to form a triangle. The beauty of this design lies in its incredible potential for customization. You can play with a vibrant mix of colors for a truly bohemian look, or choose a more muted, monochrome palette for an accessory that is chic and understated. It’s the perfect project for using up leftover yarn scraps, ensuring that no two headscarves will ever be exactly alike.
Quick Granny Square Headscarf — Free Crochet Pattern
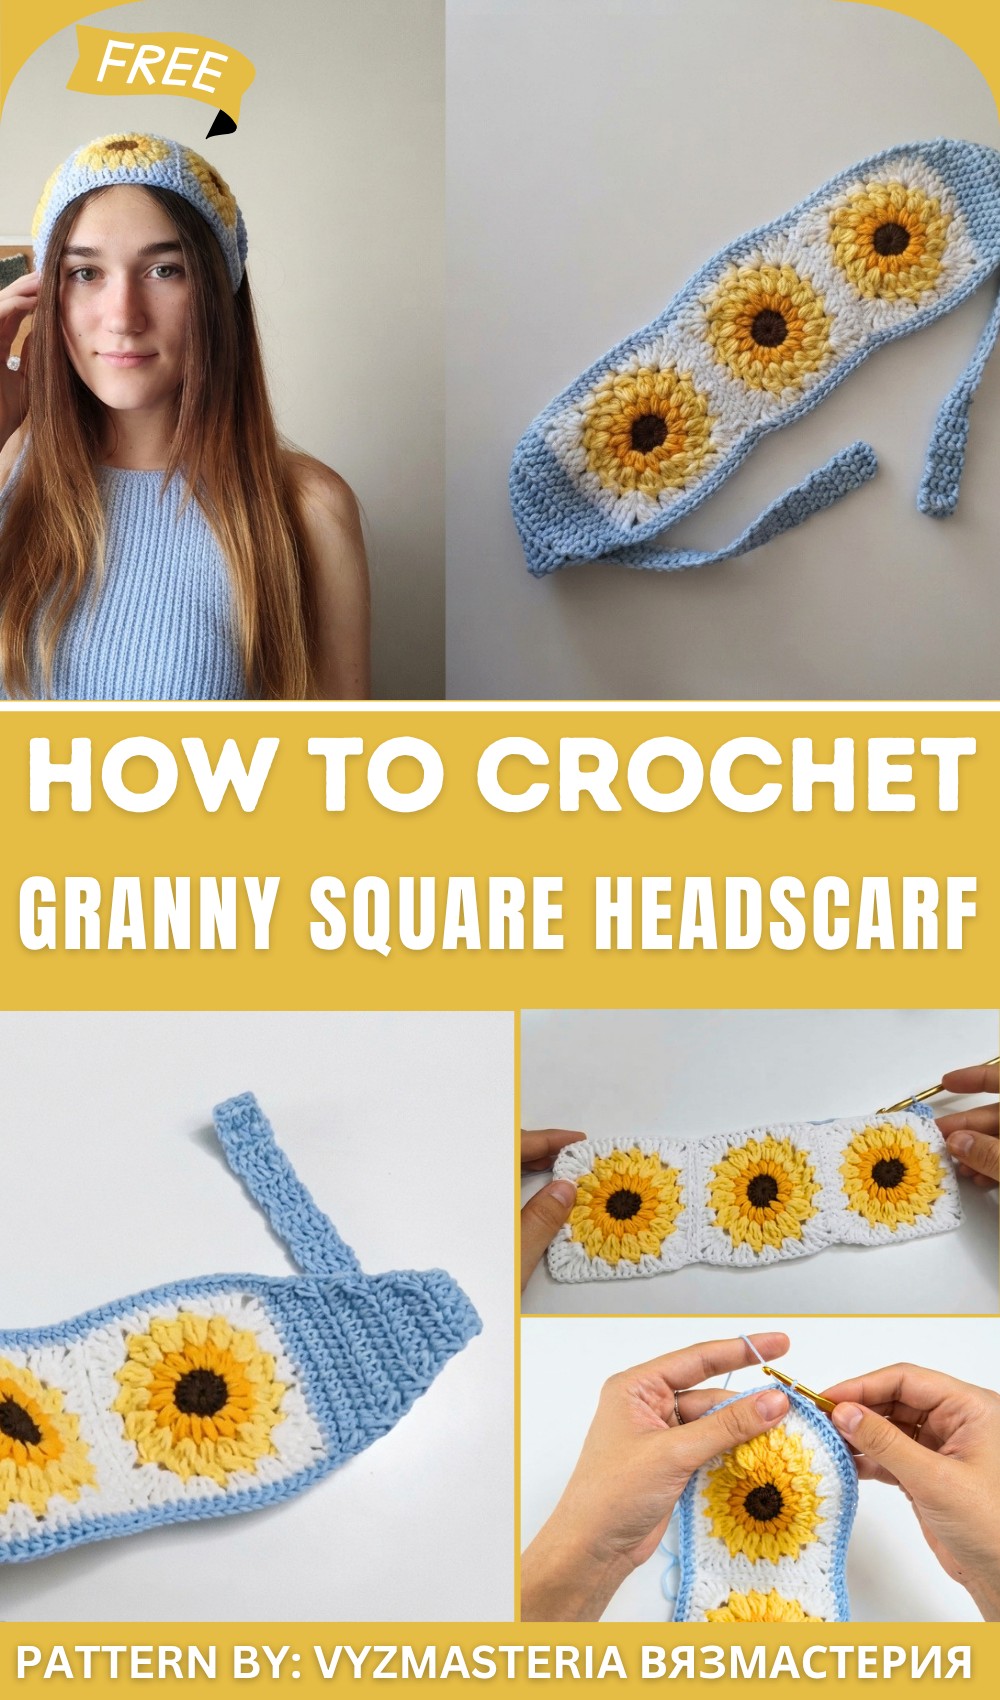
Beyond its decorative appeal, this headscarf is incredibly versatile. It’s a stylish way to keep your hair tidy on a breezy beach day, a perfect addition to your festival outfit, or a simple way to add a pop of personality to a casual look. You can wear it tied at the back of your head, under your chin, or even fastened to the handle of your favorite bag for a bit of handmade flair.
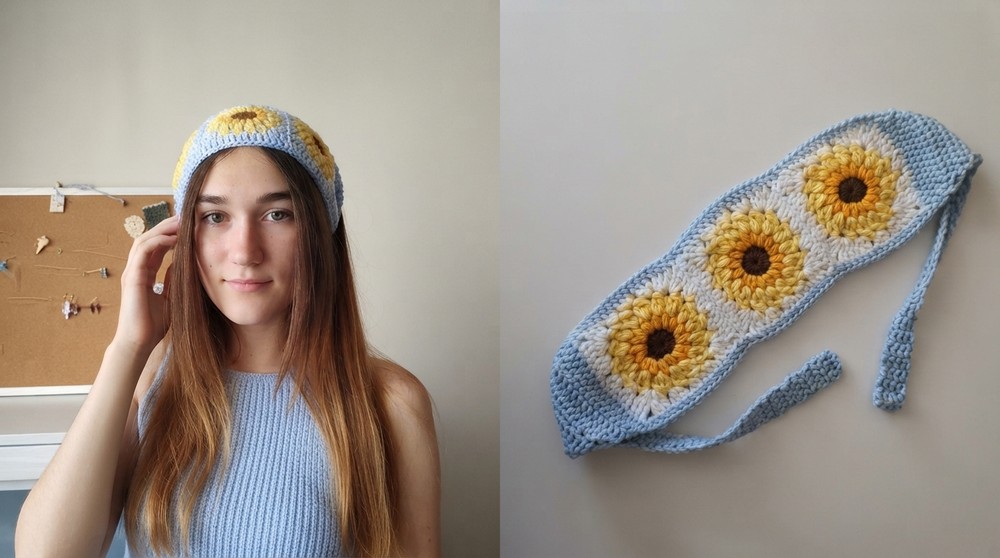
As a gift, this project is simply perfect. Creating a personalized headscarf in a friend’s favorite colors makes for a thoughtful and unique present that they are sure to cherish. It’s a rewarding and relatively quick make that results in a beautiful, wearable piece filled with character and love.
Crochet Granny Square Bandana Assembly Pattern
A beginner-friendly, easy-to-follow guide to assembling a crochet bandana from pre-made granny squares. This step-by-step pattern explains how to join squares, add an edge border, and create tapered ties with clear instructions and stitch highlights.
Materials Needed
- Crochet Hook: Recommended size is 2.5 mm. You may use 1.5 mm or 2 mm for smaller granny squares.
- Yarn: Choose any color(s) of your choice, preferably matching the yarn used for granny squares.
- Embroidery Needle: A blunt-ended needle with a wide eye suitable for yarn.
- Other: Scissors and tapestry needle for finishing work.
Step 1: Joining Granny Squares
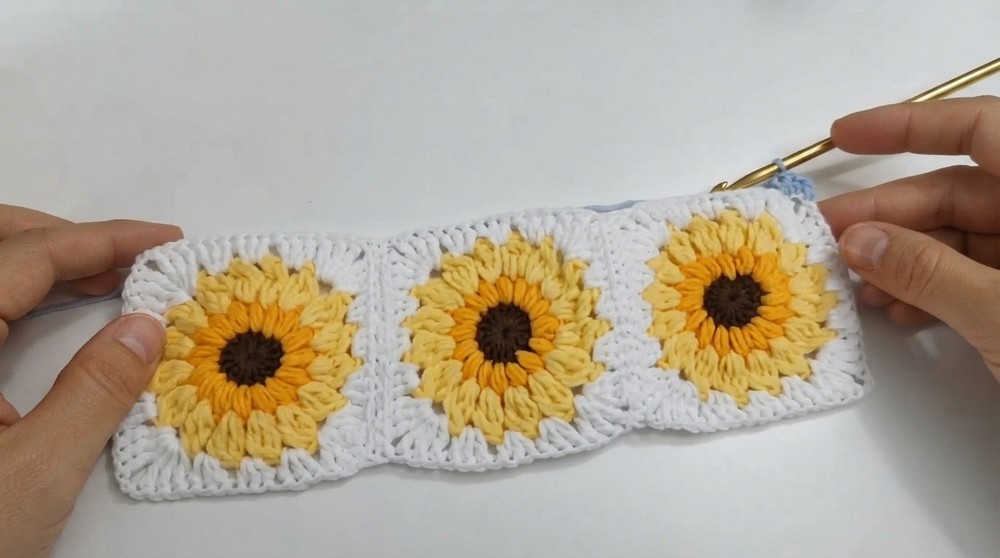
Arrange your granny squares in the desired layout to form the bandana panel.
Join the squares by sewing through the back loops only of the adjacent stitches. Use a yarn threaded on an embroidery needle to stitch along these back loops.
- Pull the thread tight enough to keep seams neat but not so tight that fabric puckers.
- The goal is for seams to be flat and almost invisible.
- Secure with small knots at the start and end of seams to prevent unraveling.
Step 2: Adding the Edge Border
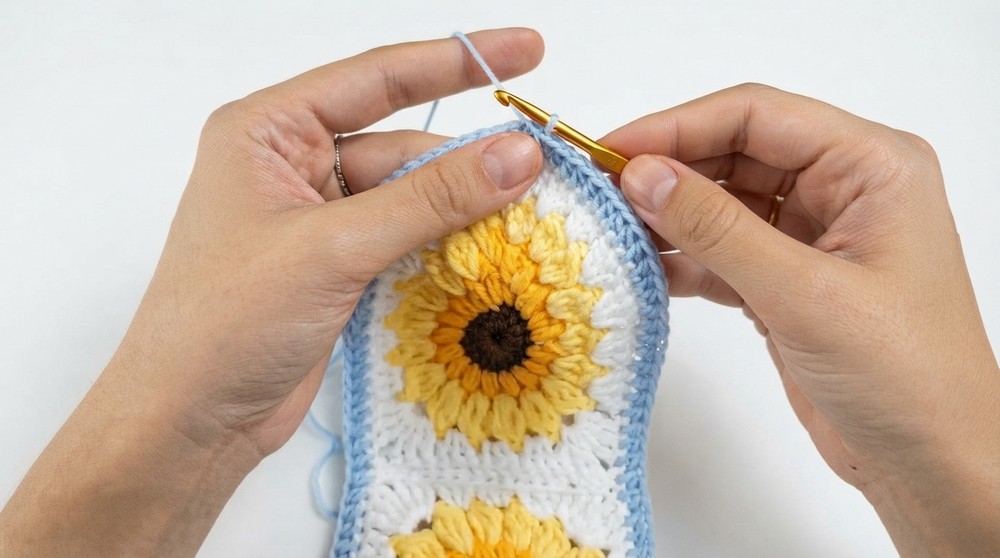
Attach your yarn to any corner stitch on the joined granny square panel.
Work a foundation round of half-double crochet (HDC) stitches around the entire perimeter:
- Maintain a consistent stitch count — approximately 130 stitches for the entire border.
- At each corner, do not work into the chain spaces; this keeps the edges firm and tidy.
- Join the round with a slip stitch to close.
- Fasten off or keep yarn attached if moving directly to ties.
Step 3: Creating the Ties
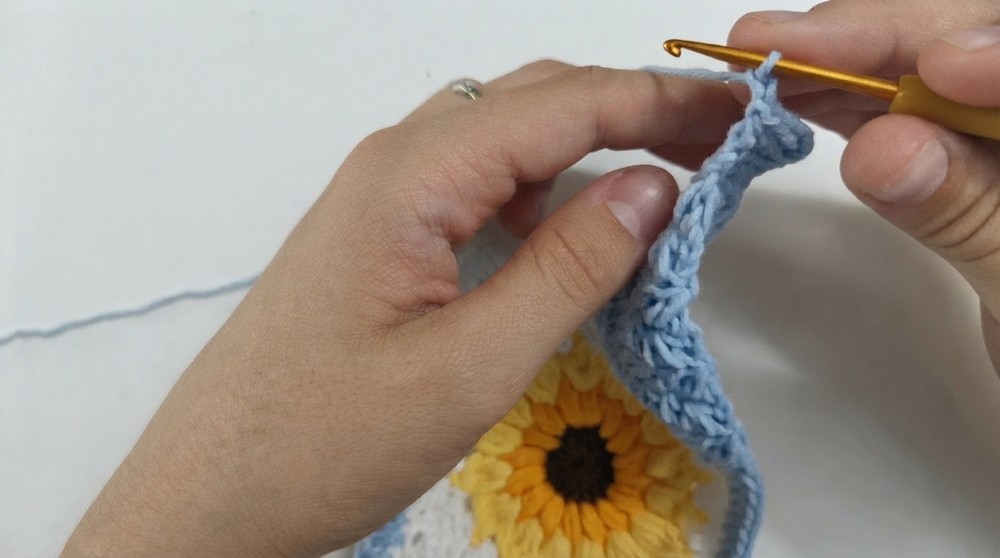
You will create two ties, one on each side, by working rows with strategic decreases.
Steps for One Tie:
- Turn your work after completing the border.
- Begin working rows of half-double crochet (HDC).
- Start each row with a decrease:
- The decrease is a half-double crochet decrease (HDC dec), made by crocheting two HDC stitches together.
- Follow the decrease pattern carefully to reduce the width of the tie gradually.
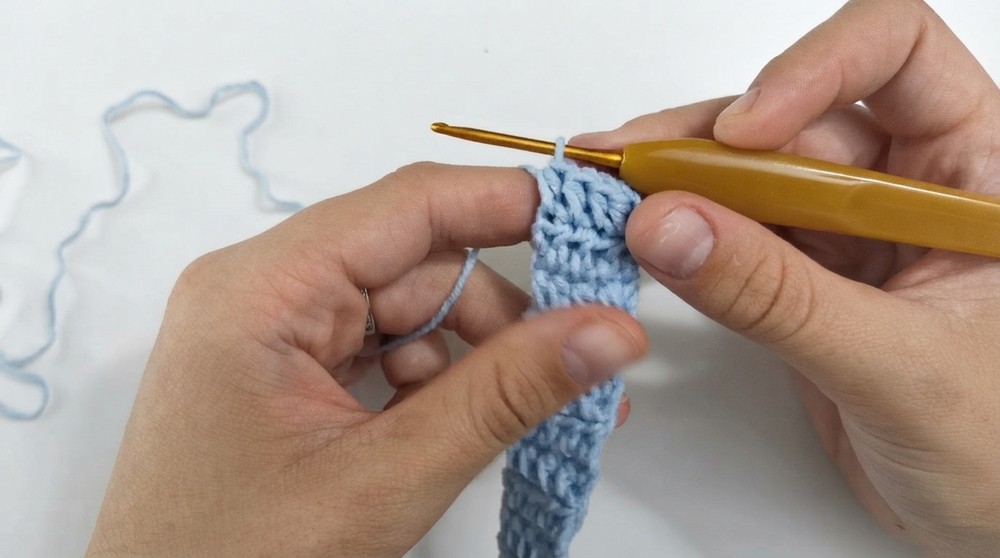
- Continue decreasing rows until the tie is about 4 HDC stitches wide.
- Once the desired width is reached, work straight rows of HDC stitches (no decreases) to create the length of the tie.
- Finish the tip of the tie by working slip stitches to close and taper the end neatly.
Repeat the same process on the opposite side for the second tie.
Stitch Guide and Highlights
- Chain (ch): Yarn over, pull yarn through loop on hook.
- Half-Double Crochet (HDC): Yarn over, insert hook into stitch, yarn over, pull through stitch (3 loops on hook), yarn over, pull through all loops.
- Half-Double Crochet Decrease (HDC dec): Insert hook in next stitch, yarn over, pull up a loop, insert hook in next stitch, yarn over, pull up a loop, yarn over and pull through all loops on hook — reduces two HDC into one.
- Slip Stitch (sl st): Insert hook into stitch, yarn over, pull through stitch and loop on hook.
- Back Loops Only (BLO): Work the stitch only in the back loop of the stitch, creating a ridge effect, used especially in joining granny squares.
Summary of Assembly Process
- Joining Squares: Sew granny squares together through back loops only to create a flat, invisible seam.
- Edging: Work one round of half-double crochet around the joined panel, avoiding chain spaces at corners, to create a firm, consistent border.
- Ties: Shape tapered ties by working rows with half-double crochet decreases, reducing stitch count row by row until ties reach the desired narrow width. Lengthen ties by working straight rows, then finish tips with slip stitches.
- Finishing: Repeat for second tie. Weave in all ends securely.
Tips for Beginners
- Use stitch markers to help keep track of your stitch counts and rows.
- Take your time pulling joining yarn tight—too tight causes puckering; too loose creates gaps.
- Practice the half-double crochet decrease on a small swatch before working on ties.
- Keep an even tension throughout to ensure uniform stitches and avoid irregular edges.
- Refer to the stitch guide if unsure about any stitch.
Finished Bandana
Your finished bandana will feature:
- A neatly joined granny square panel with flat seams.
- A sturdy, neat border framing the panel.
- Two tapered, comfortable ties allowing the bandana to be tied securely.
- Overall size depending on your granny square number and hook size selection.
Conclusion
This beginner-friendly pattern offers you simple, clear instructions to turn granny squares into a finished crochet bandana through careful joining, edging, and shaping. You will gain confidence with joining techniques, half-double crochet basics, and decreases while creating a stylish accessory.