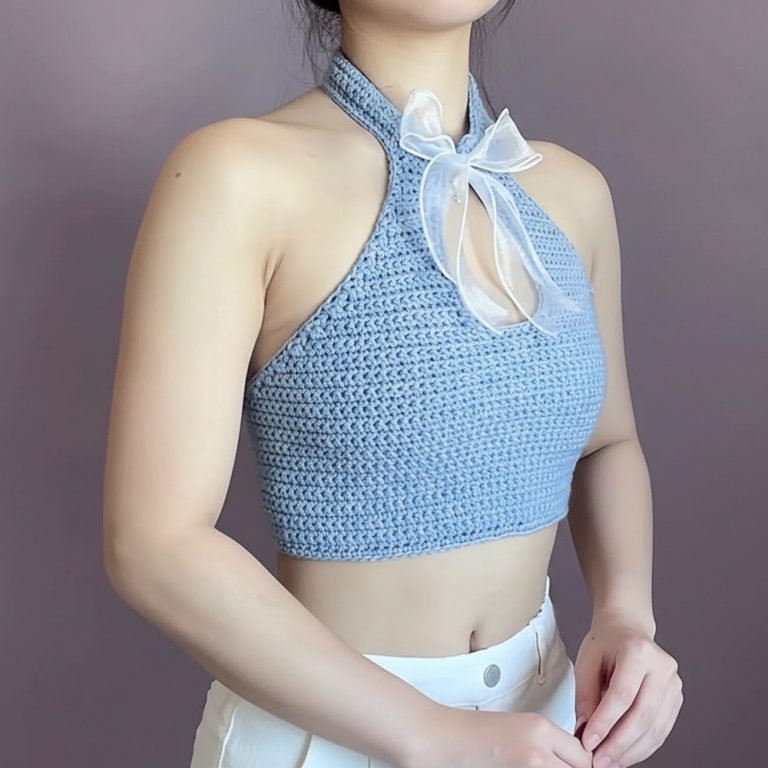
Free Crochet Halter Top Pattern Perfect For Festival Vibes

Slip into summer style with this free crochet halter top pattern perfect for sunny days and easy comfort in every handmade detail you love.
Pretty and light to wear a halter top made by crochet stands out with its beautiful look and cool open pattern that lets skin breathe. Someone can use this top for sunny days beach trips or to give a normal outfit a fun twist. With a crochet halter top pattern there is an easy way to make a top that feels comfortable is easy to move in and can show off a favorite color.
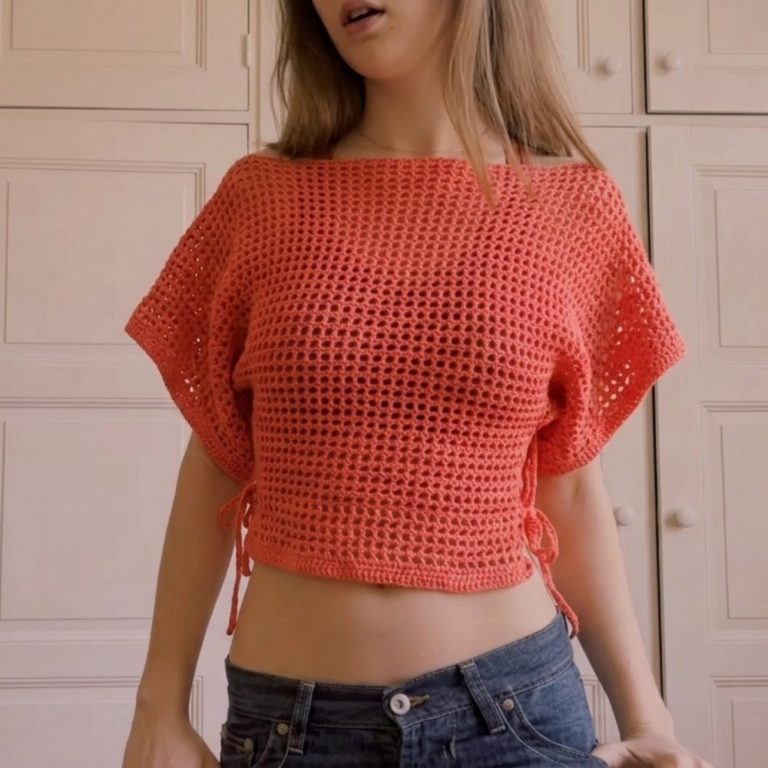
Youthful Free Crochet Halter Top Pattern For Casual Style
This kind of top stretches just enough so it fits the body without feeling too tight or loose. It has a special charm because it is made by hand and each stitch looks unique. Caring for it is simple because it can be washed and dried and used over and over again. It is perfect for a warm weather party a lazy afternoon or just feeling relaxed and stylish wherever someone goes.

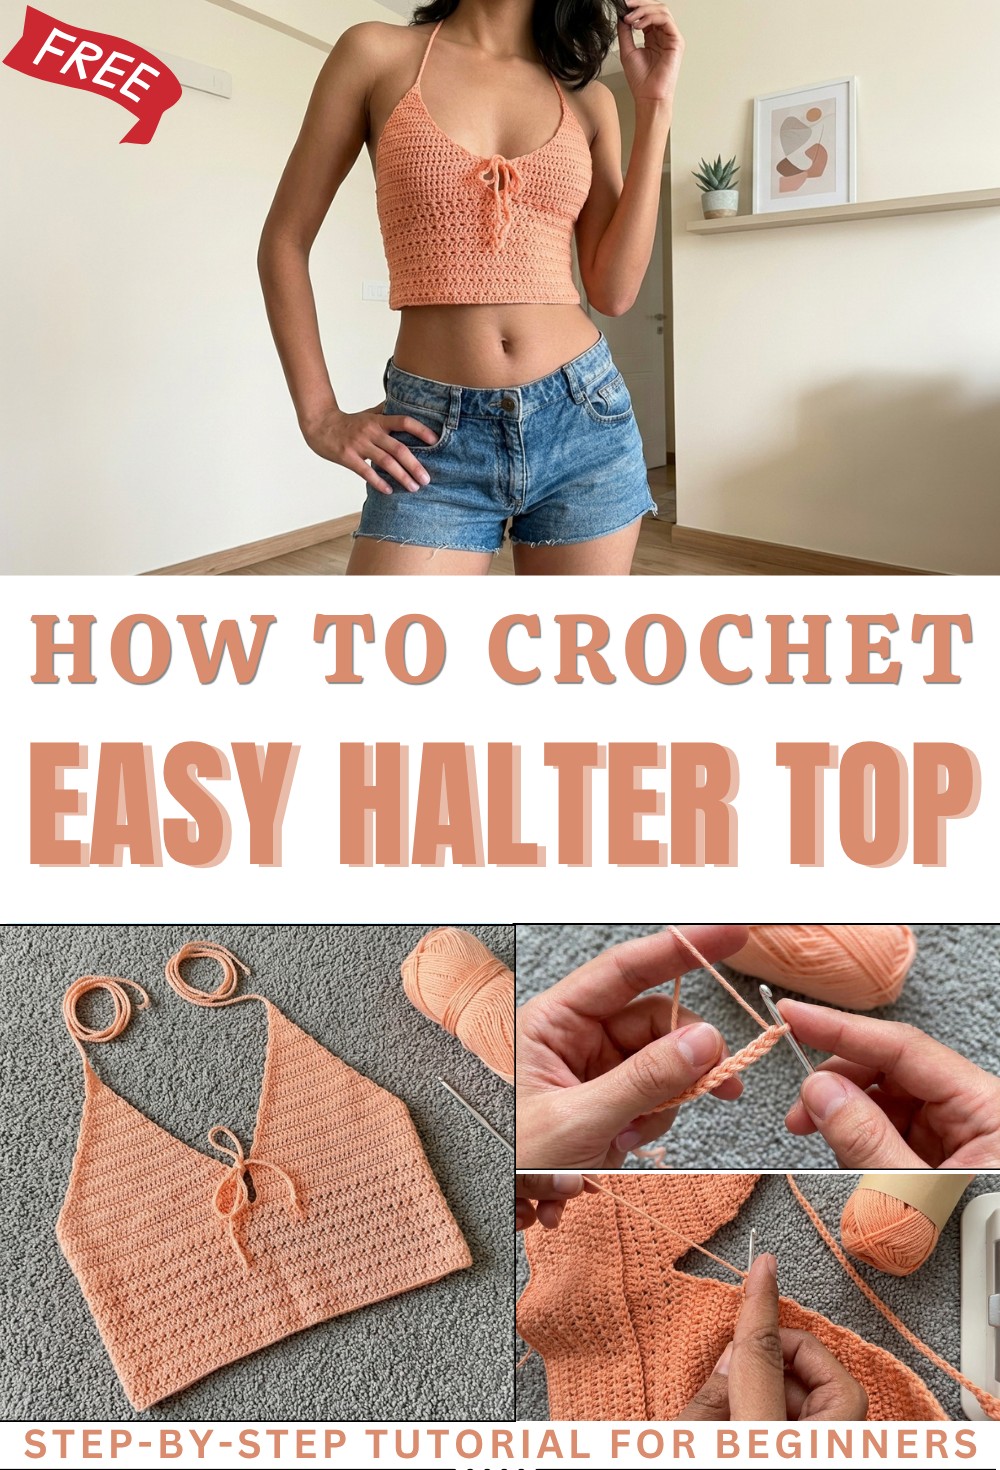
Free crochet halter top Pattern
Materials
- Yarn: Light weight yarn.
- Hook size: 2.5 mm crochet hook
- Other: Stitch marker, yarn needle for weaving in ends, scissors
Optional: Measuring tape to adjust sizing
Key Abbreviations (US Terminology)
| Abbreviation | Description |
|---|---|
| ch | chain |
| st | stitch |
| dc | double crochet |
| dec | decrease |
| sc | single crochet |
| rep | repeat |
| sk | skip |
Special Notes
- Pattern is written for an extra small (XS) size; adjust foundation chain and rows as needed for other sizes.
- Alternate rows use either standard double crochet or crossed double crochet (explained below).
- The pattern is constructed in panels and seamed together at the end.
- Customization: Increase or decrease the number of stitches and rows for a better fit.
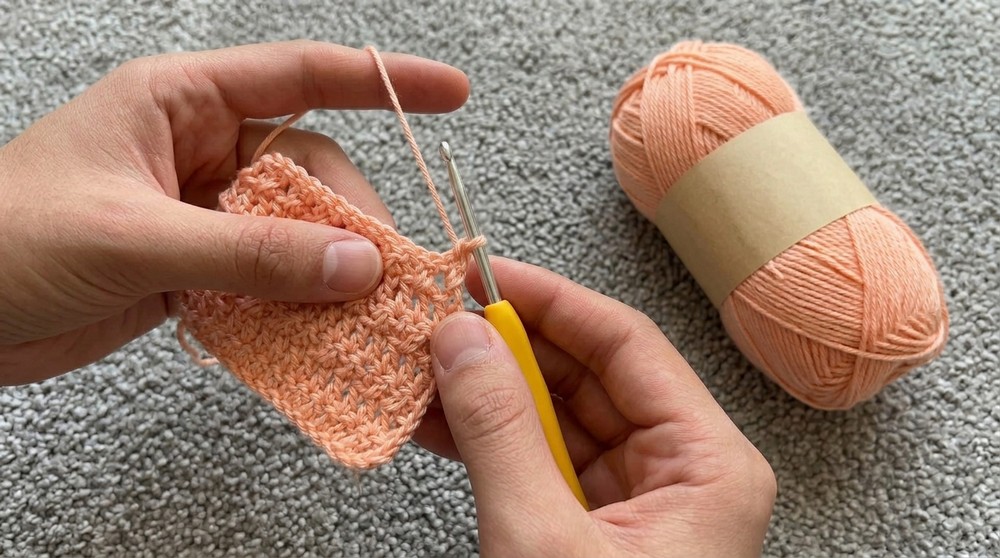
Stitches/Techniques Used
Double Crochet (dc): Yarn over, insert hook into stitch, yarn over, pull through (three loops on hook), yarn over, pull through two loops, yarn over, pull through remaining two loops.
Crossed Double Crochet: Skip one stitch, dc into next stitch, then dc backward into the skipped stitch.
Double Crochet Decrease (dc dec): Yarn over, insert hook into stitch, yarn over, pull through (three loops on hook), yarn over, pull through two loops. With two loops on hook, yarn over, insert hook into next stitch, yarn over, pull through (four loops), yarn over, pull through two loops, yarn over, pull through remaining three loops.
Pattern
1. FRONT PANEL
Step 1: Measure and Chain Foundation
- Measure the width of your body from one side of the bust to the other (front only).
- Foundation Chain:
For XS, chain 76 (adjust number for preferred width).
Pattern Example:
ch 76

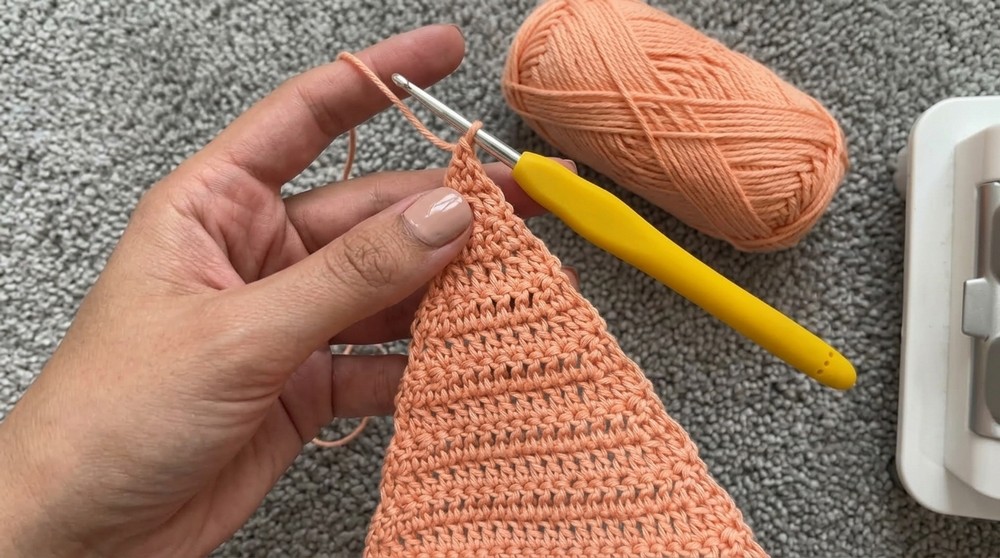
Step 2: Row 1 (Double Crochet)
Ch 2- Dc in 3rd ch from hook, and in each ch across.
- Turn.

Step 3: Row 2 (Crossed Double Crochet)
Ch 2, turn.- Skip the first st, dc in next st.
- Go back and dc in the skipped stitch (crossed effect).
- Repeat this sequence across the row: skip one st, dc in next, dc back into skipped st.
- Turn at the end of row.
Step 4: Row 3 (Double Crochet)
Ch 3, turn.- Skip first st (your ch 3 counts as dc for this row).
- Dc in each st across.
- Turn at end.
Step 5: Row 4 (Crossed Double Crochet)
- Repeat Row 2.
Step 6: Continue Pattern
- Alternate between rows of standard dc and crossed dc:
- Odd rows: standard dc
- Even rows: crossed dc
- Continue until panel reaches desired length (sample: 14 rows).
2. BUST CUPS
Step 1: Find Cup Center
- Fold panel in half, place a stitch marker in the center.
Step 2: Cup Shaping
- Cup Row 1:
Attach yarn at one side of the marker.
Ch 3, turn.
Dc in each st across to center marker, working into marked st as well. (Remove marker after working into it.) - Cup Rows 2-5:
Ch 3, turn.
Dc in each st across. - Adjust number of rows to fit your bust (sample uses 5 rows).
Step 3: Begin Decreasing
- Cup Row 6 and onwards (Decrease Rows):
Ch 2, turn.- Dc in first st
- Dc dec across next two sts (see ‘Special Stitches’ above)
- Dc in all sts across until three sts remain
- Dc dec in next two sts
- Dc in last st (edge)
- Turn and repeat, decreasing at each edge, until 1 st remains.
Step 4: Create Strap
- With the last loop on hook, ch a long strap (sample: ch 140 or desired length to go over your shoulder and tie at back).
- Fasten off; weave in end.
Step 5: Second Cup
- Repeat the above steps on the other half of your panel (from center to side) to create second cup and strap.
3. BACK PANEL
- Repeat the instructions for the front panel.
- Note: Sample used only 12 rows for the back due to running out of yarn, but you may prefer to match the front length.
4. Seaming
- Place front and back panels right sides together.
- Use sc to sew side seams from the edge toward the center, stopping at the mid-bust (or leaving enough opening for your body to fit).
- Cut yarn, fasten off.
- Repeat seam for the other side.
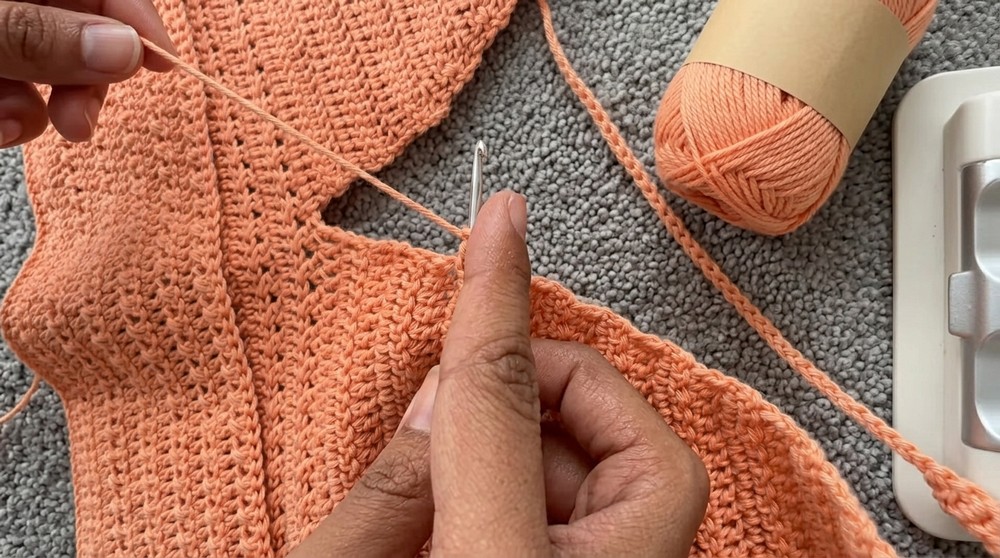
5. Front Tie Strings
- Attach yarn to the 5th row down from the top of the cup (where you want ties to start).
- Leave a long tail to weave in later.
- Ch 70 (or as long as desired for ties).
- Sc back down chain for extra security.
- Repeat for other cup.
Finishing
- Weave in all ends using yarn needle.
- Turn garment right side out and adjust fit as needed.
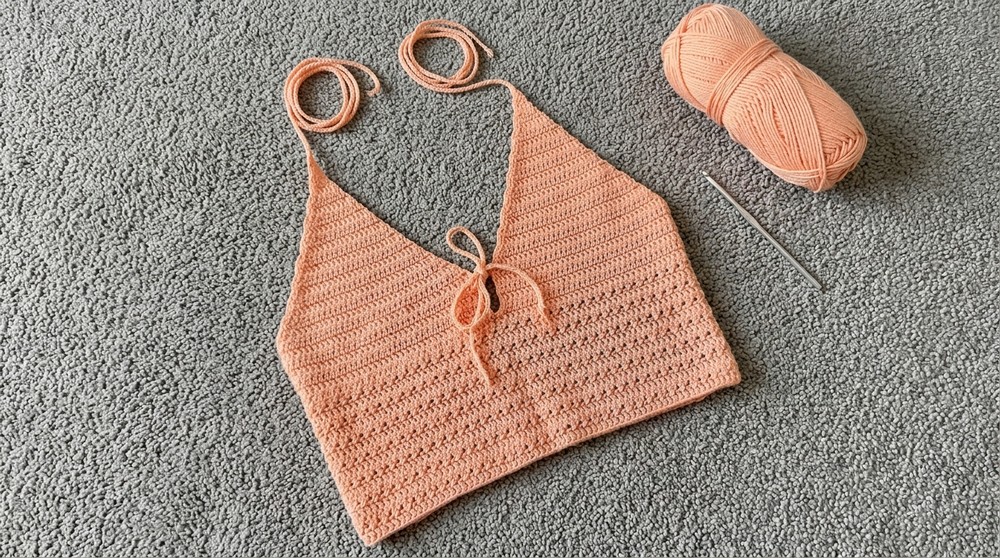
Conclusion
You have now completed your stylish, lightweight crochet blouse with a charming front tie detail. This pattern lets you adjust sizing and finish for your unique fit and style. With its alternating rows and delicate crossed stitches, your blouse is sure to make a statement.
Pattern Correction and Tips
- Correction: For the cups, always decrease at both edges, not just one, to shape nicely.
- Tip for Beginners: Place stitch markers at the start and end of decrease rows to remember where to reduce stitches.
- Size Adjustments: Increase or decrease foundation chains and rows to fit your unique measurements.
- Finishing Touch: Block your finished piece if desired for crisper stitches and better drape.