Hot Air Balloon Free Crochet Pattern: Perfect Gift Idea
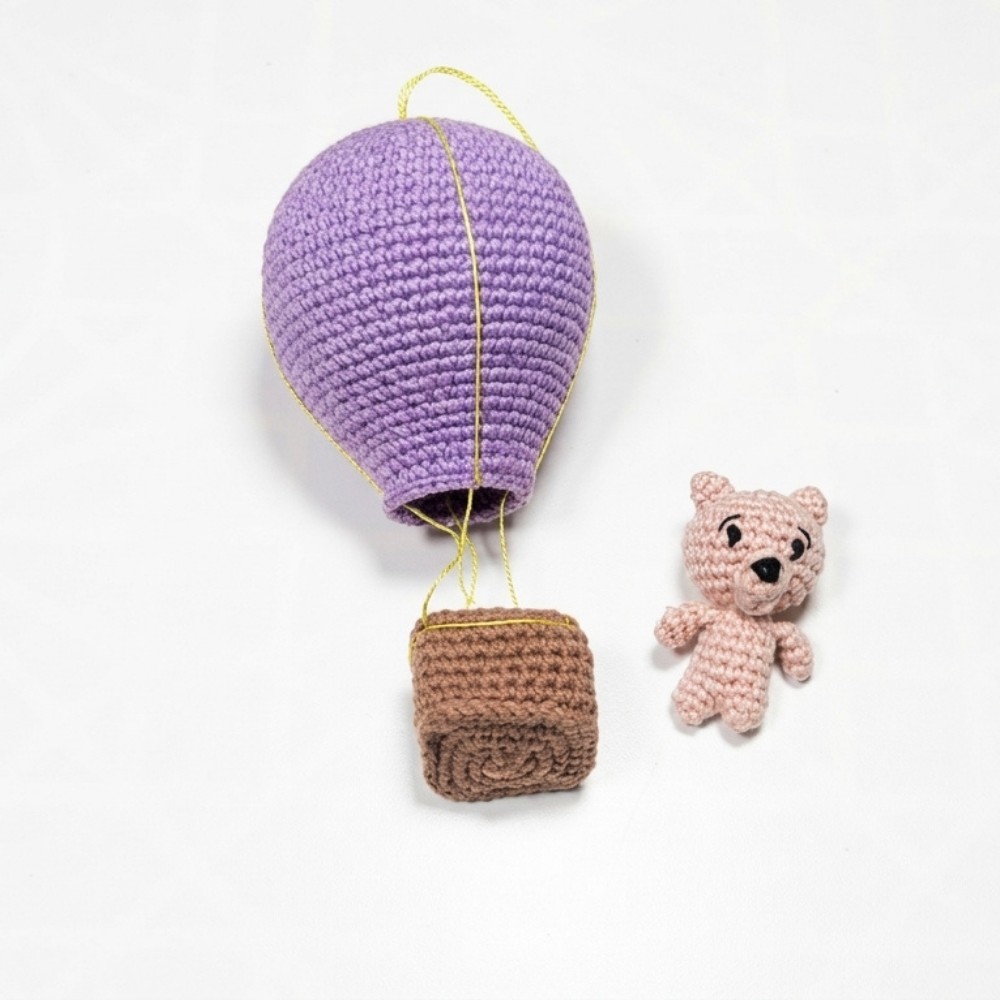
Accessorize children’s spaces creatively with the Free Crochet Hot Air Balloon Pattern that’s providing light and lovely crochet balloons perfect for playrooms.
There’s something magical about handmade decorations that bring warmth and personality to any space. One charming project that captures this feeling is a delightful crochet hot air balloon. On the YouTube channel Наташа Болди /вязание крючком, you’ll find a wonderful tutorial that guides you through creating this sweet design with ease.
The free crochet hot air balloon pattern is a lovely item that can be used as a decoration or a gift. Its soft, fluffy texture and round balloon shape paired with a tiny basket make it look both playful and elegant. The vibrant colors often chosen for the balloon add a cheerful touch that brightens up rooms, nurseries, or even party spaces.
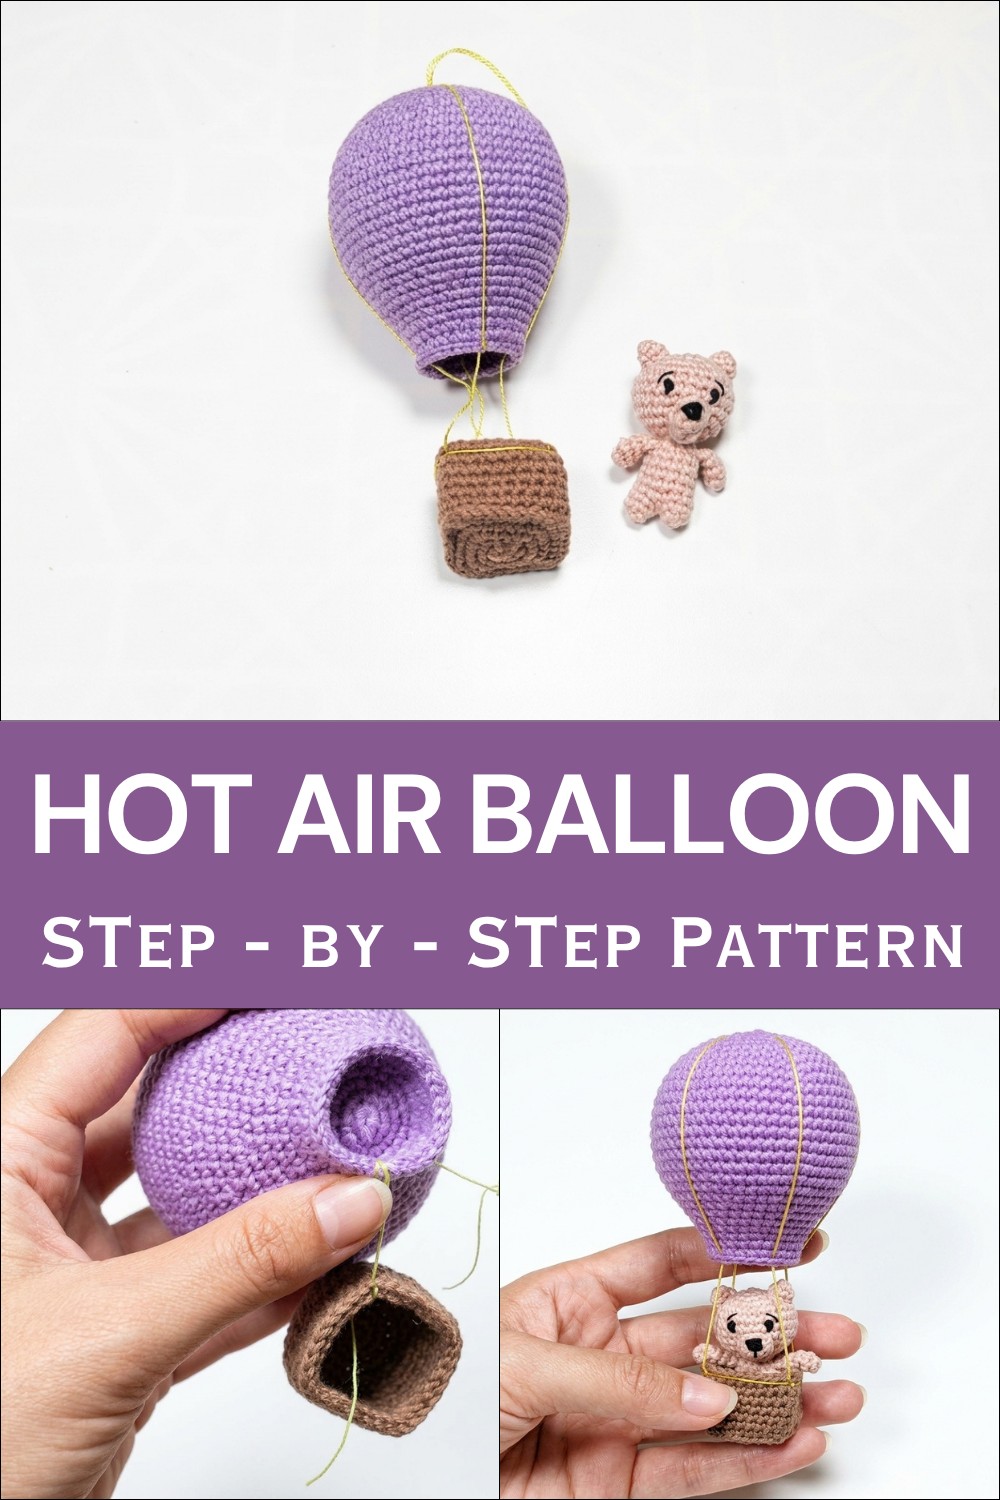
Hot Air Balloon Free Crochet Pattern for Amigurumi
This cozy project stands out for its cheerful charm and unique style. It can hang from a wall or ceiling, bringing a light and dreamy feel wherever it’s placed. People love to gift these handmade hot air balloons because they create a lasting memory and show special care.
Beyond its decorative beauty, this piece also sparks joy while making. The project is enjoyable for both beginners and seasoned crocheters who want to add a burst of creativity to their handmade collection. Handmade items like this hot air balloon also make great keepsakes or thoughtful presents for baby showers and birthdays.
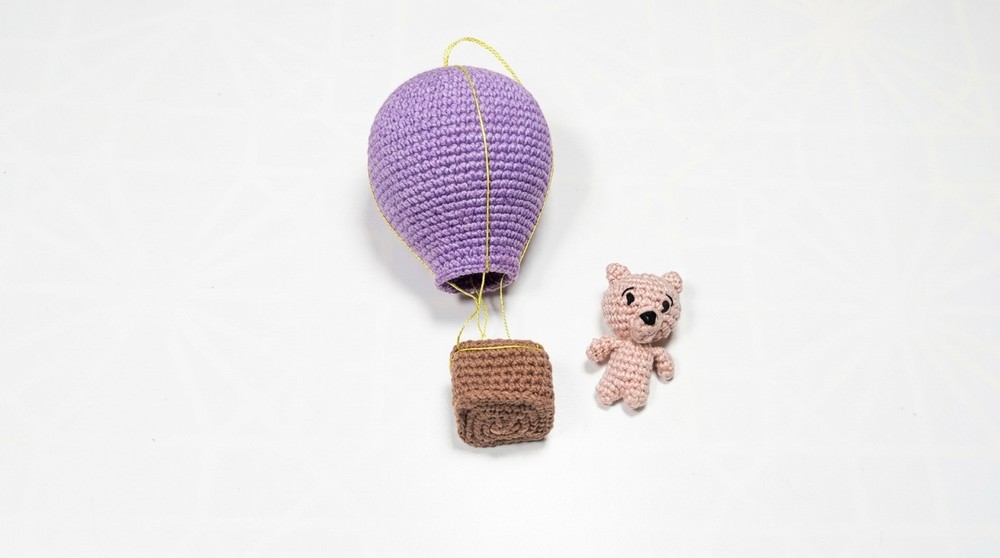
This free crochet hot air balloon pattern perfectly combines creativity, fun, and charm. It’s an adorable way to personalize your space or surprise a loved one with a handmade treasure full of heart.
Crochet Decorative Air Balloon Toy Pattern
This pattern provides a detailed guide to creating an attractive decorative air balloon toy using crochet techniques. The air balloon consists of three main parts—the base, the dome, and the basket—as well as carefully designed connecting strings to assemble the final piece. With clearly outlined rounds and stitch counts, this pattern ensures precise shaping and a charming finished toy.
Pattern Highlights
- Constructed in three main parts: Base/Bottom of Balloon, Main Balloon Dome, and Basket
- Uses basic stitches designed for shaping rounded and square forms, including increases and decreases for contour
- Incorporates precise measurements for suspension strings to balance the basket with the balloon
- Designed with color and texture variation possibilities for creative expression
Notes
- Pay close attention to stitch counts in each round to maintain shape consistency.
- Shifting increases and decreases alternate placement between rounds to shape the dome smoothly.
- Stuff the dome firmly before joining to the base to preserve the balloon’s roundness.
- For the basket, corner increases and decreases create a square shape with softly rounded edges.
- Use a ruler when creating the suspension strings to ensure balanced basket suspension and aesthetic accuracy.
Skill Level
Intermediate — Requires competency with crochet fundamentals such as the magic ring, single crochet (SC), increases, decreases, and working in rounds. Familiarity with shaping techniques is beneficial.
Materials
- Yarn in desired colors for balloon and basket
- Crochet hook sized appropriately to the yarn (commonly 2.5 – 3.5 mm)
- Fiberfill or other soft stuffing material
- Ruler for measuring suspension strings
- Optional: cardboard or stiff fabric for basket base
- Scissors and yarn needle for finishing and assembly
Measurements / Sizing
- Base and dome combine to produce a balloon approximately 10-12 cm in diameter depending on yarn and tension.
- Basket dimensions approximately 4 cm square, forming a compact base.
- Suspension strings are measured exactly at 4 cm each for a balanced assembly.
Gauge and Stitch Pattern
- Worked primarily in single crochet (SC) in continuous or joined rounds depending on piece shape.
- Stitch counts and spacing precisely control increasing and decreasing to sculpt forms accurately.
- Consistency in tension is key for even shaping.
Stitch Abbreviations
| Abbreviation | Meaning |
|---|---|
| SC | Single crochet |
| INC | Increase (2 SC in 1 stitch) |
| DEC | Decrease (single crochet 2 stitches together) |
| MR | Magic ring (adjustable starting loop) |
Special Stitches and Techniques
- Magic Ring (MR): Creating tightly closed starting circles for pieces worked in rounds.
- Shifted Increases/Decreases: Alternating placement of these stitches between rounds to maintain smooth shaping.
The Crochet Pattern
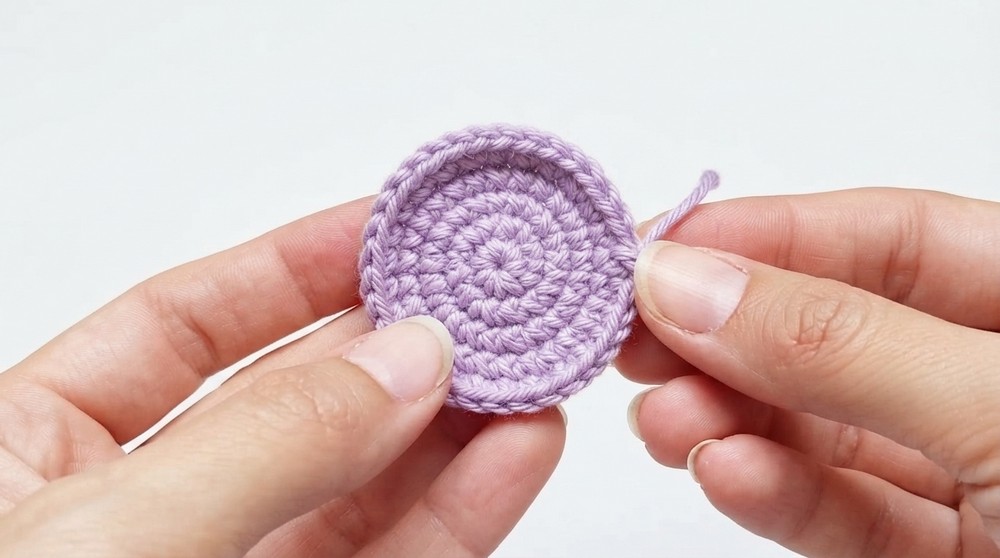
1. Base/Bottom of the Balloon
- Round 1: Create a magic ring, then crochet 6 SC into the ring. (6 SC)
- Round 2: Increase in every stitch by making 2 SC in each stitch around. (12 SC)
- Round 3: Follow 1 SC, 1 INC sequence around. (18 SC)
- Round 4: 2 SC, 1 INC repeat. (24 SC)
- Round 5: 3 SC, 1 INC repeat. (30 SC)
- This rounded base serves as the foundation for the balloon dome.
2. Main Balloon Dome
- Round 1: Begin with a magic ring and crochet 6 SC in the ring. (6 SC)
- Round 2: Increase in every stitch around. (12 SC)
- Round 3: 1 SC, 1 INC repeat for 18 SC total.
- Round 4: 2 SC, 1 INC repeat — 24 SC.
- Round 5: 3 SC, 1 INC repeat — 30 SC.
- Round 6: 4 SC, 1 INC, shifted placement — 36 SC.
- Round 7: 5 SC, 1 INC repeat — 48 SC.
- Round 8: 6 SC, 1 INC, shifted placement — 48 SC.
- Round 9: 7 SC, 1 INC repeat — 54 SC.
- Round 10: 8 SC, 1 INC, shifted placement — 60 SC.
- Round 11: 9 SC, 1 INC repeat — 66 SC.
- Rounds 12 to 17: Work 66 SC evenly without increases to build dome height.
- Round 18: 9 SC, 1 DEC repeat — 60 SC.
- Round 19: Work 60 SC evenly.
- Round 20: 8 SC, 1 DEC, shifted placement — 54 SC.
- Round 21: 54 SC evenly.
- Round 22: 7 SC, 1 DEC repeat — 48 SC.
- Round 23: 48 SC evenly.
- Round 24: 6 SC, 1 DEC, shifted — 42 SC.
- Round 25: 42 SC evenly.
- Round 26: 5 SC, 1 DEC repeat — 36 SC.
- Round 27: 36 SC evenly.
- Round 28: 4 SC, 1 DEC, shifted — 30 SC.
- Round 29: 30 SC evenly.
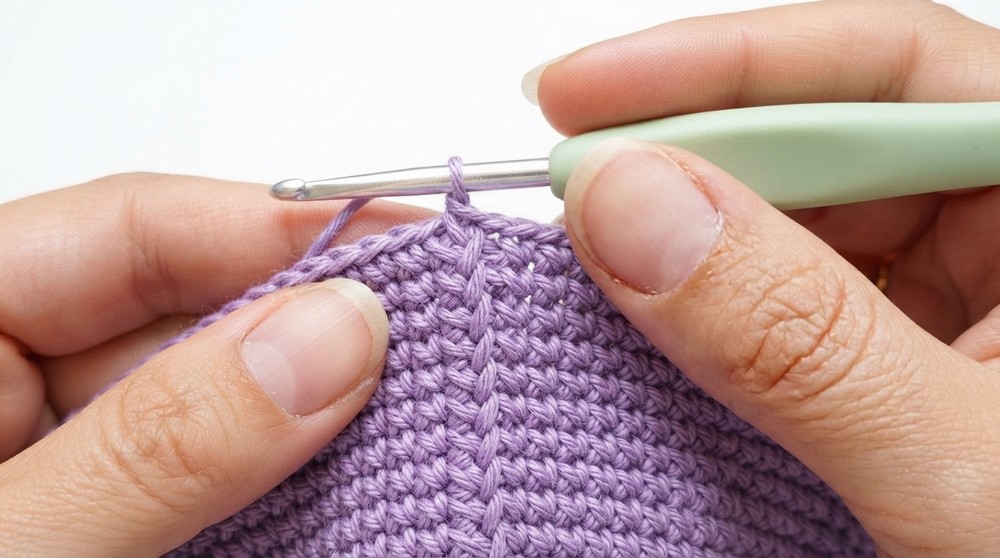
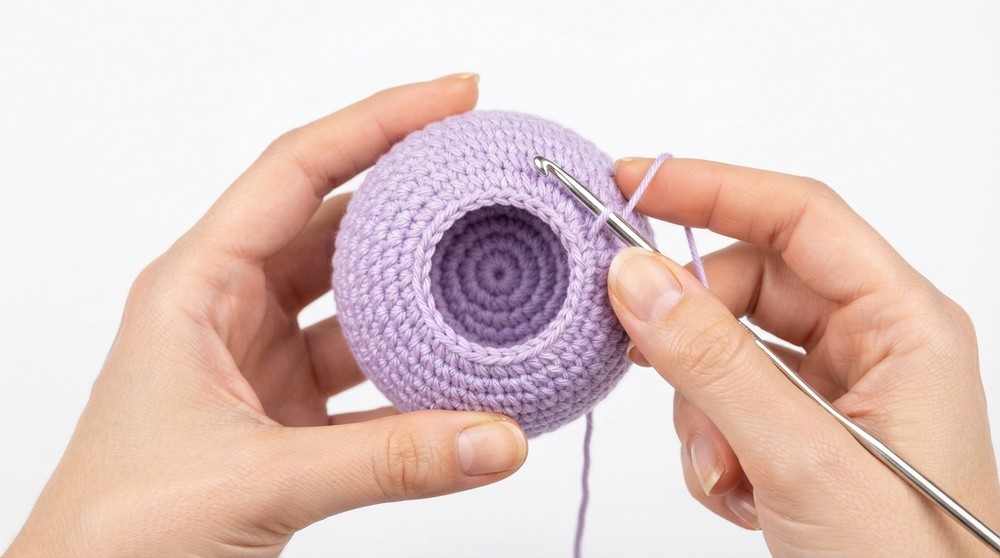
- Assembly: Stuff the dome firmly. Join it to the base by crocheting 30 SC around the edges of both pieces, followed by a final finishing round of 30 slip stitches (SL ST) for a clean seam.
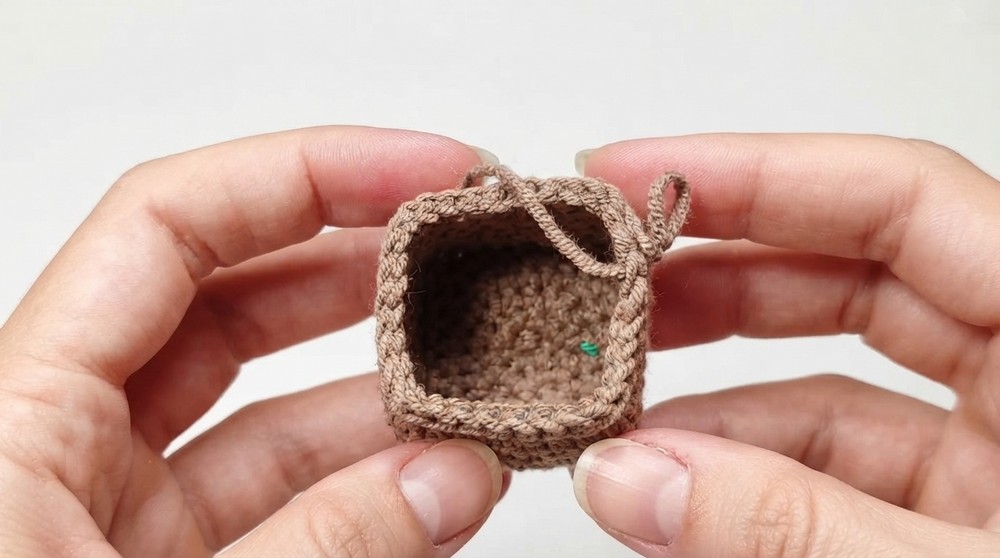
3. The Basket
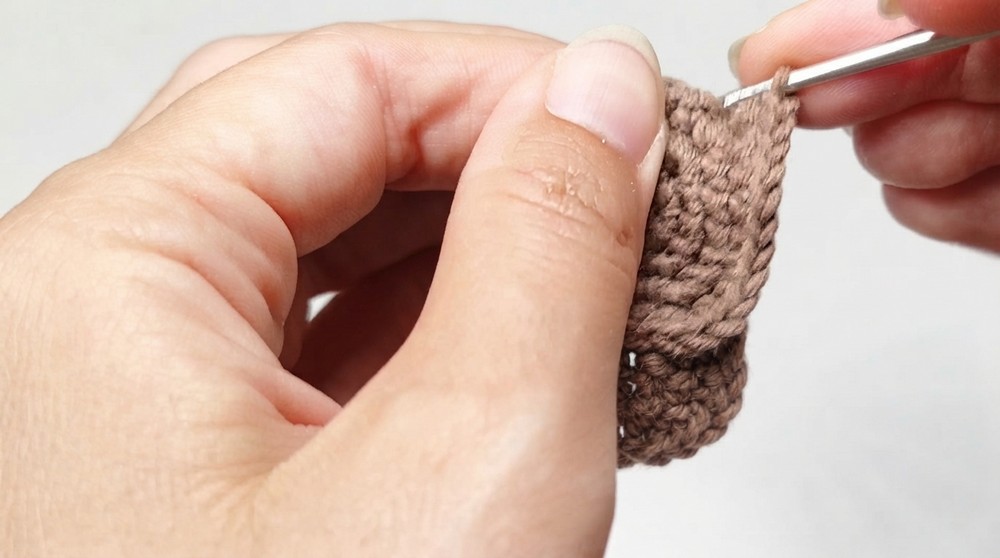
- Round 1: Start with magic ring and 6 SC inside. (6 SC)
- Round 2: Increase to 12 SC.
- Round 3: Work 1 SC, 3 SC in one stitch for each corner, repeated 4 times to start square formation.
- Round 4: Increase at each corner continuing the square shape, total 28 SC.
- Round 5: Repeat corner increases for total 36 SC.
- Round 6: Work a round of slip stitches around the perimeter for edge reinforcement.
- Round 7: Work 32 SC with 4 decreases at the corners to soften edges.
- Rounds 8-11: Continue 32 SC per round to build height.
- Round 12: Final slip stitch round to complete the basket’s upper edge.
4. Connecting Basket to Balloon
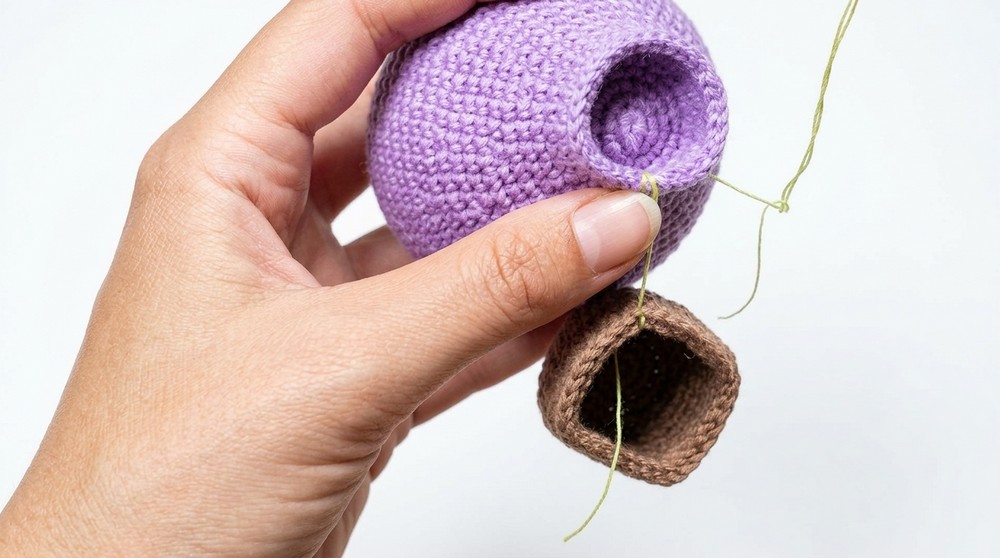
- Use yarn (yellow or color matching your design) and a ruler to create and measure four suspension strings, each exactly 4 cm long.
- Attach these strings evenly spaced between basket and balloon dome to balance the structure symmetrically.
Assembly & Finished Size
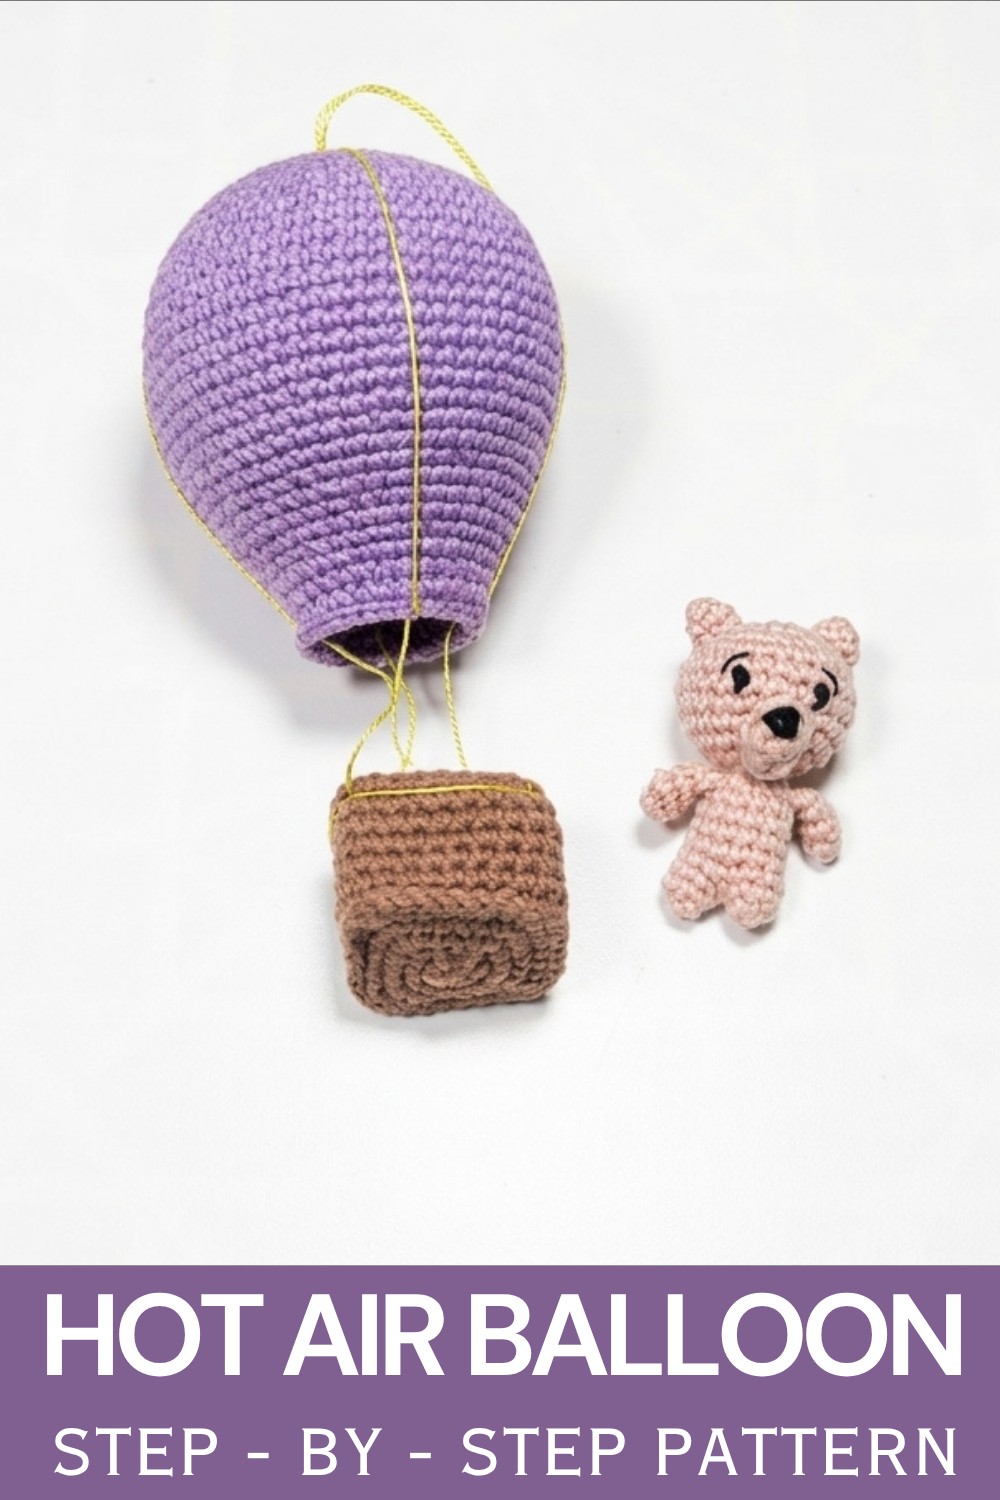
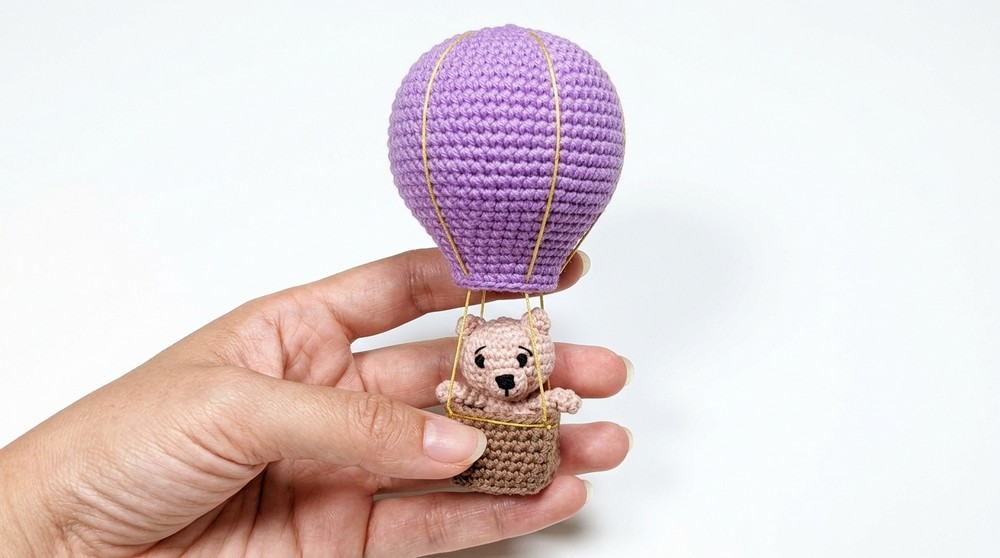
Once all parts are crocheted and assembled, the balloon toy stands approximately 12 cm tall including the basket. The dome and base provide a smooth spherical shape, while the square basket base adds visual contrast. Suspension strings create a realistic connection, enhancing the toy’s charm.
Conclusion
This decorative air balloon crochet pattern combines fundamental stitch work with shaping techniques to create a captivating and textural toy. Following the carefully detailed rounds of single crochet, increases, and decreases ensures a smooth dome and sturdy base. The basket, crafted with square formation and slip stitch edge reinforcement, complements the rounded balloon perfectly.
The precise measurement and uniform length of suspension strings tie together the toy’s structure both functionally and aesthetically. This intermediate-level project offers gratifying results with practical stitches and assembly steps, making it an excellent expression of crochet artistry.