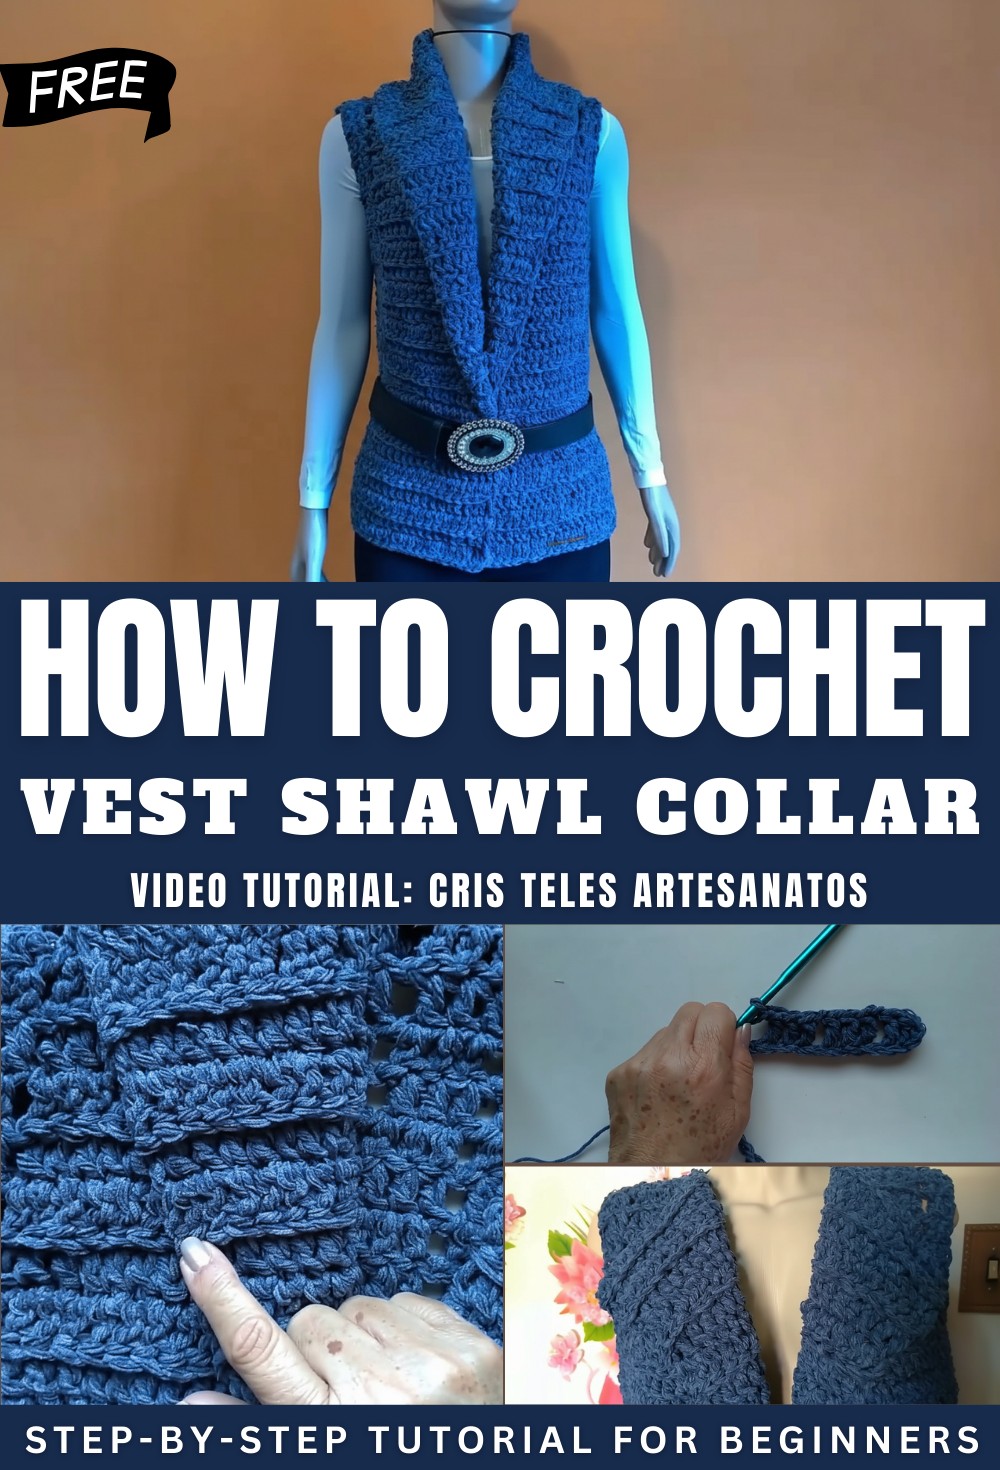
Stylish Crochet Vest With Shawl Collar Pattern Impress Your Friends
Upgrade your wardrobe with this Free Crochet Vest With Shawl Collar Pattern that’s perfect for cozy and stylish layering all year round.
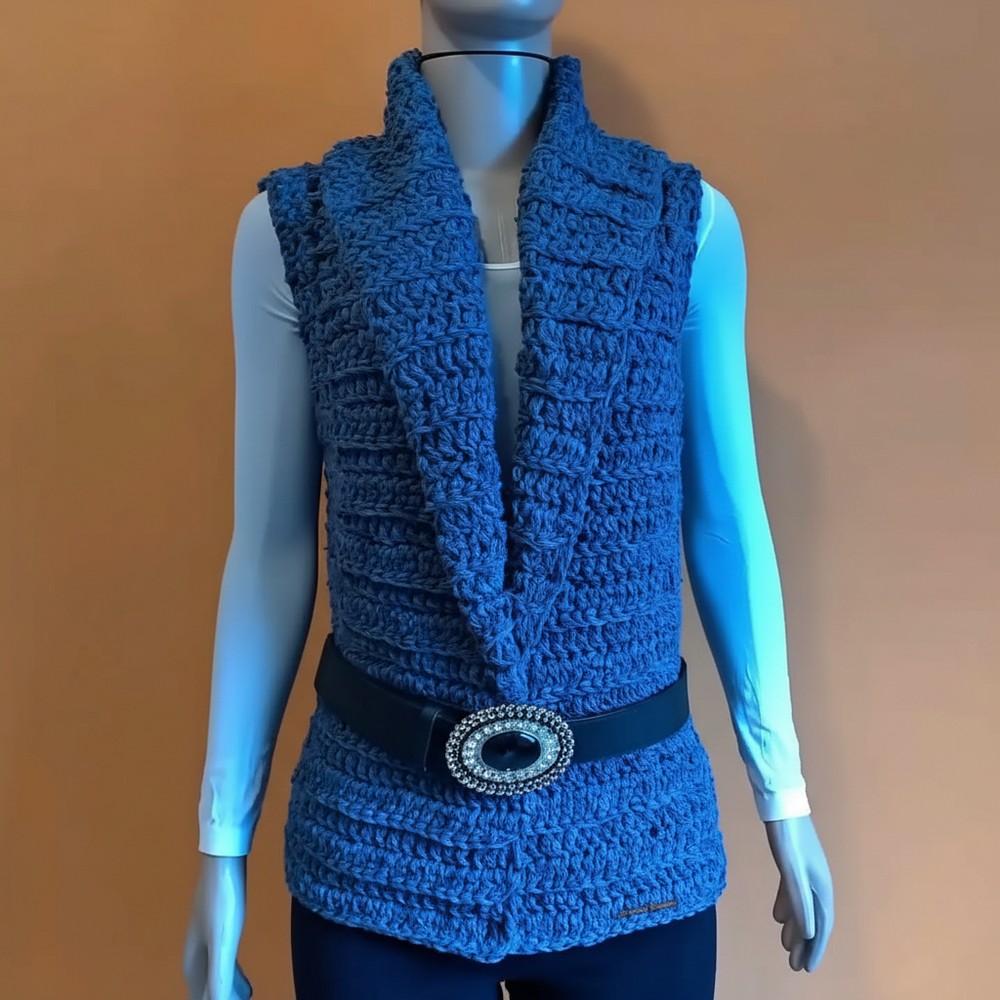
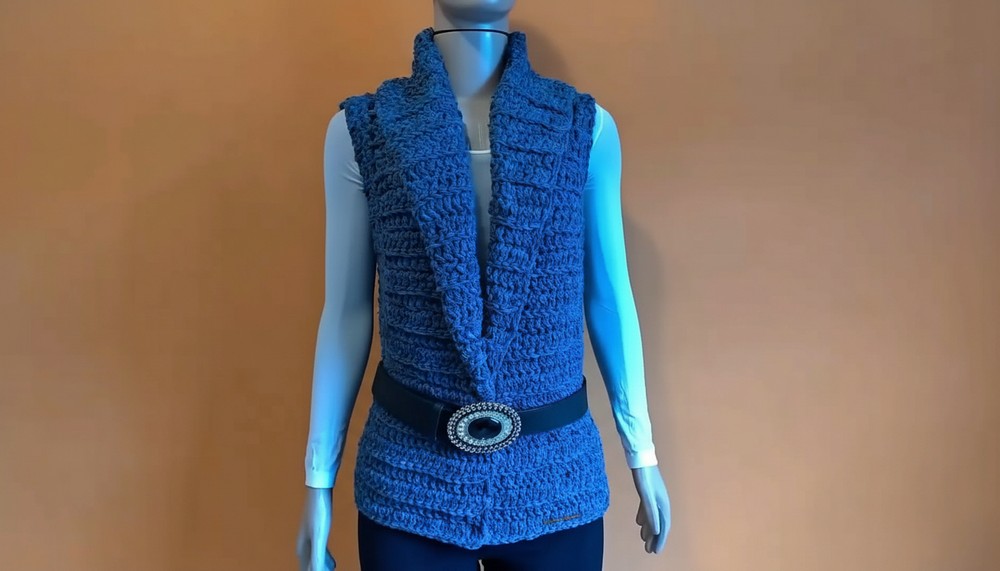
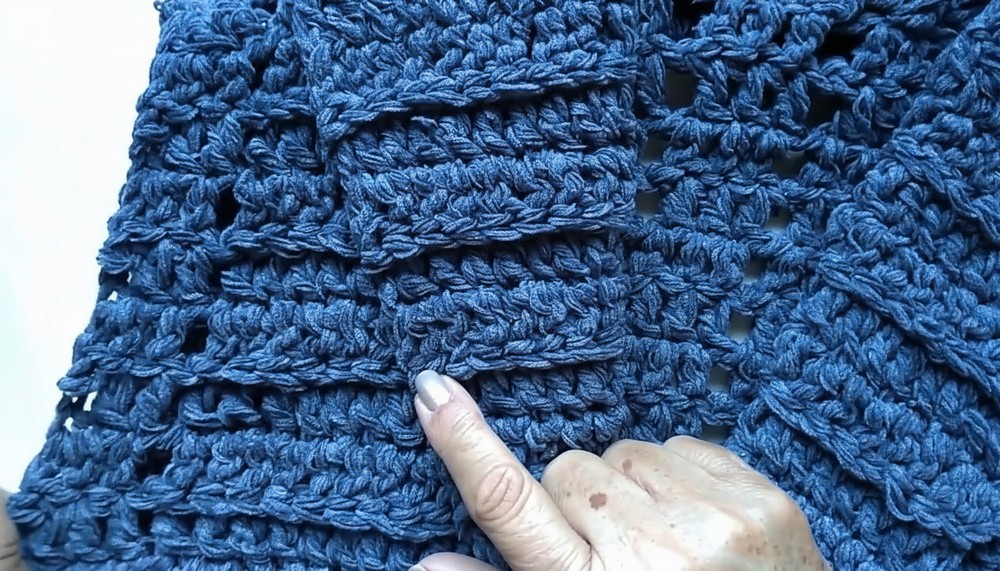
Textured Crochet Vest With Shawl Collar Pattern Add Flair to Any Outfit
A beautifully draped accessory that merges sophistication with warmth, this versatile layering piece instantly elevates any outfit. Designed for style and comfort, the crochet vest with shawl collar pattern features a graceful neckline that offers both elegance and cozy protection against chilly breezes. Its flowing silhouette gently complements various body types, providing just the right amount of coverage for sleeveless tops and dresses.
Perfect for layering during transitional seasons, it seamlessly enhances casual outfits or adds polished flair to workwear. Textured stitches create depth and visual charm, ensuring your vest stands out as a handmade statement piece. This project is ideal for those seeking both functionality and beauty in their crochet adventures, making it a thoughtful gift or a treasure to keep. Enjoy creating a chic accent that effortlessly transitions with your wardrobe year-round.
Special Features
- Top-Down Construction: Easily adjust length and width as you crochet.
- Shawl Collar: Adds elegance and extra coziness.
- Chunky Chenille Yarn: Results in a soft, plush garment with beautiful drape.
- No Edging Required: The chenille fiber gives a neat finish.
- Wide Armholes: Wear comfortably over sweaters or dresses.
- Beginner-Friendly Repeats: Uses simple stitches and clear structure.
Level of Difficulty
Easy/Beginner with Chunky Yarn Experience
If you’re comfortable with double crochet and basic shaping, you’ll enjoy this pattern. Working with large hooks and chunky yarn may feel different but is quick to master.
Suggested Uses
- Stylish layering piece for any season
- Perfect as a cozy gift
- Great addition to your handmade wardrobe
Materials
- Yarn: Chenille or similar chunky yarn (suggested brands: Happy Cocoon Bazzaar)
- Hook: 9 mm crochet hook
- Scissors
- Measuring tape
- Tapestry needle for sewing seams
Sample Measurements (size M):
- Shoulder to shoulder: 38 cm
- Bust: 48 cm
- Armhole depth: 23 cm
- Vest length: 31 cm
Step-by-Step Pattern
1. Back Panel
- Chain:
- Make a loose chain measuring your shoulder to shoulder (e.g., 38 cm; approx. 32 chains for chunky yarn).
- Add 2 chains for turning.
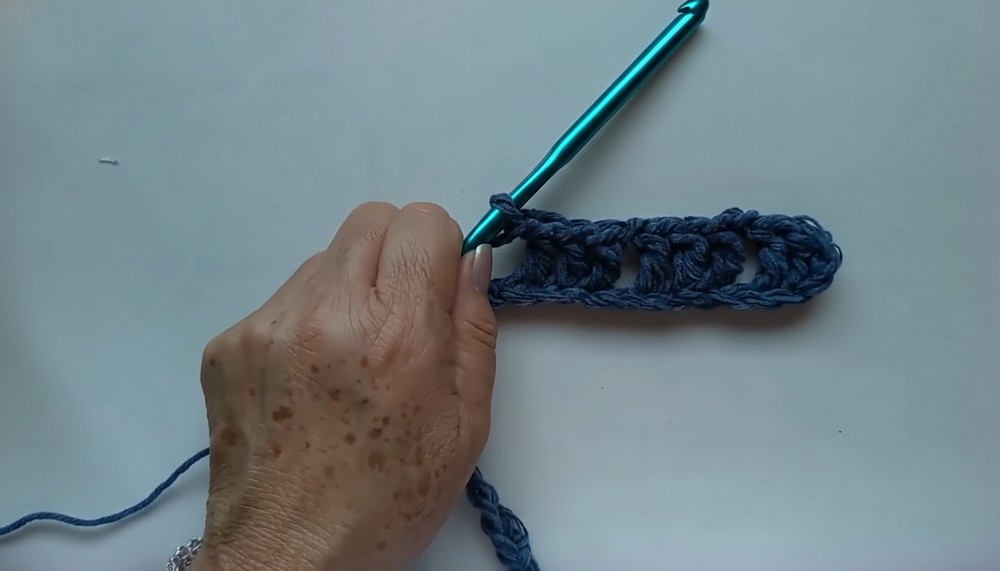
- Row 1:
- Work 1 double crochet (DC) into the third chain from hook, and into next two chains.
- Chain 1, skip 1 chain, DC into next three chains.
- Repeat … to end. You should finish with 3 DCs at the end.
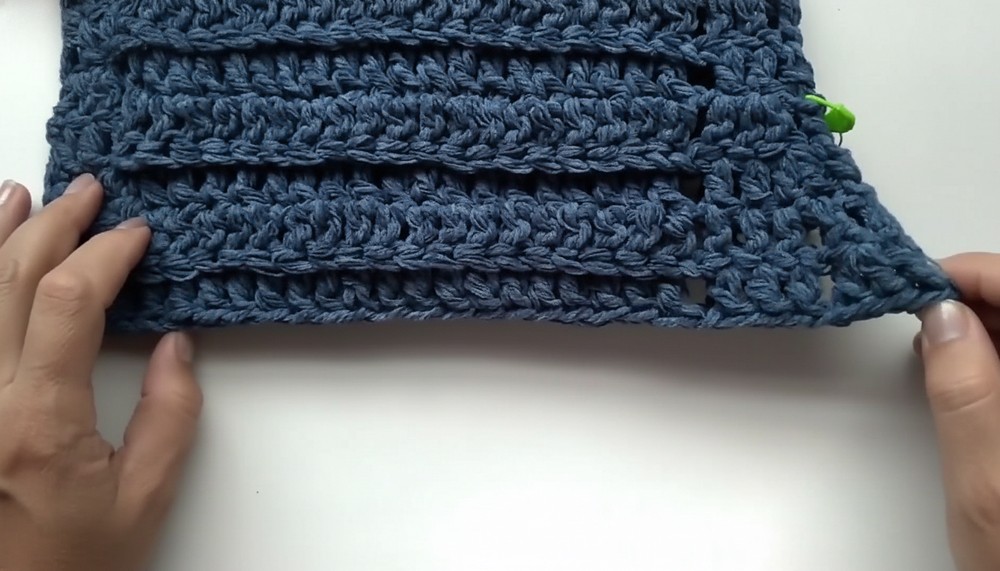
- Rows 2 and onward:
- Turn, chain 2, DC into each DC from previous row, working chain 1 between groups of three DCs and DC in chain spaces as established.
- Repeat until your work measures 17.5 cm high (or desired armhole height).
- Armhole Increases:
- On next row, for each edge:
- Begin with two chains, DC into same stitch for first increase.
- At end of row, work 2 DCs into last stitch for second increase.
- Continue established 3-DC groups + chain 1 pattern.
- On next row, for each edge:
- Continue Back Panel:
- Add further armhole increases as needed (refer to transcript for technique).
- Work until piece reaches vest length (e.g., 31 cm).
2. Front Panels (Make TWO, mirror instructions as needed)
- Chain:
- For each panel, half the back’s starting chains PLUS 8 extra stitches for the collar (about 30 chains).
- Add 2 turning chains.
- Row 1:
- Work 22 DCs, chain 1, then 3 DCs at edge OR
- For opposite panel: start with 3 DCs, chain 1, then 22 DCs.
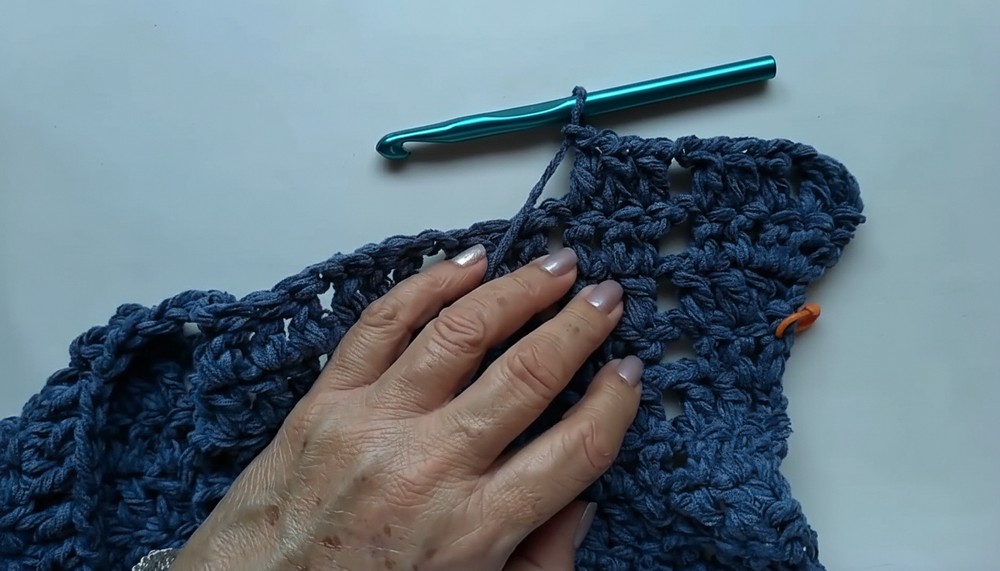
- Rows 2–9:
- Chain 2 to turn, DC into back loop only for each DC, maintaining 3-DC groupings and chain 1 between each set.
- Every 3rd row, decrease one stitch at the collar edge by working two stitches together in back loop.
- At armhole edge, apply increases as for the back panel.
- Shape Collar:
- On every third row, decrease 1 DC at collar edge.
- After 9 rows, decrease at collar edge, and simultaneously increase at armhole edge by working 2 DCs into armhole stitch.
- Continue straight rows:
- Once armholes are shaped, continue without increases/decreases until panel matches back panel’s length.
3. Join Panels and Shape Vest
- Join Shoulders:
- Sew front panels to back panel at shoulders with tapestry needle.
- Side Seams:
- Sew sides together, leaving generous armholes (approx. 23 cm).
4. Shawl Collar
- Pick up Stitches Around Neck:
- Starting at the neckline, use a long tail and work two chains.
- Crochet across collar edge, working into the available loops.
- Collar Rows:
- Work post stitches (e.g., half double crochet, DC picking up inner/back loop only) for the desired collar width.
- On each subsequent row, work loosely! This is vital for a soft, flexible collar.
- Work enough rows so the collar curves well around the neck and shoulders.
- Finishing Collar:
- Sew ends of collar together at neck as shown; use mattress stitch or whip stitch.
- No additional finishing needed; the loopy texture of chenille gives a polished border.
5. Finishing Touches
- Weave in all ends with tapestry needle.
- Try vest on and enjoy its plush comfort!

Conclusion
Enjoy your beautiful, cozy maxi vest with a flowing shawl collar—perfect for layering and guaranteed to add warmth and style to any outfit. This pattern is easy to adapt for different sizes and yarn weights. Chenille yarn gives an elegant look and finish that needs no extra edging.
Tutor’s Suggestions & Tips
- Use loose tension: Chunky yarn and large hooks need a lighter hand for best drape.
- Accurate measuring: Measure armholes and collar to suit your layers and comfort.
- No edge finishing needed: Chenille naturally creates a soft edge.
- Try on as you go: Adjust armholes and length for your ideal fit.
- Create a collar with extra stitches: Always crochet the collar loosely and add an extra chain for best elasticity.
Pro Tip:
When sewing chunky pieces, use a blunt darning needle and pass the needle through the loops (not through the yarn), to avoid splitting the fibers.