Breezy Crochet One-Piece Neck Top Pattern for All Seasons
Step into effortless style and comfort with this Free Crochet One-Piece Neck Top Pattern and enjoy making a charming piece for your wardrobe.
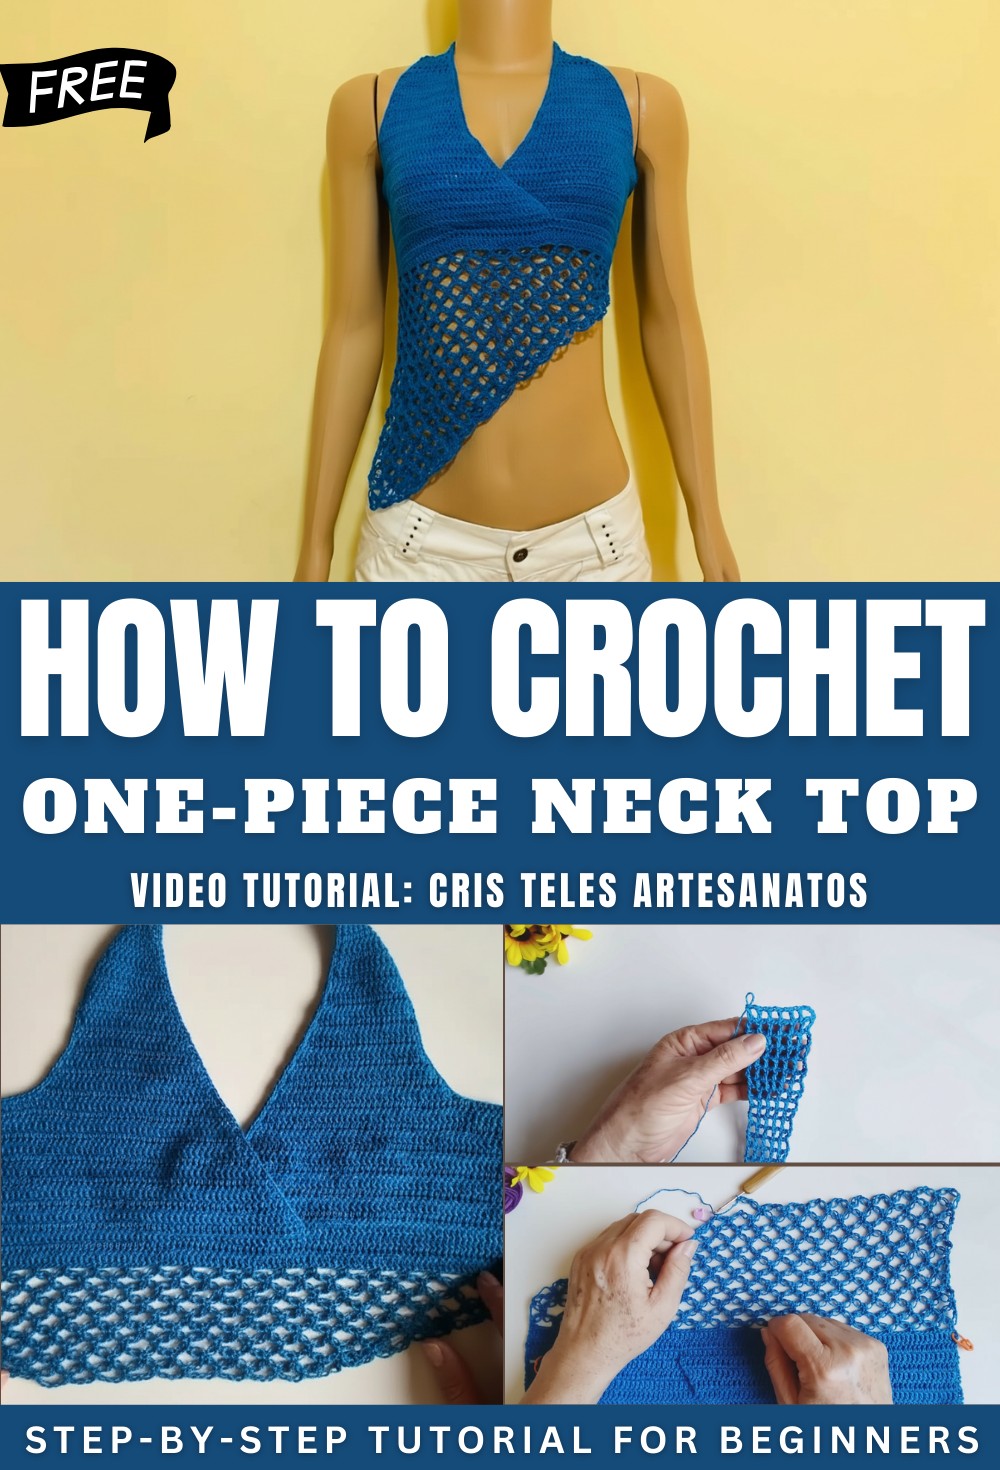
Fresh: Crochet One-Piece Neck Top Pattern You’ll Love
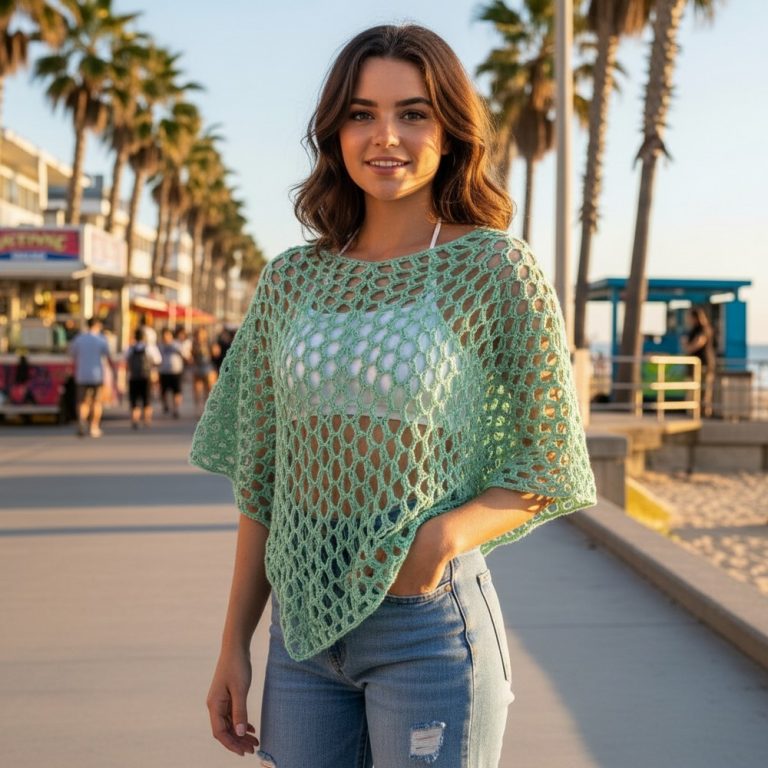
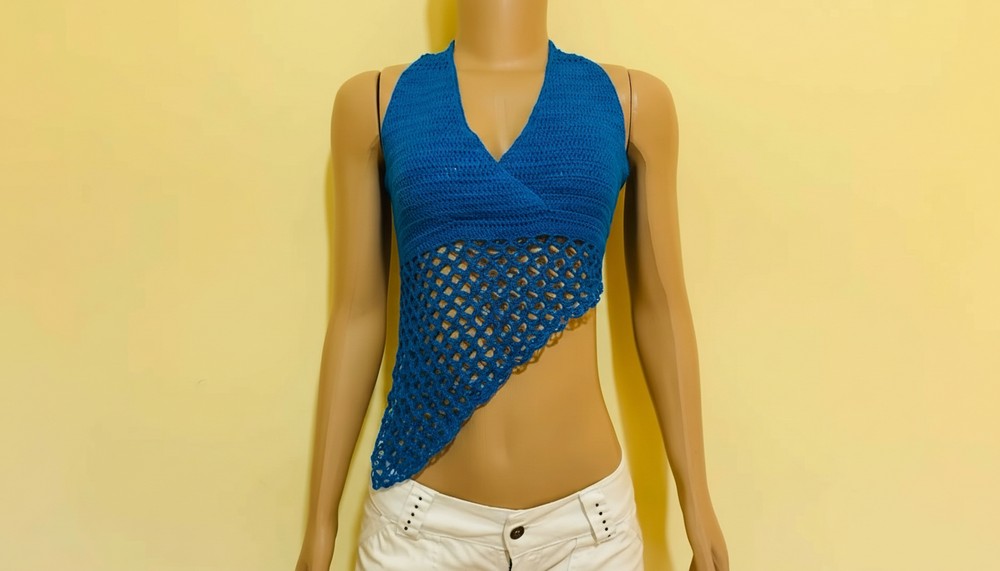
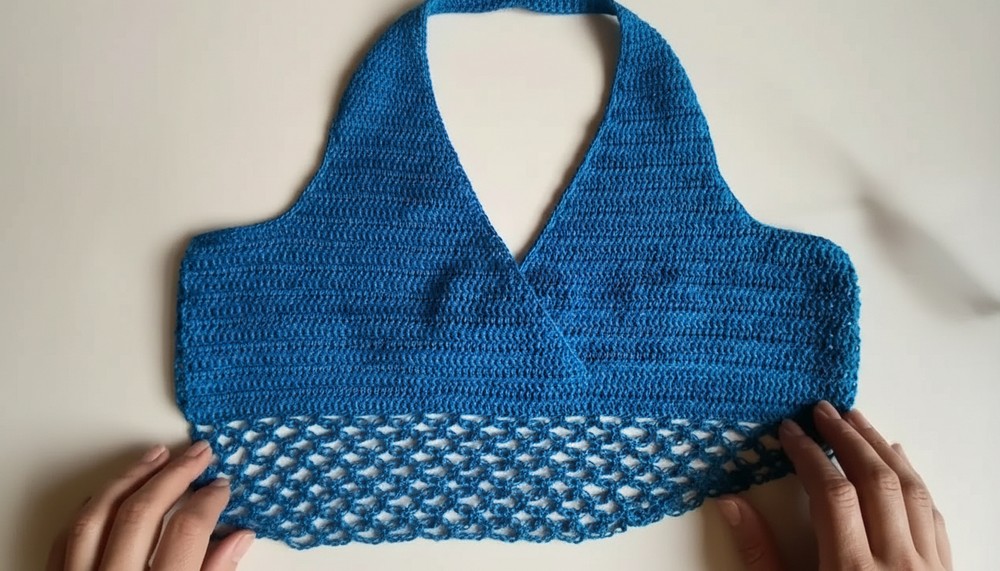
Effortless style and comfort come together in this unique neck top, made in just one piece for a smooth and tidy finish. The soft project gives it a gentle texture, making it both attractive and comfortable to wear. This Crochet One-Piece Neck Top Pattern offers a simple shape that suits many body types and works well with different outfits, from work clothes to relaxed weekend styles.
Because it’s made all at once, there’s no fuss over seams, and putting it together is quick and straightforward—perfect for any skill level. The top feels just right in any season, offering light warmth without being too heavy. Mix and match it easily with your favorite pants, skirts, or jeans to create fresh looks. With its mix of simple beauty and everyday usefulness, this garment adds a special touch to any wardrobe, letting you look put-together with very little effort.
Special Features
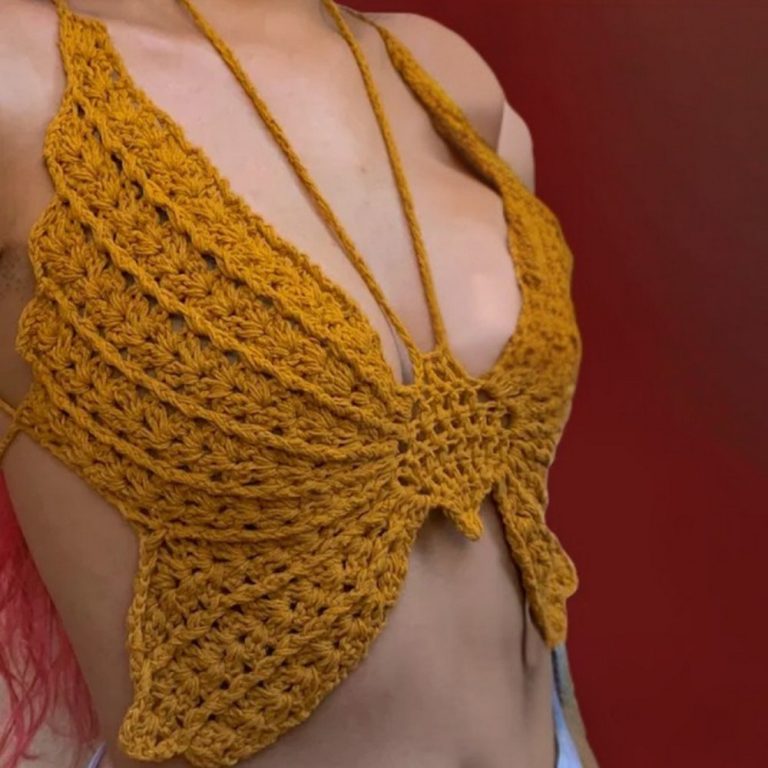
- Asymmetrical diagonal drape: Unique and modern.
- Double crochet & secret stitch mix: Visual and textural interest.
- Adjustable sizing: Clear instructions for S, M, L, and XL.
- Minimal yarn (approx. 82g for size S): Lightweight, quick project.
- Ties at back for a customizable fit.
- No right or wrong side: Wearable either way.
Difficulty Level
Adventurous Beginner to Intermediate
(You should be comfortable with double crochet, chaining, and working increases/decreases.)
Uses
- Wear alone or layered as a summer/spring top
- Pair with high-waisted shorts, skirts, or jeans
- Makes a fashionable handmade gift
Materials
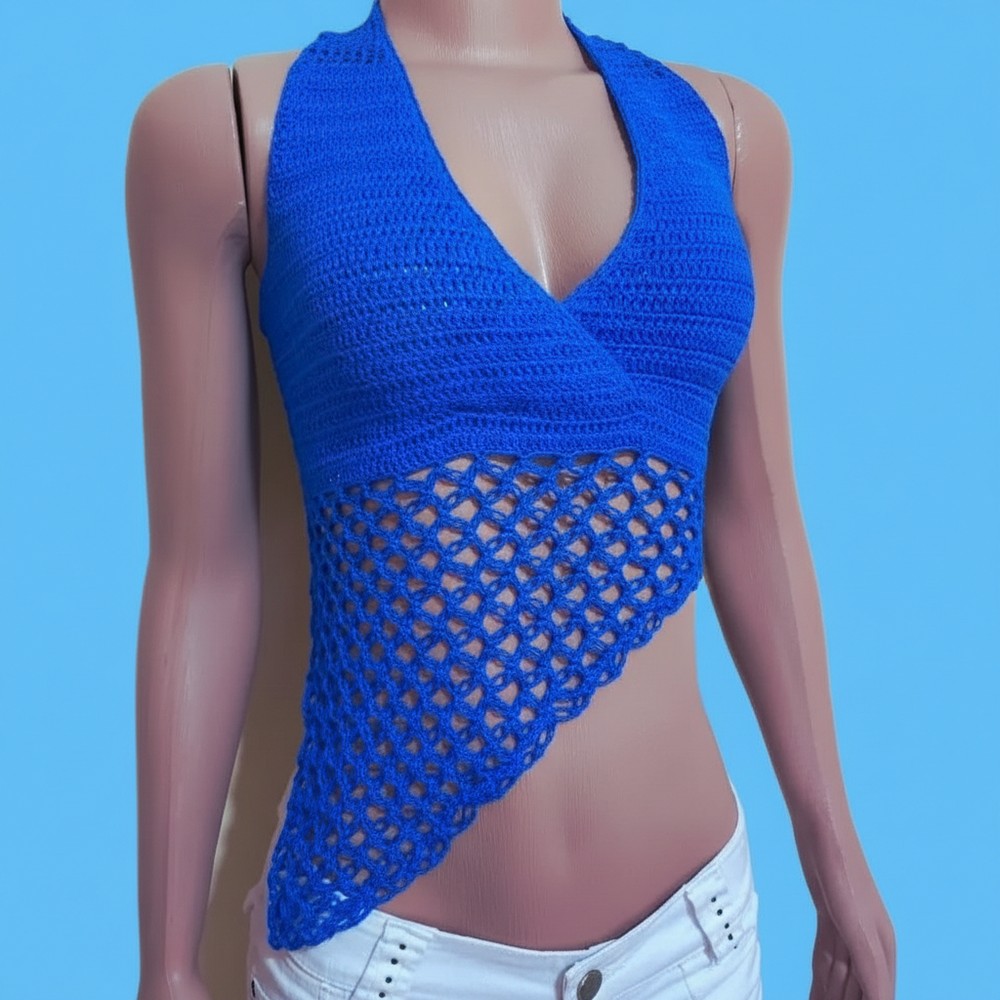
- Yarn: Camila Fashion 100% mercerized cotton by Corrente (Tex 300); Color shown: 01175 (blue)
- Amount: About 82g for size S (adjust as needed for other sizes)
- Hook: 2.0mm crochet hook (or 1.75mm if you have a very loose hand)
- Others: Scissors, stitch markers, measuring tape
Step-by-Step Instructions
PART 1: Creating the Asymmetrical Front
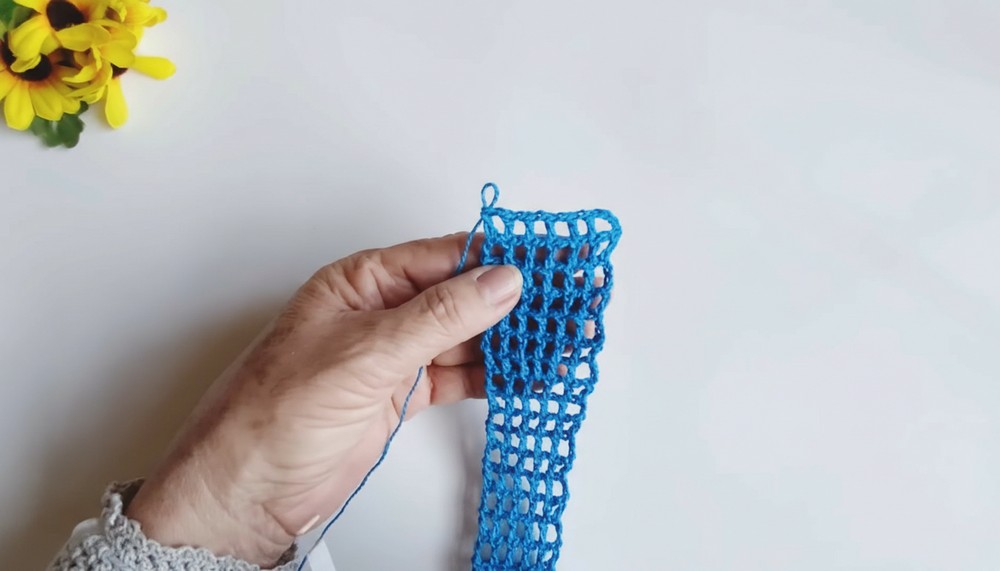
1. Foundation Row
- Chain 14.
2. First Double Crochet Row
- Yarn over, count 6th chain from hook, and make 1 double crochet (dc) into it.
- Ch 1, skip 1 ch, dc in next ch. Repeat to end. (You should have 6 dcs in total.)

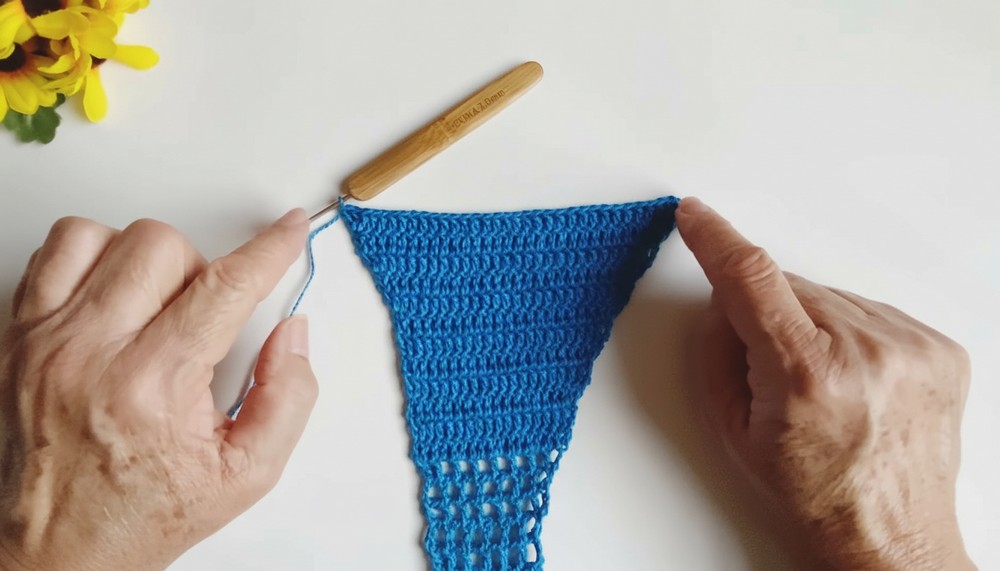
3. Body Panel
- Turn your work.
- Ch 4, dc into next dc. (Each row: dc in dc, ch 1, skip ch-1 sp, dc in next dc.)
- Work a total of 33 rows (for about 35cm in length).
To adjust size, make fewer or more rows.
4. Increasing for Bust and Armhole
- Size S: Increase only at the center space.
- Size M: Increase in the middle.
- Size L & XL: Increase in all center spaces (see below).
For Rows with Increases:
- Ch 4, dc in first space, ch 1, dc in each dc/space as normal, add an extra dc+ch1 in the designated spaces for increases according to your size.
| Size | Number of Double Crochets after Increase |
|---|---|
| S | 7 (each separated by ch 1) |
| M | 8 |
| L | 9 |
| XL | 11 |
- Work 7 rows with these increases (sequence: increase row, work 6 rows even).
5. Further Increases (Armhole/Neckline shaping)
- After the increased section, you’ll work increases at each armhole and neckline edge for your given size.
- Each time, at the end/start of the row, make two dcs into the chain or the edge dc.
- For S, add 5 additional rows with increases only at neckline edge
(M, L, XL: add 1-3 more rows of increases on BOTH sides.) - Note: Always check the fit under the arm and bust as you go; measure and adjust by adding more chains or rows if needed.
6. Armhole Chains
- For underarm:
- Chain as many as needed to comfortably fit under the arm—tutor used 15 chains for S.
- Attach with dc in 4th ch from hook, dc in each ch across.
- Continue with dc in each main panel dc as before.
7. Complete Body Panel
- Work 12 rows straight (no increases), always increasing only at the neckline edge.
- Cut yarn and secure after checking fit below bust.
8. Make Second Panel
- Repeat the entire process for a second, identical panel.
- Don’t cut yarn at the end of the second panel; you’ll use this for assembling.
PART 2: Assembly
9. Overlap Panels
- Lay both pieces together, overlapping at the front (“single front”).
- Use stitch markers to secure; overlap should be about 21 stitches wide (for size S — check for your size).
- Confirm both overlap edges align and fit under the arm.
10. Seaming the Front Overlap
- With yarn still attached, make dc across, picking up both top and bottom panel edges at the overlap (join the two pieces as you go).
- Remove stitch markers as you work across.
- After overlap, continue dc across the rest of the row as normal.
- Work 2 more rows of dc across the full width.
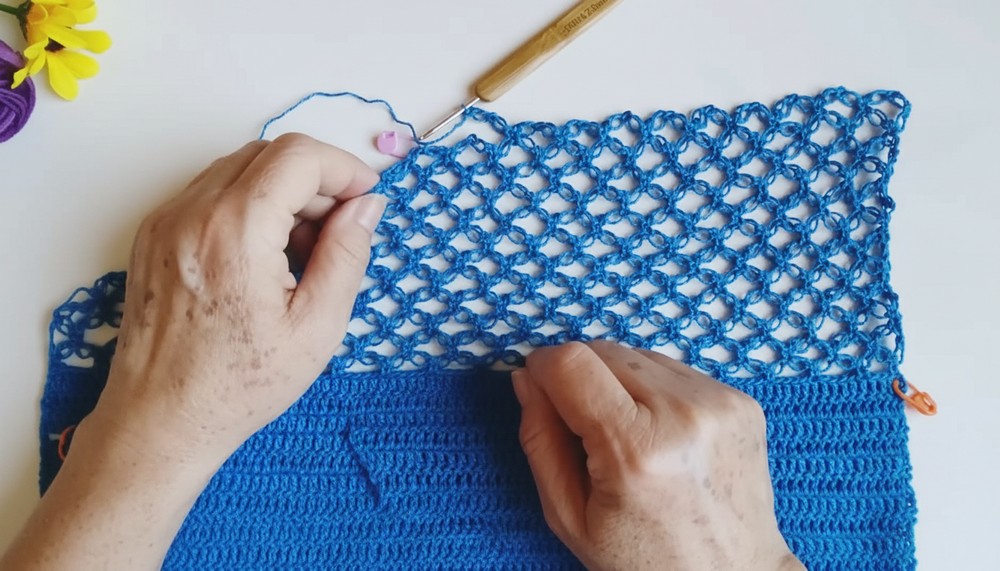
PART 3: Side Panel and Secret Stitch (Lace Side Panel)
11. Working the Secret Stitch Lace
- The side with the marker is kept straight; the other will shape towards the back.
1st Row (Decreasing Side):
- Turn, sc in first stitch.
- Secret Stitch:
- Pull up a loop, yarn over, pull through (to get 2 loops), yarn over, pull through both.
- Repeat for two secret stitches.
- Skip next 4 stitches, sc into 5th stitch.
- Continue: 2 secret stitches, skip 4, sc into 5th until end.
- At end, skip only 3 if needed for symmetry.
Next Rows:
- On the straight side: always start row with 3 secret stitches.
- On the decreasing side: maintain the decrease pattern by skipping stitches at the end and sc into marked stitch (move marker up as you go).
- Always finish row with secret stitch, sc at the end.
- Continue decreasing only at one edge (back edge) for approximately 10 rows (you can check the width for your body as you go).
- After 10 rows, alternate decrease rows—reduce every other row for a gentle taper.
End of Panel
- Work a last row of secret stitches all the way around the diagonal section to finish the edge.
PART 4: Ties/Straps
12. Create Ties (both sides)
- At each end/corner of the diagonal section, work a foundation (ch 4 or as needed), then enough chain stitches to reach desired tie length (approx. 45cm is suggested).
- Work:
- Ch 4, dc in 3rd ch from hook, ch 3, skip 1 ch, dc in next—repeat to end.
- Fasten off and repeat for the other side.
PART 5: Finishing/Edging
13. Finishing Edges
- Single crochet (sc) around all open edges—neckline, underarm, and strap edges—for a neat finish.
- Work 1 sc in each dc/chain space, or as needed to keep the edge from rippling.
14. Weave in all ends with tapestry needle.
- Block lightly if desired (recommended for cotton).
Conclusion
You’ve created a stunning asymmetrical single front top, featuring a modern diagonal drape and a mix of solid and lace textures! Its adjustable sizing makes it a versatile pattern for various body types, and the unique “secret stitch” gives it a sophisticated handmade flair. Pair it with your summer wardrobe or layer it for spring—either way, it’s sure to turn heads.
Tutor’s Suggestions & Tips
- For different sizes, follow the increase instructions and always measure on your own body—this ensures the best fit.
- If your stitches are tight, using a slightly larger hook (like 2 mm instead of 1.75 mm) can help the fabric drape better.
- Work the secret stitches to a consistent loop height for an even lace panel.
- Try the top on as you go to confirm fit and make adjustments.
Pro Tip
To avoid your ties stretching out over time, consider running a thin piece of elastic inside each tie, or making them with a slight reduction in tension.