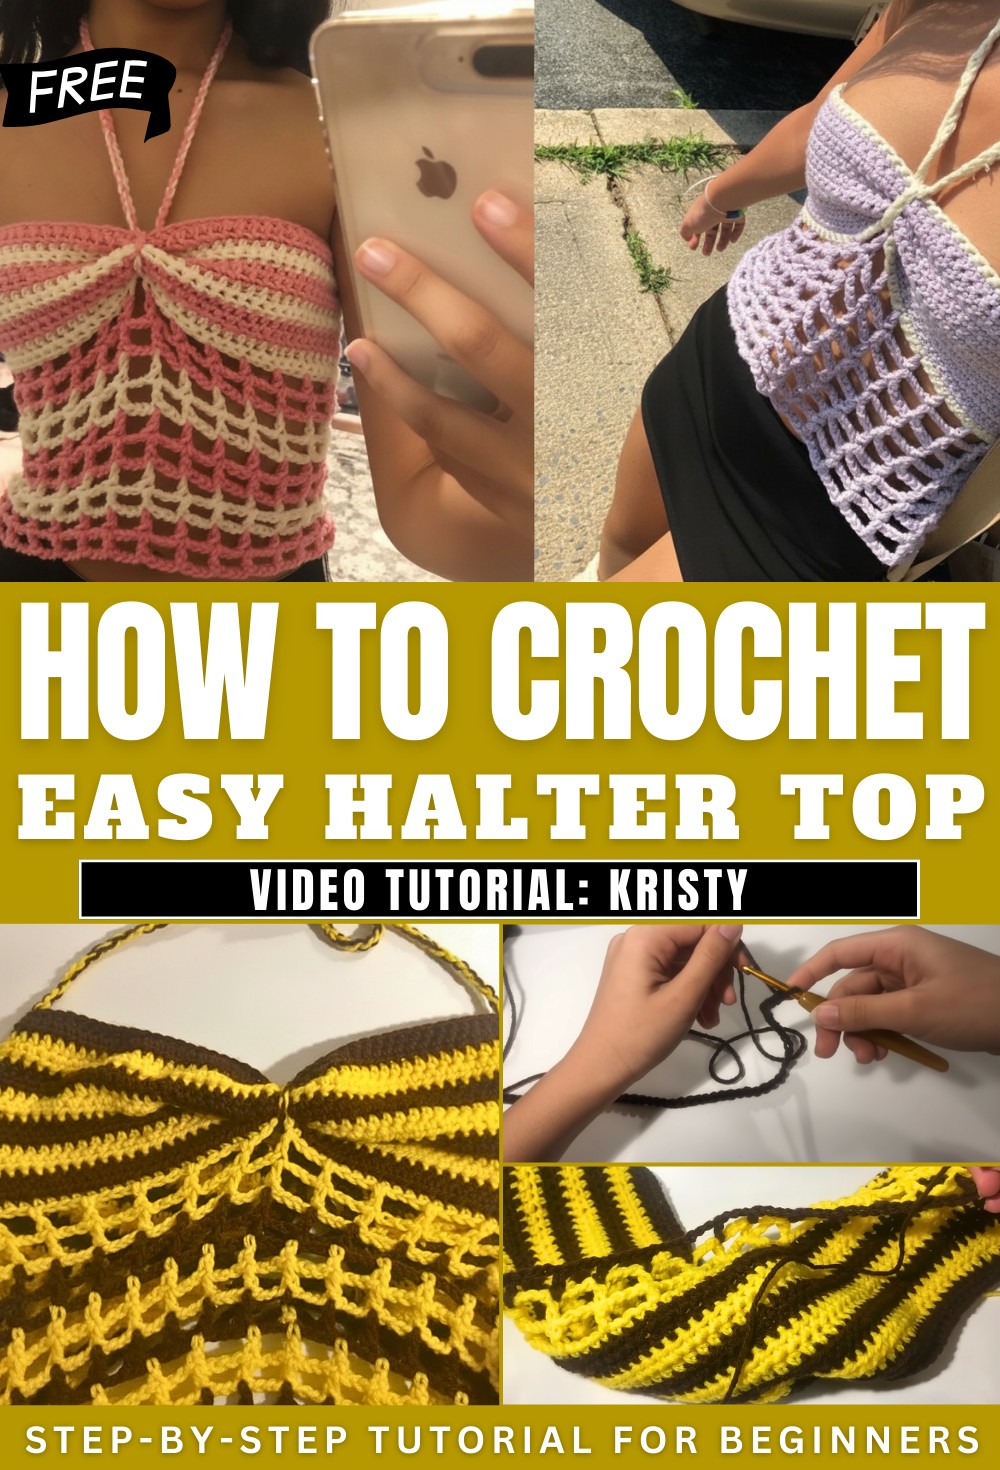
Glossy Crochet Halter Top Pattern With Eye Catching Shape
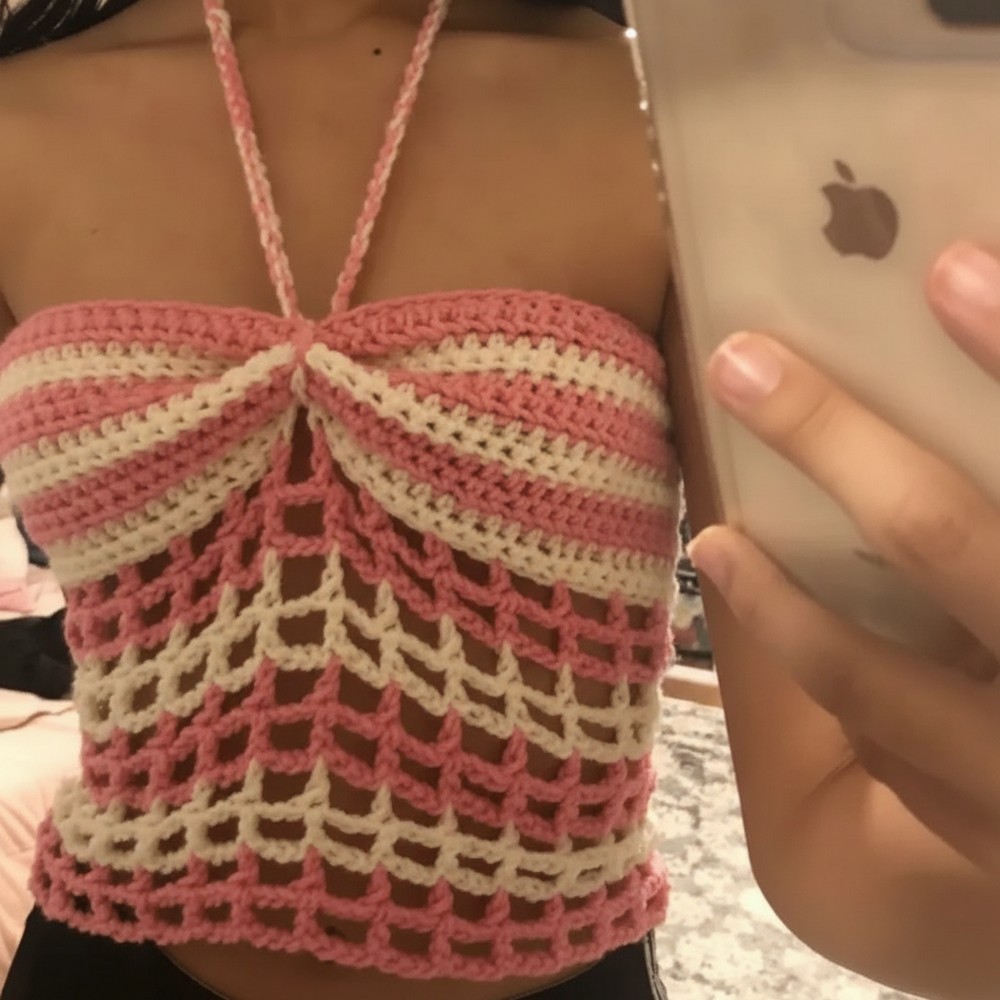
Step into easy style with this Crochet Halter Top Pattern featuring a flattering neckline and airy comfort suited for relaxed days & evenings.
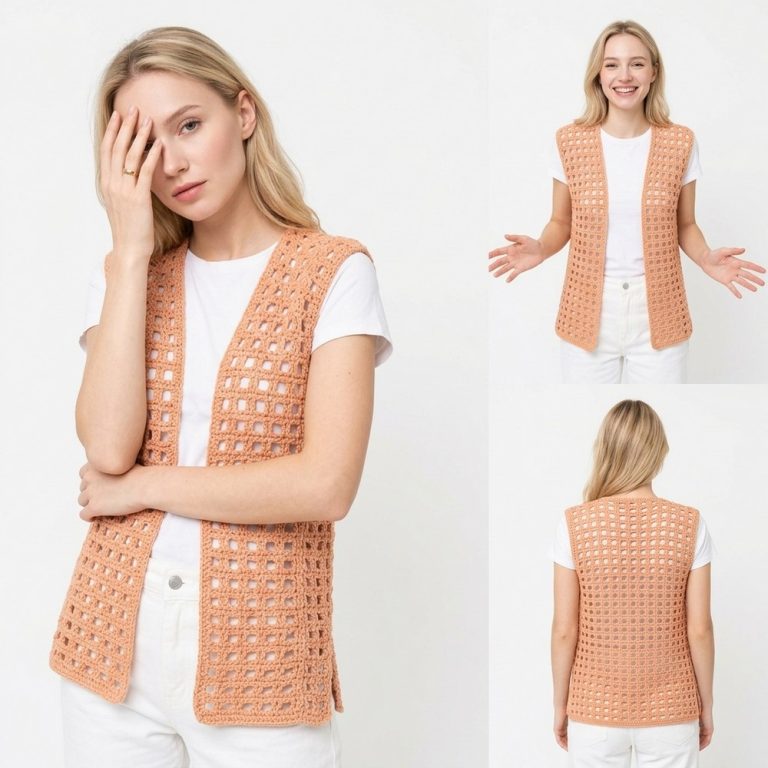
Radiant Crochet Halter Top Pattern Made For Sunny Days
Ideal for sunny days and vibrant social gatherings, a Crochet Halter Top Pattern delivers a chic look with its elegant halter neckline and adjustable ties for a customized fit. The breathable openwork design offers cool comfort, while the silhouette highlights the shoulders and back for a flattering touch. Versatility stands out, as this pattern can be personalized with a wide variety of yarn colors, textures, and edging styles to beautify and reflect individual taste.
Among the specialty benefits, the pattern’s lightweight nature ensures all-day comfort, and its easy layering makes it perfect for beach outings, festivals, or casual afternoons. Presently, enthusiasm surrounds the Crochet Halter Top Pattern for its combination of contemporary fashion and practical elegance. Its uses extend beyond summer wear, transitioning effortlessly into evening ensembles or bohemian-inspired outfits.
Materials Needed
-
Yarn: Two colors of medium-weight (Size 4) yarn (e.g., Yellow and Brown).
-
Hook: 5.0 mm (H) crochet hook.
-
Tools: Scissors, tapestry needle.
Part 1: The Chest Section (Solid Stripe)
This part is worked in flat rows of half double crochet (hdc) to form the top band.
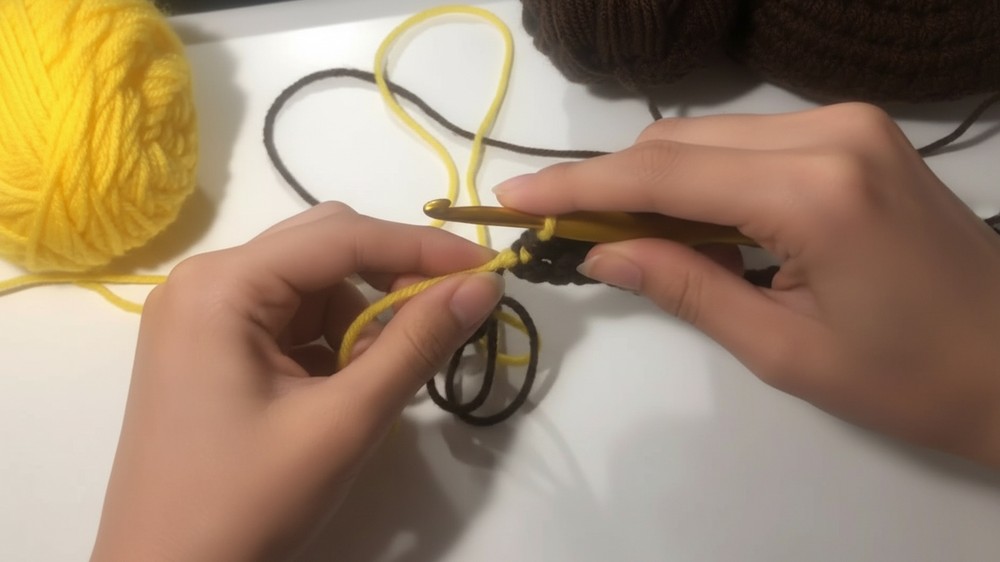
-
Foundation: Create a slip knot and chain 85 (or a length that wraps from one side of your back to the other).
-
Row 1 (Color A): Work 1 hdc in the 2nd chain from the hook and in each chain across.
-
Row 2: Ch 1, turn. Work 1 hdc in each stitch across. At the final stitch, pull through with Color B on the last loop.
-
Rows 3–4 (Color B): Ch 1, turn. Work 2 rows of hdc. Change back to Color A at the end of Row 4.
-
Growth: Repeat this 2-row color rotation until you have 14 rows total (or your desired chest coverage).

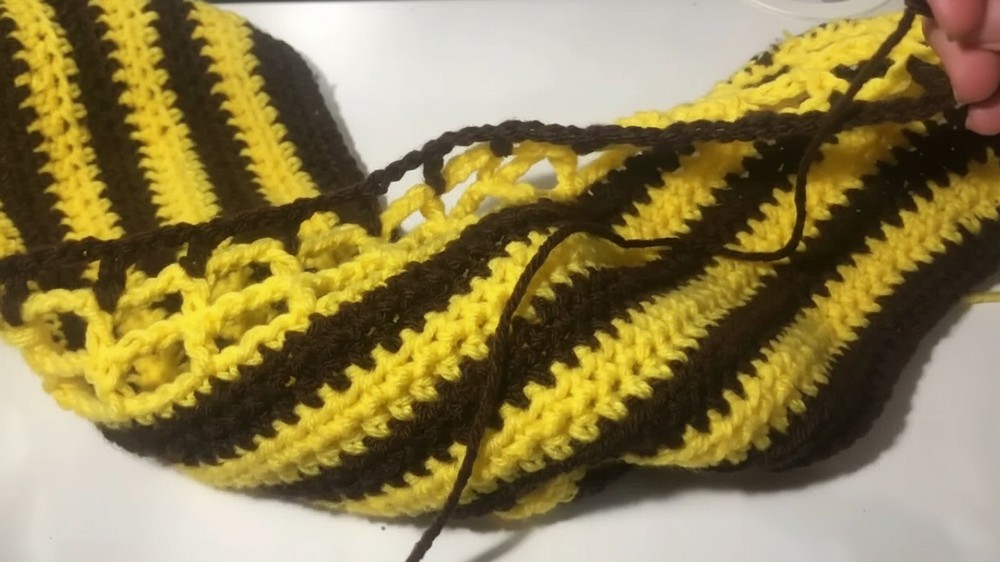
Part 2: The Mesh Bodice
Now we transition into the open “mesh” look for the lower half.
-
Transition Row: Using Color A, work one row of single crochet (sc) across the bottom edge of your chest section.
-
Row 1 (Mesh): Ch 4, turn. Skip 3 stitches, work 1 double crochet (dc) in the 4th stitch, ch 3. Repeat from * across.
-
Row 2: Ch 4, turn. Work 1 dc directly into the dc of the row below, ch 3. Repeat across.
-
Color Rotation: Change colors every 2 rows just like the chest section. Work until you have 10 mesh rows total.
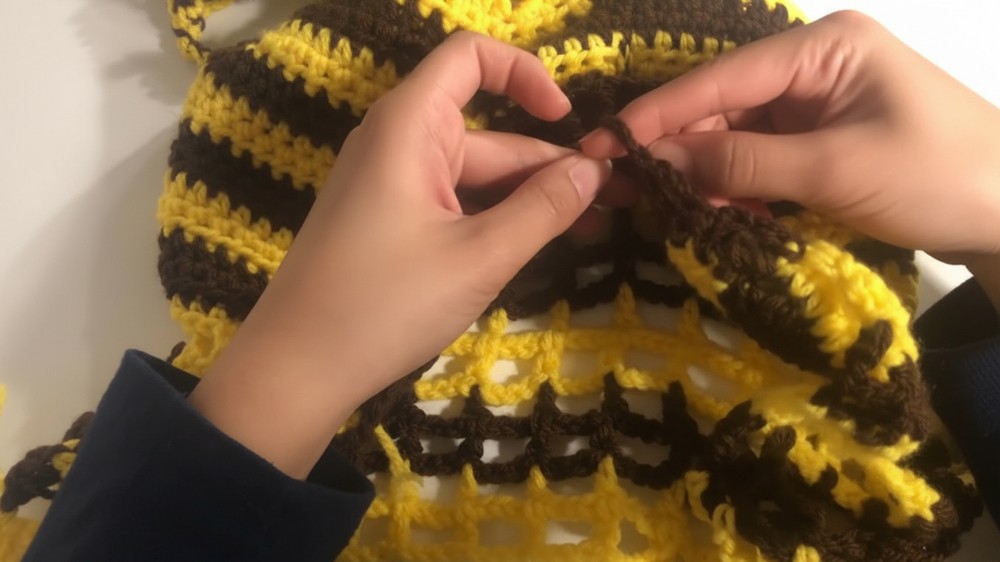
Part 3: Back Loops & Side Straps
We need to create “holes” on the side edges of the top to lace up the back.
-
Edge Foundation: Attach yarn to the top corner of the side edge. Work sc evenly down the side of the chest and mesh sections.
-
Hole Row: Ch 4, turn. Skip 3 spaces, work 1 sc in the 4th. Repeat up the side to create loops.
-
Upper Tie: Without fastening off at the top corner, chain 110 (this will be your shoulder strap). Fasten off.
-
Repeat: Mirror these steps on the opposite side of the top.
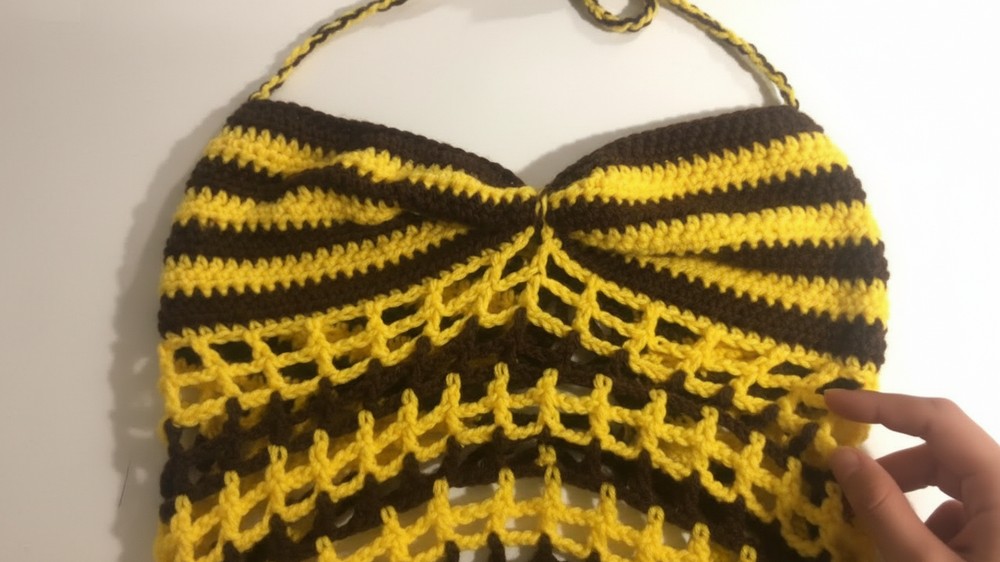
Part 4: The Cinch Detail & Assembly
The cinched “scrunch” look in the front is created with a separate decorative cord.
-
The Cinch Cord: Holding both colors of yarn together, create a slip knot and chain 185. Fasten off.
-
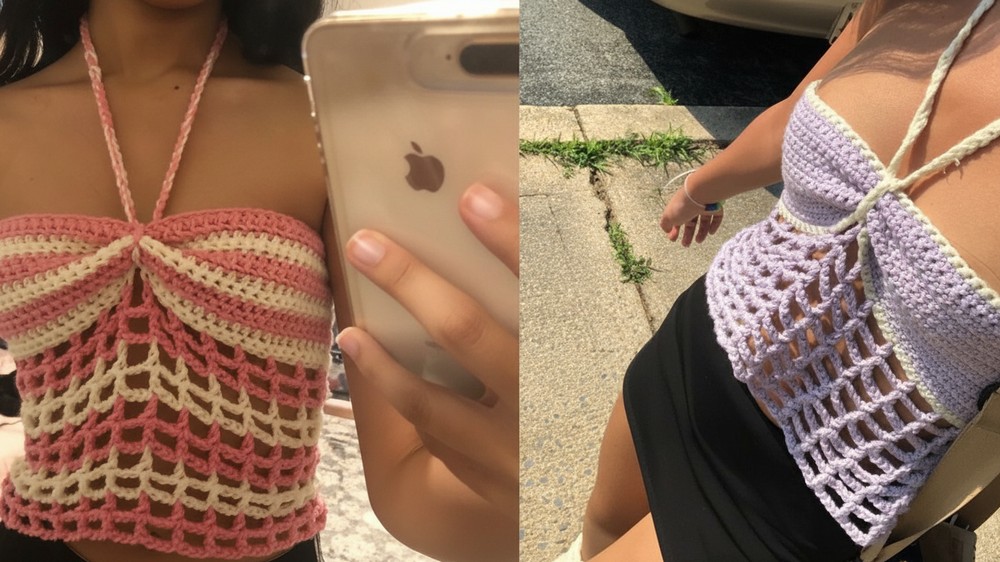
Front Detail: * Find the exact middle of the chest section.
-
Feed the cinch cord vertically under the top edge, pull it down to the middle of the bodice, and tie a tight knot. This creates the gathered “butterfly” effect.
-
-
Lacing the Back: * Lay the top flat. Take the strap from the right side and cross it into the top loop on the left side.
-
Take the strap from the left side and cross it into the top loop on the right.
-
Continue crisscrossing “Left-Right” through all side loops until you reach the bottom.
-
Conclusion
Weave in all your loose ends. This top is highly adjustable due to the corset-style back and the front cinch cord.