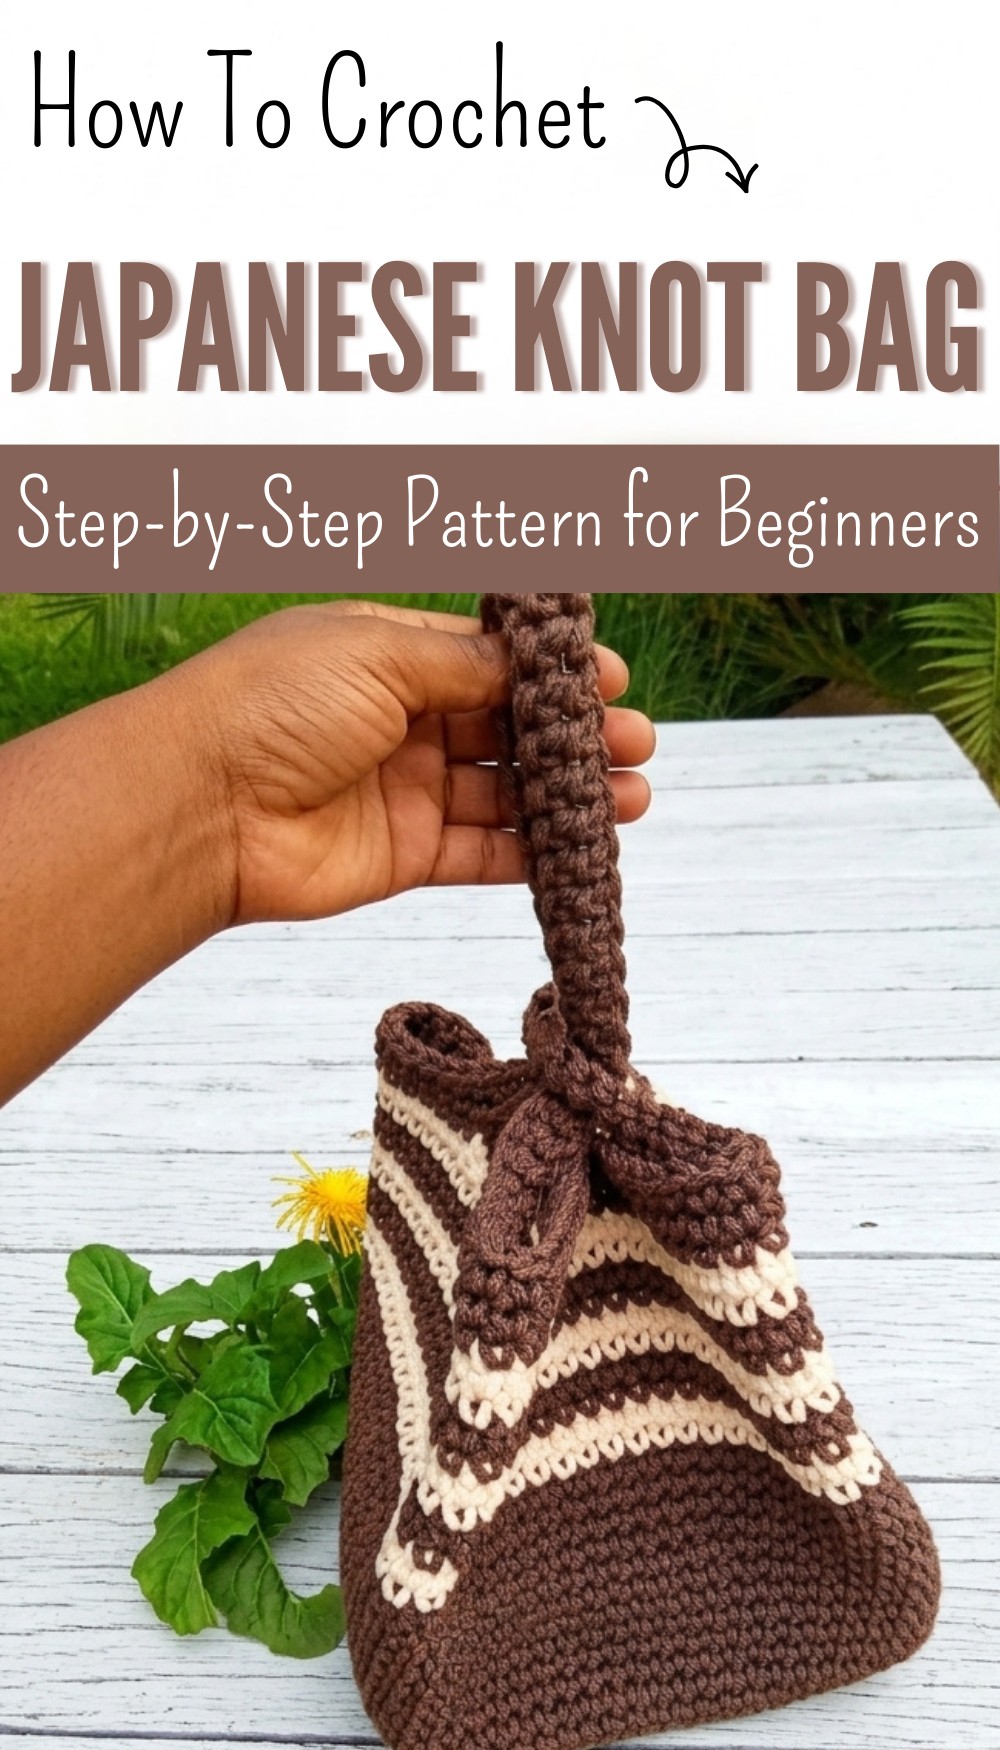
How To Free Crochet Japanese Knot Bag Pattern With a Twist
Wrap your essentials in style with free crochet Japanese knot bag pattern that blends elegance & function for a charming handmade accessory.
Soft and stylish with a unique looped handle that slips easily over your wrist this charming bag always catches the eye. Its strong stitches mean you can carry daily must-haves like your phone wallet and keys or pack it with snacks for a day out. Play with colors for a bright and cheerful look or keep it simple for an elegant touch. Using the crochet Japanese knot bag pattern to create this beauty brings out the fun in crocheting while making something you can use every day.
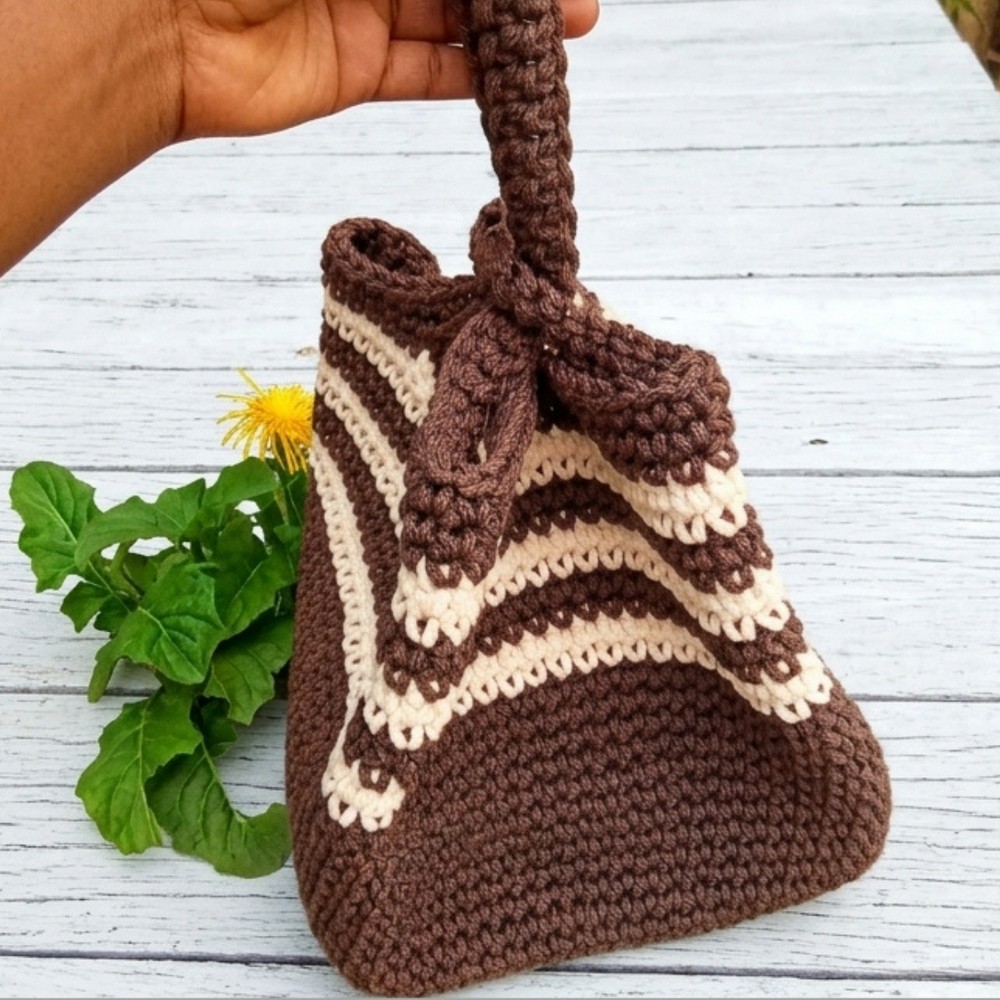
Free Crochet Japanese Knot Bag Pattern That Turns Heads

The bag’s clever design stays secure without any buttons or zippers making it both simple and safe for your belongings. Whether heading to the market going for a picnic or just adding a bit of handmade flair to your outfit you’ll find this bag a perfect match. Beginners and experienced crocheters alike enjoy making it and proudly carrying a bit of Japanese-inspired style.

Crochet Japanese knot bag Pattern
Materials
- Yarn: Rope-style yarn, cotton cord, t-shirt yarn, or similar thick yarn (approx. 3mm thick)
- Crochet Hook: Size 6.0 mm (J-10)
- Notions: Stitch markers (at least 8, different colors can be helpful), scissors, yarn needle
Abbreviations (US Terms)
- MR: Magic ring
- ch: Chain
- sl st: Slip stitch
- sc: Single crochet
- st(s): Stitch(es)
- rep: Repeat
Special Notes
- Slip stitches at the end of rounds do not count as a stitch. Do not work into slip stitches in the next round.
- Always place a stitch marker in the second sc of each set of 3 sc in corners. This helps maintain your square corners.
- Pay close attention to the stitch count between corners; this is key to forming a perfect square.
- You can adjust bag size by working more/fewer rounds for the base.
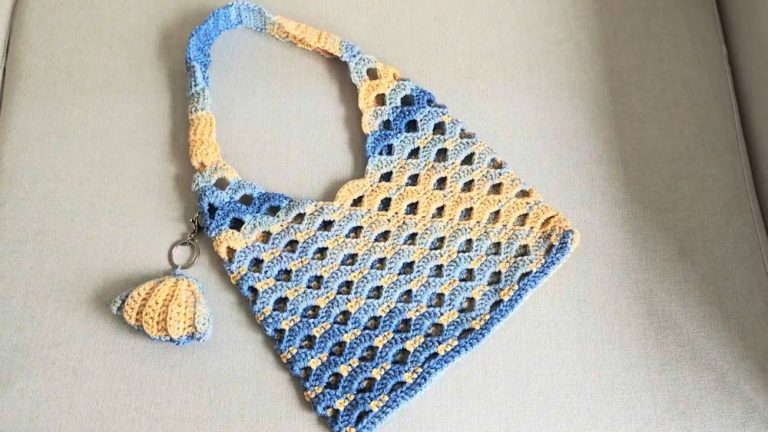
- Change color as preferred for color-blocking or stripes.
Pattern
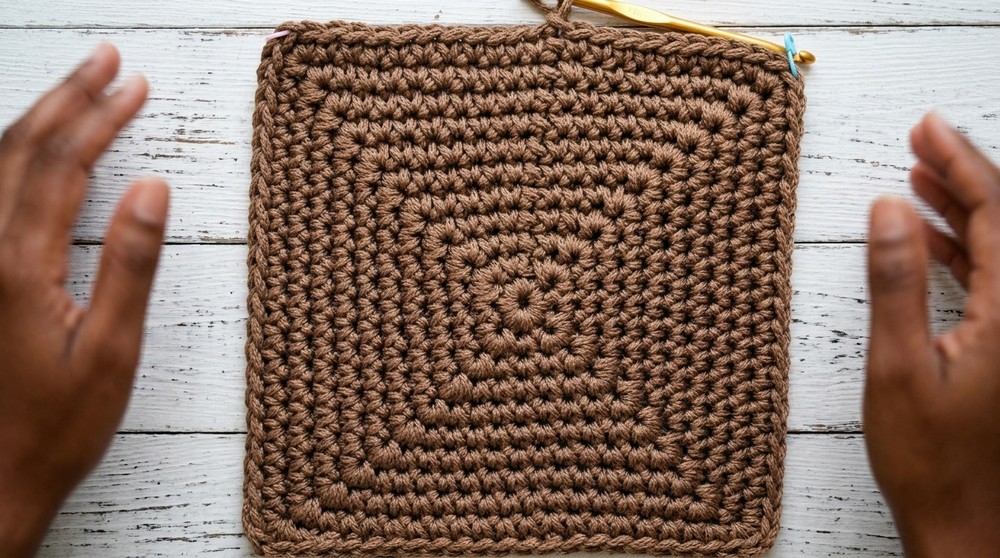
Square Base
Round 1:
- Begin with a MR.
- Work 8 sc into the ring.
- Pull the tail to close the ring.
- Join with a sl st to the first sc.
(Slip stitch does NOT count as a stitch and is not worked in subsequent rounds.)

Round 2:
- Ch 1.
- [Sc in first st, 3 sc in next st (corner, place marker in 2nd sc of 3 sc)]
Rep * to end – forming 4 corners. - Between corners: 1 sc in next st.
- Total after round: 12 sts (3 sc at each corner, 1 sc between each corner).
- Join with sl st to first sc. Do not work into slip stitch or beginning ch in next round.
Round 3–10:
Continue the following sequence to grow the square:
- Ch 1.
- For each side:
- 1 sc in each st between corners (the number increases by 1 each round).
- At each corner marker: Remove marker, 3 sc in marked st, place marker in 2nd sc of 3.
- Repeat for each side and corner, maintaining stitch markers at corners.
- Join with sl st to the first sc (never into slip stitch or ch 1).
- Continue until you have completed 10 rounds.
- At the end of Round 10, you should have:
- 21 sts per side (including the 3 corner scs)
- Total: 21 x 4 = 84, plus 4 corner sts = 88 sts

Bag Sides
Set Up for Sides:
- Remove all corner markers.
- Place a stitch marker in the last slip stitch (to mark the start of round).
- Work 1 round of sl st in every stitch, around entire base.
- Join with sl st to marked st.
Sides – Round 1 (First Round Up):
- Ch 1.
- Work sc into the outermost loop of each sl st from previous round (“third” loop, facing out).
- Mark the first sc. Work 1 sc in each st around, picking up only the outer loop.
- Join with sl st to first sc.
- 88 sc
Sides – Rounds 2–12 (Work in Continuous Rounds):
- Sc in both loops of each st around (do NOT join rounds; instead, continue working in a spiral).
- Move stitch marker up to the first st of each new round.
- Work a total of 12 rounds (or as tall as desired).

Optional Color Block/Striping:
- For a classic look:
- Rounds 13–14: Switch to color B, sc in each st (2 rounds)
- Rounds 15–16: Switch back to color A, sc in each st (2 rounds)
- Rounds 17–22: Continue alternating as desired until you reach 22 total rounds, ending with preferred color.
(Use any stripe/color pattern you like!)
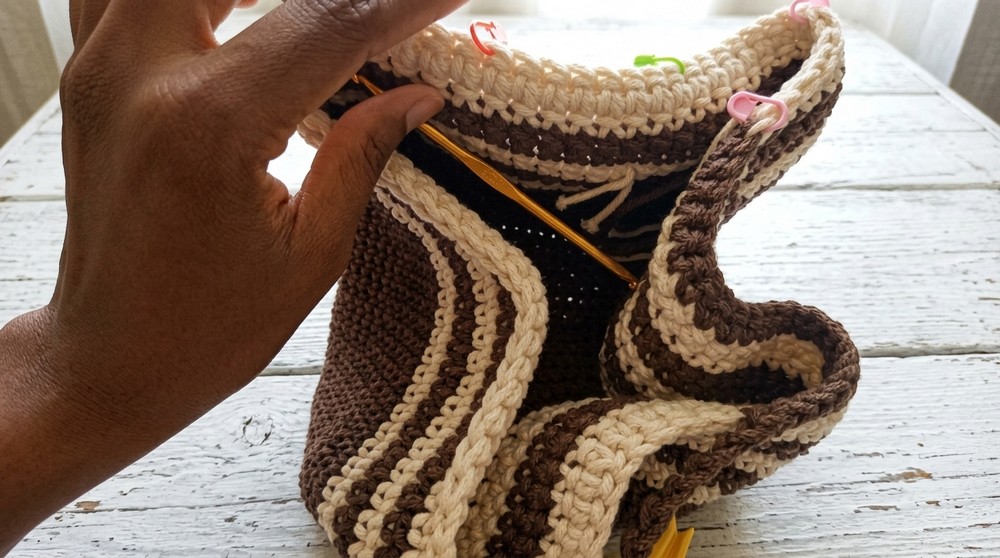
Handles
Mark Handle Placement:
- Pick one corner as the starting point and place a marker.
- From next st, count 21 sts along one edge of the square. Place marker in the 22nd st.
Repeat around each side so there are 4 markers, dividing the bag into 4 equal sections (21 sts per side).
Mark Handle Width:
- On one side (short handle):
- From a corner marker, count 7 sts and place marker.
- From that marker, count another 7 sts and place another marker. Repeat on opposite side.
- On the other side (long handle):
- Repeat, but make a longer handle with a longer chain span.
Handle Rounds
Short Handle:
- At marker, ch 7, skip sts between markers, join with sc to next st after second marker.
- Continue sc in each st to next handle section.
Long Handle:
- At marker, ch 40 (or more for desired length), skip sts between markers, join with sc to next st after second marker.
- Continue sc to end of round.
Handle Reinforcement:
- Work 2 more rounds of sc around the top edge, working sc into the chains of each handle, and in each st of the bag.
- Handles become firmer and thicker with each pass.
Finishing
- Join last st with a sl st to the beginning of round.
- Fasten off and weave in all ends neatly inside the bag.
Conclusion
You have now completed a Square Base Bucket Bag with modern color-blocked sides and two sturdy handles—one short and one long for versatile carrying. Adjust the number of rounds or handle length as desired for a smaller/larger bag.
Pattern Correction & Tips
Corrections:
- Key reminder: Never work into the slip stitch or ch 1 at the beginning of each round—always join to the first sc.
- Ensure that the corner stitch markers are always moved to the middle of each set of 3 sc (always the second sc).
Tips:
- Use a contrasting yarn for your stitch markers to avoid confusion.
- Always count stitches between corners after each round—each side must have the same number of stitches for a symmetrical square.
- Handles can be made longer or shorter by adjusting your starting chain.
- For a firmer bag, use a tighter tension or a smaller hook for your yarn weight.