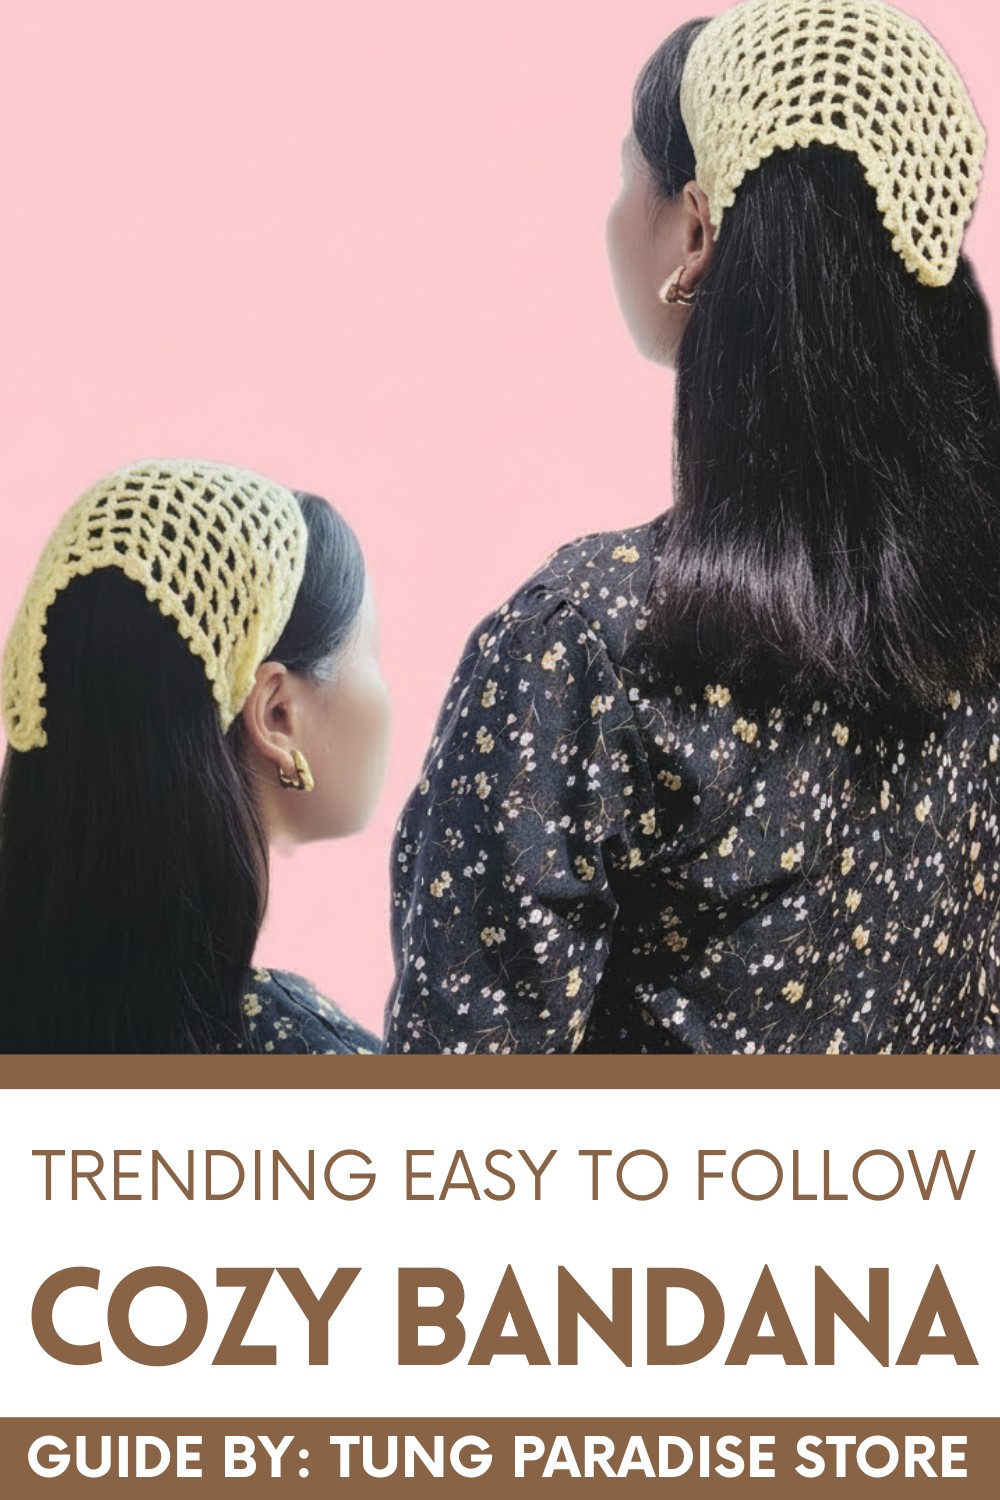
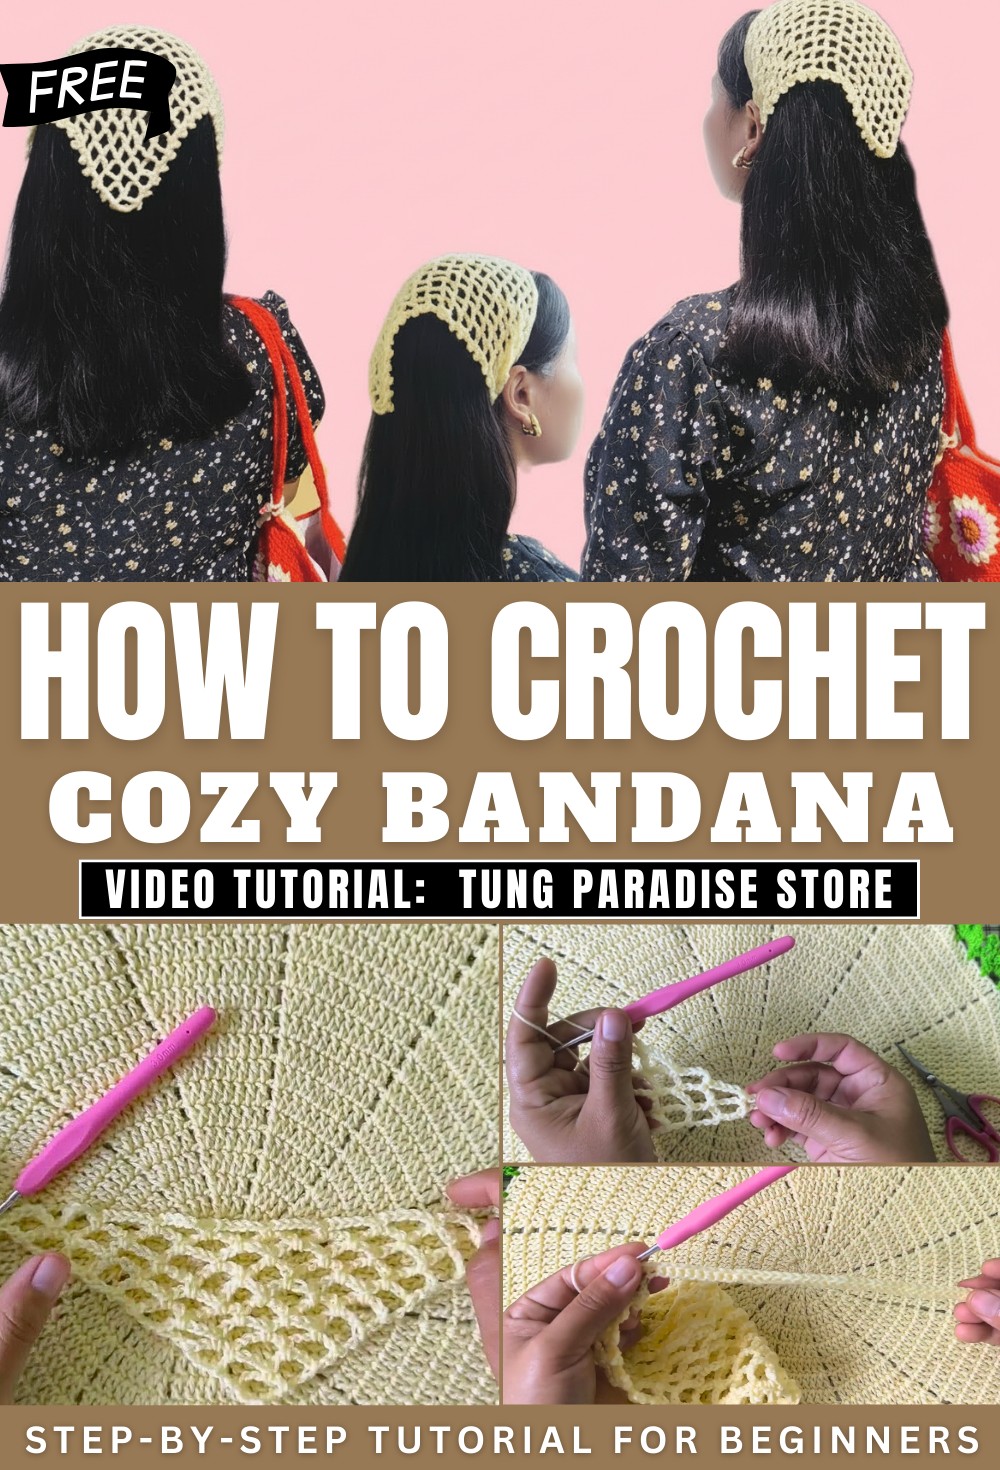
Stylish Crochet Bandana Pattern Ready for Casual Chic
Elevate your wardrobe with this Free Crochet Bandana Pattern that’s full of style comfort and charming everyday appeal everywhere you go.
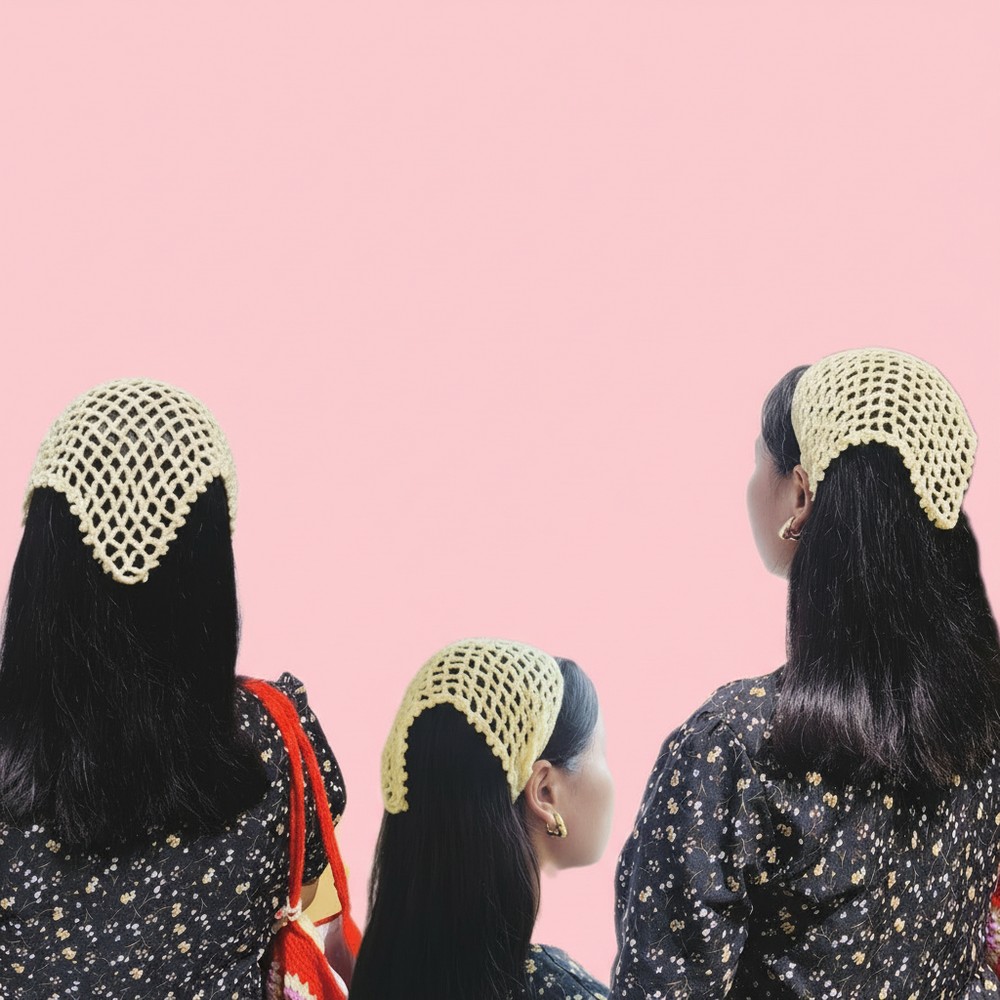
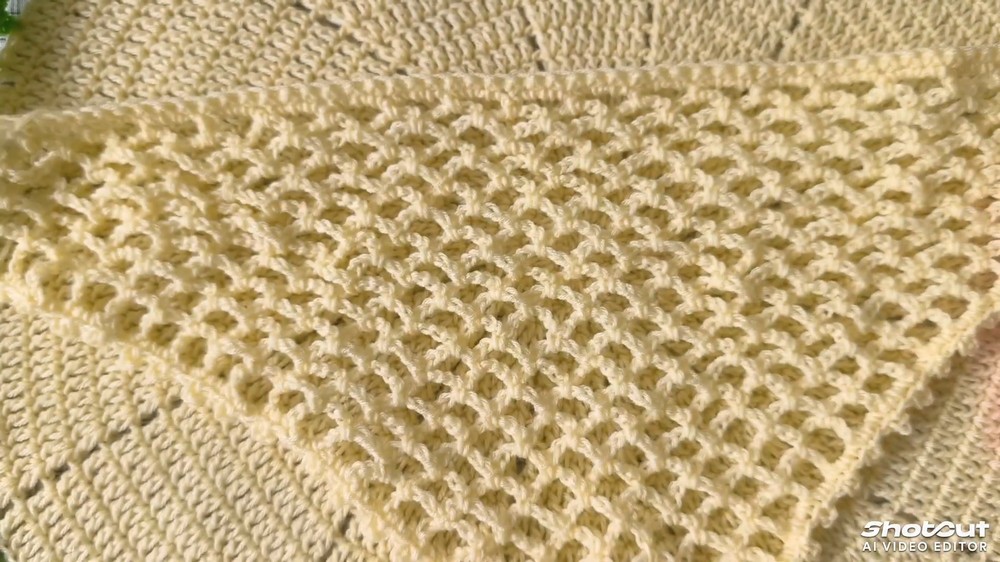
Chic Crochet Bandana Pattern Ideal for Everyday Wear

The bandana allows for creative customization through yarn selection, color combinations, and finishing details, making each piece unique. Beyond its aesthetic appeal, it provides practical benefits, such as shielding hair from wind or sun, while remaining versatile enough to style in multiple ways. Combining elegance, creativity, and utility, this design delivers a chic, wearable accessory that complements any wardrobe seamlessly.
Special Features
- Worked from the point up, forming a triangle bandana
- Lacy mesh design with looped edges
- Decorative picot (peacock) border for added flair
- Adjustable tie straps for secure wearing
- One-size fits most, easily customized in size
Level of Difficulty
Beginner to Confident Beginner.
You use single crochet, double crochet, chains, picot, and slip stitch. If you know the basics, you can do this!
Materials
- Worsted (weight 4) or DK (weight 3) cotton or acrylic yarn — approx. 50 g
- 4 mm (G) crochet hook
- Scissors
- Yarn needle
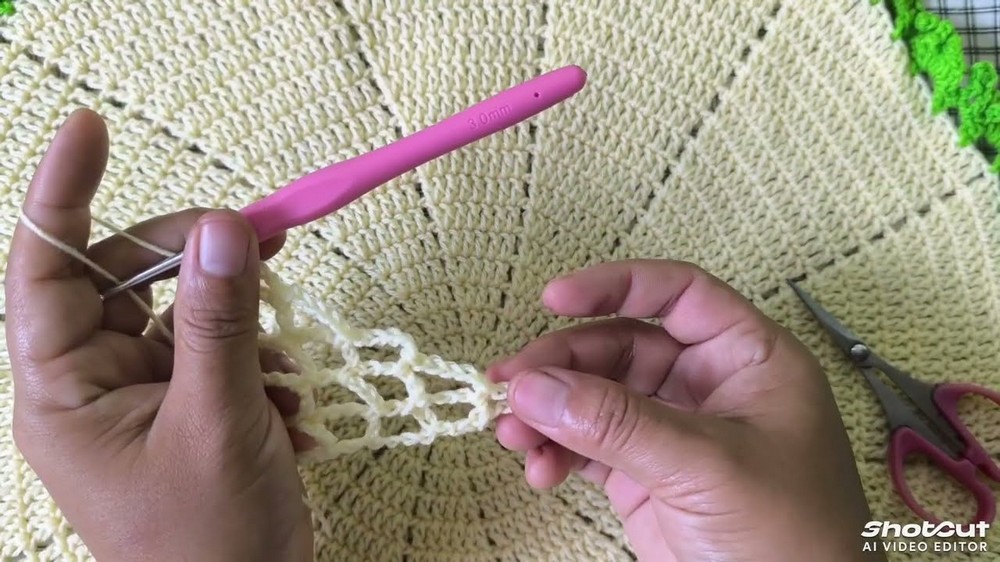
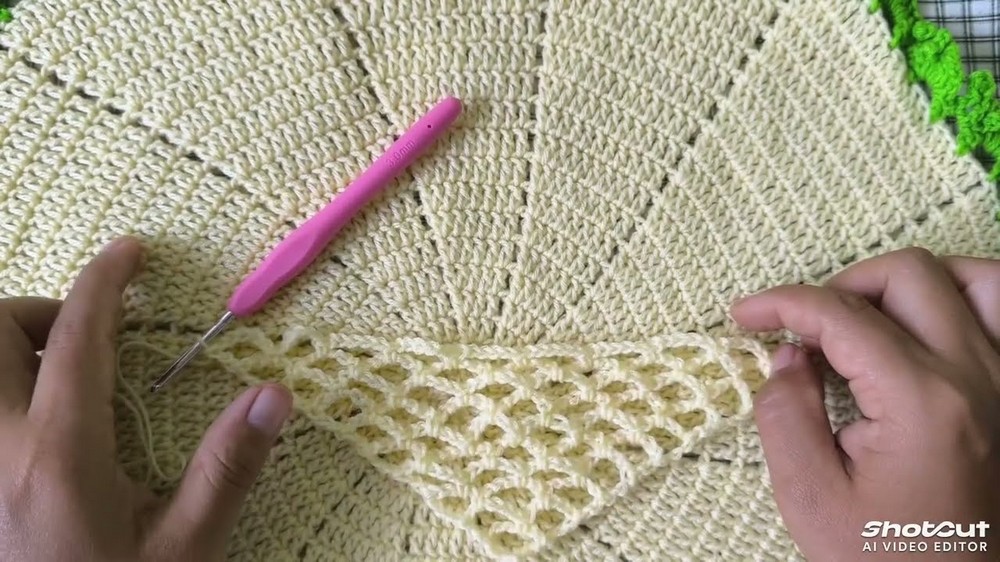
Step-by-Step Pattern
1. Foundation and Row 1
- Make a slip knot.
- Chain 18.
- Yarn over, and make a double crochet (dc) in the first chain.
- You now have your first row: a base loop for the bandana point.
2. Row 2
- Turn your work.
- Chain 8.
- Work 1 single crochet (sc) in the first loop/space.
- Chain 5.
- Skip 3 chains, and in the third chain, work a double crochet (dc).
- Row 2 is complete: you’ve created a triangle’s center and side.
3. Row 3
- Turn your work.
- Chain 8.
- In the first space, work 1 sc.
- Chain 5, sc in the next space.
- Chain 5, skip 3 chains, dc in next chain.
- The triangle widens as you add more mesh spaces.
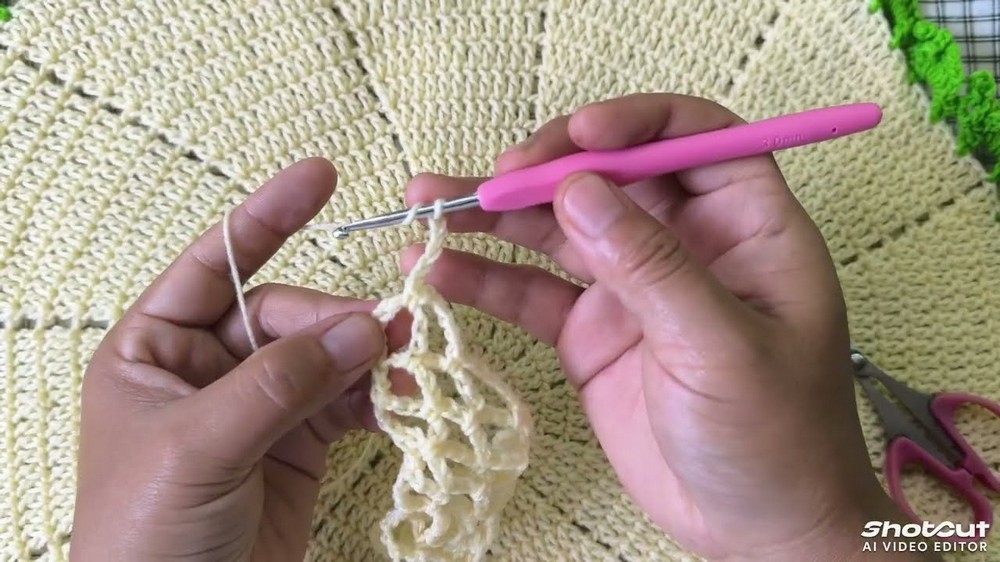
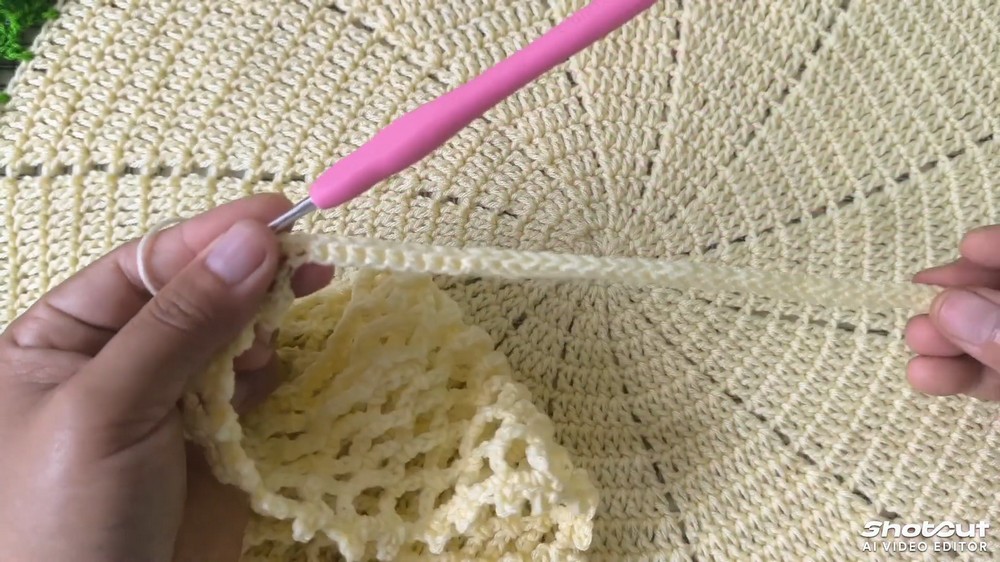
4. Subsequent Rows (Repeat for Length)
Begin each row:
- Turn the work.
- Chain 8.
- In the first space, work 1 sc.
- Chain 5, sc in the next hole (repeat across).
- At the last space/corner:
- Chain 5, sc in the same space.
- Chain 5, skip 3 chains, dc in 3rd chain for a neat corner.
Continue these rows, always starting with chain 8, single crochet in the first hole, and at the end: chain 5, sc and chain 5, dc for the final corner.
Repeat until your bandana triangle is your desired size (the example stops at 26 rows).
5. Picot (Peacock) Edging
- When finished with the triangle, do not cut yarn.
- Work around the two triangle sides for the border:
- In each space/hole, do:
- 1 sc
- 1 sc again in the same hole
- Chain 3, insert hook into the base of those chain 3 (or between the two lines formed at the bottom), yarn over and slip stitch to create a picot (point/peacock stitch).
- Repeat in each hole/space along the side.
- In each space/hole, do:
6. Head Side and Making the Ties
After the sides are finished:
- Across the head (straight) edge, work 3 single crochet in every space/hole.
- Continue to the corner.
First Strap:
- Chain 40 (or as long as you want your tie).
- Skip the first chain, work 1 sc in every chain back toward the bandana.
- Continue single crochet along the head edge until the other corner.
Second Strap:
- At the other corner, repeat: chain 40, skip first chain, sc in each chain back to the bandana.
7. Finishing
- After completing the tie and head side, work a few slip stitches for a smooth edge.
- Cut yarn, pull through, and weave in all ends with yarn needle.
Tutor’s Suggestions
- Always start rows with chain 8 to maintain the bandana’s shape.
- At the corners, do an extra chain 5 and double crochet for neat points.
- Adjust the number of rows for a bigger or smaller triangle shape.
- If you want a firmer bandana, choose cotton yarn for better stitch definition.
Uses
- Wear as a boho-chic headscarf or bandana.
- Use as a neck scarf, kerchief, or even a small shawlette.
- Great as a handmade gift or summer accessory!
Conclusion
That’s it—your crochet bandana is ready to wear! You learned simple lacy mesh, neat picot edges, and how to add handy ties. Adjust the size or yarn for different looks and enjoy your breezy new accessory.
Final Tip
Steam-block your bandana lightly to open up the lace and smooth the borders. This gives a professional finish and helps the bandana drape perfectly.