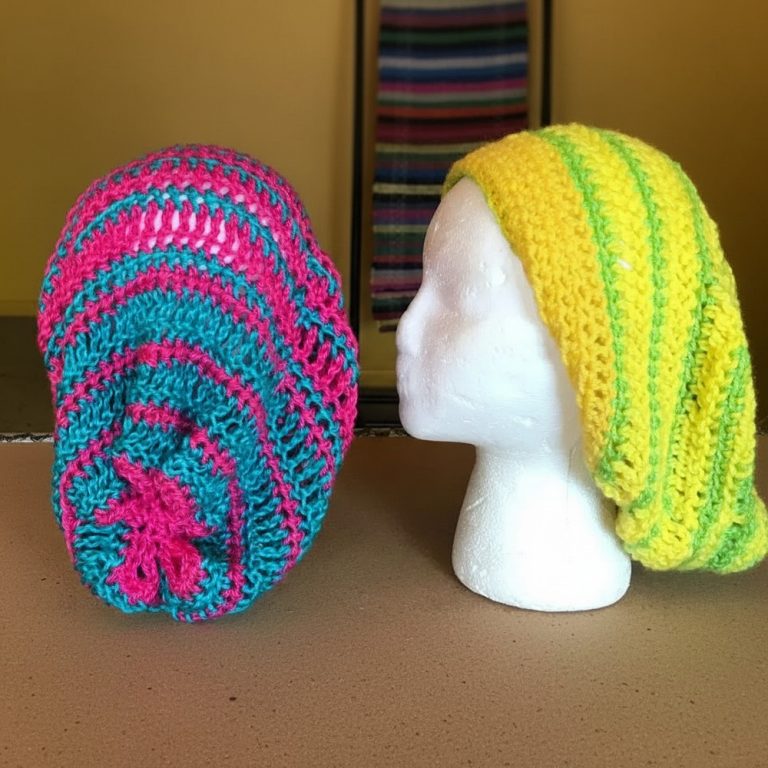
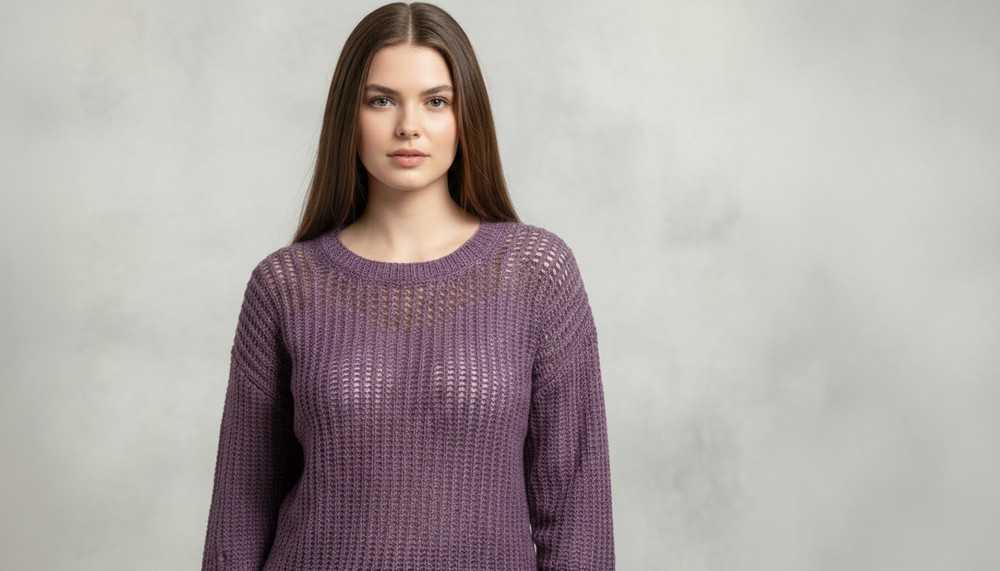
Vintage Free Crochet Sweater Pattern for Timeless Looks
Warmth meets style through free crochet sweater pattern offering endless color choices letting you personalize every creation to your taste.
A sweater that brings warmth and style wherever you go can be made with a crochet sweater pattern. Lovely colors, special stitches, and unique shapes give every sweater its own beautiful look, making it easy to show off your personality. This handmade sweater offer comfort on cold days and serve as eye-catching pieces for any occasion, from family gatherings to outings with friends. The pattern is simple enough for anyone to follow, helping even beginners feel proud as their work grows row by row.
Flattering Free Crochet Sweater Pattern for Every Body
A big benefit is being able to use any yarn or color you like, making a sweater truly one of a kind. You can save money, use leftover yarn, or give a heartfelt handmade gift. The specialty of each crochet sweater pattern is how it turns plain yarn into a cozy, wearable treasure—something both useful and lovely that brightens every day.
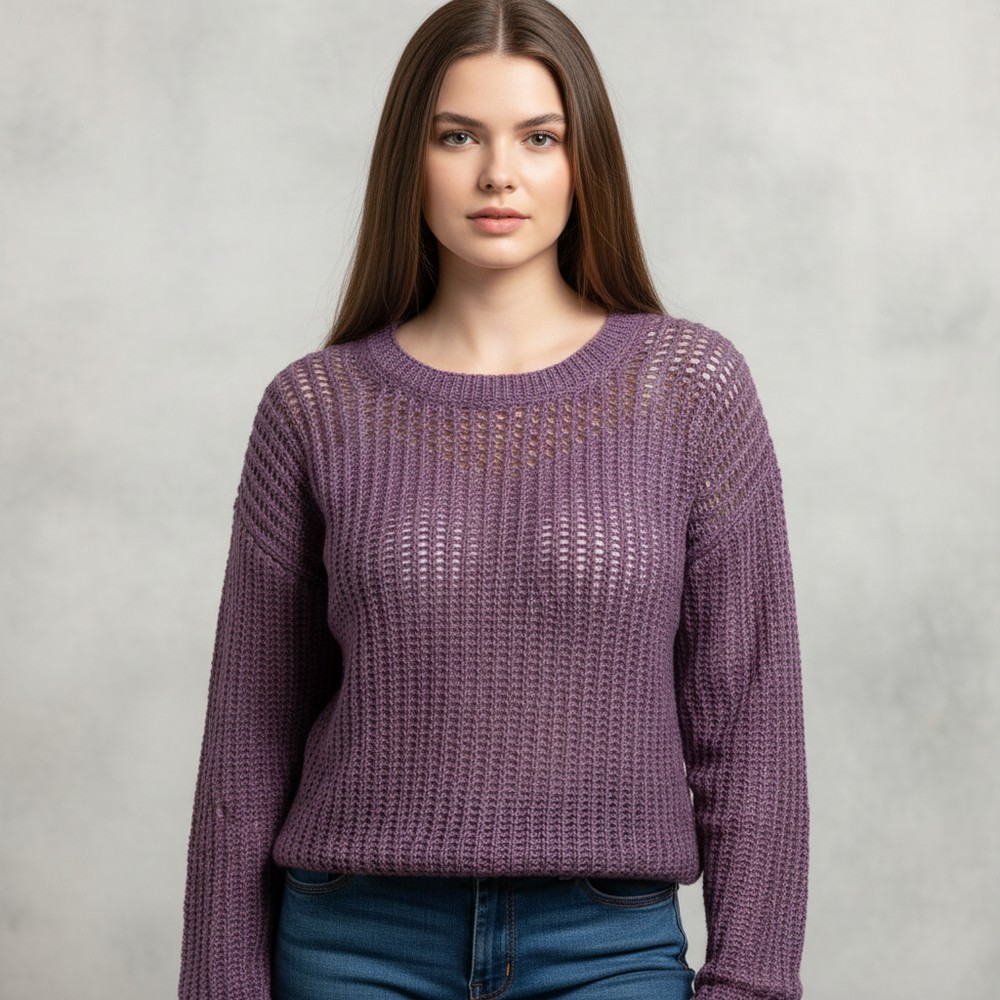
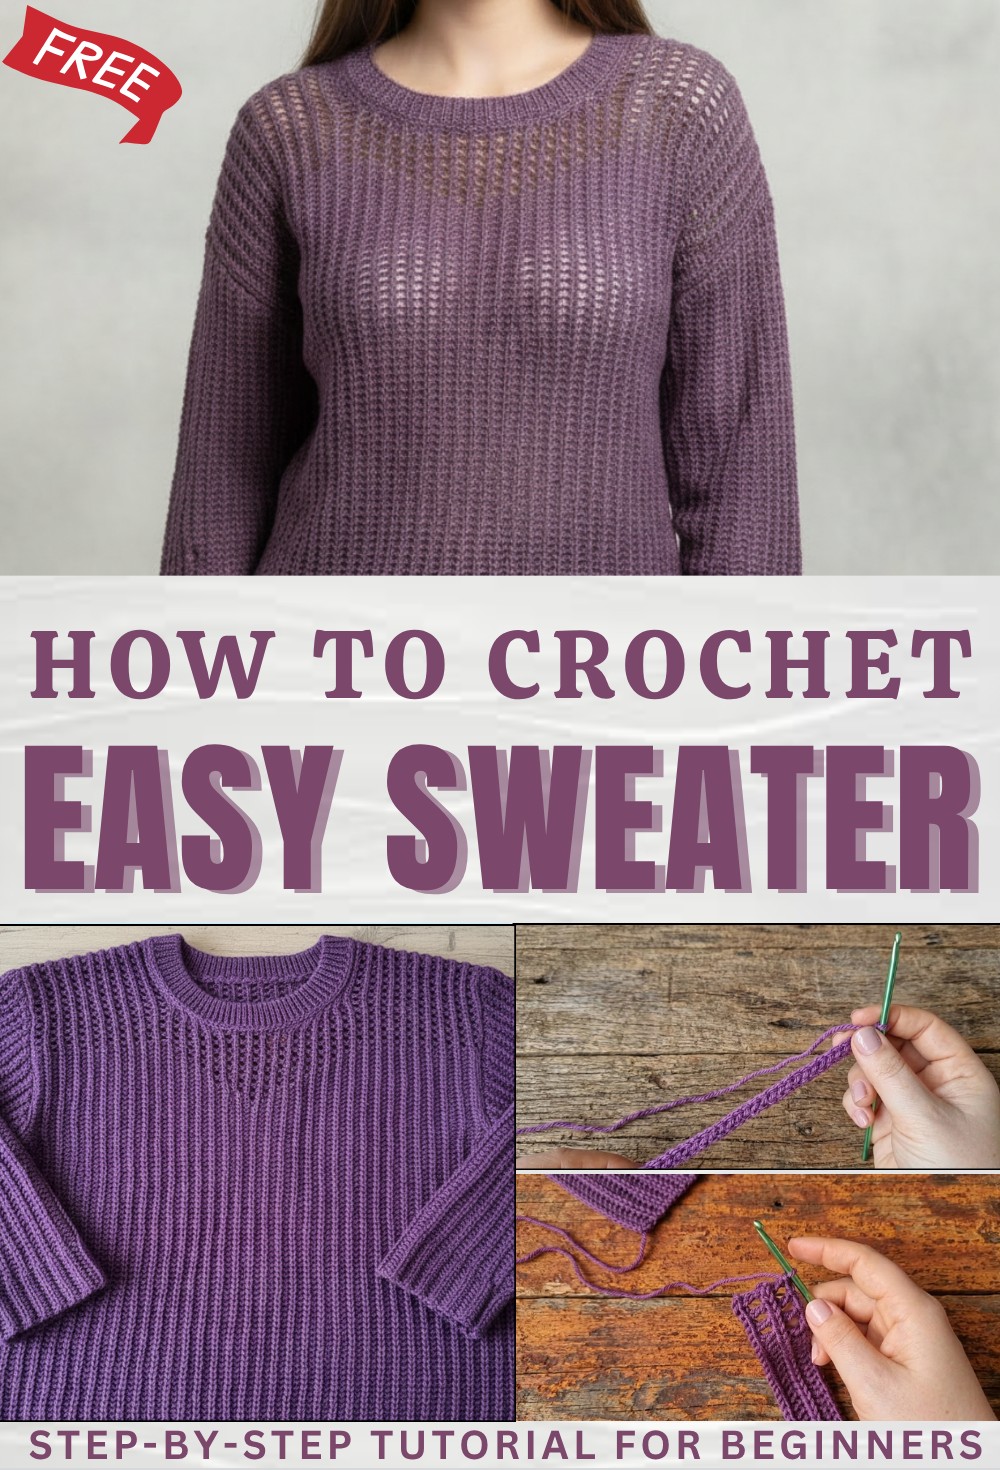
Elegant Crochet sweater Pattern
Materials
- Yarn (choose one):
- Gazal Baby Wool – 50g/175m, 40% acrylic, 20% cashmere, 40% merino (light, flowing fabric)
- Aliz Superlana Classic – 100g/280m, 25% wool (budget, denser fabric)
- Other soft, sport/DK weight wool or acrylic yarn (50g/140–175m)
- Hook: US Size G (4.0mm)
- Notions: Scissors, tapestry needle, stitch markers, measuring tape
Optional: Match hook and yarn size to your preferred gauge and drape.
Abbreviations
- ch: chain
- hdc: half double crochet
- dc: double crochet
- sl st: slip stitch
- yo: yarn over
- rep: repeat
- sk: skip
- sts: stitches
Special Notes
- Gauge: Knit swatches and measure stitches per inch for accurate sizing.
- Sizing: Pattern is adaptable for any size. Measure your width and height, knit swatches for gauge, and calculate stitch/row counts accordingly.
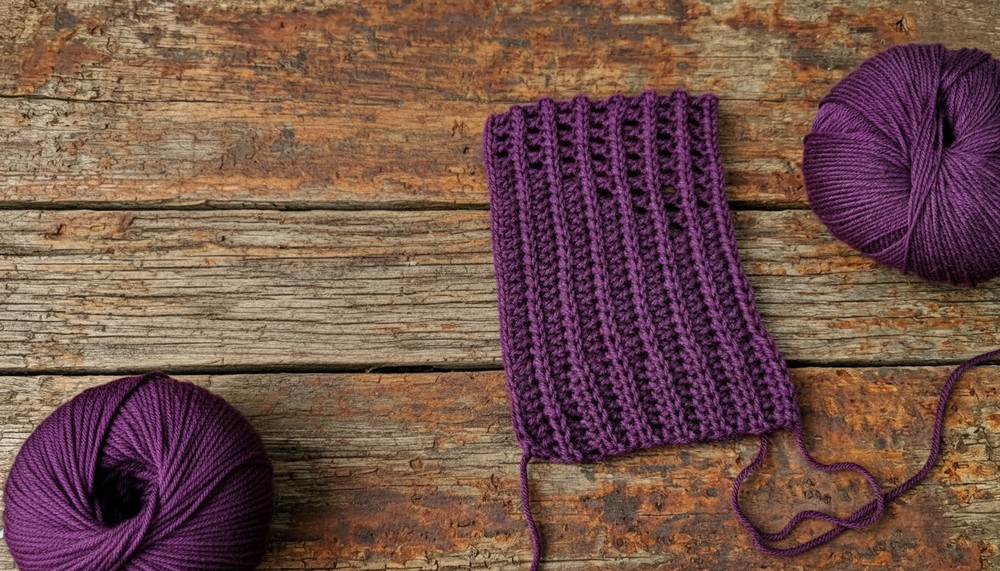
- Construction: Cardigan is worked sideways (crosswise), with ribbing at the hem, vertical striping, and openwork at the neckline and back. Japanese styling shapes the shoulder seam to slope gently to the back.
- Edge Technique: This pattern employs a stretchy and neat foundation row created with a special cast-on for stability and aesthetics.
- Swatch: Before starting, make a gauge swatch in your chosen yarn for calculations.
Step-by-Step Pattern
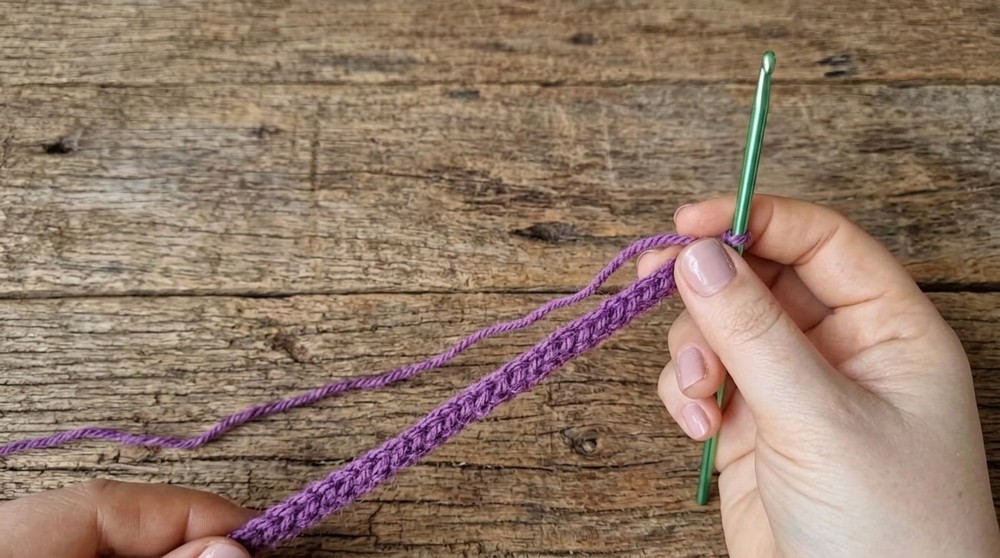
1. Foundation Row
- Measure triple the actual length needed for your initial row.
- Make a slip knot on your hook using both the working yarn and tail.
- Special Cast-On:
- With tail in front and working yarn from ball behind, yo with tail and pull through, then yo with working yarn and pull up a loop.
- Repeat for as many stitches as needed to desired width (edge should be about 18cm for sample; adjust for your garment size).
- This creates a braided, slightly stretchy foundation edge.

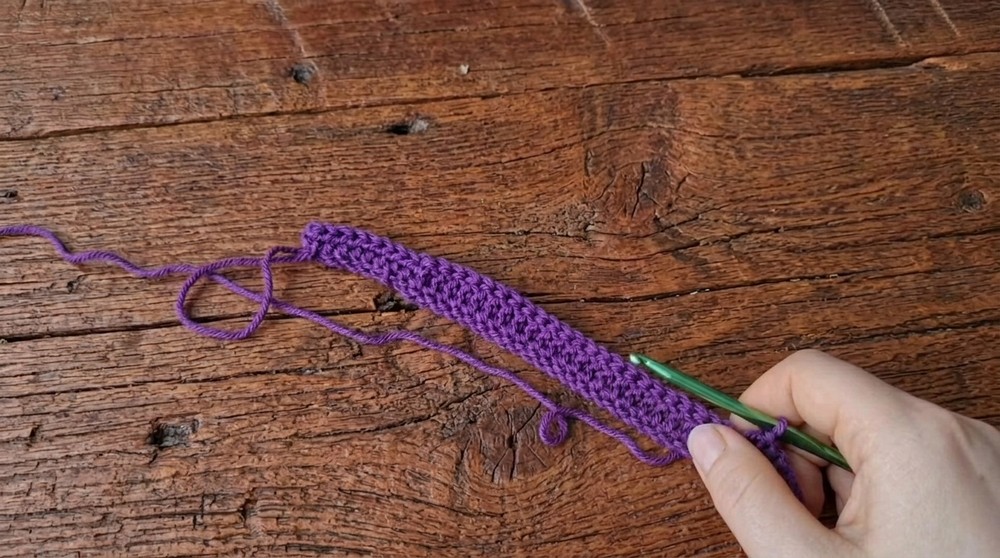
2. Ribbing Band (Bottom Hem)
- Turn work, ch 2 (counts as first hdc).
- Working in the top half loops of the foundation (turn chain toward you as you work):
- hdc into next 7–9 stitches for ribbing section (use 8 for sample, adjust for desired hem height).
- Continue ribbing along the bottom of each row; always work ribbing in last 8 sts of each row.
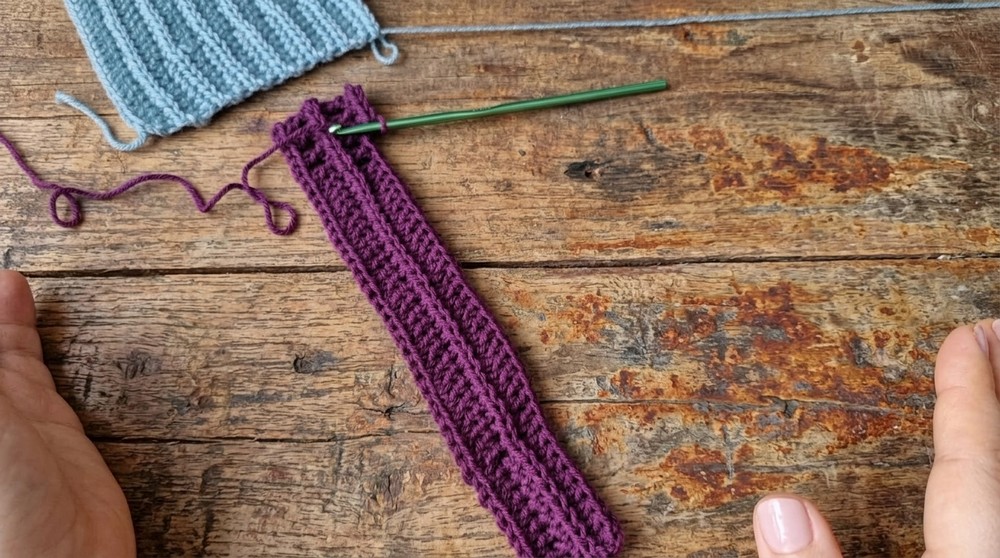
3. Vertical Striping Pattern
- After ribbing, continue working across row:
- dc in half loop of each foundation stitch, between ribbing and openwork sections.
- Alternate rows of dc with rows of slip stitch using dc method for distinct vertical lines.
4. Openwork Pattern
- For final 6–8 stitches, work openwork as follows:
- Row 1 (setup):
- ch 1, yo, sk next st, dc in following st; rep for openwork area.
- Row 2 (wrong side):
- ch 1, turn.
- Work sl st with yo (yarn over, insert into half loop, pull through, pull through 2 loops).
- Continue slip stitch with yo up to ribbing section (last 8–9 sts).
- Switch to hdc for ribbing section.
- Row 3 (right side):
- ch 2, turn.
- Work ribbing with hdc into first 8–9 sts.
- Continue dc for stripe pattern.
- Begin openwork repeats (you may add/remove repeats to shape geometric patterns or neckline; always ch 1, sk 1, dc).
- Row 4 (wrong side):
- ch 1, turn.
- Slip stitch with yo as before up to ribbing section, then hdc for ribbing.
- Row 1 (setup):
- Alternate rows 3 and 4 for desired cardigan height, adjusting openwork placement for neckline/shoulders by increasing/decreasing repeats.
5. Japanese Shoulder Shaping & Assembly
- For shoulder slope, use short rows and strategically placed increases/decreases.
- Shoulder seam should slope and extend toward the back.
- Back knit straight; for front, add openwork to create neckline slant.
- Repeat the stitch pattern for back and front pieces; calculate your own measurements using gauge and desired finished size.
- Sew pieces together at shoulder and sides. Use mattress stitch or whip stitch for neat seams.

Conclusion
This cardigan brings together dense ribbing, dramatic vertical stripe texture, and flexible openwork, with unique Japanese shoulder shaping to elevate your finished piece. The foundation edge technique creates a neat, stretchy bottom, and openwork can be customized for your own geometric artistry.
Pattern Correction & Tips
Corrections:
- For a tighter edge, work the last hdc in rows through two half-loops.
- Adjust the number of stitches in ribbing and openwork to shape the hem, neckline, and shoulders.
- Sew edges with care; always pick up two loops for stability.
- If openwork holes are too loose, reduce the chain count or use a smaller hook size.
Tips:
- Always make a gauge swatch and measure to calculate stitch counts.
- Use stitch markers to differentiate ribbing and main patterns.
- Try on as you go (or lay out pieces) to match desired fit and drape.
- Use a soft, flowing yarn for best results; blocking enhances the final look.