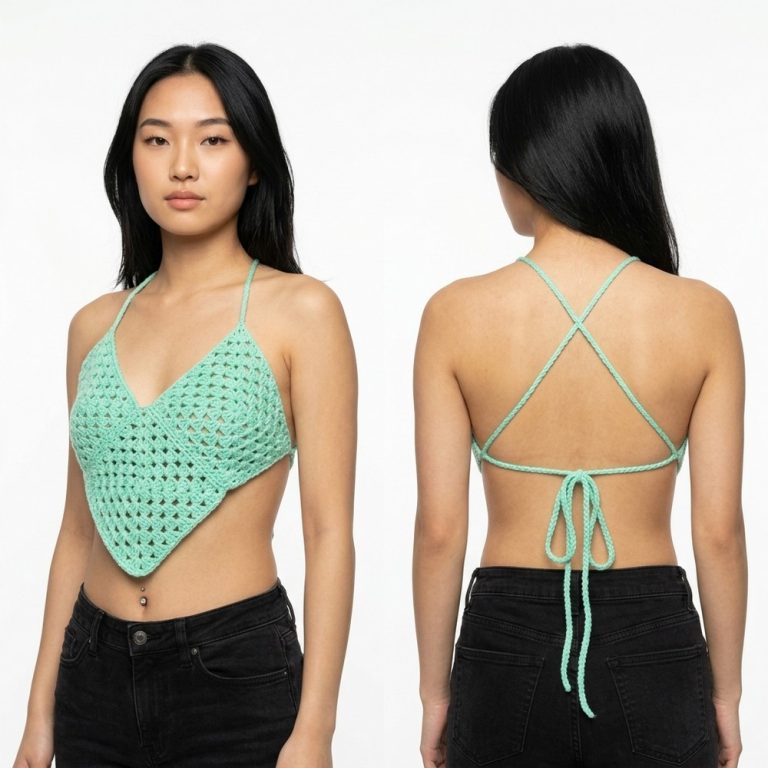
Sun-kissed Crochet Cropped Top Pattern Perfect for Beach Days
Enhance your summer collection with this Crochet Cropped Top Pattern that’s perfect for creating a trendy and stylish look for sunny days.
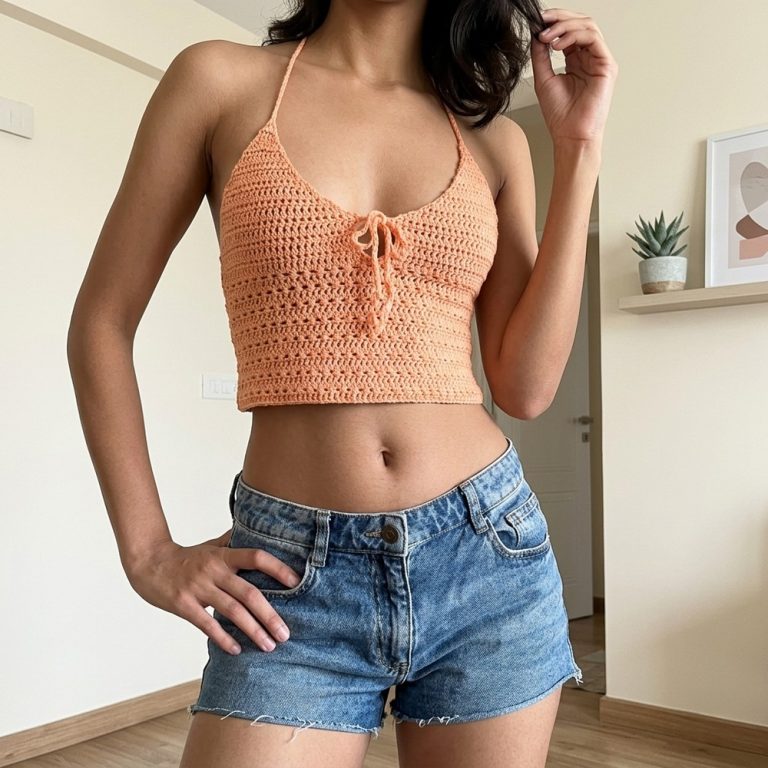
Effortless Crochet Cropped Top Pattern Ready for Casual Style
Finding a way to mix comfort with a splash of style is easy with this lovely handmade design. A Crochet Cropped Top Pattern helps you make a short, trendy shirt that sits just above the waist, giving you a look that is both modern and sweet. This piece is perfect for a sunny walk in the park, a fun day at the beach, or a simple hangout with friends. One big plus is that the fabric is very light and full of tiny holes, so it keeps you feeling cool and fresh all day long.
Since the design is small, you can finish it quickly and you do not need much yarn at all. This makes it a great way to save money while making a high-quality item that fits your body perfectly. The final result looks very classy and shows off your hard work. Using a Crochet Cropped Top Pattern lets you own a one-of-a-kind shirt that makes you feel proud and happy.
Special Features
- Quick Project: You can complete it in about 3 hours.
- Highly Adjustable: Easily modify length, width, and straps for perfect sizing—works for P (S), M, G (L).
- Minimal Seaming: Most parts are worked in one piece.
- Comfort Straps: Thick, flat, or elongated treble crochet straps that don’t cut into the skin.
- Modern Back: Lattice (openwork) back strap with stylish decreases and ties.
- Flexible Yarn Options: Works with Amigurumi, Charme, Duna, Jeans, and other cottons.
Level of Difficulty
Beginner to Adventurous Beginner
Basic knowledge of chain, double crochet, and simple decreasing/increasing is all you need. Pattern teaches the main techniques as you go.
Tutor’s Suggestions
- Yarn Choice: Try with Amigurumi, Charme, or other soft cotton blends for a nice drape. High-twist or denim yarns also look great.
- Fit as You Go: Always check size as you crochet, especially when shaping the bust and back.
- Neat Finishing: Weave in your ends carefully for a professional look.
- Don’t Skip Counting: Regular stitch counts ensure symmetry.
- Strap Comfort: Avoid thin chain straps for the neck; use thicker, flat crochet straps for more comfort.
Uses
- As a cropped top for summer, beachwear, or festivals.
- Layer over a blouse, dress, or bikini.
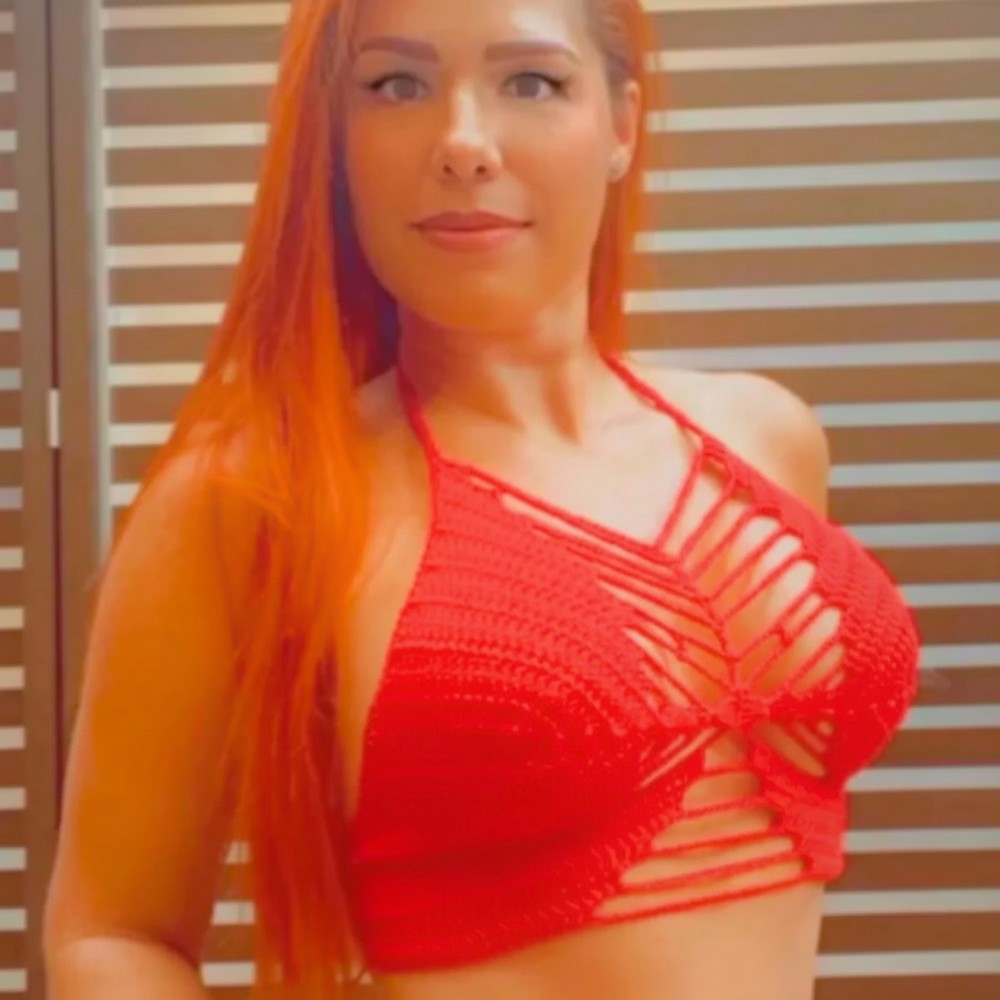
- Make in bold colors for a statement or neutrals for classic wear.
Materials
- Yarn: Amigurumi (Círculo) or yarn with similar thickness; about 1 skein (approx. 230–250m).
- Hook: 3mm crochet hook (or size needed for gauge).
- Scissors
- Tapestry needle
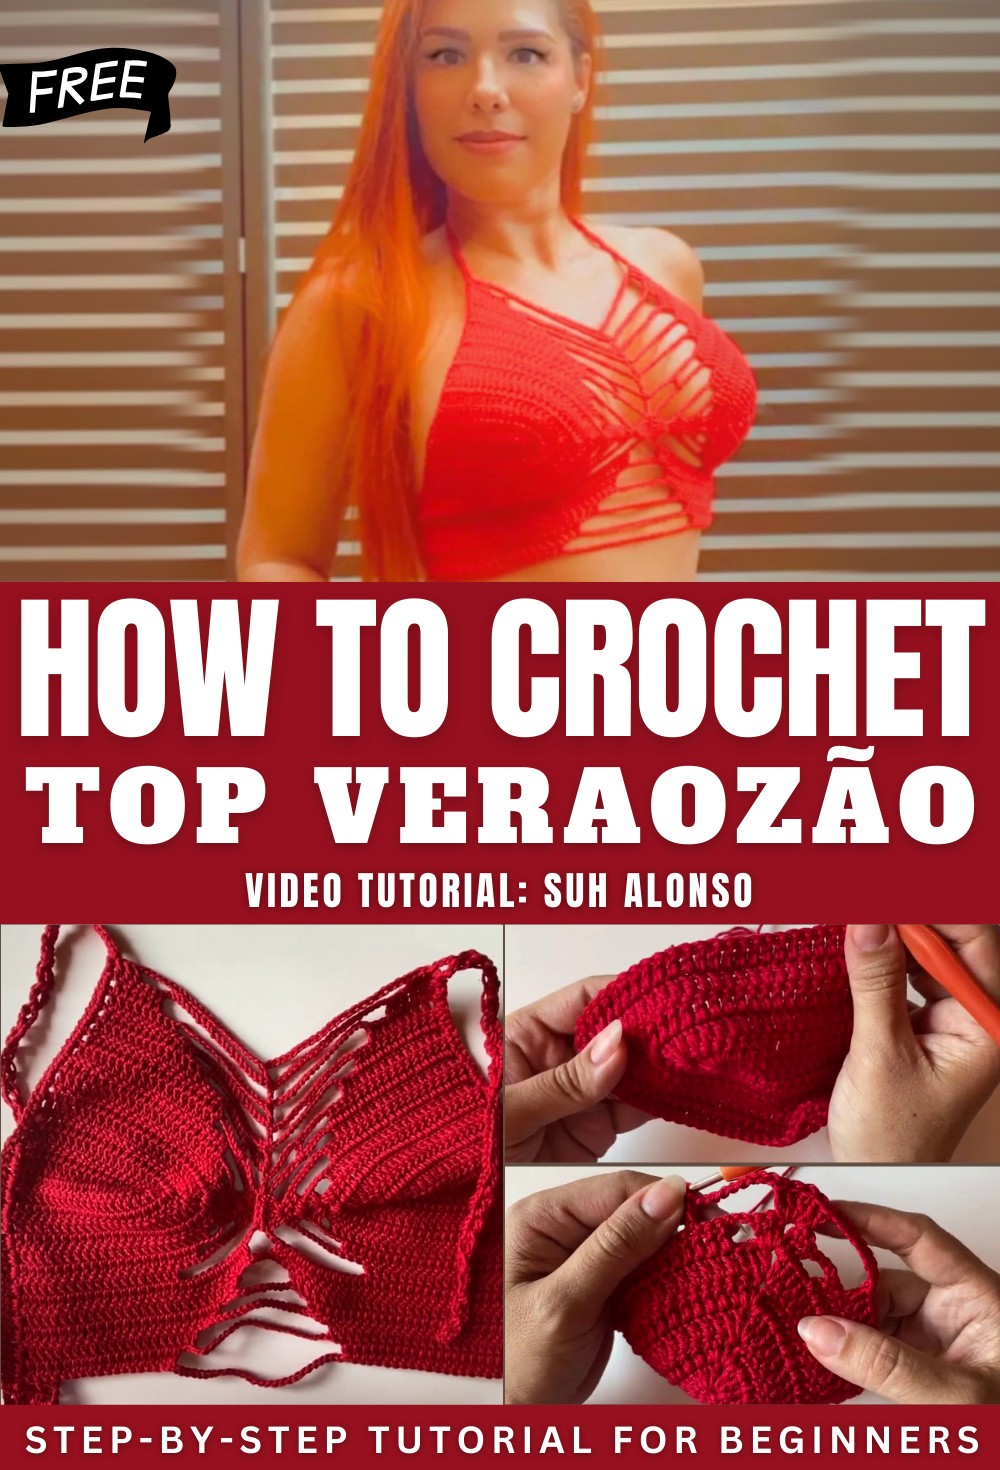
Step-By-Step Pattern
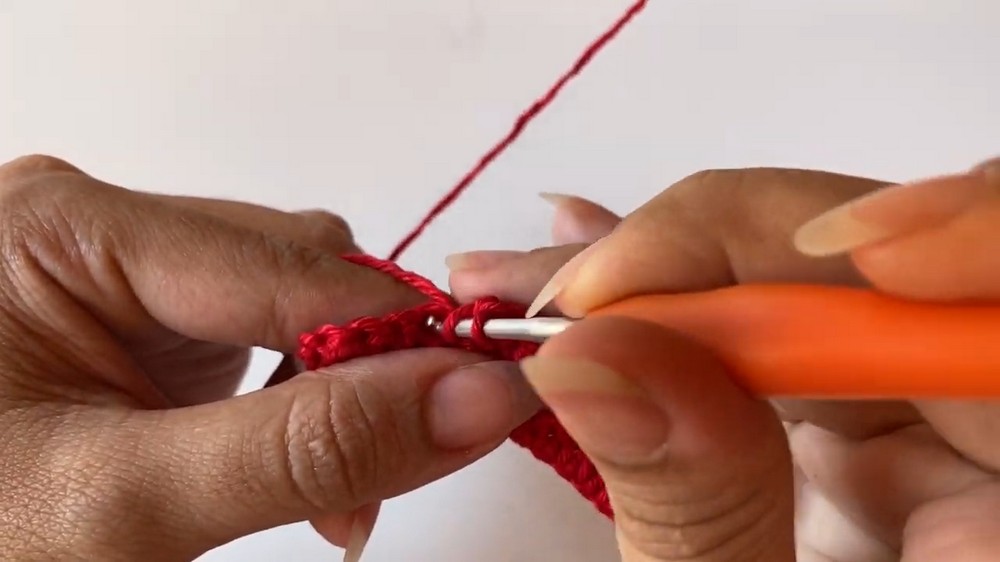
1. Cup Foundation
- Chain 18.
- In the 3rd chain from hook, work 1 double crochet (dc).
Dc in each chain across (should be 17 dc total). - Turn. Ch 2 (acts as first dc). Dc in each stitch across.
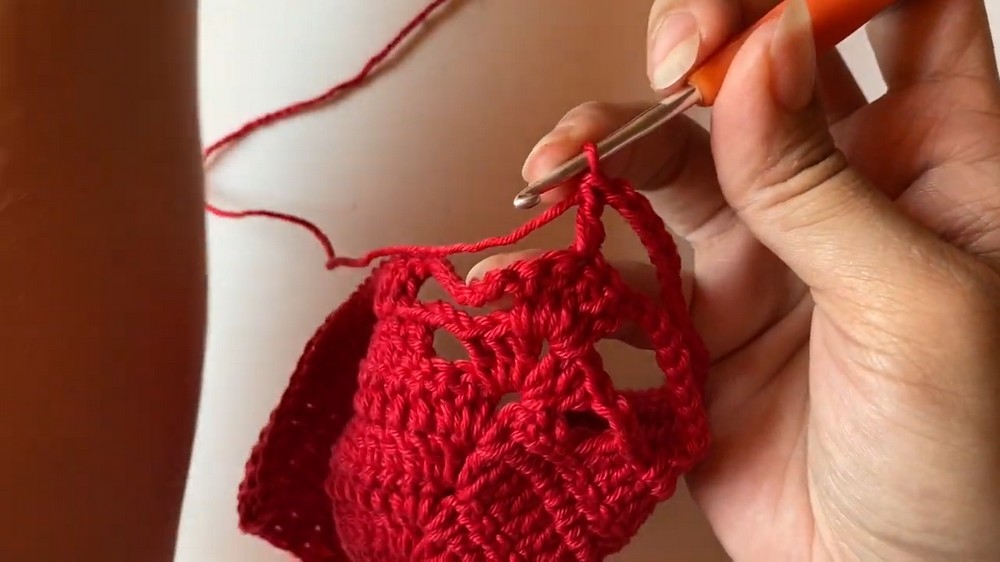
2. Fan Curve (Cup Shaping)
- At the last stitch, work 3 dc in the same stitch (fan/curve).
- Ch 1.
- Work 3 dc in the same stitch again.
- Continue dc along the opposite side, ending with a dc in the last ch.
Now you have a cup: both sides mimic one another with the fan at the curve.
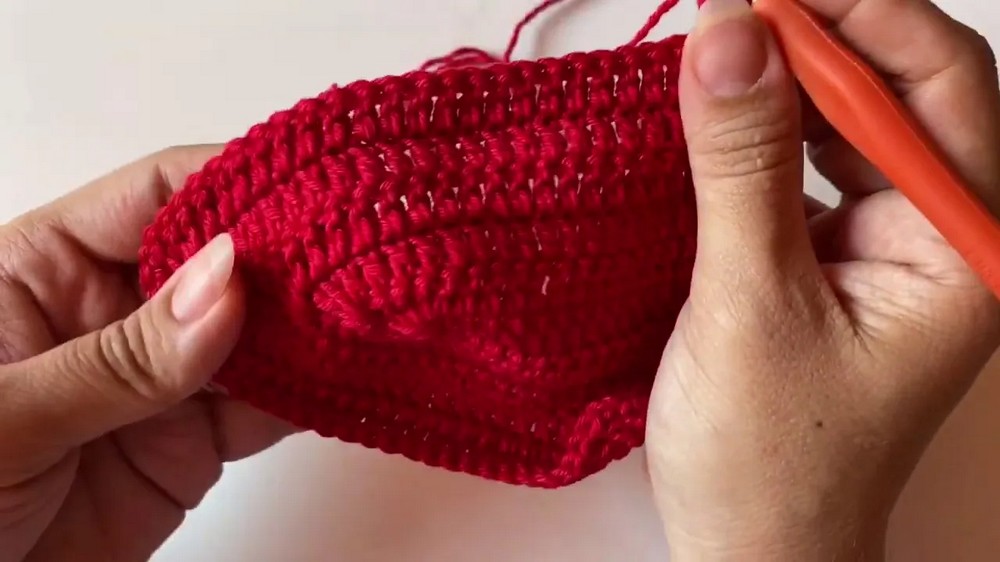
3. Build Cup Height
- Turn. Ch 2, dc in each stitch across.
- At the curve: for Row 1: In ch-1 space, repeat “3 dc, ch 1, 3 dc” (fan).
- For next rows: In curve, make “2 dc, ch 1, 2 dc” (smaller fan).
- Continue until you have 4 rows (P), 5 rows (M), or 6 rows (G), always counting to make sure there is symmetry on both sides.
- Make and finish second cup the same way.
4. Connect Cups (Center Join)
- Edge last row, stop and sew the two cups together at the central points or crochet together as you work the first bottom row.
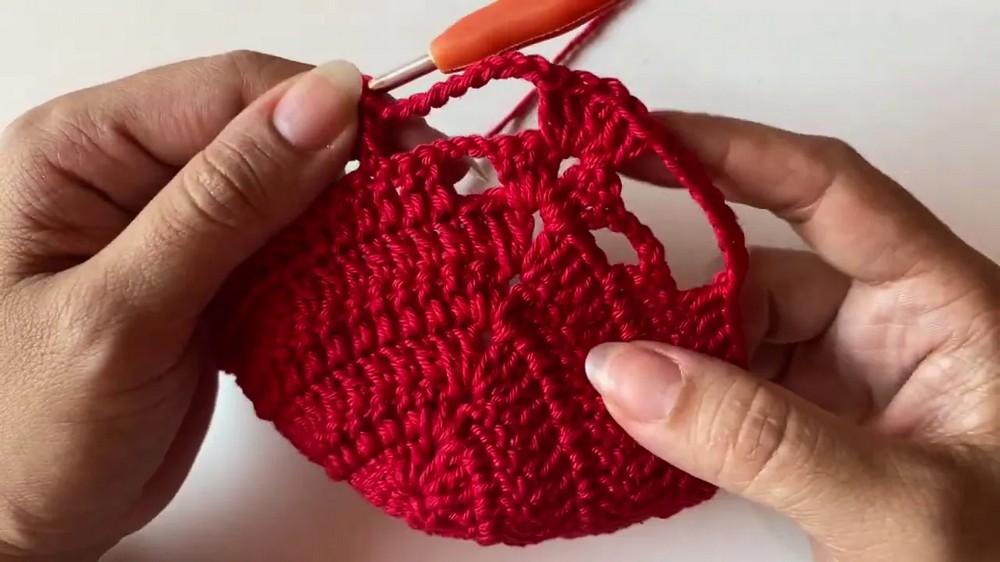
5. Top Section (Strap and Upper Edge)
- For the top of each cup: Ch 2, dc in each stitch to curve.
- Stop 3 stitches before curve, ch 3, skip 3, then fan (3 dc, ch 1, 3 dc) in curve, ch 3, skip 3, dc to end.
- Repeat for the number of rows desired to cover upper bust and shape neckline—decrease as shown for deeper “v”.
6. Create Strap Tunnels
- For each top corner: Ch 20.
- Into each ch: Work elongated treble crochets (yarn over twice, pull through two, twice).
- This creates thicker, flat straps for comfort.
- Repeat for the other side.
7. Body/Lower Section
- Reattach yarn at underbust, work 2 ch, dc in each dc and ch across.
- At end of each row, ch 5, skip 2, dc in next (adds a mesh look to the back); next row, ch 11, etc.—the number of chains increases as you decrease the body for the back-lattice effect.
- Repeat until the piece wraps comfortably around your back.
8. Side Edging
- Attach yarn at side seam, work sc or dc evenly up the side.
- At the armpit, make more chains for side ties if desired, or sew sides closed with mattress stitch or whipstitch.
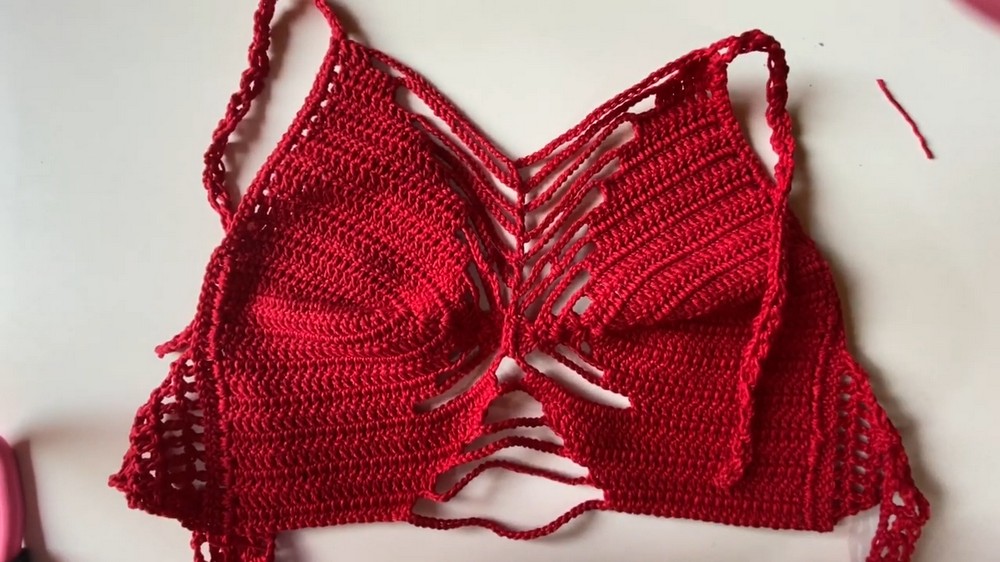
9. Back Ties
- Make eight rows of chain “squares” for the back (ch 3, skip 1, dc in next); decrease as you go for shaping.
- Final rows: work rows of 2 “boxes” wide, then 1 box, ending with a little “point” (pout) at the very end for tying.
10. Finishing
- Weave in all ends securely.
- Try it on and admire your work!
Conclusion
You’ve done it—a fun, modern, and super-adaptable cropped top, perfect for summer or as a cute bralette. Make it in every color and enjoy a new, handmade favorite in your wardrobe. Add padding if desired, and never forget your finishing touches for that professional look.
Tip
For extra comfort, always use thicker, flat straps for the neck (avoid thin chains). Check sizing as you go, and don’t hesitate to add or subtract rows for the perfect fit!