Free Summer Top Crochet Pattern For Warm Weather
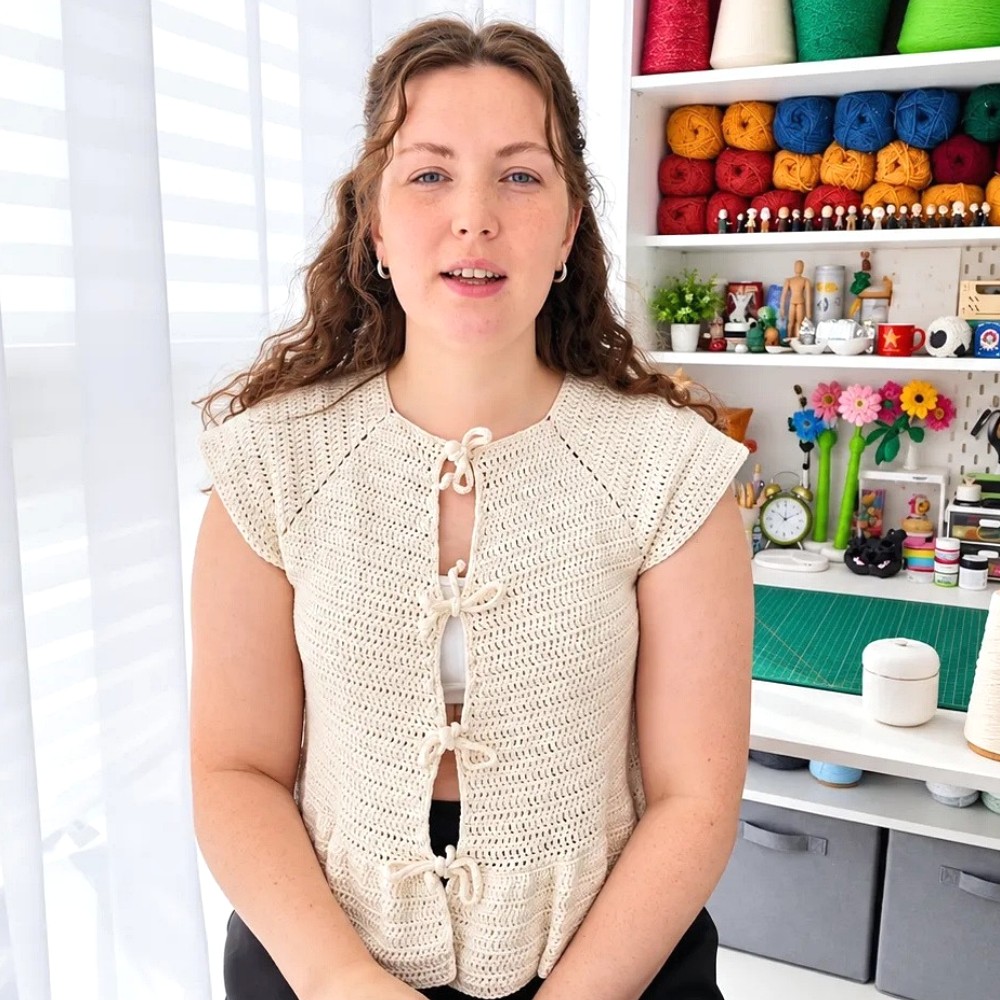
Stay cool and stylish with this free crochet summer top pattern that highlights an airy design that’s perfect for pairing with your favorite summer essentials.
About the channel: The video tutorial is presented by Анастасия Антонова, who simplifies the learning process with clear steps and helpful tips. Her channel is a great resource for crochet lovers, offering designs that are both practical and stylish.
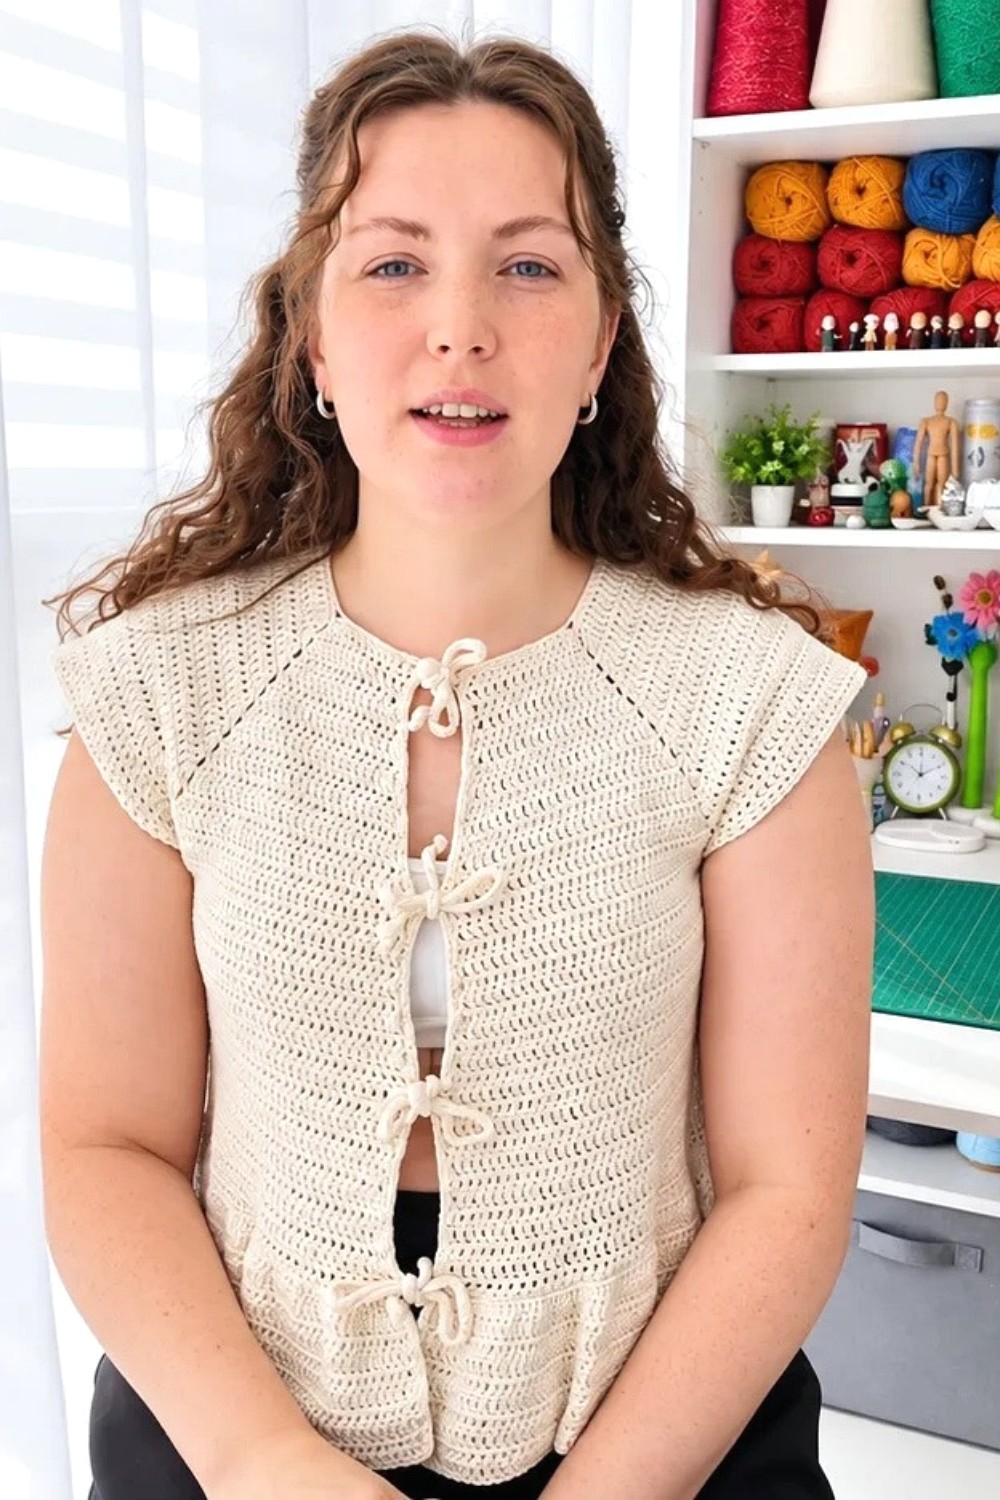
Creating your own summer wardrobe has never been easier with this free crochet summer top pattern. The design is light, open, and perfect for keeping cool during warm days. This top combines a raglan style with double crochet stitches, making it simple yet stylish—and a joy to make.
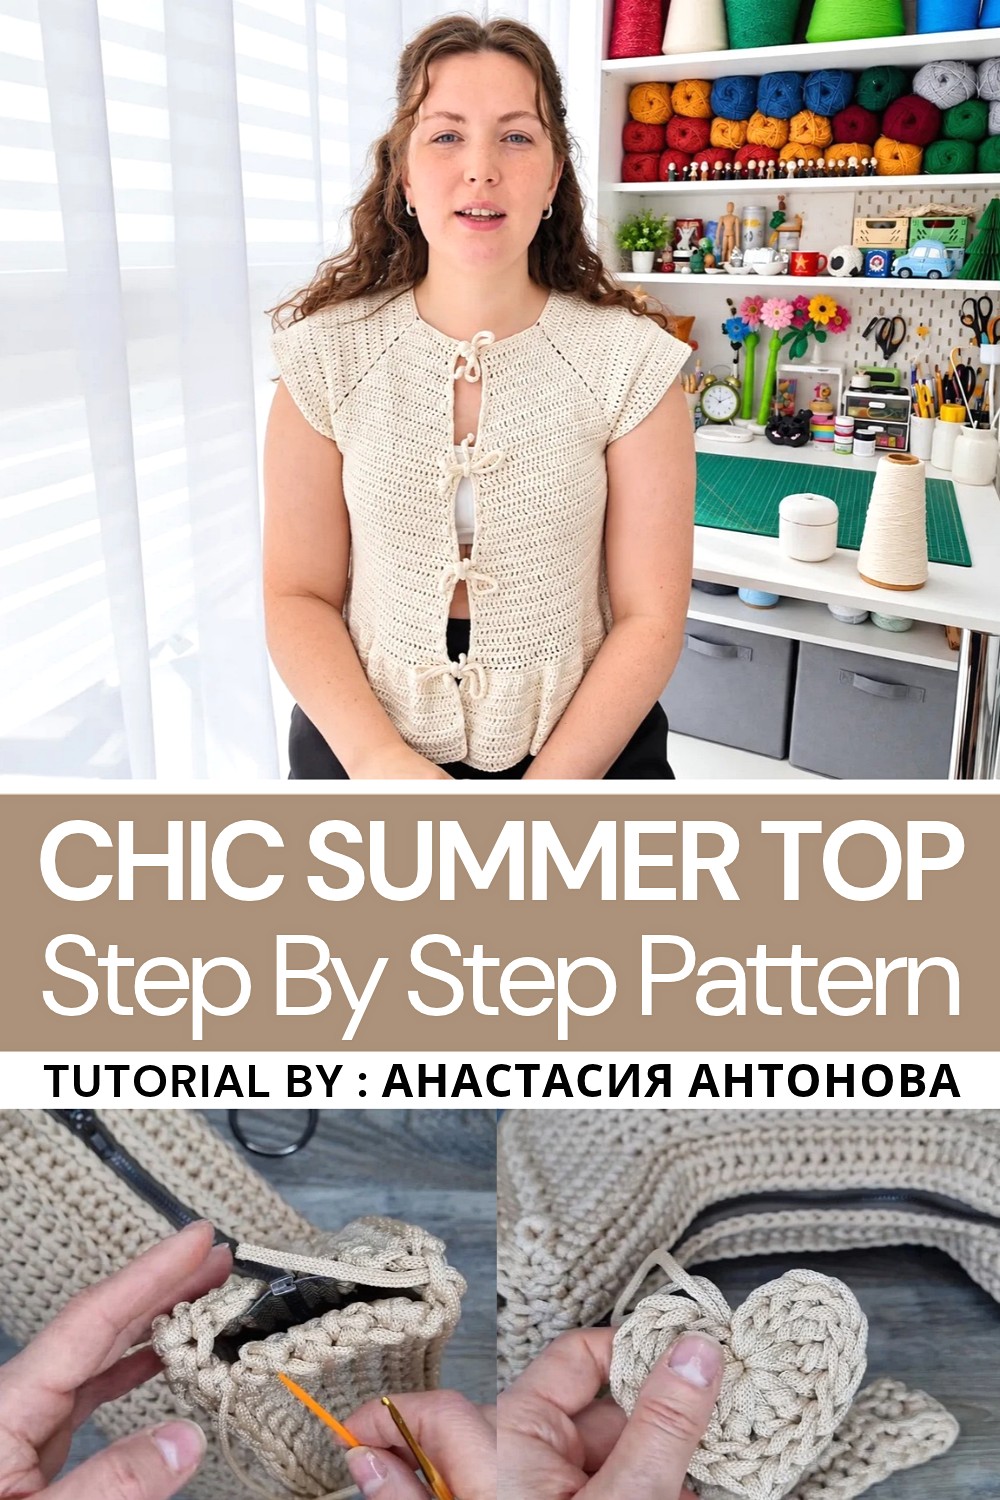
Summer Top Free Crochet Pattern For Beach Days
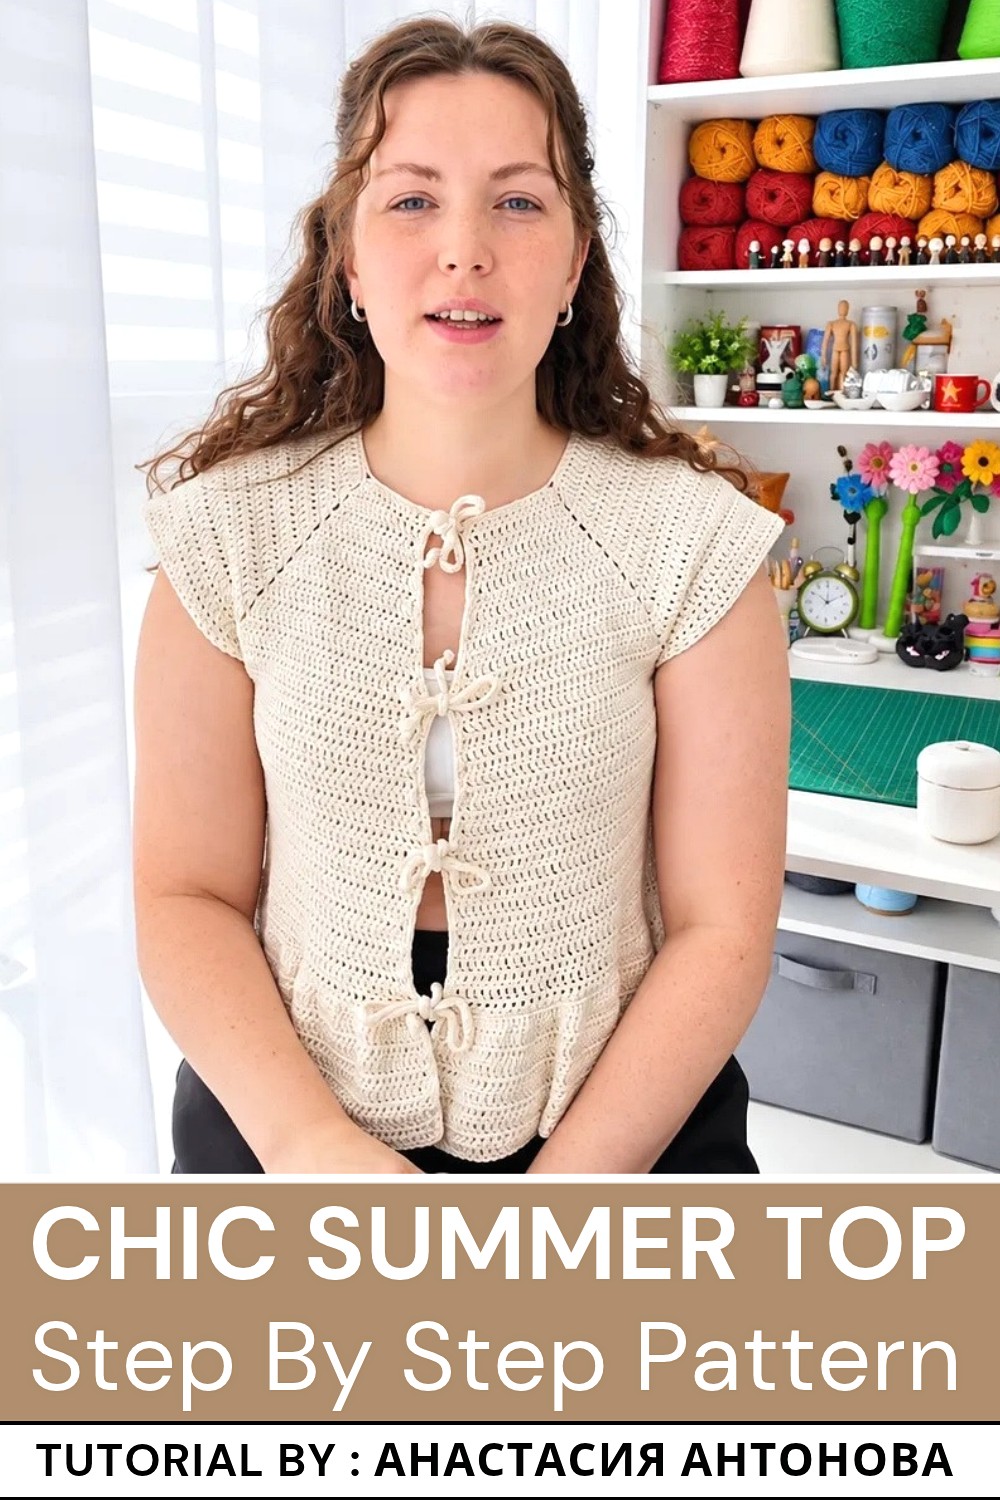
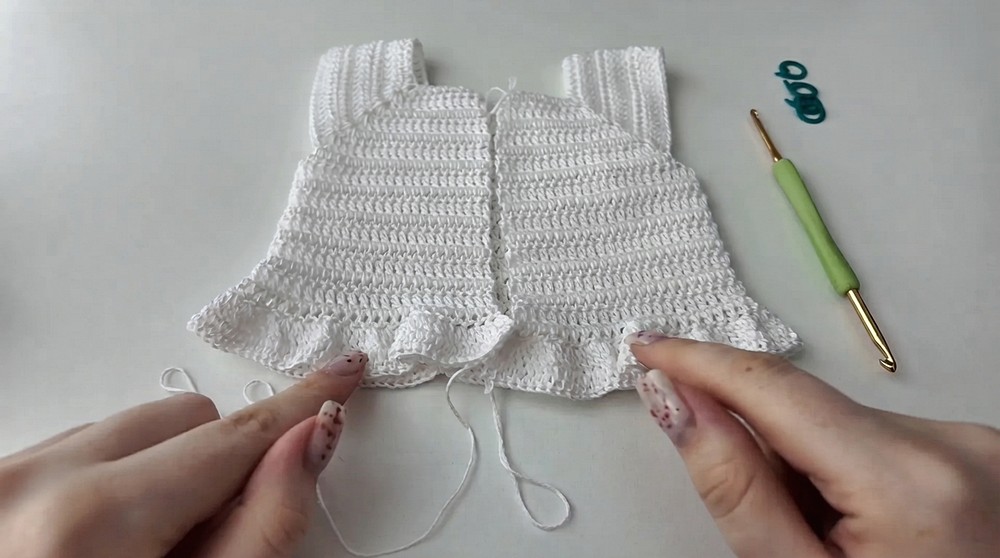
The top has a comfortable, loose-fitting shape that drapes beautifully. It features a shallow neckline and wide, airy ruffles at the hem, which add a feminine touch. Crocheted entirely in one piece, the texture is soft and smooth, especially when made with breathable 100% cotton or a blend of summer-friendly fibers like linen or bamboo. You can complete the entire project using only double crochet stitches and turning rows, making this an ideal pattern for beginners or anyone looking for a relaxing project.
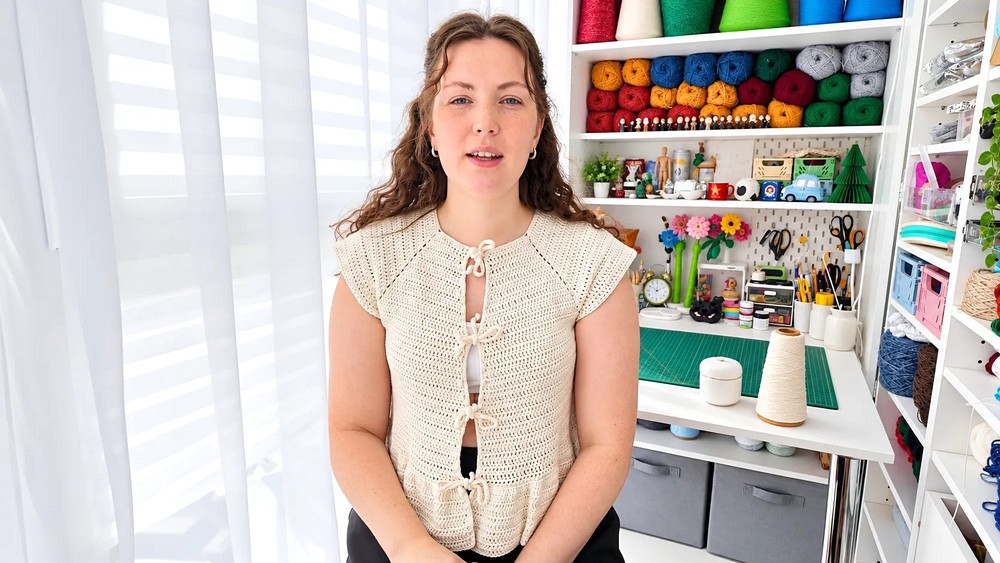
This summer top is not only easy to wear but also wonderfully versatile. It can be dressed up with accessories for a more elegant look or paired with casual shorts for a relaxed day outdoors. Whether your style is bright and bold or soft and neutral, you can customize the yarn color to perfectly match your wardrobe. This also makes it a thoughtful handmade gift for friends and loved ones.
Crochet Raglan Top Pattern
This pattern guides you through creating a comfortable and stylish crochet raglan top, worked from the neckline downward. Using simple double crochet stitches combined with raglan shaping, you will form a garment that fits well and features beautiful ruffle detailing at the hem. The construction is straightforward and adjustable, designed to accommodate various sizes with ease by customizing your initial neckline chain. This top is ideal for warm weather and is recommended to be made with natural cotton yarn for breathability and comfort.
Quick Overview Of Pattern
- Begin by measuring and chaining a neckline foundation that fits your desired width.
- Divide the chain into four parts representing the back, front (in two halves), and sleeves, separated by raglan “corner” chains.
- Work raglan shaping by increasing at four raglan corner points using clusters of double crochet stitches and chain spaces.
- Once the raglan yoke reaches the underarms, join front and back body sections while leaving open armholes with chained bridges underneath.
- Continue working the body downward in double crochet rows until the desired length.
- Crochet ruffles along the bottom edge with increased double crochet stitches for a flared finish.
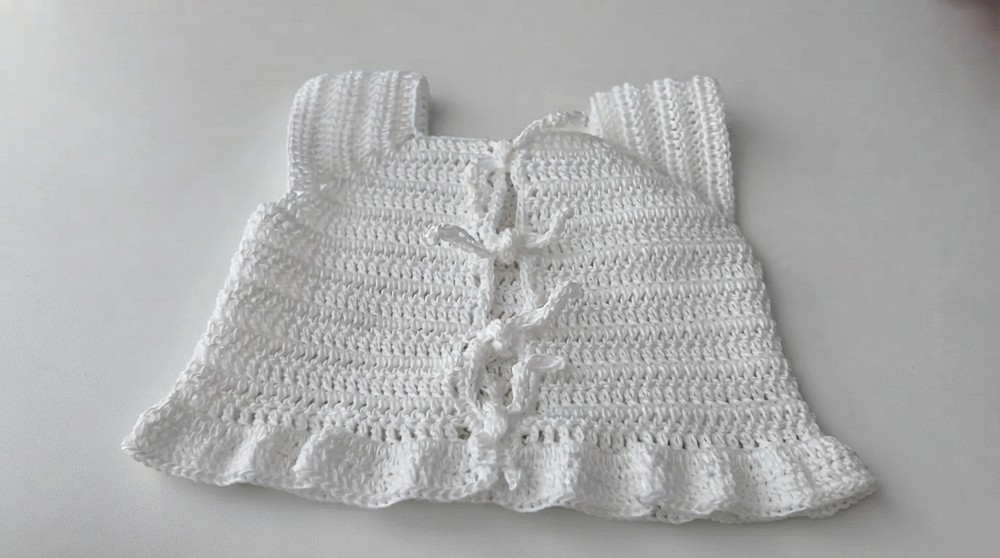
- Finish edges by single crocheting around front panels and add ties integrated directly into the edging for secure closure.
Notes
- Yarn: Natural cotton is highly recommended for comfort and breathability.
- Neckline width can be customized based on your measurements by adjusting the initial chain count.
- Raglan increases create an elegant shape without seams; use stitch markers to keep track of raglan corners.
- Underarm chain bridges are adjustable to personalize armhole width.
- Ruffle rows start with increases to widen the skirt portion and then maintain the width with standard double crochet rounds.
- Ties are crocheted directly into the front panel edge to avoid difficult sewing later.
Skill Level
This pattern is suited for Intermediate crocheters familiar with:
- Chain stitch (ch) and double crochet (dc).
- Working in rows and rounds.
- Using stitch markers for shaping.
- Increasing with clusters and chain spaces.
- Sewing or finishing techniques at the edges.
Materials
- Yarn: Natural cotton yarn, approx. 4 medium-weight skeins depending on size. Recommended: 100% cotton for wearability and ease of care.
- Crochet Hook: 4 mm hook as used in tutorial; adjust hook size to fit your gauge and yarn choice.
- Stitch Markers: 4 markers to demarcate raglan corner points.
- Yarn needle for finishing ends.
- Scissors.
Measurements / Sizing (Optional)
- Neckline: Begin with chains that fit comfortably around your neck or desired neckline width. The sample uses 92 chains.
- Divide neckline chains by subtracting 4 for the raglan chain stitches and splitting the remaining chains into four sections — back, two fronts, two sleeves — evenly.
- Sleeve length and size can be adjusted by row count and armhole bridge chains.
- Body length tailored by number of double crochet rows before ruffles.
- Ruffle size determined by how many increase rounds you work before maintaining width.
Gauge and Stitch Pattern
- Gauge is flexible; for this project, tension affects overall fit and drape. Test gauge if desired.
- Stitch employed throughout is primarily double crochet (dc).
- Raglan shaping uses clusters of 2 double crochets, chain 1 spaces at corners for increases.
- Ruffles are created by working 2 double crochets into every stitch of the previous round on the initial ruffle row.
Stitch Abbreviations
| Abbreviation | Term | Description |
|---|---|---|
| ch | Chain | Yarn over and pull through loop on hook. |
| dc | Double Crochet | Yarn over, insert into stitch, yarn over, pull through 2 loops twice. |
| sc | Single Crochet | Yarn over, insert into stitch, yarn over, pull through 2 loops. |
| st | Stitch | Any crochet stitch worked into one loop or space. |
| sl st | Slip Stitch | Insert hook into stitch, yarn over, pull through stitch and loop on hook. |
| inc | Increase | Work multiple stitches into one stitch or space to widen section. |
Special Stitches
Raglan Corner Increase (Cluster + Chain Space)
At each raglan corner marker:
- Work 2 dc,
- Then chain 1,
- Then work 2 dc again into the same stitch or chain space to create a corner.
- This creates an identifiable corner space to maintain raglan shaping as you work upward.
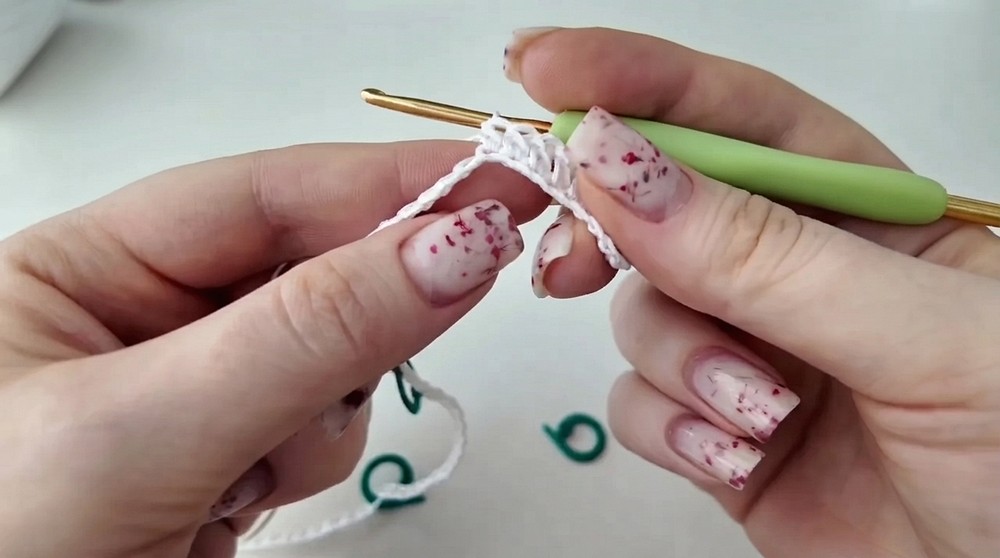
First Row of Ruffle Increase
- Work 2 dc into every stitch across the round.
- This effectively doubles the number of stitches, flaring the bottom edge.
The Crochet Pattern!
Step 1: Preparation & Neckline Calculation
- Measure your neck or desired neckline width.
- Chain a foundation row to match this width. In the sample, chain 92 stitches.
- Subtract 4 chains for raglan line spacing from the chain count.
- Divide remainder into 4 equal parts representing back, the front split into two halves, and 2 sleeves.
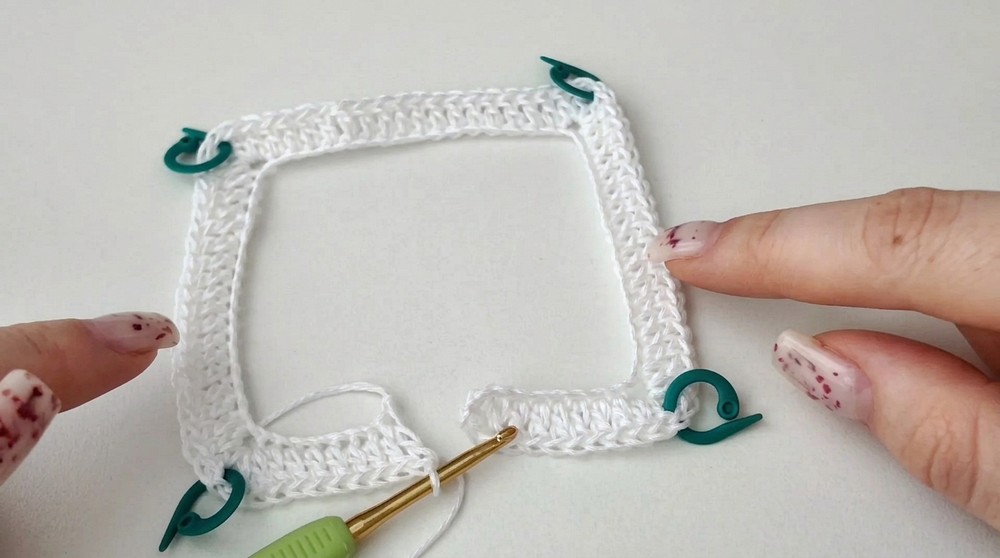
- Place 4 stitch markers on the foundation chain delineating these sections —raglan corners.
Step 2: Raglan Construction
- Chain the required number of stitches plus 2 turning chains (if beginning fresh).
- Work a first row of double crochets (dc) across the entire foundation chain.
- Place stitch markers exactly at the four raglan corner points — these will guide increases.
- For every subsequent row:
- Work dc stitches all across, except at raglan corners where you work the raglan increase:
- In the chain-1 space at each corner from the previous row, work 2 dc, ch 1, 2 dc into that space.
- This increases fabric width at corners, shaping raglan angles.
- Work dc stitches all across, except at raglan corners where you work the raglan increase:
- Repeat raglan increases at each corner on every row, working into the chain-1 space created previously, continuing until raglan fits your shoulders and reaches the underarm.
Step 3: Creating the Armholes
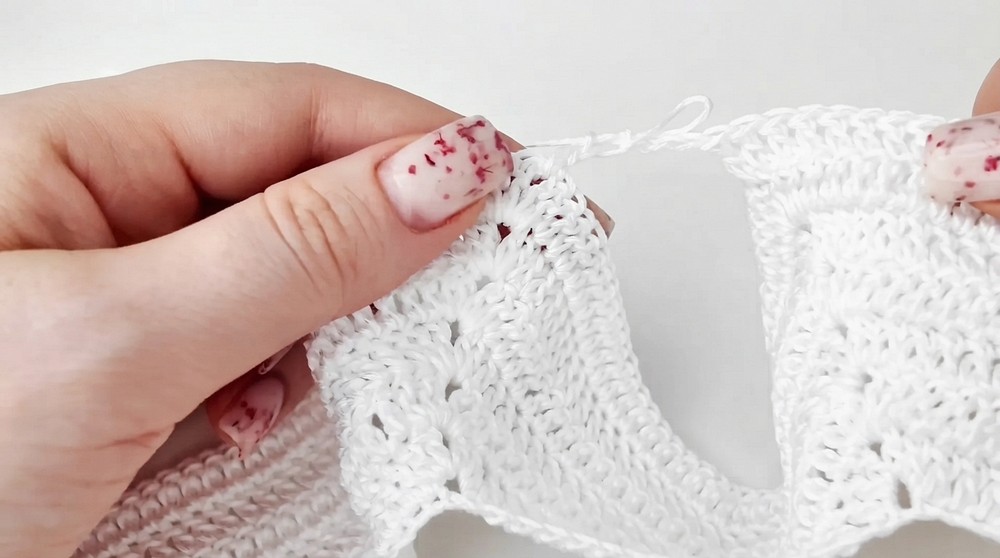
- When the raglan section reaches your underarm:
- Join the front and back sections together by crocheting across the body area, leaving the sleeve sections open.
- At the underarms, create an open bridge by chaining the number of stitches you prefer (example ranges from 3 to 6 chains).
- Skip the sleeve sections and continue working the body rows.
- These chains become the armhole openings.
Step 4: Body Construction and Ruffles
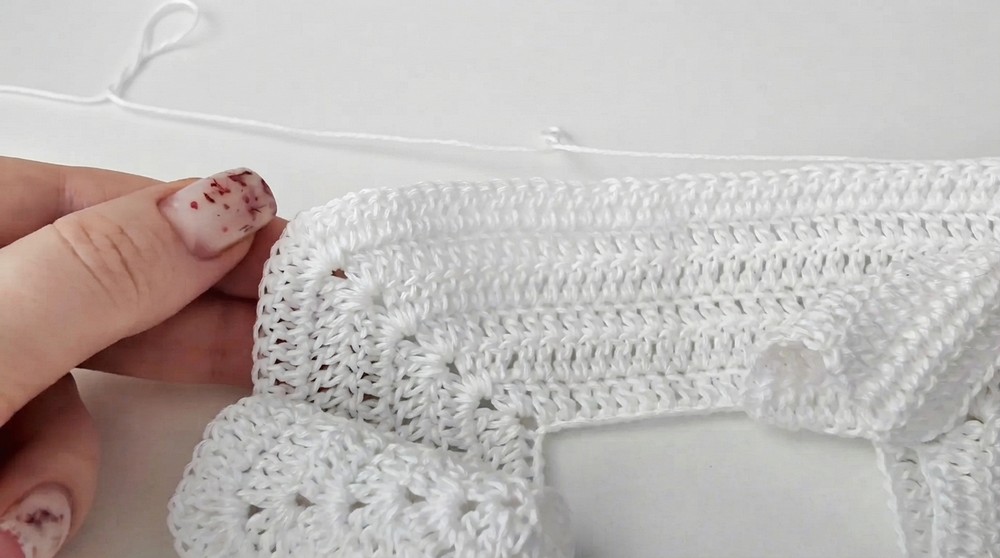
- Continue working the body of the top in rows of double crochet (dc) until reaching your desired length.
- To create ruffles:
- On the first ruffle row, work 2 dc into every stitch of the previous row, doubling stitch count to flare the hem.
- Subsequent ruffle rows are worked as regular rows of dc to maintain the flared width.
Step 5: Finishing and Adding Ties
- Work single crochet (sc) edging along the front panels for a neat finish.
- Along the sides of each dc row on the front panels, work 2 single crochet stitches into each row edge.
- For the ties:
- Without breaking yarn, chain the desired length for tie (e.g., between 15 to 40 chains).
- Turn and work slip stitches or single crochets back along the chain to create a sturdy and neat tie strand.
- Continue single crochet edging after ties, integrating them smoothly into the front panel border.
- Securely fasten off and weave in ends.
Assembly & Finished Size
- The garment is worked seamlessly from the neckline downward.
- Raglan increases form the yoke without seams, creating clean lines.
- Armhole bridges provide comfortable openings for sleeves.
- Body and ruffles add length and flare for style and fit.
- Edges with built-in ties allow for adjustable fastening and a professional finish.
- Final measurements depend on initial chain and row counts, easily customized for various sizes.
Conclusion
This crochet raglan top pattern is an elegant yet simple project, combining traditional stitches with clever shaping for a flattering fit. By working from the neckline down and carefully managing raglan increases and armhole openings, you create a seamless garment tailored to your needs. The addition of ruffles and built-in ties adds a feminine touch and functional detail. Cotton yarn ensures soft wearability for warm days. With clear instructions and flexible sizing, this pattern suits intermediate crocheters looking to expand their wardrobe with a homemade favorite.