Easy Crochet Motif Book Cover Pattern (Free )
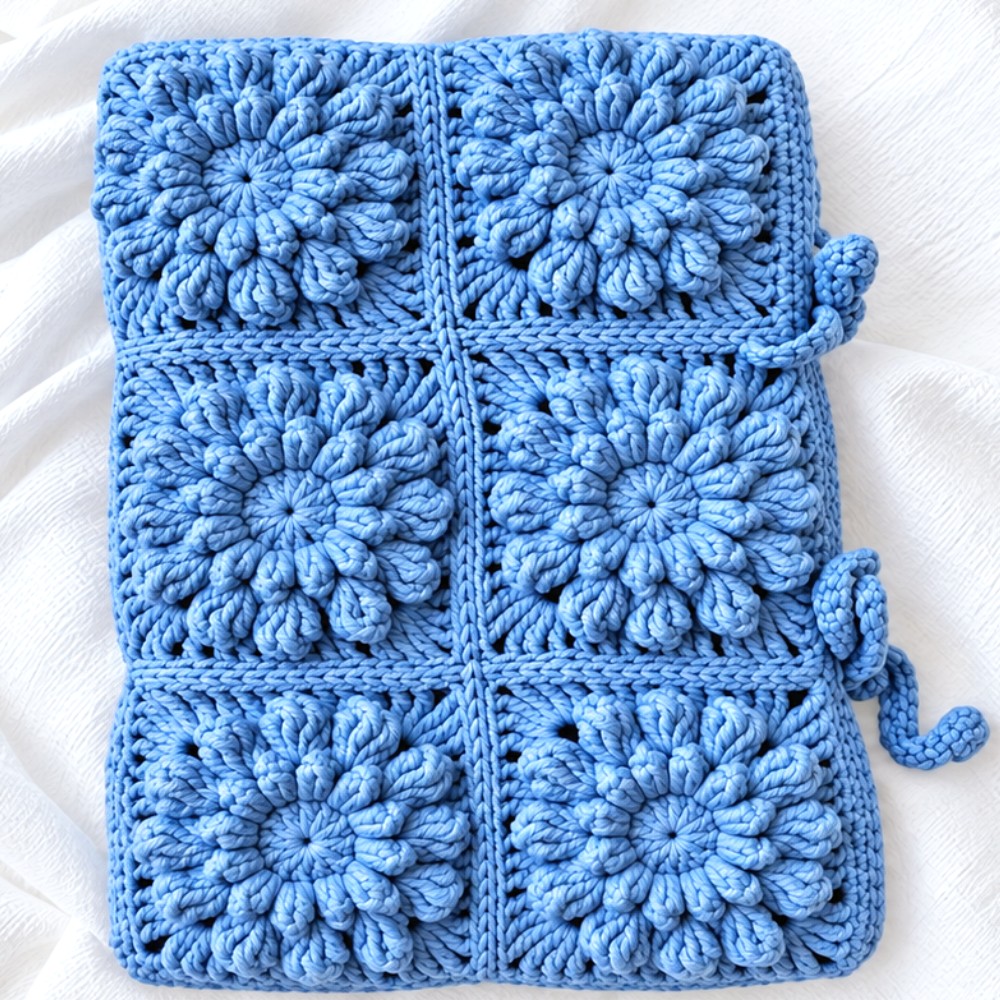
Protect your favorite reads stylishly with this free crochet motif book cover pattern that combines practical functionality with a charming and textured look.
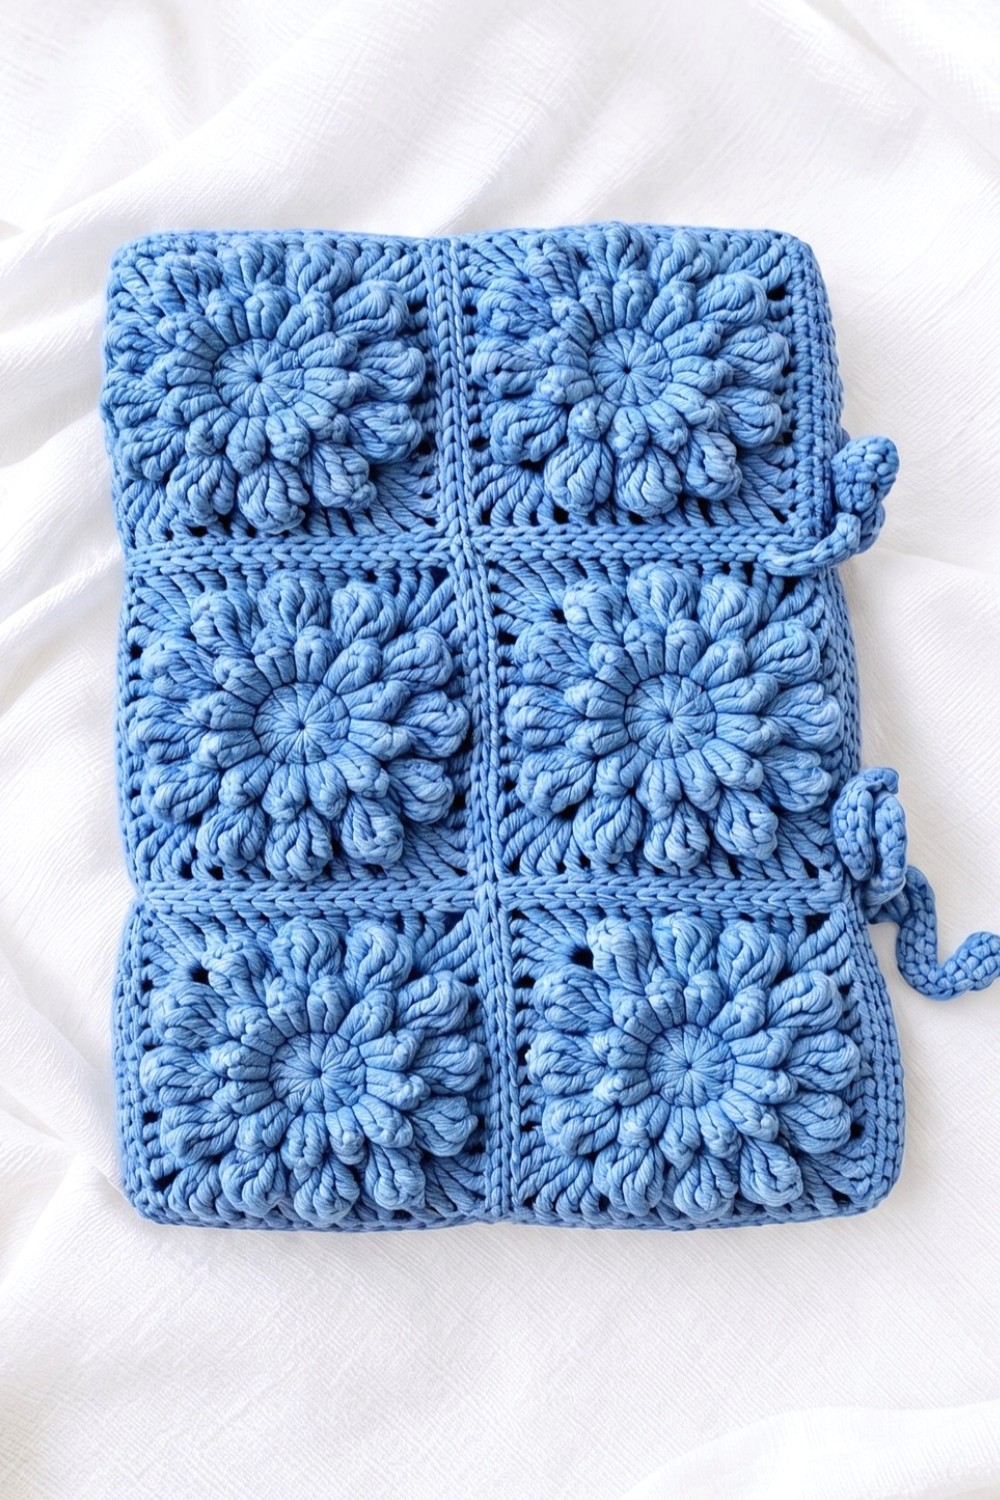
A pretty book cover can turn an ordinary notebook into something special and make reading or writing feel more enjoyable. The Free crochet Motif Book Cover Pattern is a lovely project for creating a handmade cover that protects your favorite book while adding a personal touch. The design shared by Анастасия Антонова offers inspiration for anyone who enjoys decorative crochet projects with a charming look.
Crochet motifs give a book cover a unique style. Their lovely shapes and textured look can make even a simple notebook stand out. You can use a cover for a diary, journal, notebook, or favorite book. It can also help protect the outside from small scratches and everyday wear.
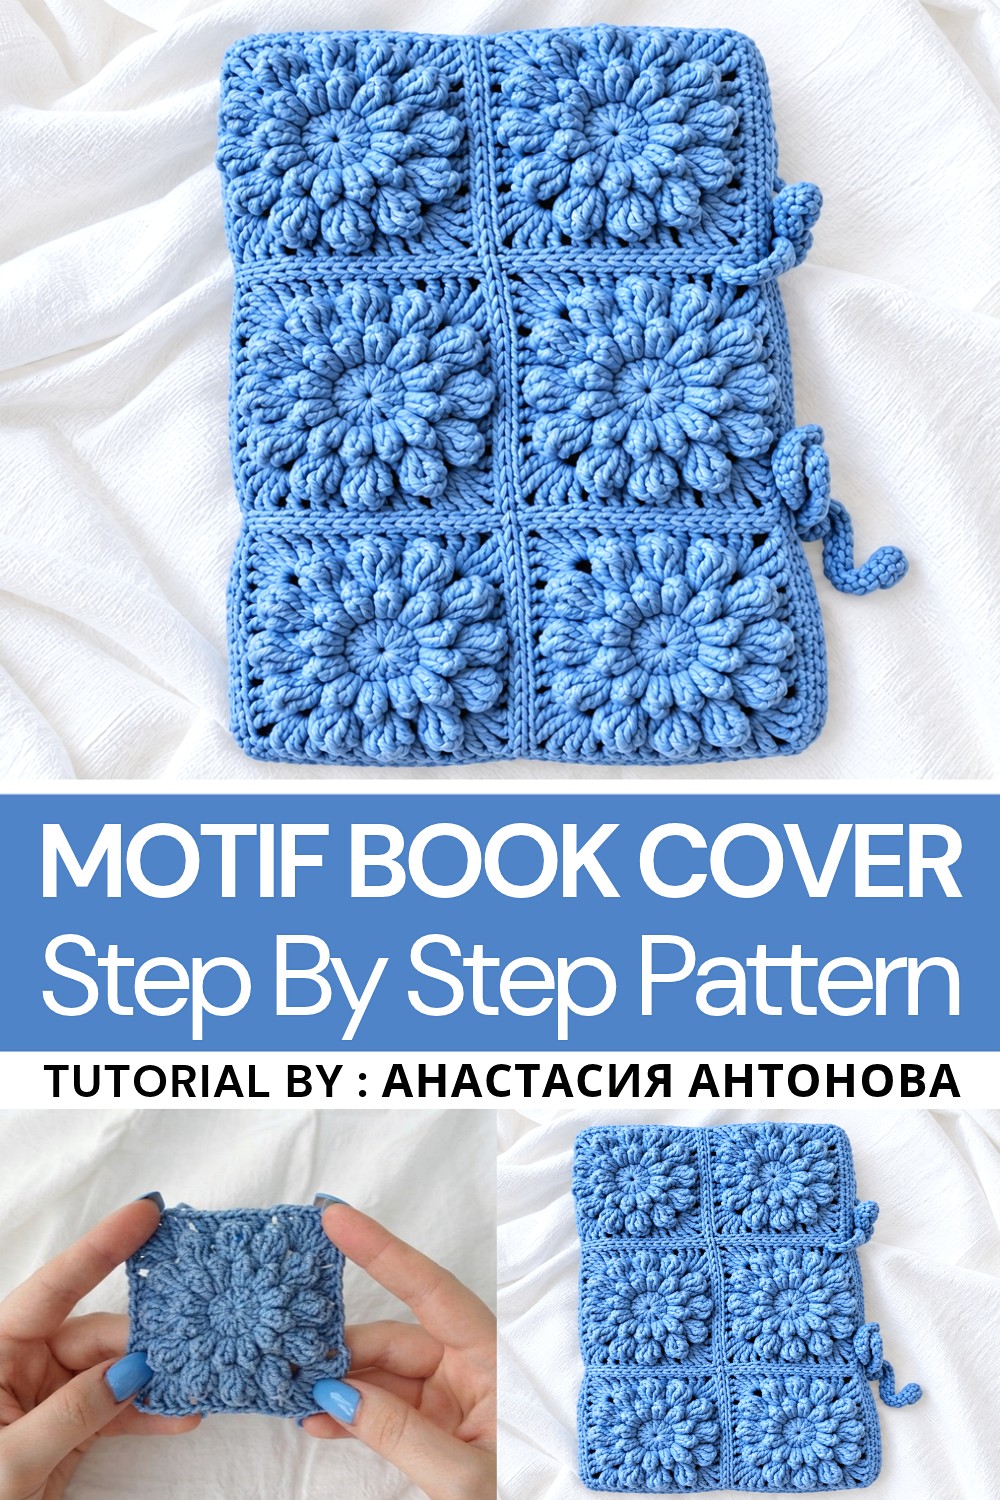
Motif Book Cover Free Crochet Pattern For Readers
One of the best parts of this project is how personal it can be. You can choose motifs that match your taste and arrange them to create a look you love. A neat cover can feel classic and simple, while a more detailed design can look playful and artistic. The finished piece adds beauty without making your book difficult to carry.
A handmade book cover also makes a thoughtful gift. It is a sweet choice for a friend who loves reading, a student who enjoys keeping notes, or someone who likes writing down ideas. You can make one for a birthday, a special occasion, or just to surprise someone with a useful gift made with care.
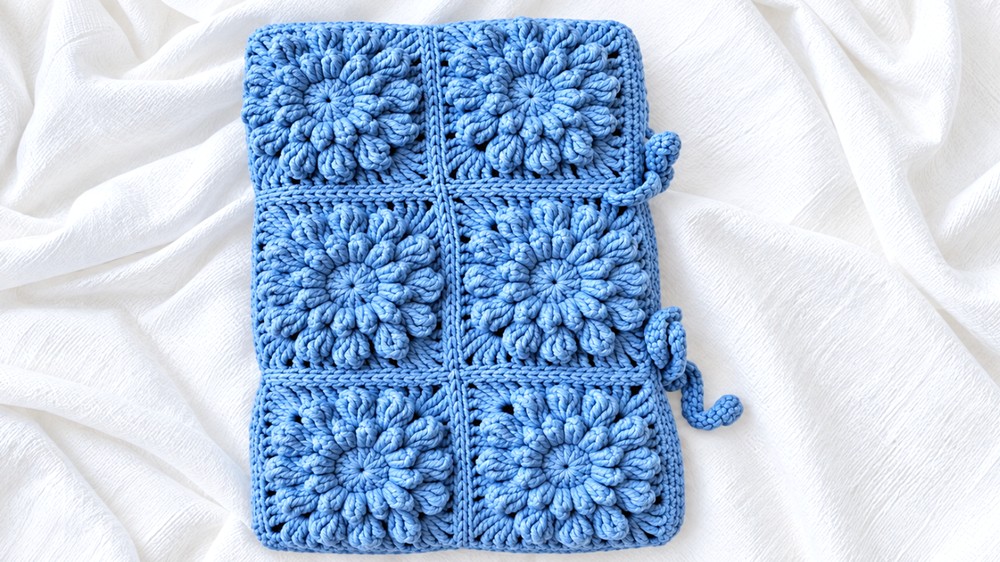
This project may suit crocheters who enjoy making small items that are both pretty and practical. Beginners can use it as a chance to explore decorative designs, while experienced makers can have fun creating their own motif combinations. The finished cover can make an everyday item feel more personal and inviting.
Whether you use it for your own journal or give it to someone special, a crochet book cover brings together creativity and everyday use. It is a charming way to protect a book while giving it a look that feels truly yours.
Crochet Book Cover Pattern Using 12 Motifs
This detailed tutorial walks you through creating a stylish and practical crocheted book cover composed of 12 individual square motifs. Each motif is crafted with textured puff stitches and treble crochets to form an attractive pattern. Once assembled in a 4×3 grid, the motifs are joined and edged with simple rounds of single crochet for a neat finish. Functional ties are added to secure the cover onto a book. The finished piece combines elegance and functionality, perfect for protecting your favorite reads or gifting a handmade creation.
Quick Overview of Pattern
- Create 12 square motifs using a magic ring foundation and puff stitch rounds.
- Motifs feature progressively larger puff stitches and corner shaping with treble crochets.
- Arrange motifs in a 4 by 3 layout.
- Join motifs using slip stitches, connecting front and back loops to achieve a seamless look.
- Add two rounds of single crochet around the entire piece for a smooth border.
- Crochet ties on selected edges for securing the cover around a book.
Notes
- The pattern uses a textured puff stitch technique that requires pulling loops through multiple yarn overs—the instructions include descriptions for creating both small and large puff stitches.
- Consistent tension is important to maintain uniform motif size for ease of assembly.
- Blocking completed motifs before joining can enhance the assembly process and final appearance.
- Adding extra chain length to ties is optional based on the book size; adjust accordingly.
- The join method ensures the seams lie flat without bulky ridges, providing a professional finish.
Skill Level
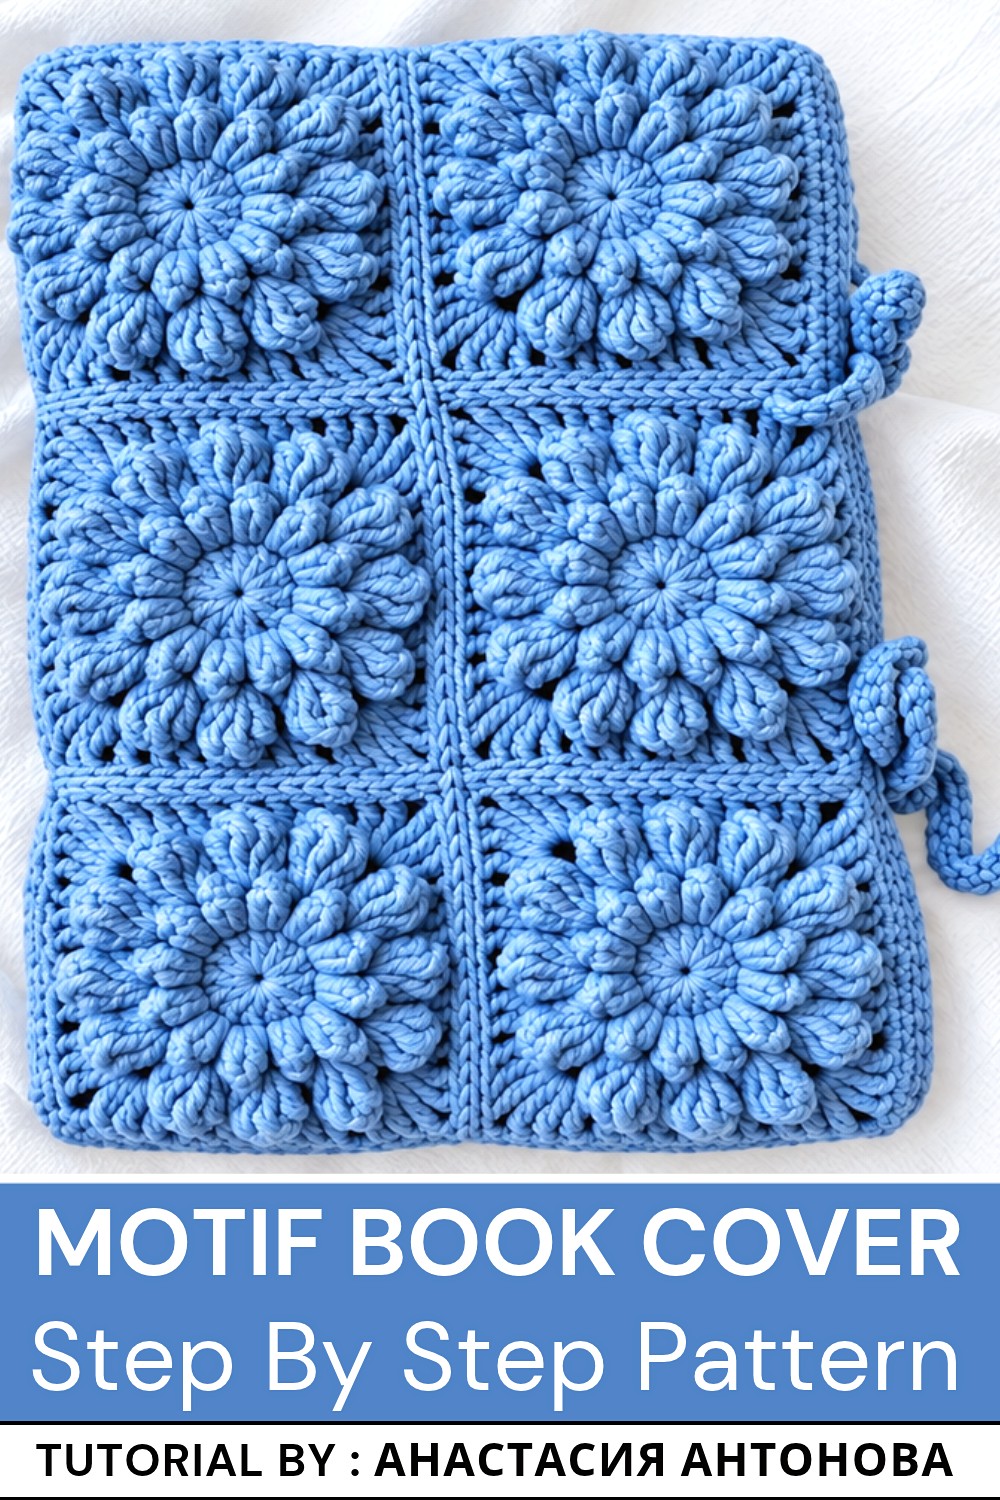
This pattern is suitable for Intermediate crocheters with experience in:
- Working in rounds starting with a magic ring.
- Puff stitch techniques, including creative loop pulling for texture.
- Treble crochet (double yarn over) stitches.
- Joining motifs by slip stitching through specific loops.
- Crochet border finishing and making ties.
Materials
- Your chosen yarn suitable for a book cover (medium weight or DK recommended).
- 3 mm crochet hook (or size appropriate for chosen yarn to achieve consistent gauge).
- Yarn needle for weaving in ends.
- Scissors.
- Blocking tools (optional but recommended for motif shaping).
Measurements / Sizing
- Each motif forms a square approximately uniform in size (depending on tension).
- Total motifs: 12 arranged in 4 across and 3 down, yielding the approximate book cover size.
- Adjust the number of motifs or yarn selection to fit different book dimensions.
- The length of ties (chain 35 in the pattern) can be extended for larger books or more secure fastening.
Gauge
- Exact gauge may vary based on yarn and tension; however, motifs should be uniform to allow consistent joining.
- Puff stitches and treble crochets naturally create a textured, slightly raised fabric.
- Maintaining consistent stitch tension is recommended to avoid motif warping.
Stitch Abbreviations
| Abbreviation | Term | Description |
|---|---|---|
| ch | Chain | Yarn over and pull through loop on hook. |
| sl st | Slip Stitch | Insert hook into stitch, yarn over, pull through stitch and loop on hook. |
| dc | Double Crochet | Yarn over, insert hook into stitch, yarn over and pull through 2 loops twice. |
| tr | Treble Crochet | Yarn over twice, insert hook into stitch, yarn over and pull through 2 loops three times. |
| puff st | Puff Stitch | Multiple yarn overs and pulls through loops to create a textured “puff”. |
Special Stitches
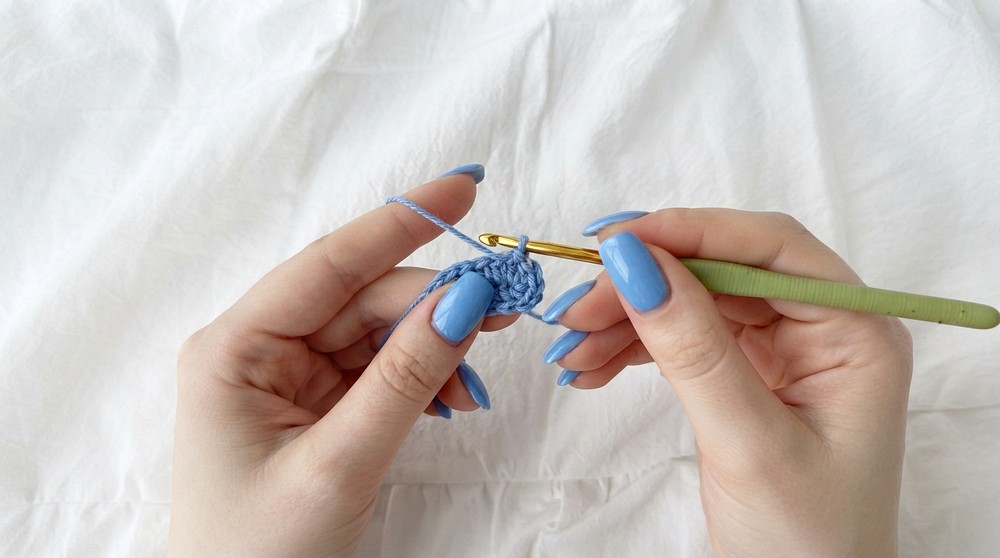
Puff Stitch (Small)
- Work 3 double crochets into the same stitch or space.
- Remove hook, insert it in the top of the initial chain of the group or corresponding stitch, grab the working loop and pull it through to create a puff effect.
- Secure with a chain 1 to lock the puff.
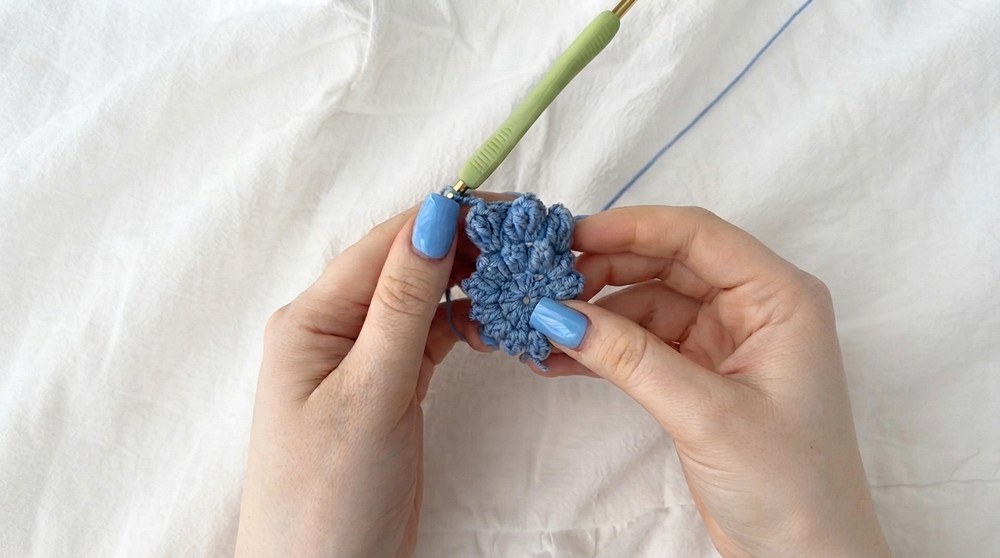
Puff Stitch (Large)
- Work 4 treble crochets with two yarn overs each into the same space.
- Remove the hook, insert it into the top of the first chain of the cluster, grab the loop, and pull through to pull the puff stitch.
- Secure with chain 2 for spacing.
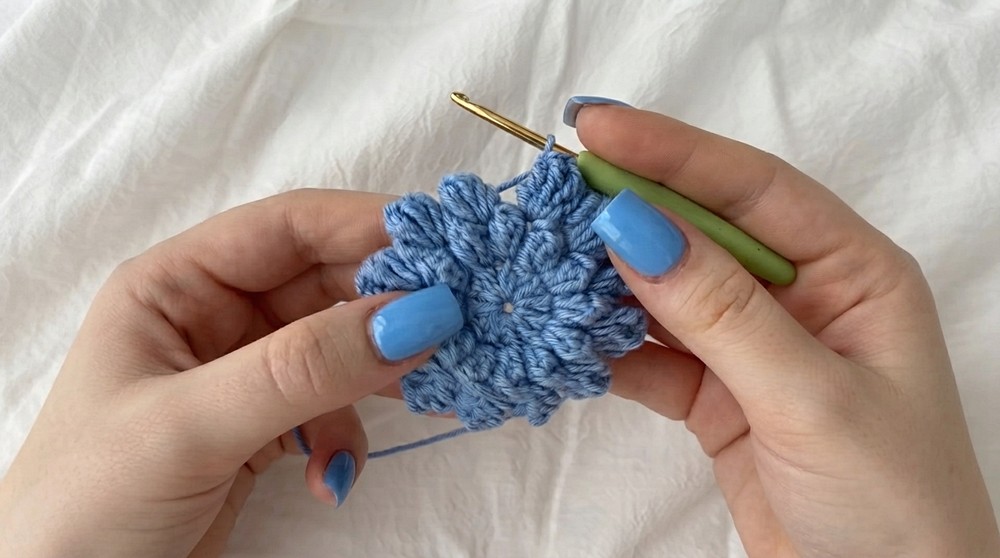
Corner Formation
- Made by working 3 treble crochets, chain 2, and 3 treble crochets into the same stitch or space to allow the motif to lie flat at the corners.
The Crochet Pattern!
Motif Creation (Make 12 Squares)
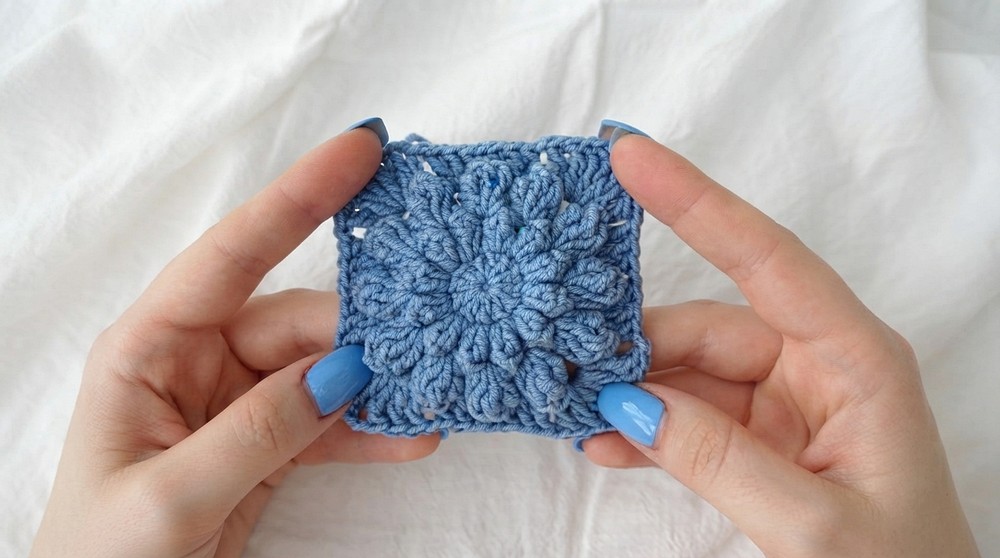
Round 1 – Foundation Ring and First Cluster
- Begin by creating a magic ring.
- Chain 2 (counts as first double crochet).
- Work 11 double crochets (dc) into the magic ring (total 12 dc).
- Pull the tail to tighten the ring and close the center tightly.
- Join by slip stitch (sl st) to the top of the initial chain 2.
Round 2 – Small Puff Stitches
- Chain 2 (counts as base for the first puff).
- In the next stitch, work 3 double crochets (dc) closely together.
- Remove the hook carefully from the last loop, insert it through the top of the chain 2 from the beginning of the round.
- Hook the working loop and pull it through to form a puff stitch.
- Chain 1 to secure the puff.
- Repeat the above puff stitch process in each of the 12 stitches around the ring to create 12 small puff clusters.
- Join round with a slip stitch (sl st) to the base of the first cluster.
Round 3 – Large Puff Stitches
- Slip stitch (sl st) into the next chain space (between puff stitches).
- Chain 3 (counts as first treble crochet).
- In the same space, work 4 treble crochets (tr) with two yarn overs each (double yarn over).
- Remove the hook, insert it through the top of the initial chain 3, pull up the working loop to form a large puff.
- Chain 2 to create space after the puff cluster.
- Repeat this process in every chain space around the circle.
- Join with slip stitch (sl st) to top of the initial chain 3.
Round 4 – Creating Corners and Sides
- Move your hook to the next space.
- Chain 3, work 2 more treble crochets into the same space.
- Chain 2 (forms the corner), then work 3 more treble crochets into the same space, thus forming a corner cluster.
- In each of the next two spaces, work 3 double crochets (dc) separated by a chain 1 to form the straight sides of the motif.
- Repeat the pattern: corner cluster, side, side around the motif to form a square shape.
- Join the round with a slip stitch (sl st) to the first stitch or corner.
Assembly & Finishing
Layout
- Arrange the 12 completed motifs into a 4 (width) x 3 (height) grid to form the full book cover.
Joining Motifs
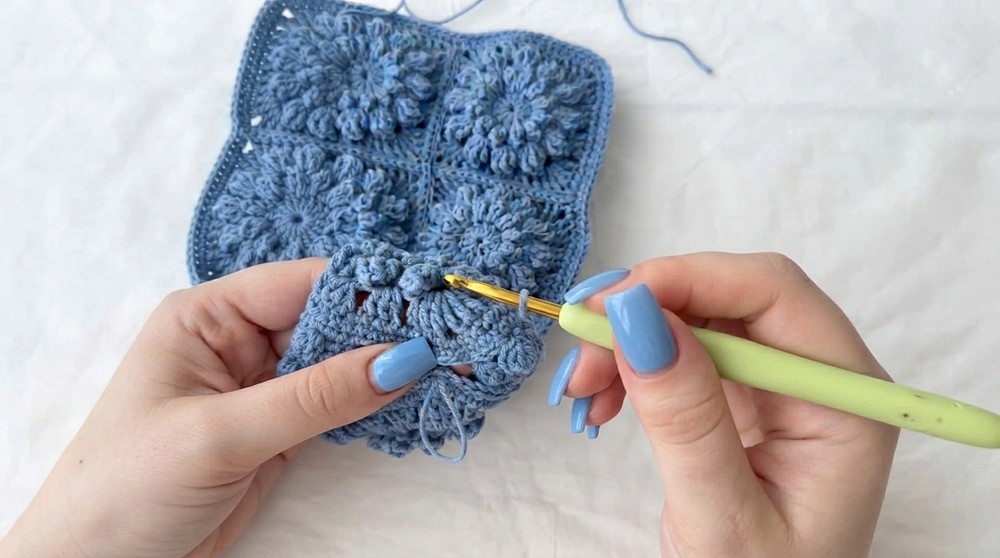
- Join adjacent motifs by working slip stitches (sl st) along the adjoining edges.
- Insert your hook through the front and back loops of corresponding stitches on each motif to achieve a flat and neat seam without bulk.
- Work steadily along adjoining sides until all 12 motifs are connected seamlessly.
Border
- Crochet 2 rounds of single crochet (sc) evenly around the entire perimeter of the assembled motifs to create a neat and durable border.
- Keep your tension consistent to avoid warping or curling of edges.
Ties
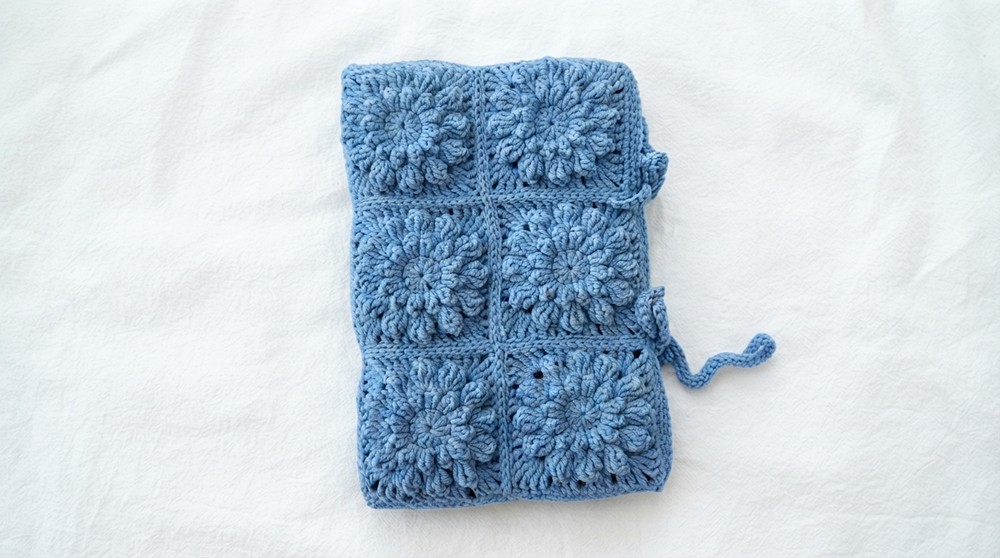
- On two opposite edges (usually the side edges), create securing ties to hold the book cover on your book:
- Chain 35 (or desired length for your book size).
- Turn and work single crochet (sc) stitches evenly back along the chain to the base.
- Fasten off securely.
Finished Size
The final piece will approximately fit the size of a standard book when sized with 12 motifs laid out in a 4 by 3 grid. Exact size depends on your motif gauge and yarn choice. The ties provide adjustable fastening around the book to hold the cover firmly in place. Blocking your motifs before joining can help maintain a crisp square and ensure accurate final dimensions.
Conclusion
This crochet book cover pattern is an elegant and functional way to protect your books while showcasing beautiful textured crochet motifs. By mastering puff stitch techniques and treble crochet clusters, you create a rich tapestry of patterns. The assembly method results in a clean finish with durable joins and a practical edging. With simple adjustments to the number of motifs or tie length, this pattern can easily be customized to fit any book size.