Free Crochet Mask Connecter Pattern for Better Fit
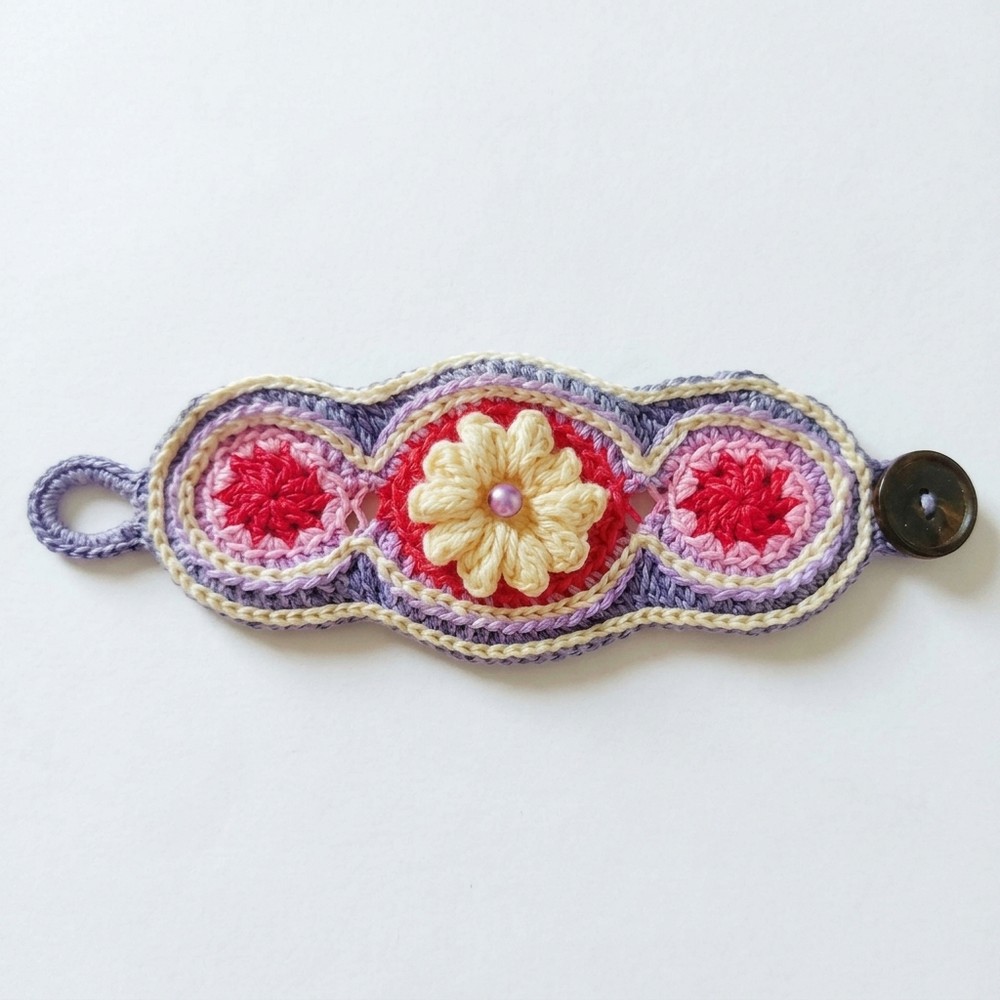
Upgrade protective gear seamlessly with this free crochet mask connecter pattern that’s combining durability and gentle stretch for hassle-free mask support.
A mask connector is a small but very useful item that helps make wearing masks more comfortable. The free crochet mask connecter pattern from the YouTube channel Rajutan Whita lets you create this handy accessory at home. This pattern is easy to follow and perfect for anyone who wants to add extra comfort and style to their daily mask use.
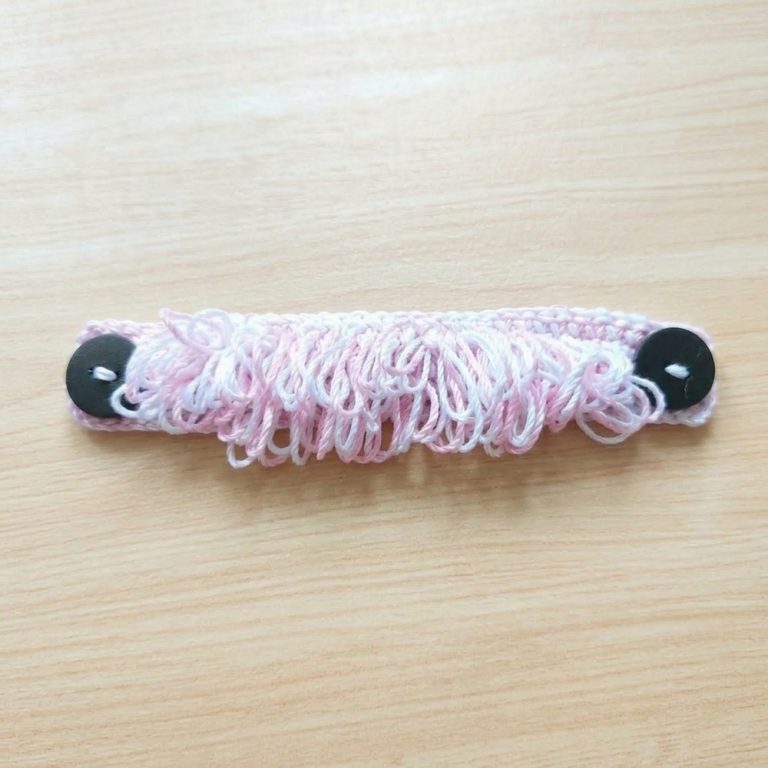
The mask connector looks simple but is very smart. It is usually a small band made with soft yarn that connects the two ear loops of a mask behind your head. This helps take the pressure off your ears, making masks easier to wear for a long time.
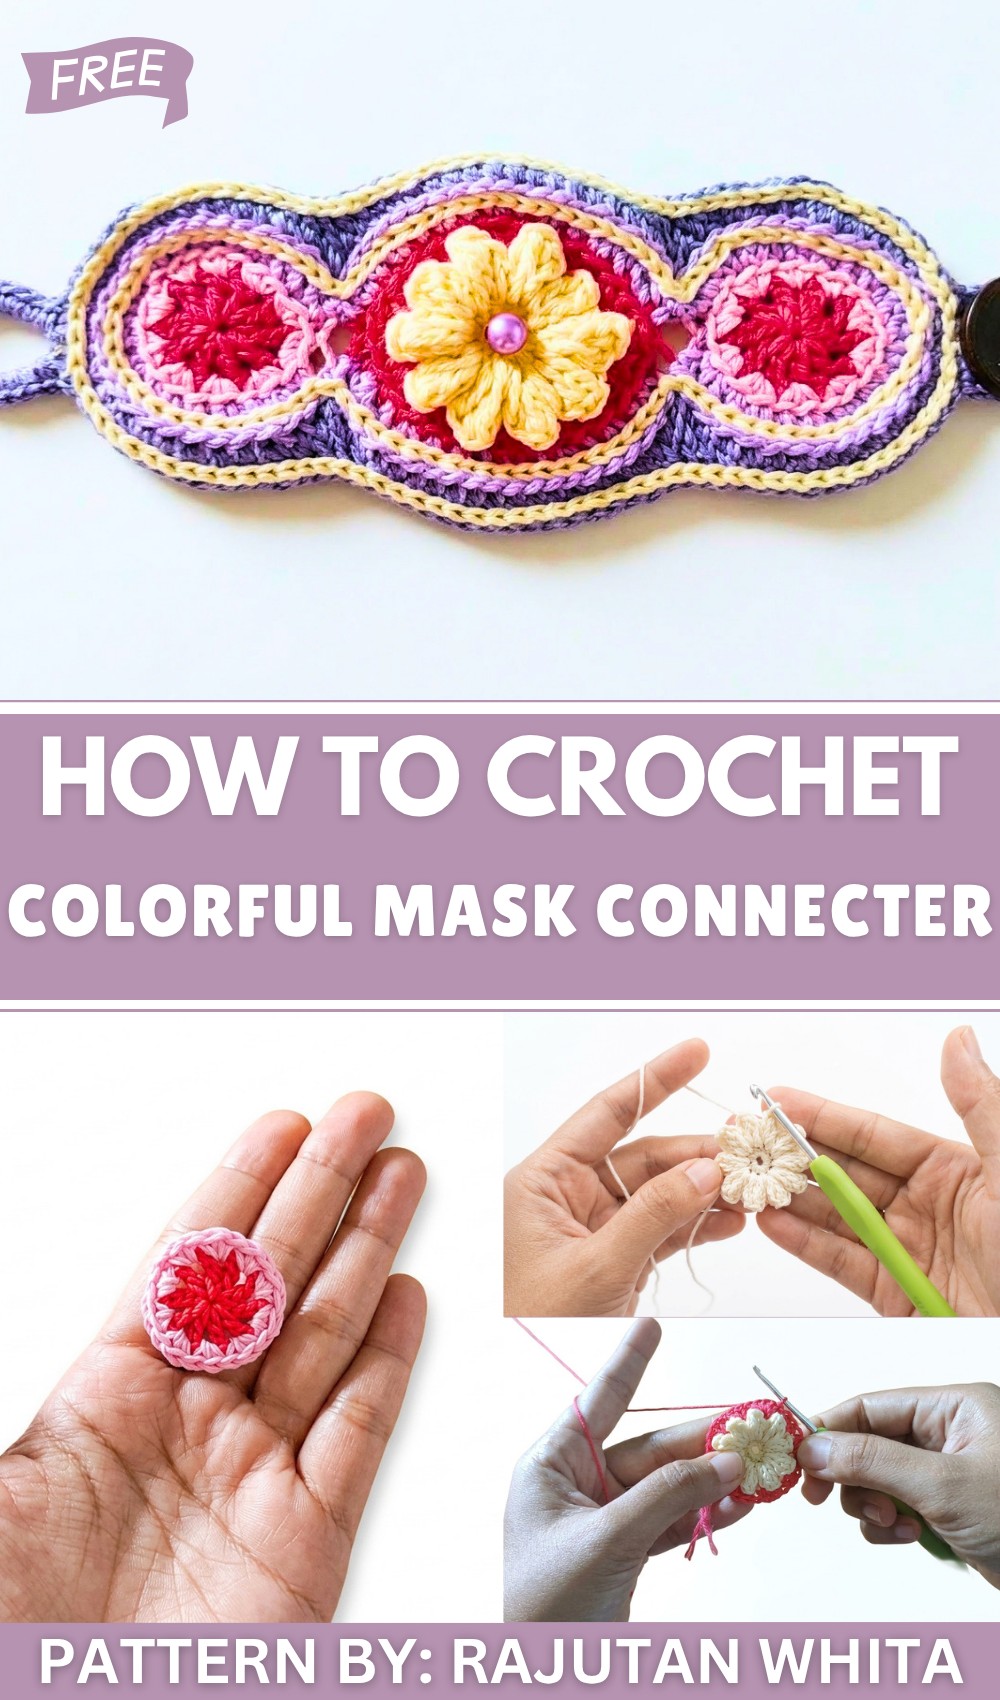
Mask Connecter Free Crochet Pattern to Relieve Ear Pain
The texture is soft and smooth, so it feels nice on the skin. Its shape is designed to fit comfortably at the back of the head while holding the mask’s straps together. The style can be plain or decorated with little crochet details, making it both practical and pretty.
This crochet mask connector is not just useful; it’s a cute and thoughtful gift to share with family and friends, especially when masks are needed every day. Besides making masks more comfortable to wear, the connector adds a personal touch to your protective gear.
It can also be a small collectible for those who love handmade accessories. The project from Rajutan Whita’s YouTube channel explains each step clearly, so you can make your own stylish and comfy mask connecter to wear or gift with pride.
Crochet Colorful Mask Connector Pattern
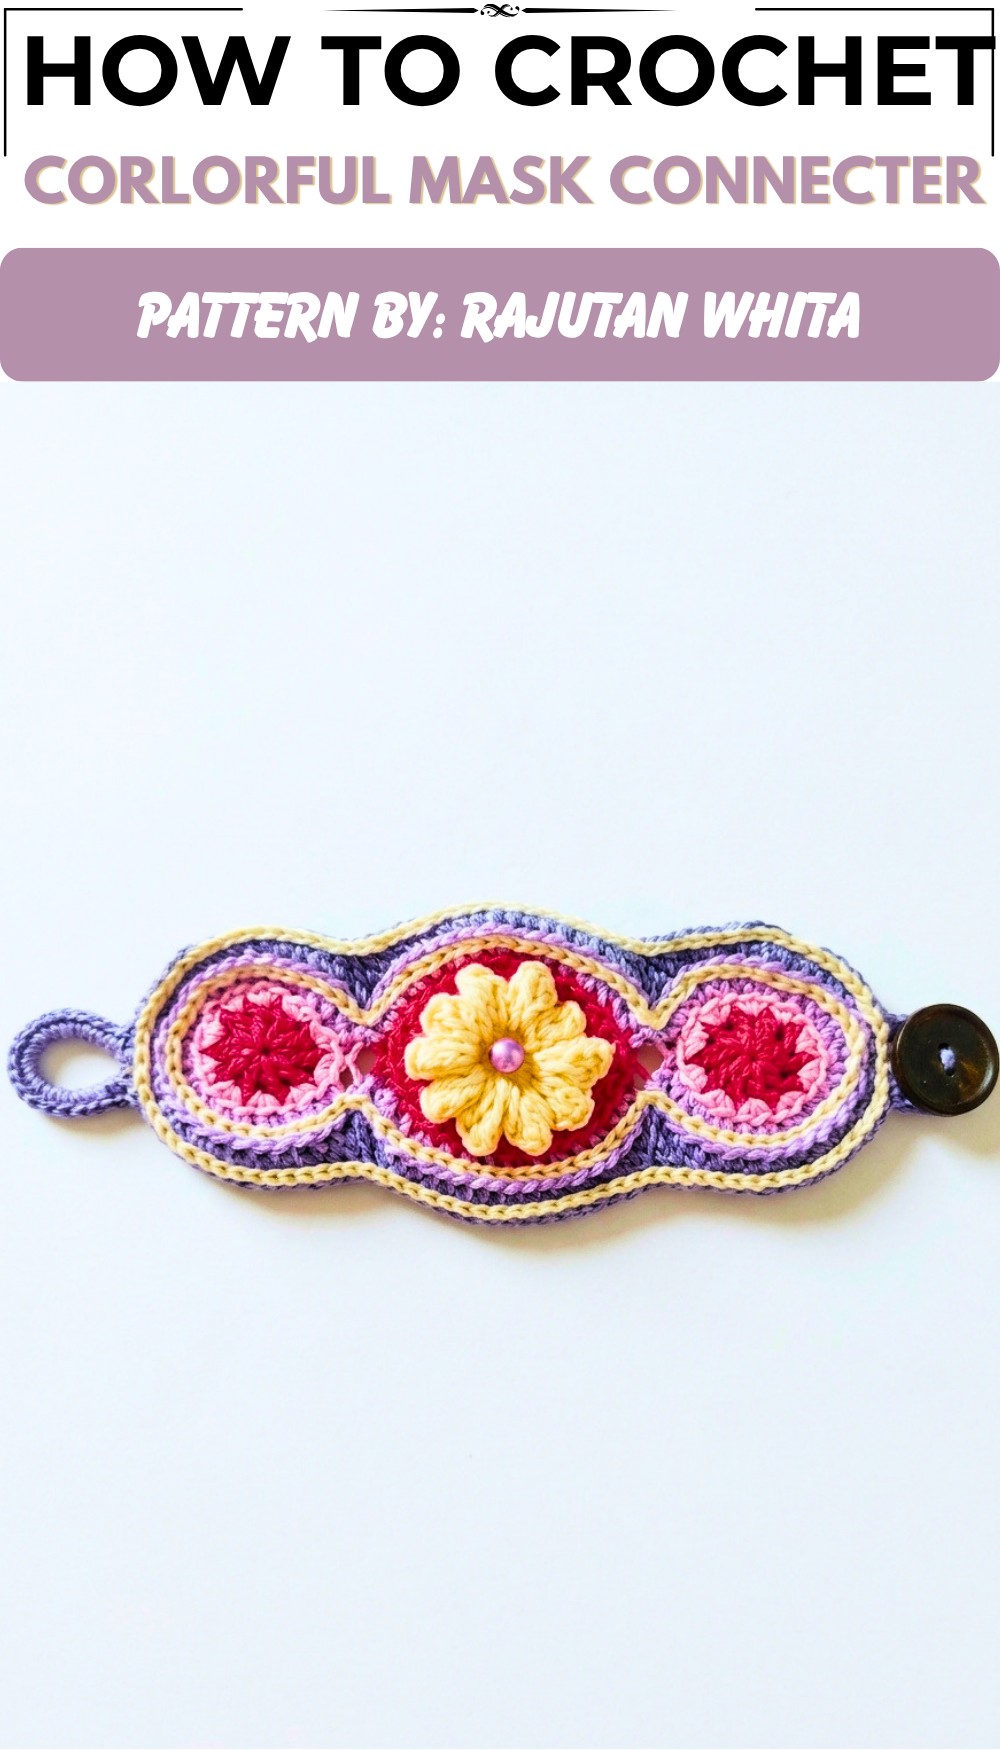
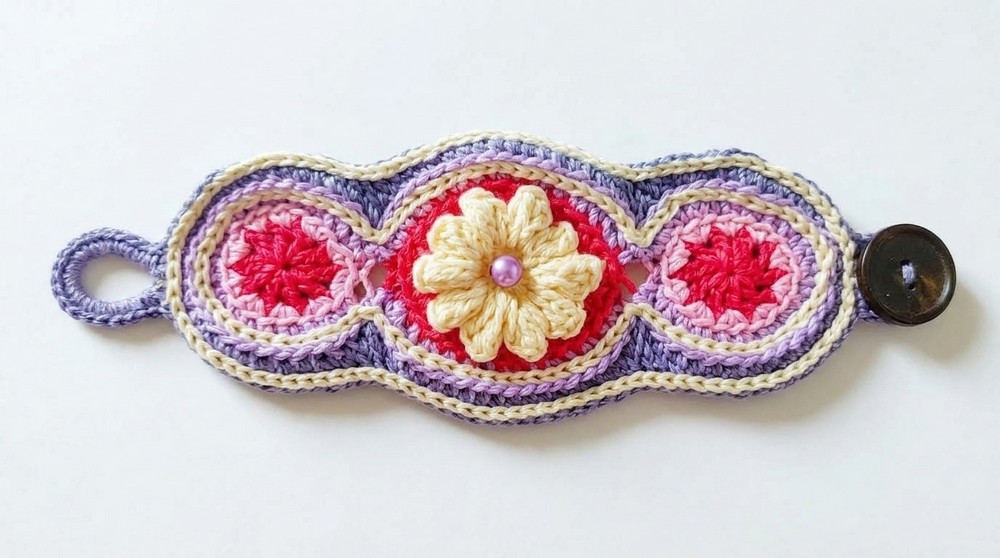
This pattern will guide you through crocheting a colorful, functional mask connector. The connector holds mask straps behind your head, relieving pressure from your ears. It consists of one large center circle, two smaller side circles, connected and edged with a decorative border, and finished with button loops and buttons for easy fastening.
Pattern Highlights
- Uses polymer yarn in 5 colors for a vibrant look
- Central large circle features popcorn stitches for texture
- Two smaller side circles filled with single crochet (SC)
- Circles joined with a neat back loop only (BLO) technique
- Decorative outer border with SC, HDC, and DC for smooth finish
- Button loops made with flat tabs and chain loops to secure wooden buttons
Notes
- Keep your tension consistent for neat stitches and proper shaping
- The BLO join provides flexibility and a textured seam
- Adjust the button loop chain length to fit your buttons perfectly
- Seal yarn ends with a lighter if working with synthetic yarn
- Use a tapestry needle to attach buttons securely
- Follow stitch abbreviations carefully to avoid confusion
Skill Level
Intermediate — You should feel comfortable with these stitches and techniques:
- Chain (ch)
- Single Crochet (SC)
- Half Double Crochet (HDC)
- Double Crochet (DC)
- Slip Stitch (sl st)
- Working in rounds using a magic ring
- Working in the back loop only (BLO)
- Sewing on buttons and yarn ends neatly
Materials
- Yarn: Poly-Cherry yarn in 5 different colors
- Crochet Hook: 2.0 mm
- Buttons: 2 wooden shell buttons
- Additional Tools: Scissors, lighter, tapestry needle
Measurements
- Large center circle: approx. 5 cm diameter
- Small side circles: approx. 3.5 cm diameter each
- Total length with loops: approx. 16 cm (adjustable)
- Button loops sized for ~1.5–2 cm buttons
Stitch Abbreviations
- ch = chain
- SC = single crochet
- HDC = half double crochet
- DC = double crochet
- sl st = slip stitch
- BLO = back loop only
Pattern Instructions
1. Center Circle
Step 1: Start with a magic ring.
- Work 10 SC into the ring.
- Pull tight to close the ring and join with a slip stitch (sl st).
Step 2: Popcorn stitch round
- Chain (ch) 3 (this counts as the 1st DC),
- Work 3 more DC into the same stitch (4 DC total).
- Slip stitch into the 3rd chain of the beginning chain 3 to close the popcorn.
- Chain 2.
- Repeat this popcorn stitch (4 DC + sl st into 3rd ch, chain 2) for each of the 10 SC around.
- This forms 10 popcorn “bumps” around the circle.

Step 3: Half double crochet (HDC) layer
- Join new yarn.
- In each 2-chain space created between popcorns, work 3 HDC stitches.
- Slip stitch to join at the end of the round.
- Fasten off.

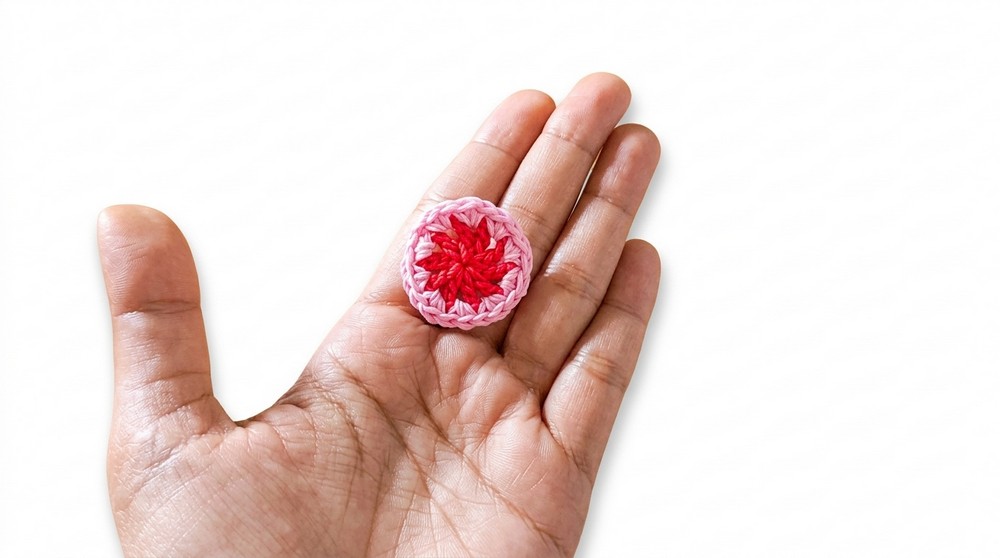
2. Side Circles (Make 2 identical)
Step 1: Start with a magic ring.
- Chain 3 (counts as 1 DC).
- Chain 1.
- Repeat the sequence (DC, ch 1) ten times in total around the ring.
- Join with a slip stitch to top of beginning chain 3.
Step 2: Filling the circle
- Join new yarn.
- Work 2 SC in each chain-1 space around (total 20 SC).
- Join with a slip stitch and fasten off.
3. Joining Circles
Step 1: Join yarn on small circle using the back loop only (BLO) technique.
- Begin with a slip stitch.
- Alternate between 2 HDC and 1 HDC stitches around the small circle.
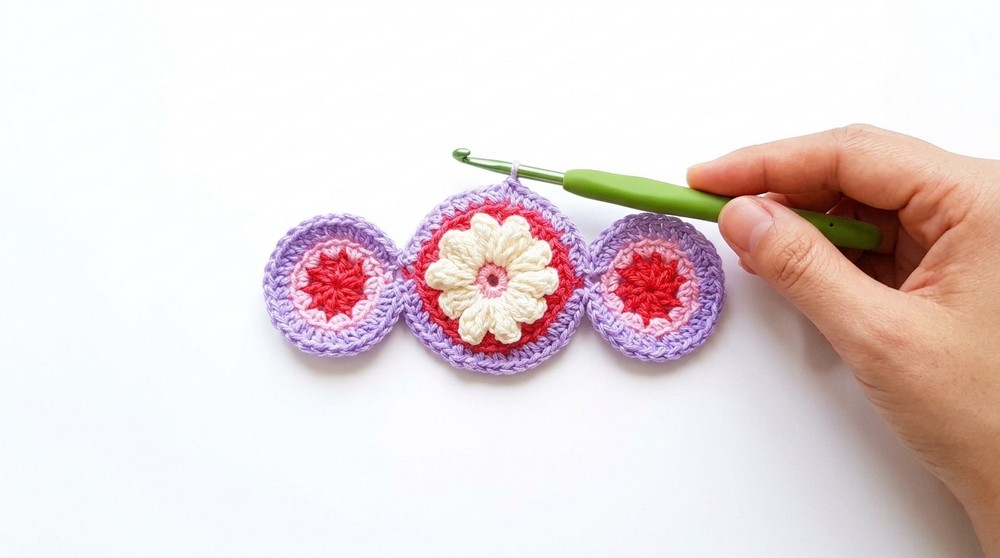
Step 2: Join the small circles to the large center circle
- Using slip stitches and BLO, join around the edges where the circles meet.
- Crochet in the same alternating pattern of 2 HDC, 1 HDC so the pieces join neatly yet flexibly.
4. Outer Border
- Using the 5th color, join yarn at the edge of the joined circles.
- Work all stitches in the back loop only (BLO) to give a faint ridge effect.
- Along the border:
- Work mostly SC stitches.
- At every 3rd stitch, increase by working 2 SC in that stitch to maintain shape.
- At circle transition points:
- Work HDC and DC stitches to blend the curves smoothly.
- Join round with slip stitch and fasten off.
5. Button Loops (Make 2)
Step 1: Attach yarn where loops will be placed.
- Chain 1, turn.
- Work 4 SC in a row to create a flat tab.
- Work 4 rows of 4 SC to build a stiff tab.
Step 2: Create the button loop
- Chain 12 (or length to fit your button snugly).
- Slip stitch back into the base of the tab to form a loop.
- Finish by working 2 more SC on the tab to secure.
- Repeat the entire loop on the opposite side.
6. Finishing Touches
- Work a decorative slip stitch border along the top surfaces of color sections, enhancing the look.
- Weave in all yarn ends securely.
- Sew wooden shell buttons on the tabs using the tapestry needle. Make sure buttons are firmly attached.
- Seal all yarn ends carefully with a lighter if using synthetic yarn to prevent fraying.
Assembly & Finished Size
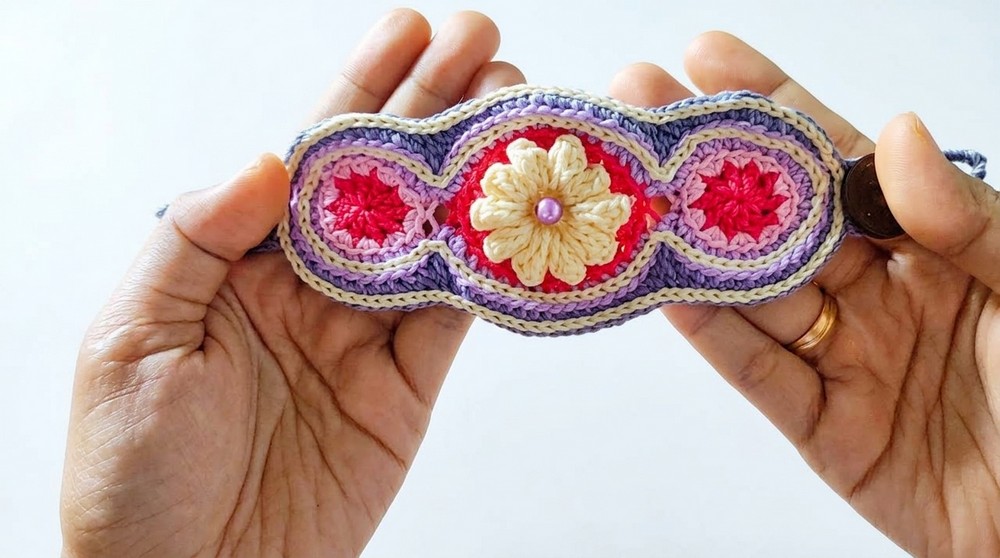
When completed, the mask connector measures about 16 cm in total length, including button loops. The large central circle is flanked by two smaller circles, joined with a flexible but sturdy seam. The colorful outer border shapes the piece neatly. The button loops provide secure, comfortable fastenings for wooden buttons, creating a practical and stylish holder for mask straps.
Conclusion
This colorful mask connector pattern offers both function and flair. The interesting combination of stitches like popcorns, HDC, and BLO joins create dimension and flexibility, while the multi-colored threads add vibrancy. Sewing on button loops gives a practical solution to uncomfortable mask straps without sacrificing style. Carefully follow each step and stitch for the best result, and enjoy crafting a useful handmade accessory that makes mask-wearing easier and more comfortable.