How to Crochet a Mask Connector with This Free Pattern + Tutorial
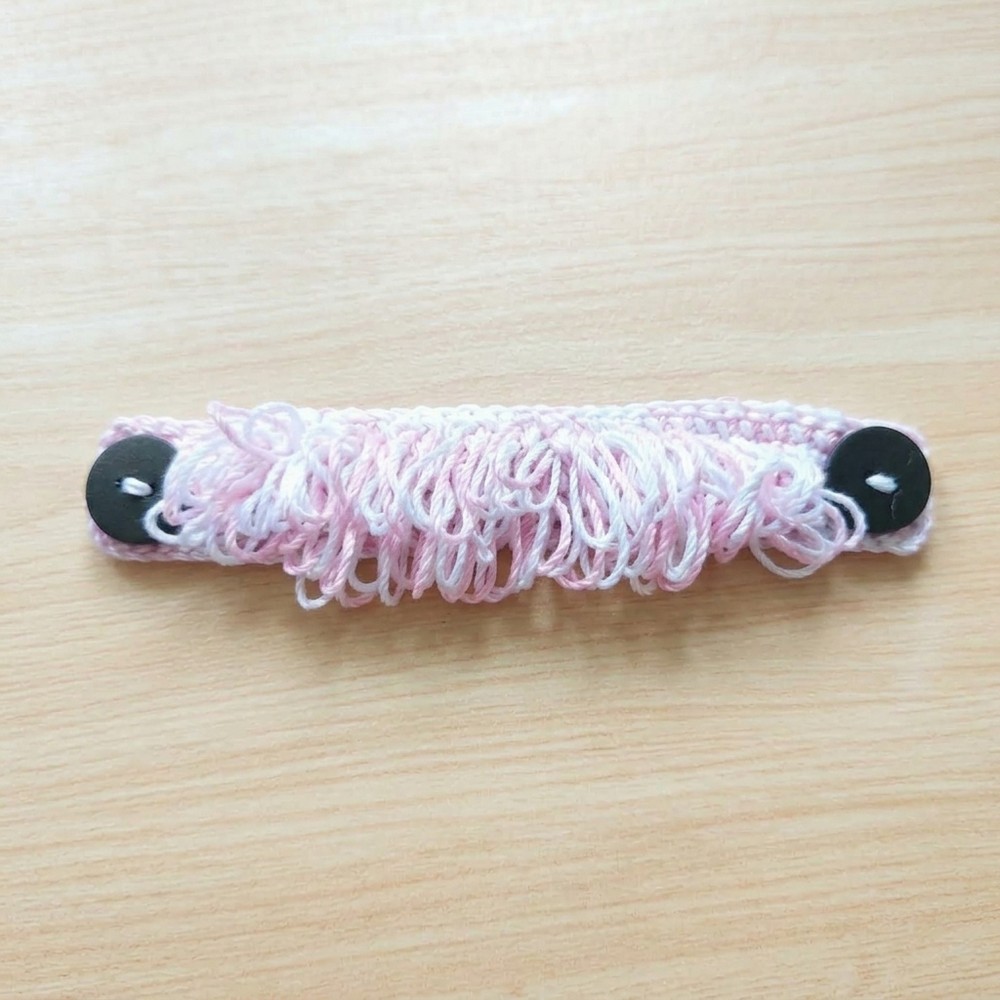
Find out ease and style with a free crochet mask connector pattern that keeps your mask secure and reduces discomfort during extended wear.
When it comes to blending functionality and creativity, crochet mask connectors have emerged as a thoughtful solution for everyday comfort. These small, handmade accessories are designed to relieve the irritation caused by mask straps pulling on your ears while also offering a stylish and artistic touch. A particularly striking design highlighted in Rajutan Whita’s tutorial showcases a unique tassel-inspired motif, which not only demonstrates creativity but also offers a professional yet approachable guide for crochet enthusiasts of all skill levels.
Easy Free Crochet Mask Connector Pattern for Beginners

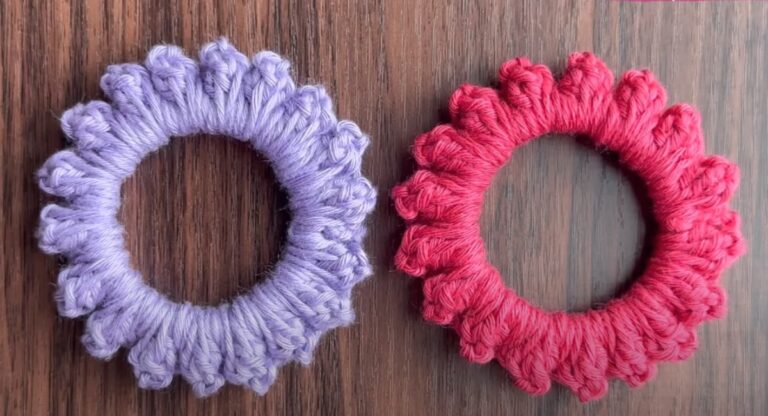
This specific pattern uses two contrasting yarn colors, often a soft pink and white, to create a playful yet elegant combination. The process begins with 35 chain stitches as the foundation, setting up a sturdy yet delicate base. What truly sets this design apart is the tassel-like detailing that appears along the edges. These are formed by looping yarn carefully around the thumb and stitching them into place, creating a layered and textured effect that looks sophisticated but is surprisingly simple to make.
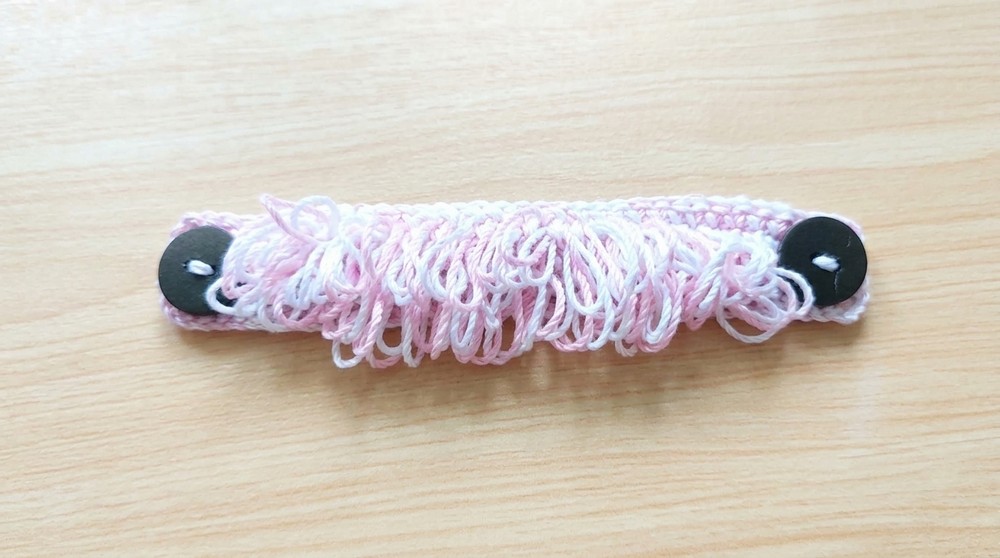
The finishing involves secure single crochet stitches and optional embellishments like buttons or small pearls, allowing for customization to suit any personal taste. The balance of thoughtful design with practical dimensions makes it a versatile creation, ideal for children and adults alike.
This crochet mask connector is more than a crochet project, it’s a practical and decorative solution that reflects care, creativity, and attention to detail. The tassel design, customizable colors, and soft texture make it a standout accessory that enhances both comfort and style in everyday life.

Why You’ll Love This Crochet Pattern
You’ll love this crochet pattern because it is beautiful, textured, beginner-friendly, relaxing to make, and perfect for creating charming handmade projects with a unique look.
Rumbai (Fringe/Tassel) Mask Connector Pattern
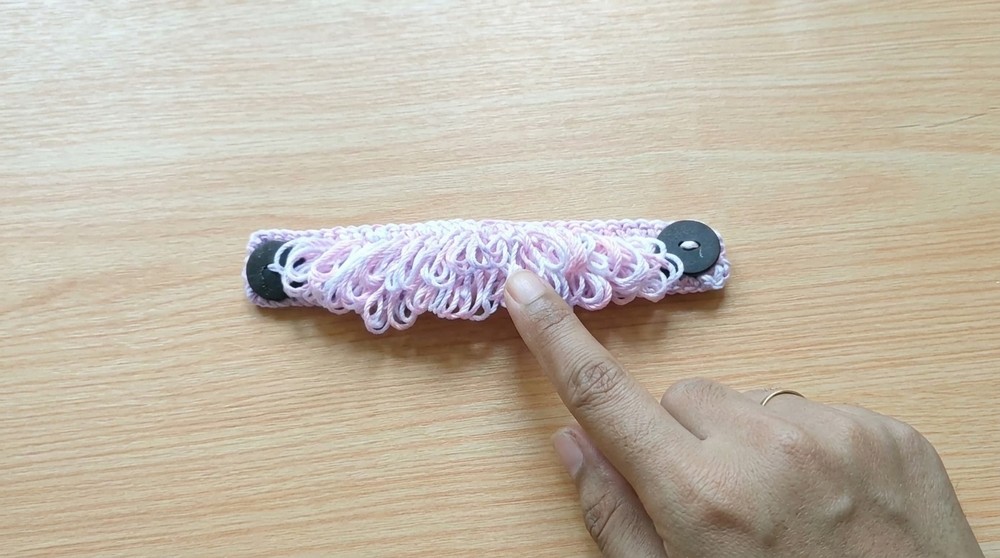
This mask connector features a delicate yet functional fringe (Rumbai) motif bordered by tightly stitched rows for durability. Designed to offer both comfort and style, this accessory can be customized with different yarn colors and embellishments, such as buttons or pearls, to make it unique and personal. The fringe detail adds an elegant texture while maintaining practicality for attaching mask straps.
Skill Level
Intermediate
This pattern is suited for crocheters with a solid understanding of basic stitches, such as single crochet (SC), and ready to experiment with creating a fringe effect while maintaining even tension.
Materials
- Yarn: Two colors of Polycherry yarn (example: pink and white).
- Hook: 2.5 mm crochet hook.
- Other: Optional embellishments such as buttons, pearls, or floral decorations for added flair.
Stitch Abbreviations
- ch: Chain
- sc: Single Crochet
Special Stitches
Fringe Stitch (Looped Single Crochet)
To create the fringe or looped effect:
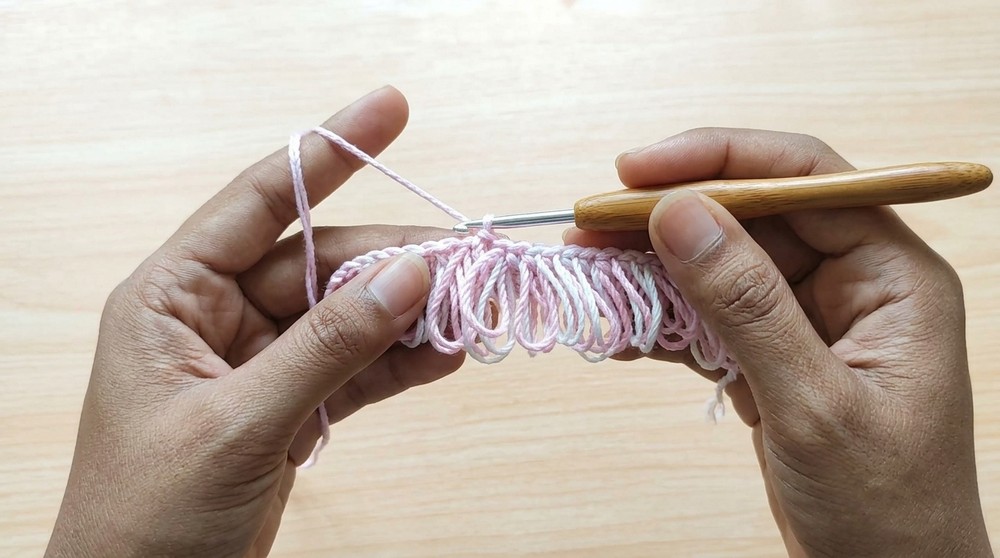
- Hold the working yarn with your thumb to create tension, forming a loop.
- Insert the hook into the next stitch, yarn over, and pull through the stitch.
- Complete the single crochet (pull through both loops on your hook) while maintaining the loop’s size by keeping the tension steady.
Useful Tips
- Tension Control: When working the fringe motif, keep consistent tension for evenly sized loops.
- Border Consistency: The 5 SC borders at the beginning and end provide structural stability; keep stitches uniform for a good finish.
- Customization: Experiment with yarn colors to match your personal style. You can also replace the border SC with decorative stitches for a more intricate design.
- Embellishments: While optional, buttons or pearls can enhance the look and make the connector fully functional for mask attachment.
Pattern Instructions
Step 1: Foundation Chain
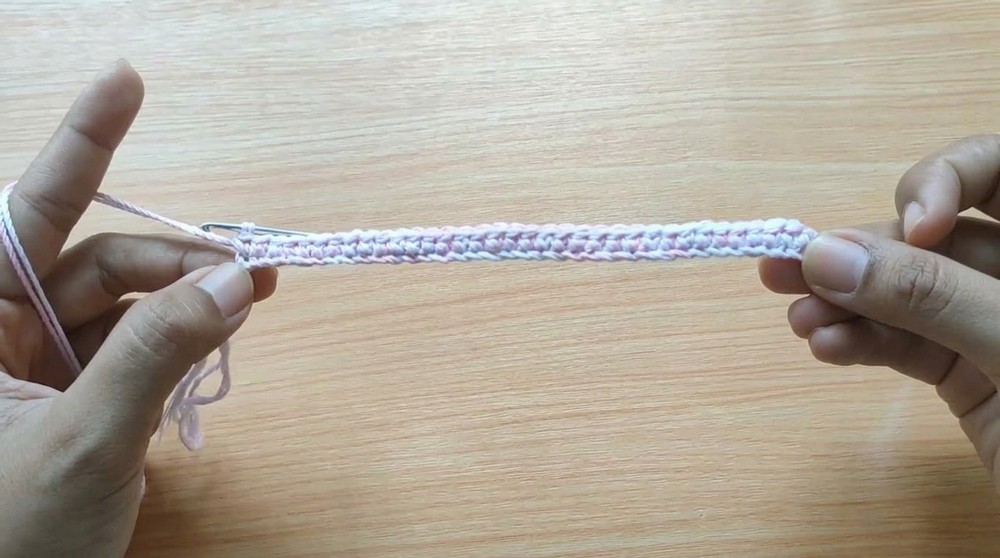
- Begin by creating 35 chains. Then, add 1 extra chain for turning, making a total of 36 chains.
Step 2: Base Row
- Row 1:
- Starting from the second chain from the hook, work 35 Single Crochet (sc) stitches across the chain.
Step 3: Turning Row
- Chain 1 to prepare for the next row and turn your work.
Step 4: First Border Section
- Row 2:
- Work 5 Single Crochet (sc) stitches into the first 5 stitches.
- These stitches will form a stable border section that frames the fringe motif.
Step 5: Rumbai/Fringe Motif
- Row 2 (continued):
- Begin working the fringe stitch for the middle section of the row:
- Hold the working yarn with your thumb to create a loop/tension.
- Insert the hook into the next stitch, yarn over, and pull through.
- Complete the Single Crochet (SC) stitch while maintaining the size of the loop.
- Repeat the process to create fringe stitches across the row, leaving the last 5 stitches untouched for the second border.
- Begin working the fringe stitch for the middle section of the row:
Step 6: Second Border Section
- Row 2 (continued):
- After completing the fringe motif in the middle section, work 5 Single Crochet (sc) into the last 5 stitches to form the second border.
Step 7: Final Row
- Row 3:
- Chain 1 to turn your work.
- Work 35 Single Crochet (sc) stitches across the entire row, covering both the fringe section and borders. This row provides a clean, solid backing for structural support.
Step 8: Finishing
- Cut the yarn, leaving a tail long enough for securing and weaving in ends.
- Using a tapestry needle, weave in all loose ends to create a polished finish.
- Optionally, attach buttons, pearls, or floral embellishments to both ends of the connector for mask strap attachments. Adjust the placement based on the size of the buttons or the user’s preference.
Assembly and Sizing
- Customization of Length: To resize the connector, adjust the foundation chain and corresponding stitch counts accordingly, ensuring that the fringe motif and borders are proportionately modified.
- Embroidery and Embellishments: Sew decorative elements, like pearls or buttons, to add elegance and improve functionality. Buttons should align securely at each end of the connector for easy attachment to mask straps.
Conclusion
The Rumbai Mask Connector pattern is a simple yet decorative design that blends utility with creativity. Perfect for adding flair to everyday mask-wearing, this connector can be personalized with colors and embellishments to suit individual preferences. The sturdy border and solid backing ensure durability, while the fringe adds a charming and unique texture. This project is an excellent opportunity to practice attention to detail and tension control while creating something stylish and functional.