Mask Connector: Free Crochet Pattern + Tutorial for All Sizes
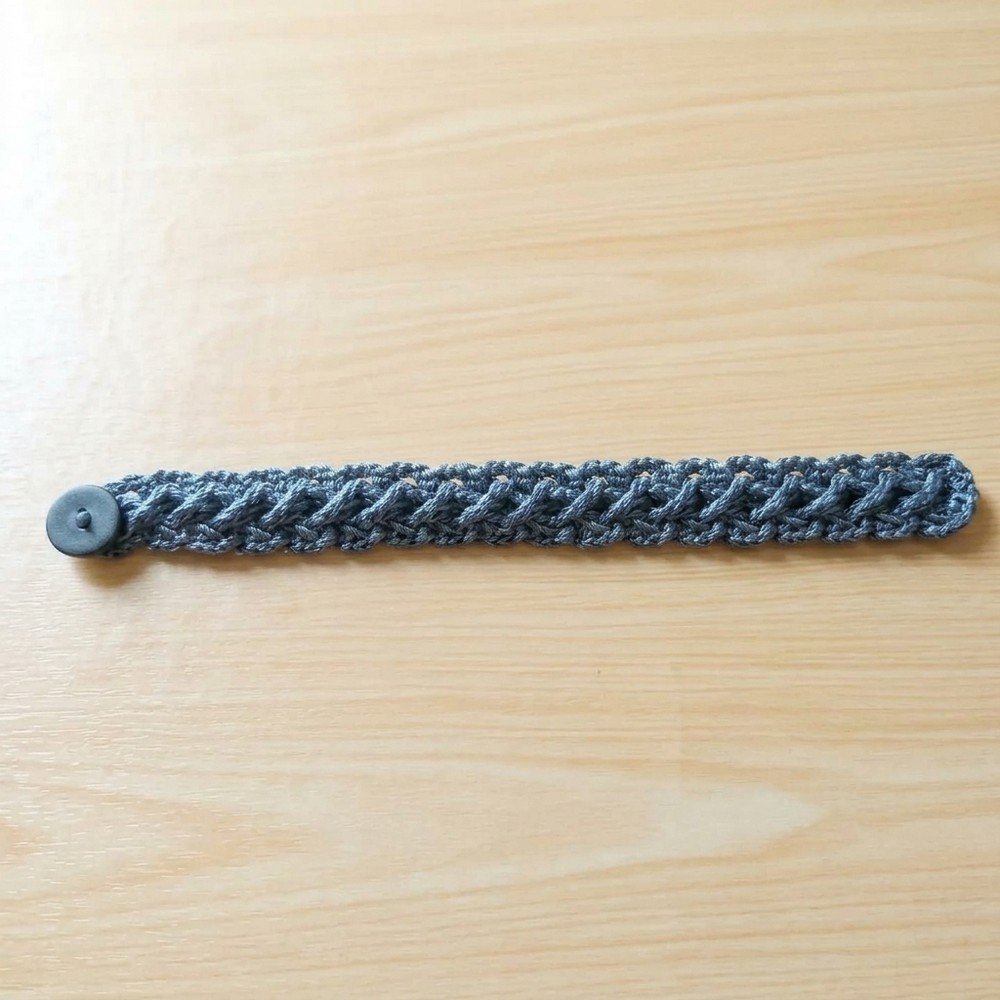
Upgrade your mask experience using a free crochet mask connector pattern that ensures a snug fit and adds a unique flair to your everyday essentials.
In today’s world, wearing a mask has become a part of daily life, but the discomfort caused by elastic ear straps can be a real problem. That’s where this beautifully crafted crochet connector comes in, a small yet clever solution to make mask-wearing more comfortable while adding your personal style. The design uses a stunning embossed cable motif, giving the connector an elegant and three-dimensional texture. It’s the perfect blend of function and beauty, simple to make yet incredibly effective.
Free Crochet Mask Connector Pattern to Save Your Ears
Rajutan Whita’s tutorials are unmatched in their clarity and simplicity. The creator’s calm and step-by-step explanations make it easy for anyone to follow, even beginners. They also add helpful tips to ensure every detail of the project is perfect.
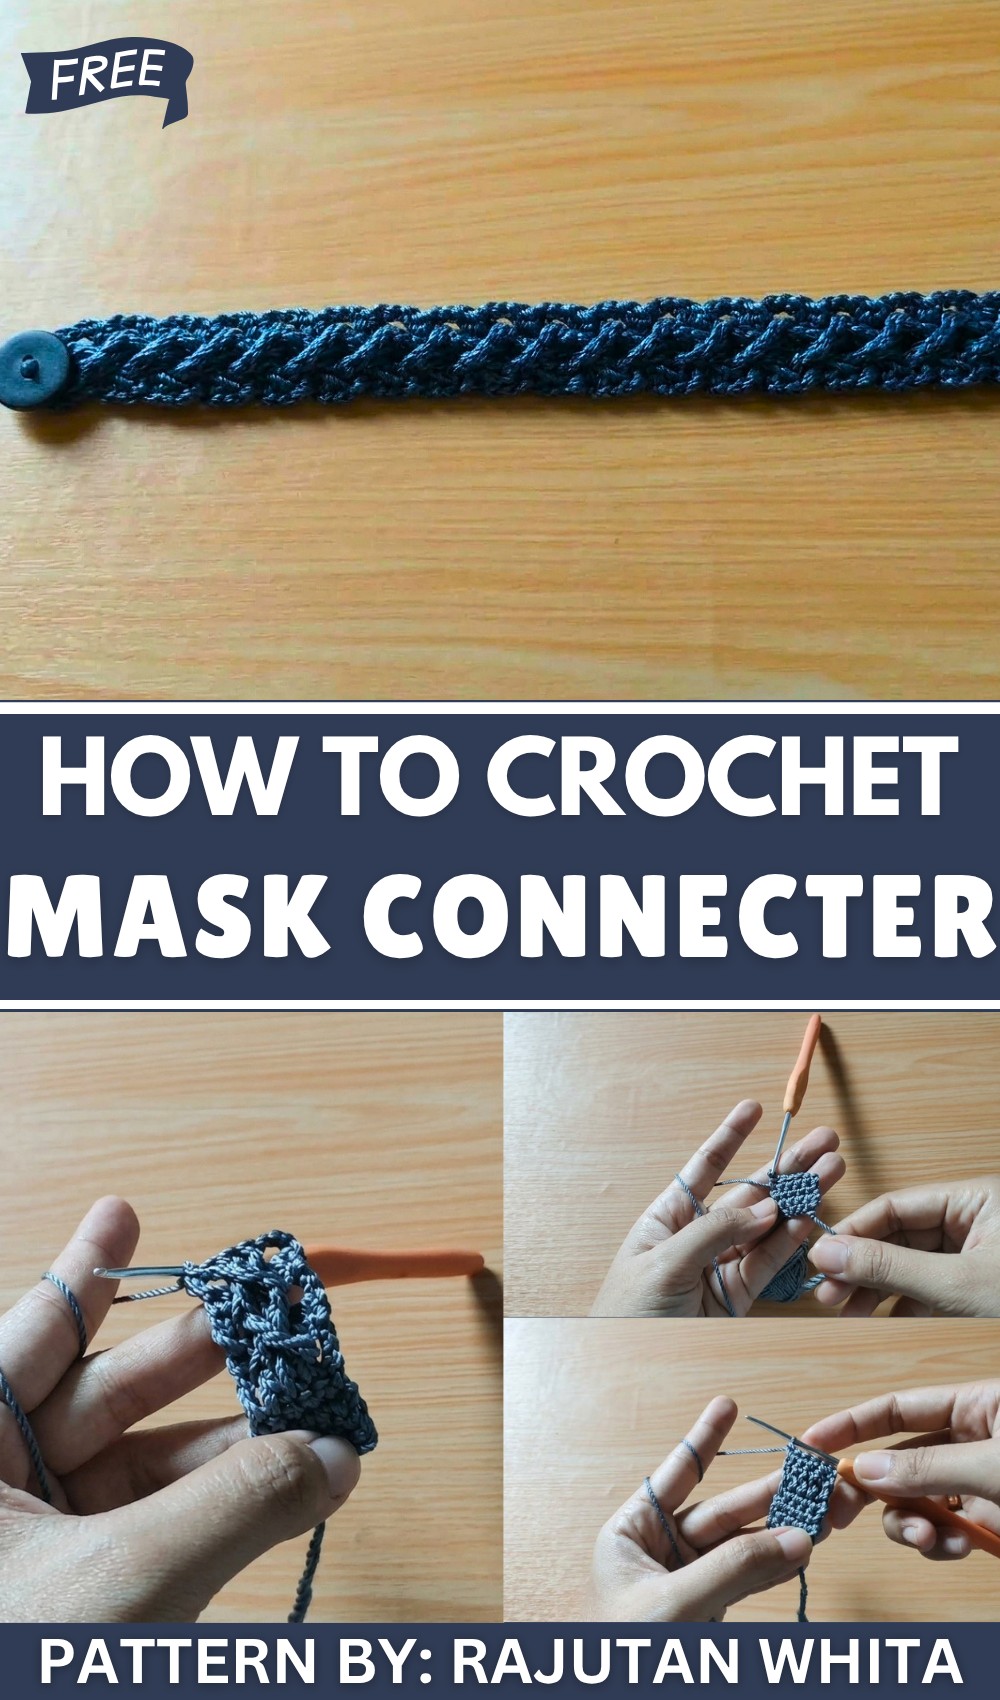
The process starts with a neat base of chain stitches, progressing with single and double crochets for structure. The embossed cable effect is achieved with treble stitches in a crisscross pattern, which gives the design a rich, detailed look. The ends are reinforced with stitches to add durability and include buttonholes to attach coconut shell buttons.
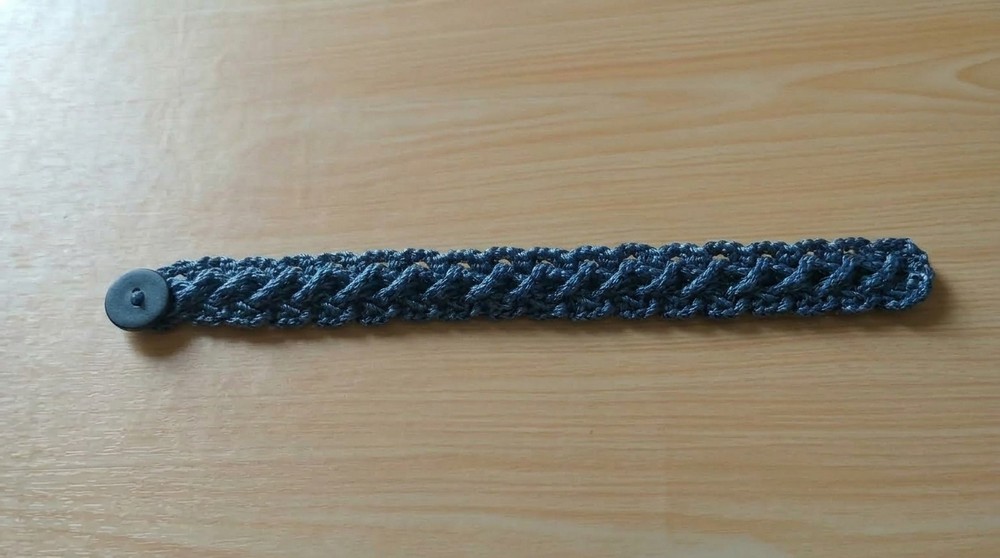
These buttons not only secure the connector around the elastic mask straps but also give it a natural and handmade charm. The result is a flexible, reusable accessory that’s easy to wear, wash, and carry around.
This mask connector is more than just a practical tool, it’s a stylish way to stay comfortable and express your creativity. Its embossed design and thoughtfully chosen materials make it as unique as it is useful, proving that even small creations can make a big difference in everyday life.
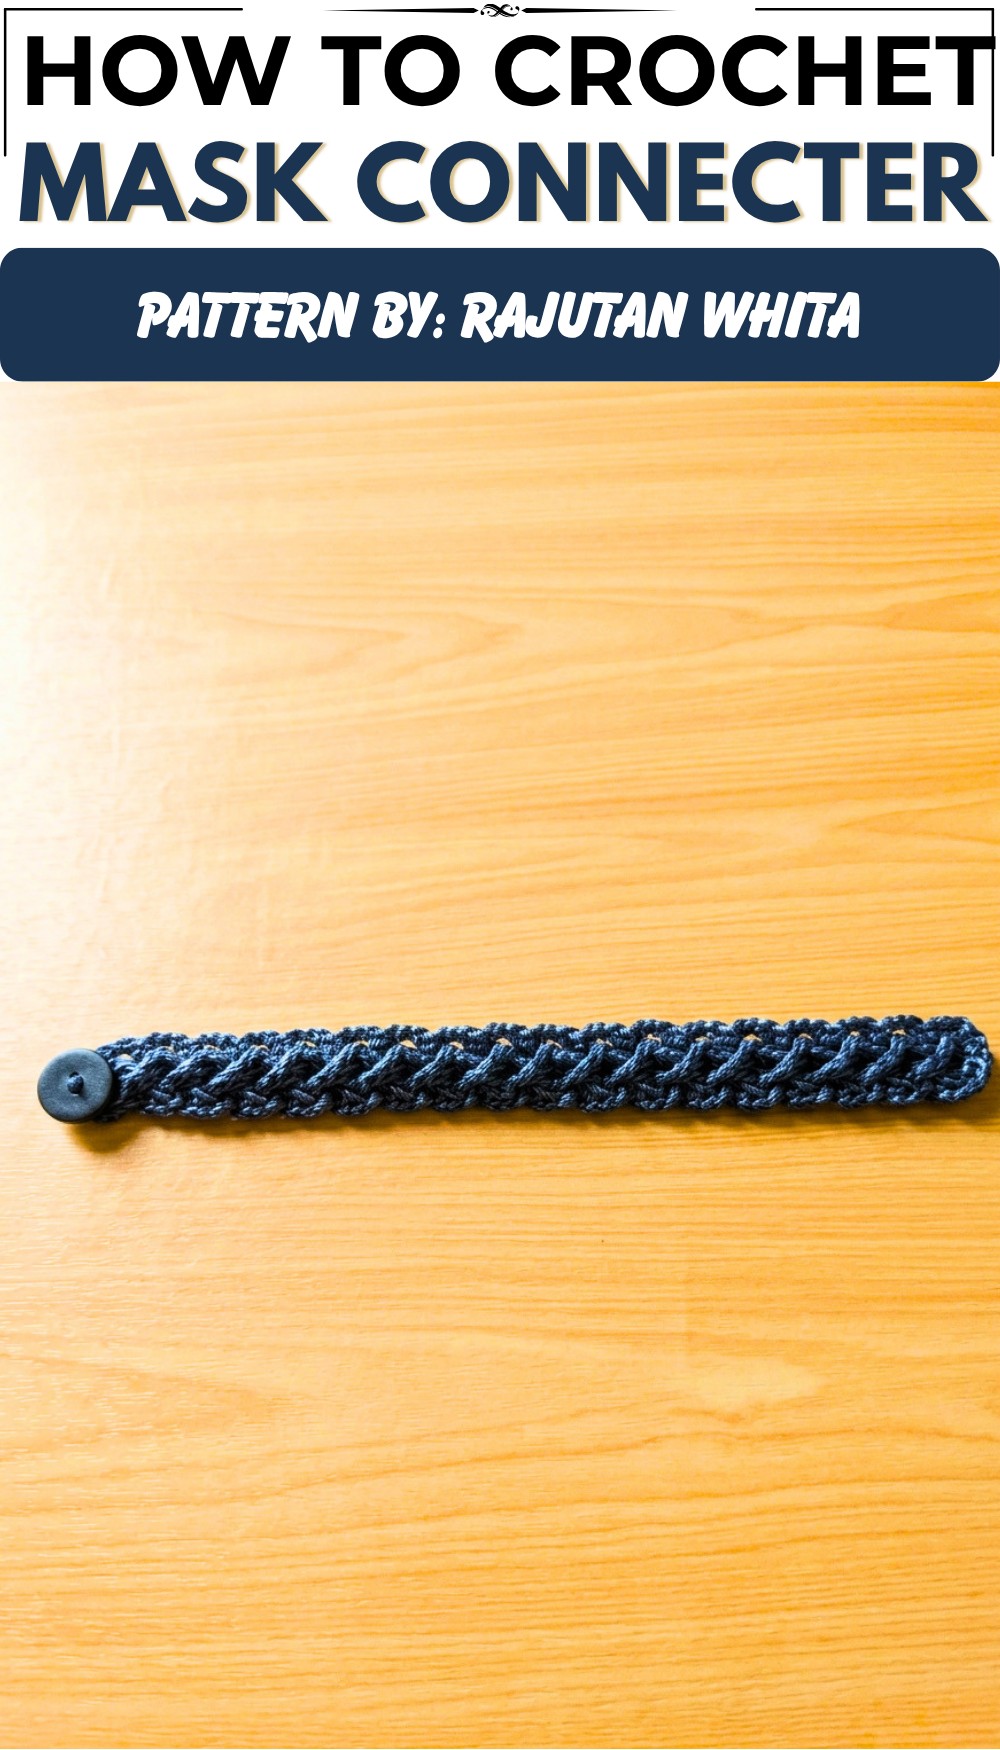
Cable Stitch Mask Connector Pattern
This crochet pattern creates a stylish and functional cable stitch mask connector, ideal for securing masks behind the head comfortably. The project features elegant cablework with button tabs for adjustability and a polished finish. The connector is both practical and aesthetically pleasing, making it a quick and enjoyable project.
Skill Level
Intermediate
This pattern requires knowledge of basic crochet stitches and intermediate techniques, such as front post treble crochet (FPTR), making it suited for crocheters familiar with textured stitches and pattern transitions.
Materials
- Yarn: Poly-kilap yarn (e.g., Polyindo or Poly-SS).
- Hook: 2.5 mm crochet hook.
- Buttons: Batok (shell) buttons for fastening.
- Finishing Supplies: Tapestry needle for attaching buttons and weaving in ends.
Special Stitches
Front Post Treble Crochet (FPTR)
Yarn over twice, insert hook around the post of the designated stitch (from front to back to front), yarn over and pull up a loop. Yarn over and draw through two loops (repeat twice until one loop remains).
Stitch Abbreviations
- ch: Chain
- sc: Single Crochet
- dc: Double Crochet
- FPTR: Front Post Treble Crochet
FPTR stands for Front Post Treble Crochet, a textured crochet stitch that creates a raised, three-dimensional effect on your project. It is worked around the front of the post of a stitch from the previous row rather than through the top loops. To make an FPTR, yarn over twice, insert your hook from front to back and back to front around the post, yarn over, and pull up a loop. Complete the treble crochet by working through the loops in stages. FPTR is commonly used for cables, textured patterns, decorative designs, and adding beautiful raised details to crochet projects.
Useful Tips
- Consistency: Maintain even tension for uniform cables and proper stitch definition.
- Button Placement: Use sturdy shell buttons that complement the cable stitch pattern aesthetically.
- Cable Length: Adjust the cable stitch repetitions to custom-fit the connector for personal or gifting needs.
- Blocking: If required, lightly block your finished connector for a perfectly shaped final product.
Pattern Instructions
Step 1: Foundation Chain
- Create a foundation chain with 6 chains to begin the mask connector.
Step 2: Button Tab (Base)
- Row 1: Work 5 Single Crochet (sc) stitches across the chain, starting from the second loop. Chain 1 and turn.
- Row 2 – 5: Continue working 5 sc stitches back and forth for 4 additional rows to create the buttonhole foundation.
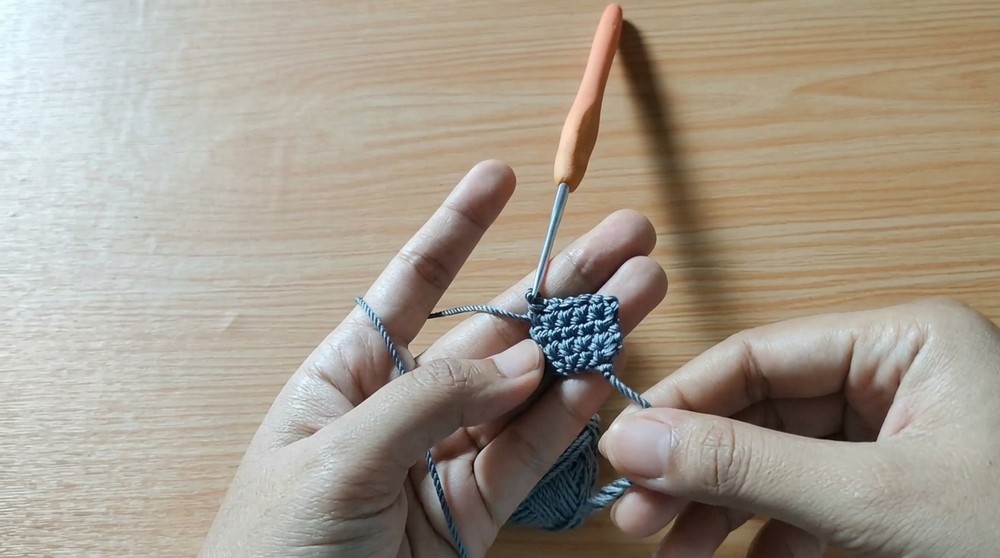
Step 3: Pattern Transition
- Row 6: Chain 3 (counts as 1 Double Crochet [dc]), turn, and work 5 Double Crochet (dc) stitches across the row.
- Row 7: Chain 1 and turn. Work 5 sc across the row to transition back to single crochet stitches.
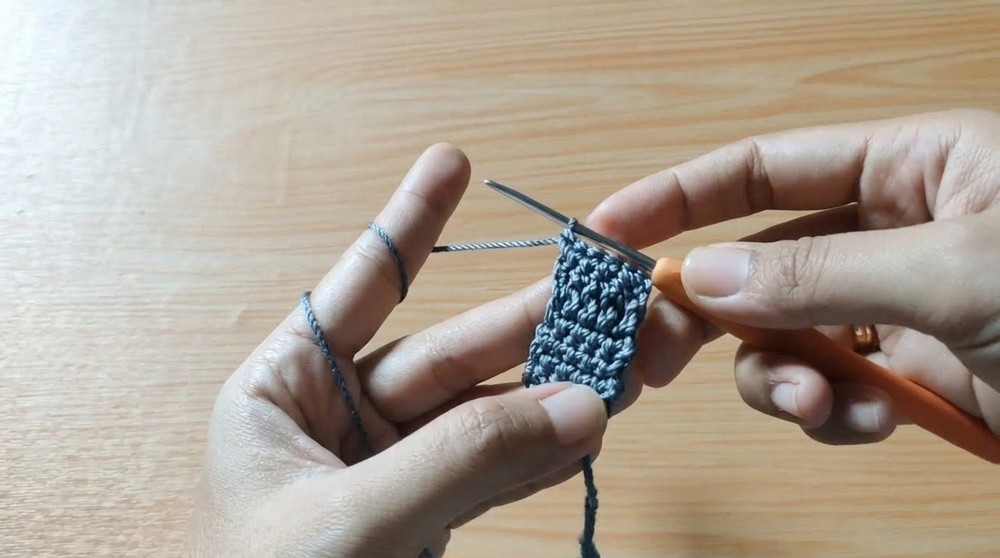
Step 4: Cable Stitch Motif
The cable stitch provides a textured effect and forms the main body of the connector.
- Row 8:
- Chain 3 to turn. Start working Front Post Treble Crochet (FPTR) stitches.
- Alternate between the center DC stitch and the outer DC stitches from the previous row to achieve the woven cable design.
- Rows 9 – 20: Continue this alternating FPTR pattern for 12 repetitions or until the desired cable length is achieved. Adjust the length based on your preference or intended usage.
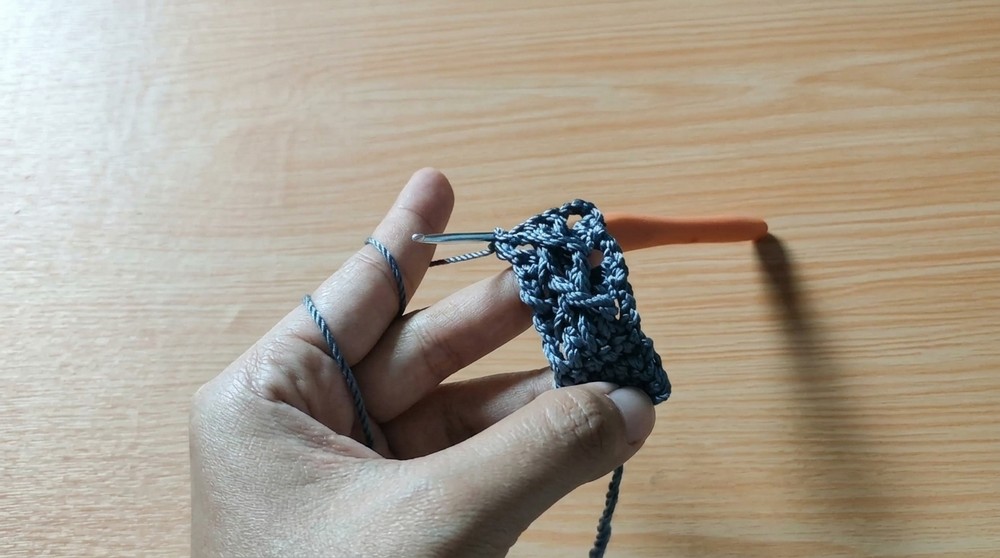
Step 5: Second Button Tab
- Once the cable section is complete, work the second button tab as follows:
- Row 21: Chain 1 and turn. Begin working 5 sc stitches across.
- Rows 22 – 24: Repeat the back-and-forth 5 sc stitches for 3 more rows to mirror the buttonhole foundation from the first tab.
Step 6: Cutting and Securing
- Cut the yarn, leaving a long tail for weaving in.
- Use a tapestry needle to finish the ends and bind off securely.
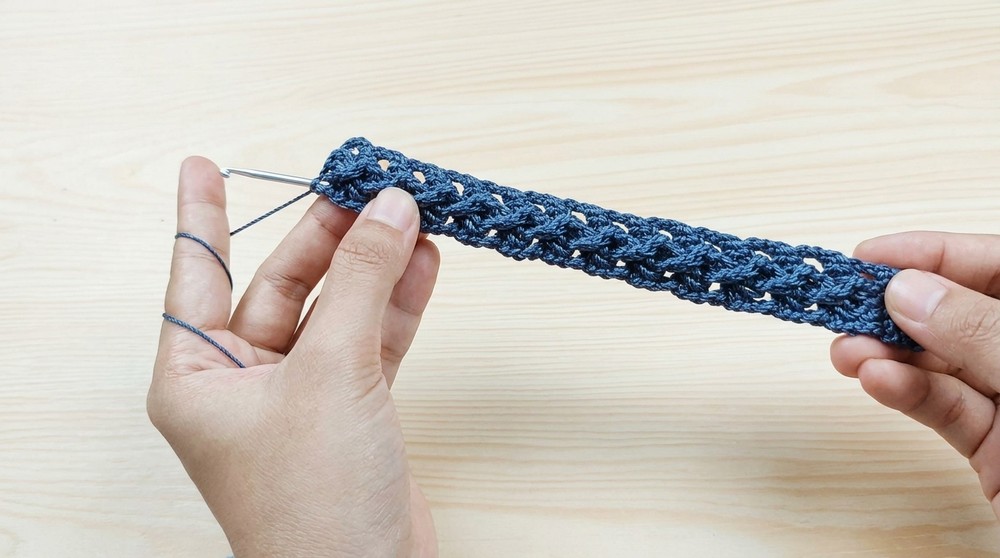
Step 7: Button Attachment
- Using the tapestry needle, sew the shell buttons onto each tab securely, ensuring they align with the holes in the opposite tab.
Step 8: Finishing Touches
- Inspect the connector for loose ends and proper button placement.
- If desired, lightly block the connector to straighten and neaten the cablework.
Assembly and Sizing
- Adjusting Size: To modify the length, increase or decrease the cable stitch repetitions in the motif’s rows. Check the fit by wrapping the connector around the back of the head and ensuring it rests comfortably.
- Buttonhole Placement: Ensure the buttons slide easily into the tab stitches for secure fastening.
Conclusion
This cable stitch mask connector combines practicality and beauty, allowing you to showcase your crochet skills while meeting everyday needs. Its stylish cable design, adjustable tabs, and soft texture make it a great accessory for comfortable mask wear. You can personalize colors, buttons, and sizes for unique variations.