Quick & Easy Crochet Round Bag Pattern & Free Tutorial
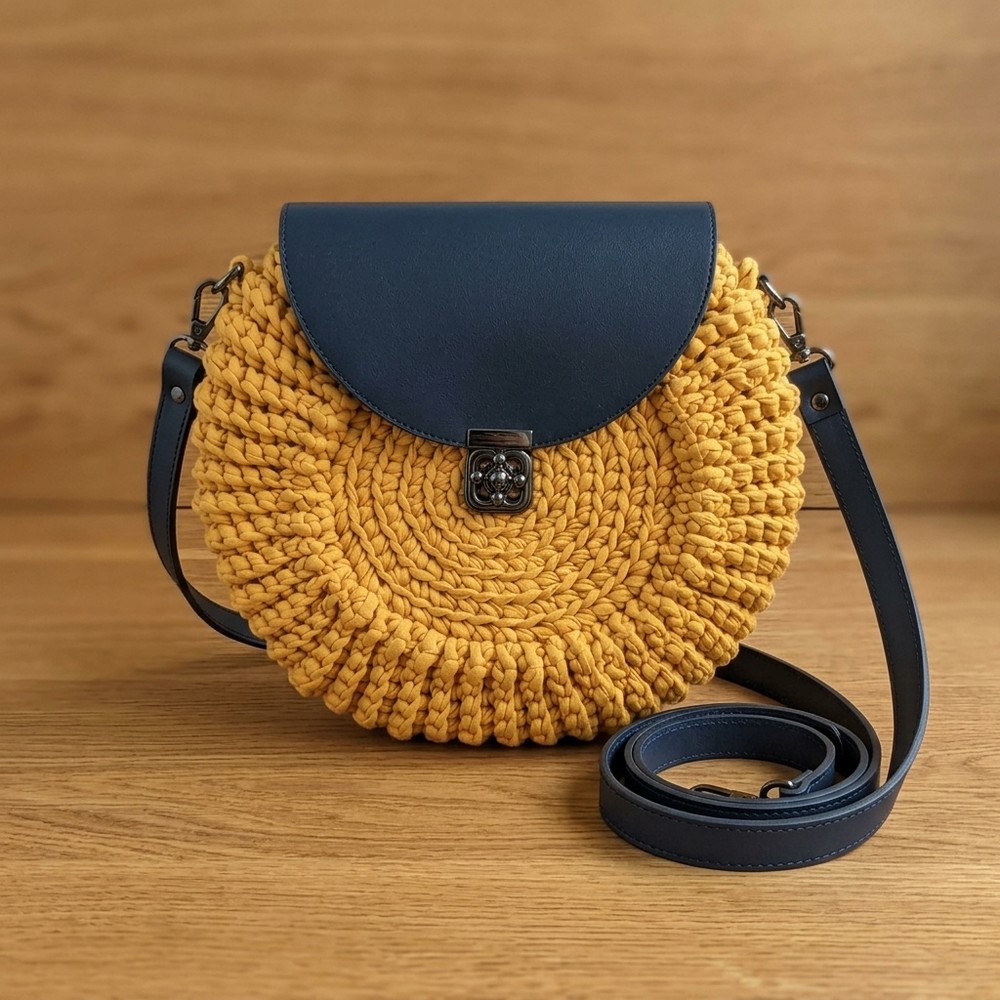
Achieve a handmade look with a free crochet round bag pattern that brings both function and fashion to your collection without complexity.
Bringing creativity to life through crochet is a joyful experience, especially when you crochet something functional and unique like a charming bag accessory. The design shared on the Rajutan Whita channel takes simplicity to a whole new level of beauty, making it perfect for both beginners and skilled crocheters. What’s remarkable about this pattern is how it uses t-shirt yarn, giving the project a smooth texture, eco-friendly touch, and durable finish.
Free Crochet Round Bag Pattern for a Trendy Project
Using just a few tools, and a few accessories, you’ll create a compact and sturdy charm that can be used as a decorative piece on any bag. Whether for a sling bag, tote, or handbag, this eye-catching charm adds flair to your everyday items.
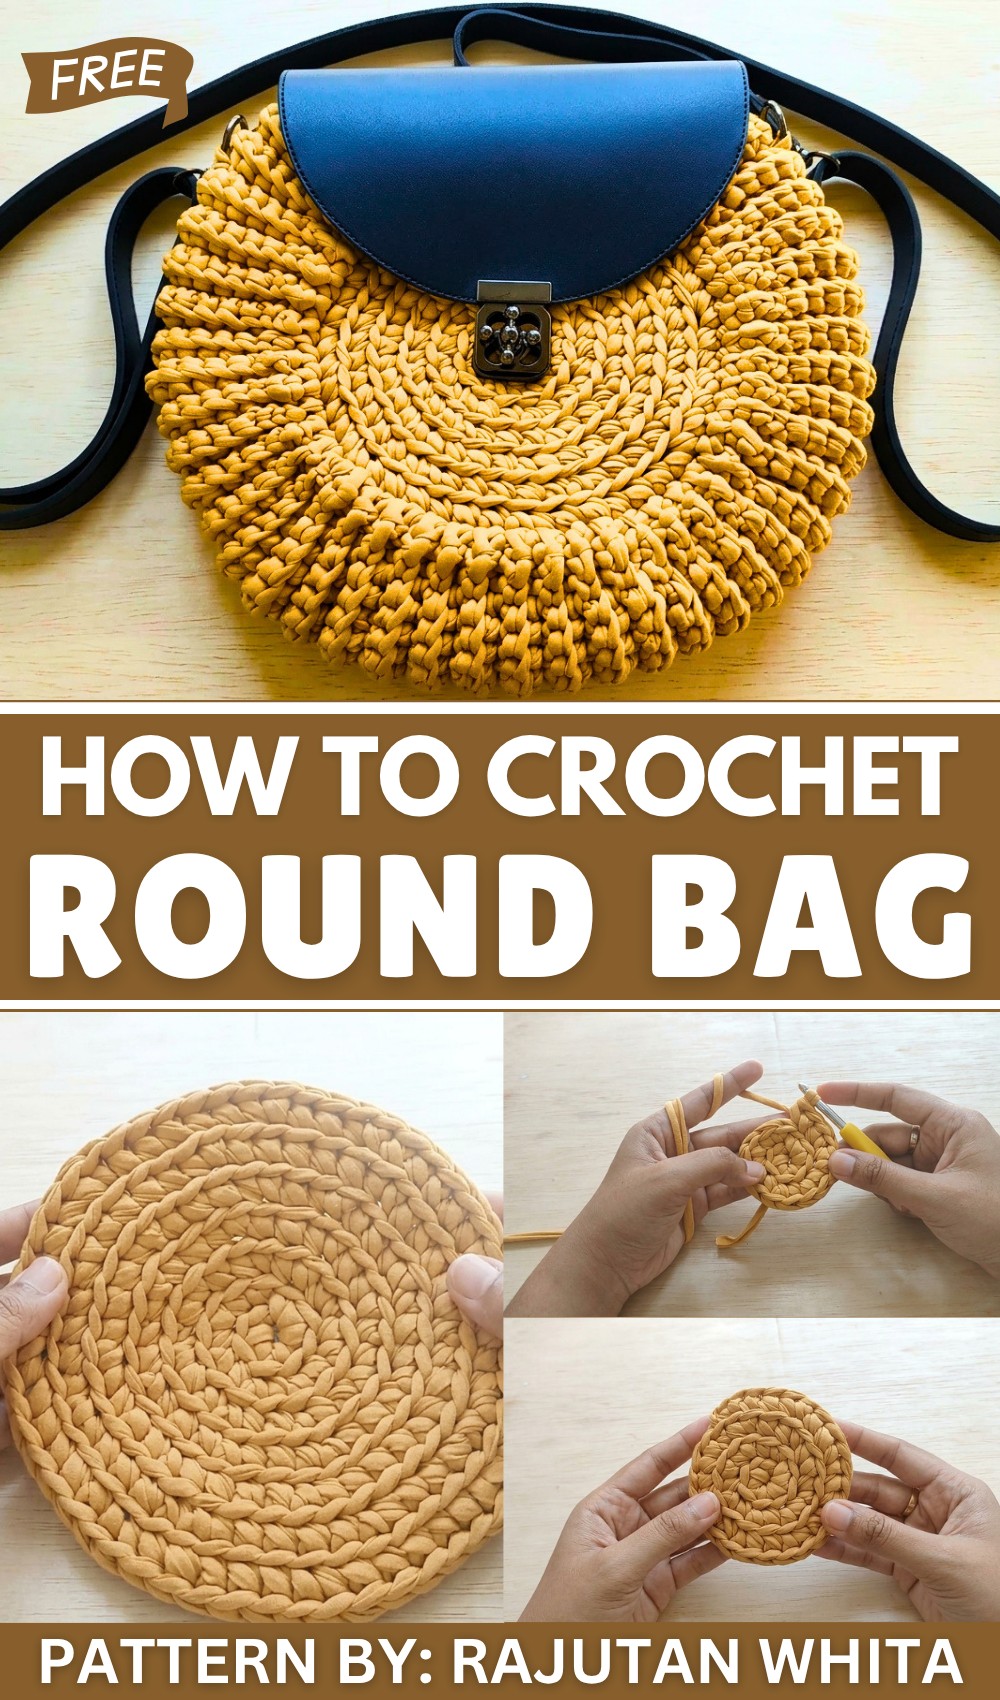
The pattern starts with a circular base formed using the “magic ring” technique, ideal for creating strong, lovely shapes. From there, the design builds with single crochets and back-loop-only stitches (SC BLO), making the charm look stylish and textured. The most attractive feature of this particular design is the round, layered structure that gives off a clean and professional vibe. The charm is enhanced with customized accessories, such as synthetic leather handles or latches, which are easy to attach using a plastic needle or small screws. This versatile pattern allows you to adapt the size or shape to your liking, ensuring every finished piece is unique and personal.
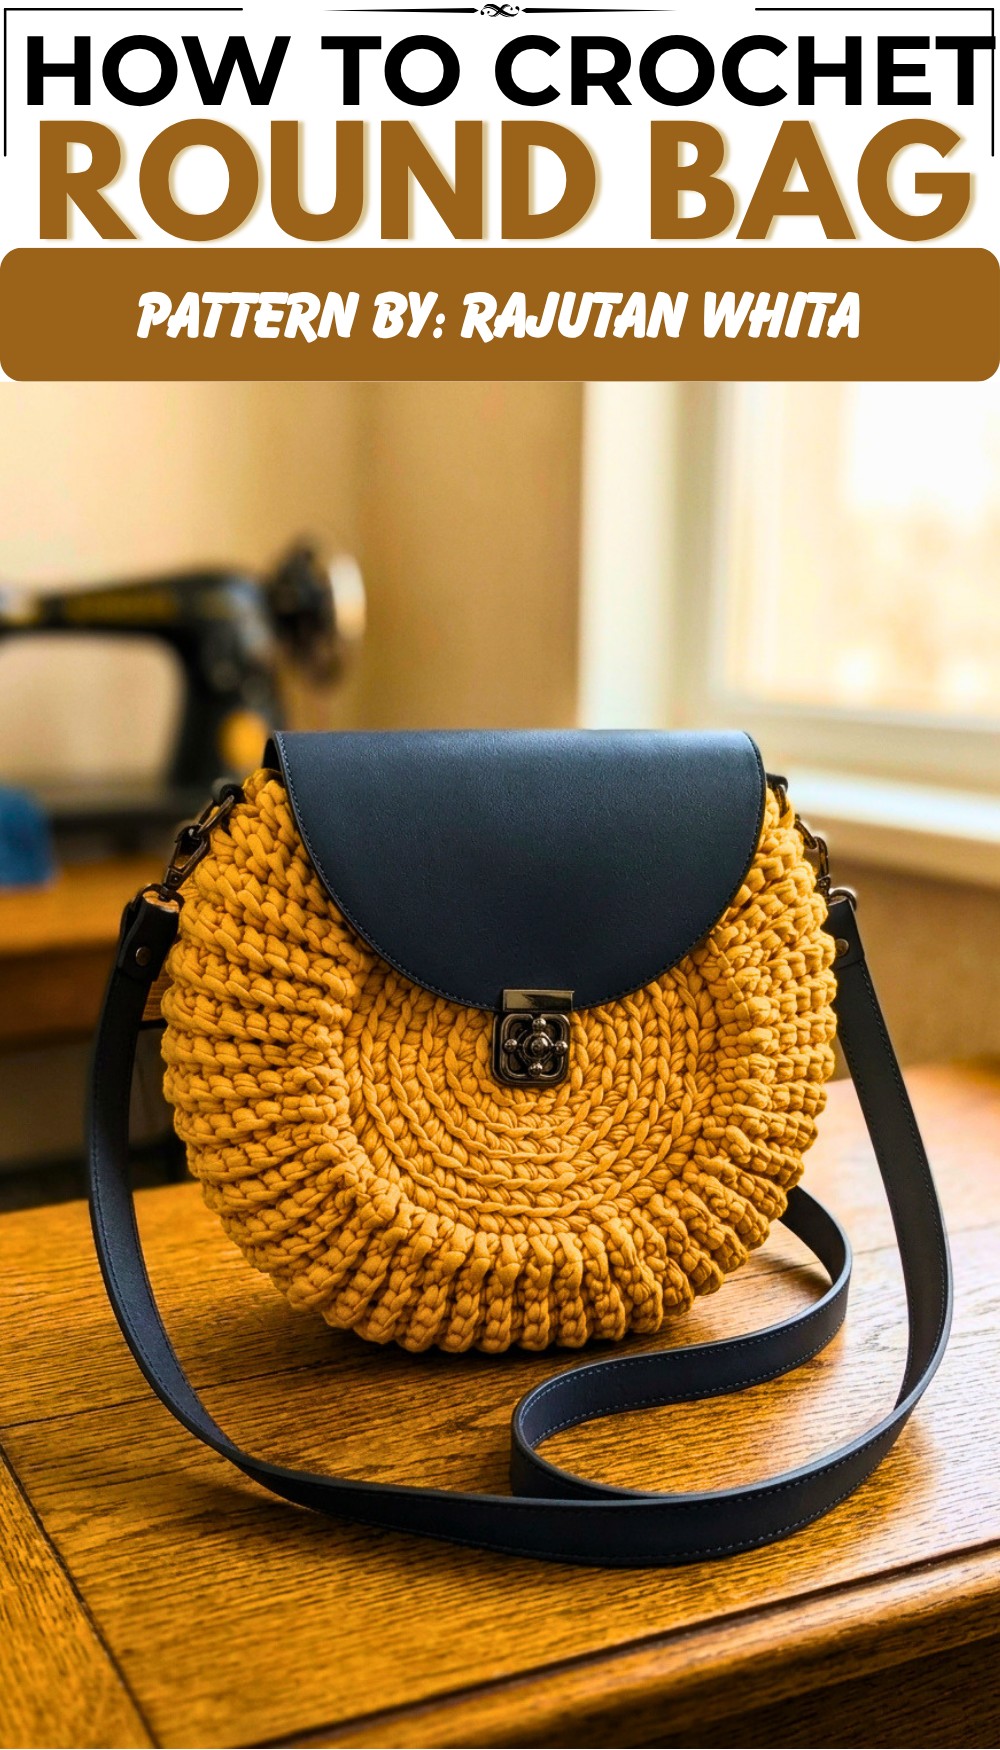
T-Shirt Yarn Bag Crochet Pattern
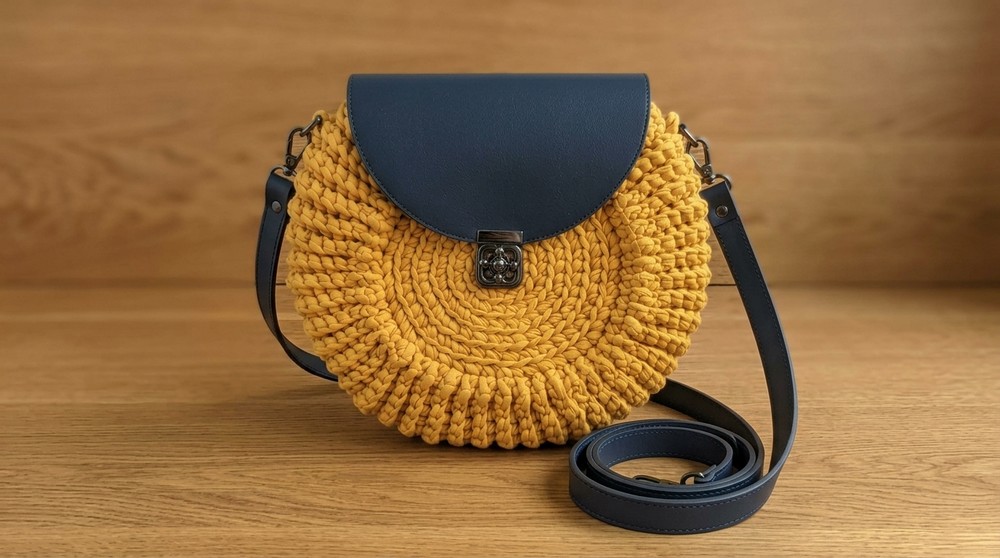
This T-Shirt Yarn Bag pattern combines durability and elegance with its sturdy circular design and leather/faux leather accents. With a seamless joining technique and a lightweight handle, this sling bag is practical for daily use and customizable to suit your style. The use of spandex T-shirt yarn adds flexibility, strength, and a unique texture to the finished bag.
Skill Level
Intermediate
This pattern is suitable for crocheters familiar with basic stitches, circular motifs, and assembly techniques. While the pattern construction is straightforward, attaching hardware and leather flaps may require intermediate crafting skills.
Materials
- Yarn: 2–3 rolls of Spandex T-Shirt Yarn (approximately 3 rolls used for a 32 cm round bag).
- Hook: 6.0 mm crochet hook.
- Tools: Measuring tape, stitch markers, scissors, tapestry needle (large or plastic), and matching thread with a sewing needle.
- Accessories: Leather or faux leather bag flap with lock hardware and a sling bag handle.
Stitch Abbreviations
- ch: Chain
- sc: Single Crochet
- BLO: Back Loop Only
- sl st: Slip Stitch
Special Stitches
Back Loop Only (BLO)
Crochet into the back loop of the stitch instead of through both loops. This technique adds definition to the texture and is ideal for creating structure in bags or baskets.
Magic Ring
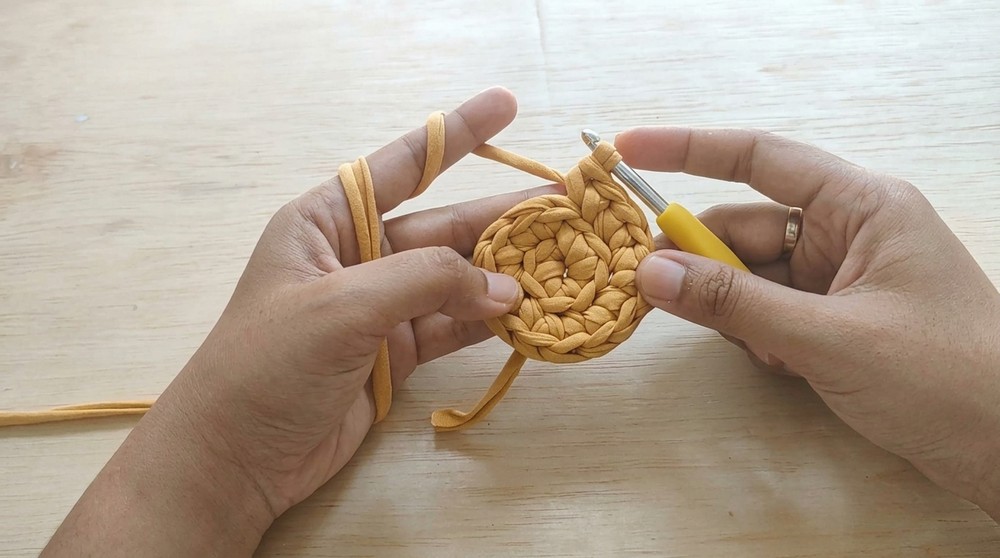
Wrap the yarn around your fingers to form a loop. Insert the hook into the loop, pull up a loop, and begin crocheting into the ring for a tightly closed center in circular projects.
Useful Tips
- Even Increases: To ensure a flat circular base, follow the increase logic carefully (e.g., alternating between single stitches and increases).
- Joining Panels: Use slip stitches securely to create seamless joins without leaving any gaps.
- Gap for Opening: Leave a 12-stitch gap while working on the bag wall to create an opening; place stitch markers to ensure proper alignment.
- Handle Attachment: Reinforce the handle rings for durability, especially when the bag will carry heavier items.
Pattern Instructions
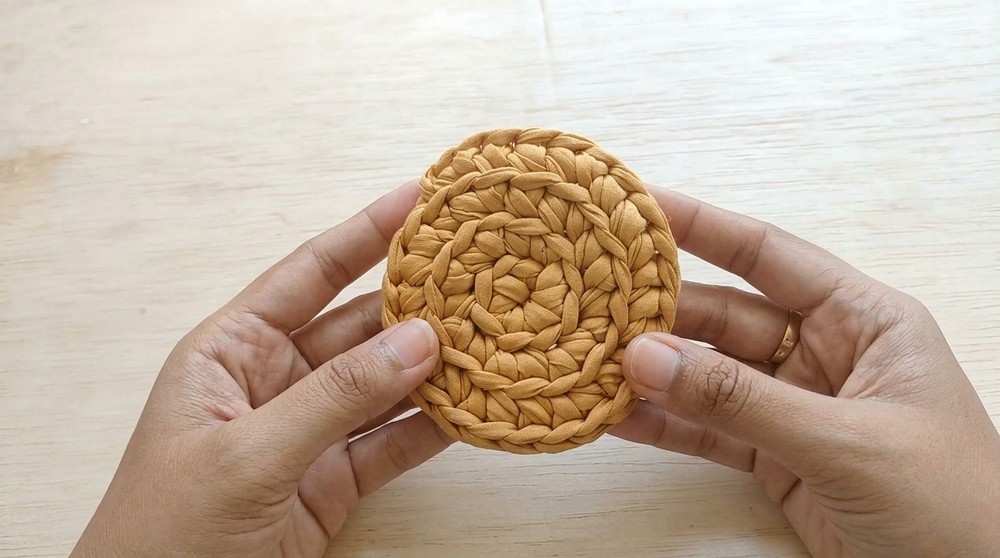
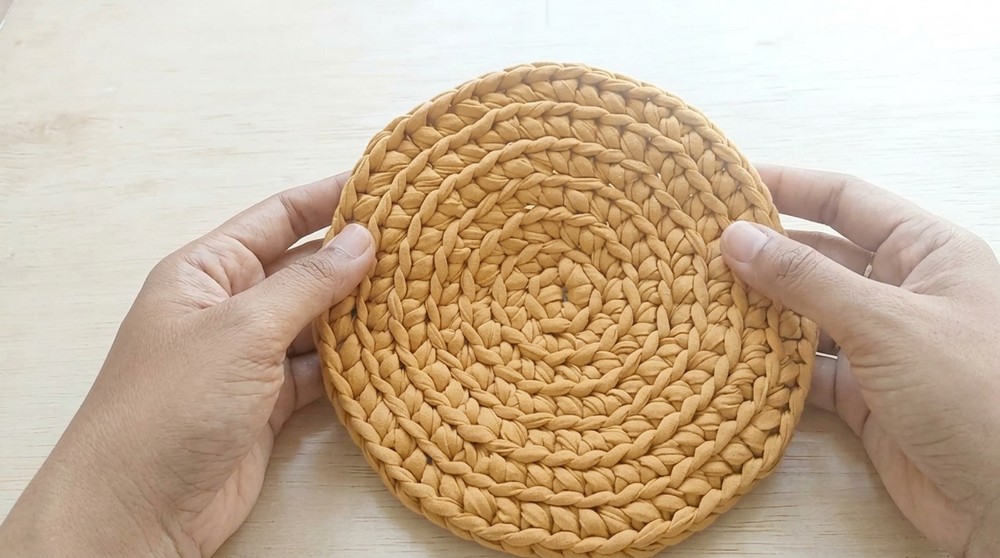
Step 1: Circular Base (Make 2)
- Round 1:
- Start with a Magic Ring.
- Chain 1 to lock the ring.
- Work 8 Single Crochet (sc) into the magic ring.
- Round 2:
- Work Back Loop Only (BLO) on this round by crocheting into the back loop of each stitch.
- Work 2 sc into each stitch around. You will have 16 stitches.
- Round 3:
- Follow the increase pattern: 2 sc in one stitch, then 1 sc in the next stitch. Repeat this 2-1 sequence around the circle.
- Rounds 4–7:
- Continue increasing logically to maintain a flat circular base. For each round, add 1 additional single stitch between increases.
- Example:
- Round 4: Work 1 sc, then 2 sc, followed by 2 sc in the next stitches.
- Adjust the increase logic for subsequent rounds, repeating until 7 rounds are completed.
- Fasten off and secure the yarn ends with a tapestry needle.
Step 2: Joining the Sides
- Connecting Panels:
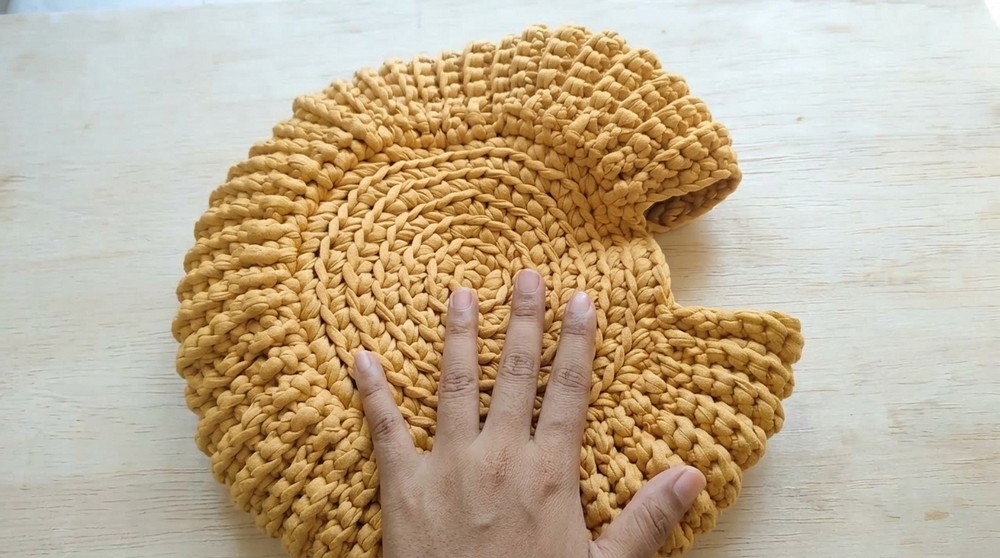
- Begin by creating a chain bridge of 15 stitches to link the two circular panels’ edges.
- Attaching the Panels:
- Slip stitch (sl st) into the starting point of one circular panel.
- Work 11 sc into the chain bridge to secure the two circles.
- Bag Wall:
- Continue working slip stitches (sl st) around the edges, maintaining the BLO technique to create the bag wall.
- Ensure consistent tension to maintain the bag’s structure.
- Leave Bag Opening:
- Stop crocheting, leaving a 12-stitch gap near the top of the bag for the opening.
- Final Rim Round:
- Work one last round of slip stitches around the upper edge to tidy the rim and reinforce the structure.
Step 3: Assembly
- Attach the Flap:
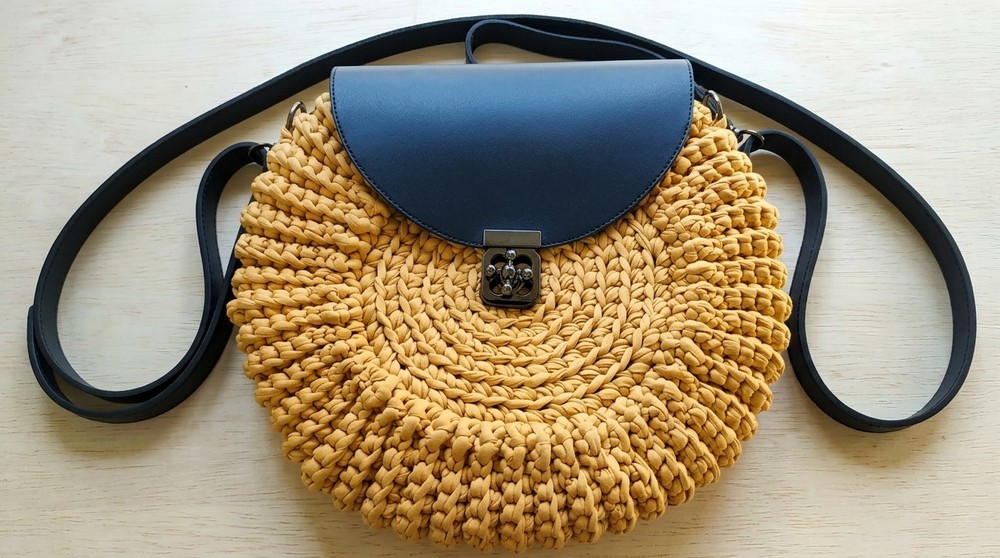
- Position the leather or faux leather flap at the back of the bag.
- Use a smaller crochet hook or tapestry needle to sew the flap securely with yarn. Ensure alignment and even stitching around the edges.
- Fix Lock Hardware:
- Attach the lock hardware to the center front of the bag. Position it carefully for balance and aesthetic appeal.
- Use matching thread and a sewing needle to secure the lock completely.
- Handle Attachment:
- Attach handle rings to the sides of the bag.
- Reinforce the rings using additional yarn, stitching through multiple loops to ensure they withstand regular use.
Assembly and Sizing
- Sizing Adjustments:
- Modify the bag size by increasing or decreasing the number of rounds in the circular base or the length of the chain bridge.
- Dimensions:
- The finished bag measures approximately 32 cm across. Additional rows and chains can be added to customize for larger dimensions.
- Handle Placement:
- Ensure the sling handle is evenly positioned for aesthetic symmetry and ergonomic usage.
Conclusion
This T-Shirt Yarn Bag is sturdy, functional, and visually appealing with its circular design and clean finishing touches. The spandex yarn provides flexibility while creating a durable structure, making the bag perfect for both everyday use and special occasions. Customization options, including hardware, handle design, and flap styling, allow for personalizing the final product to suit individual tastes and preferences.