Free Honeycomb Bag Crochet Pattern You’ll Love
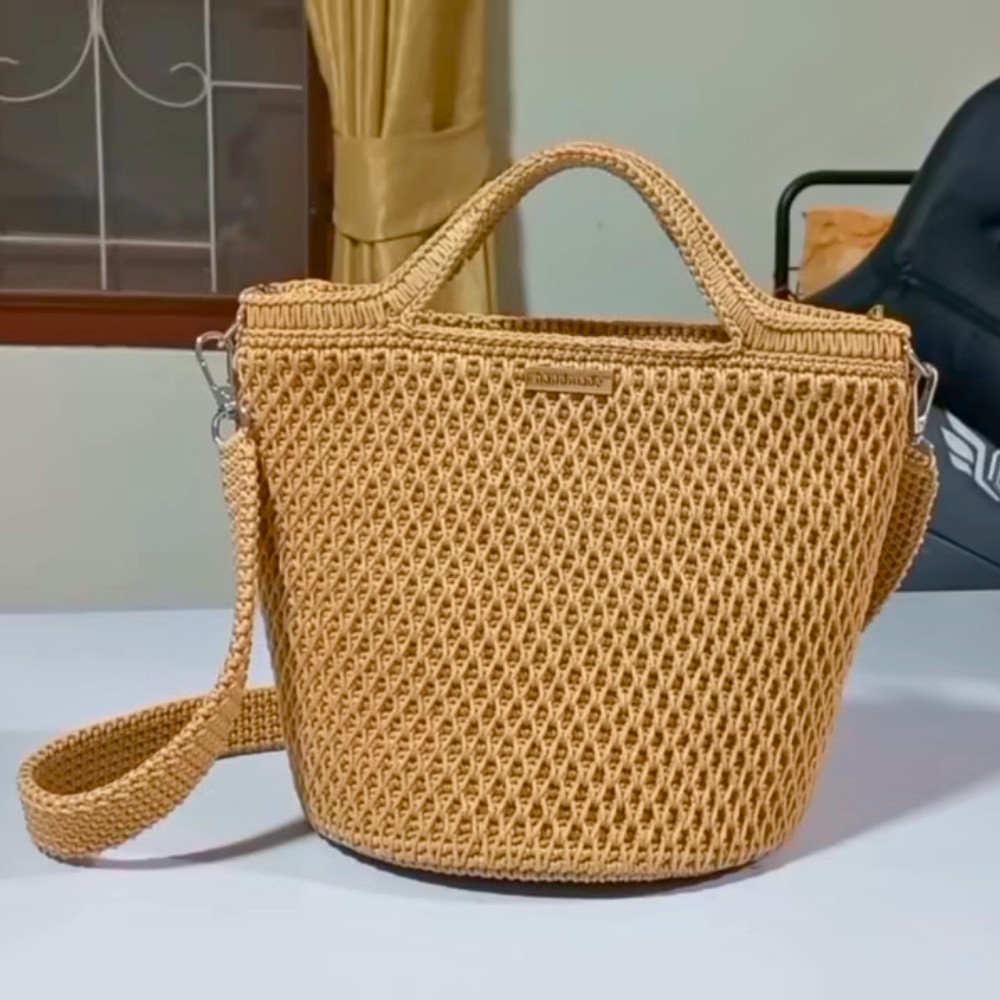
Refresh daily essentials comfortably through this free crochet honeycomb bag pattern that’s created to balance style and durability perfectly.
Say Thanks and support to Chaweewan Crochet
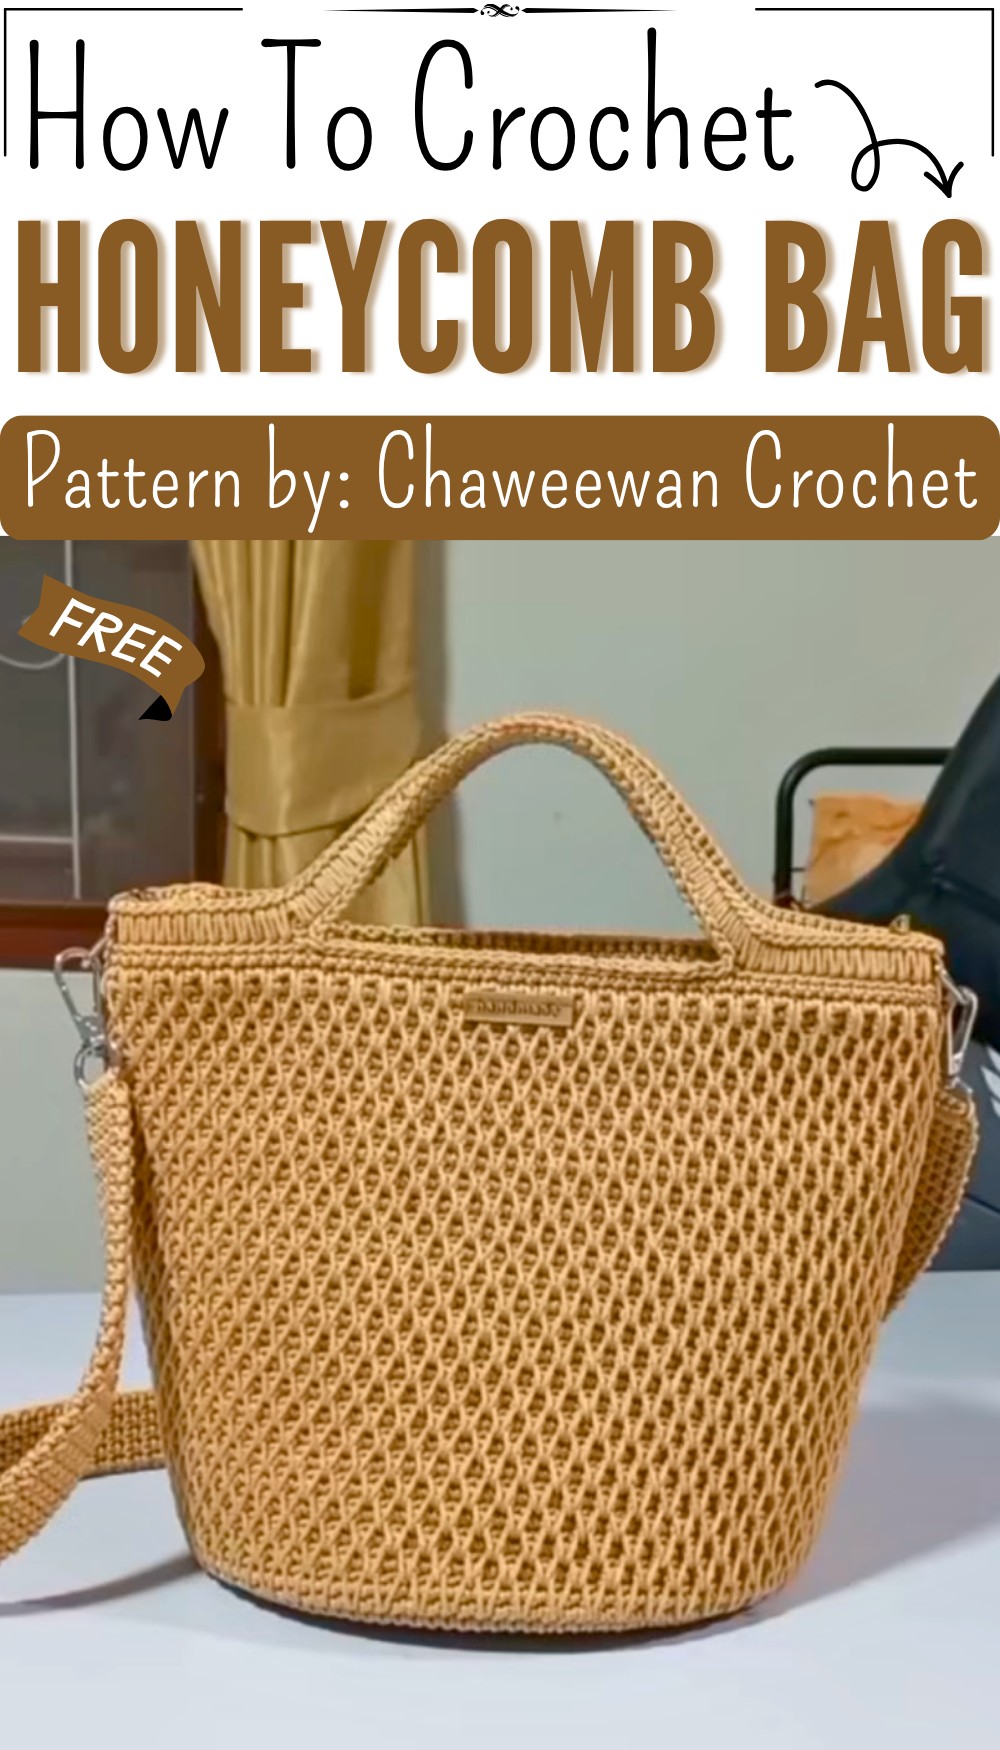
Some crochet bags are special because of the little details that make them stand out. The Free Crochet Honeycomb Bag Pattern is one such project, giving you a pretty everyday bag with a fun textured look and a useful size.
What makes this bag interesting is the pattern across its surface. The crochet stitches form small honeycomb shapes that give the fabric a raised and bumpy feel. This detail adds depth without making the bag look too heavy. Its neat body and simple shape keep it easy to carry, while the textured design gives it a modern handmade style.
Free Crochet Pattern: Honeycomb Bag Perfect for Any Occasion
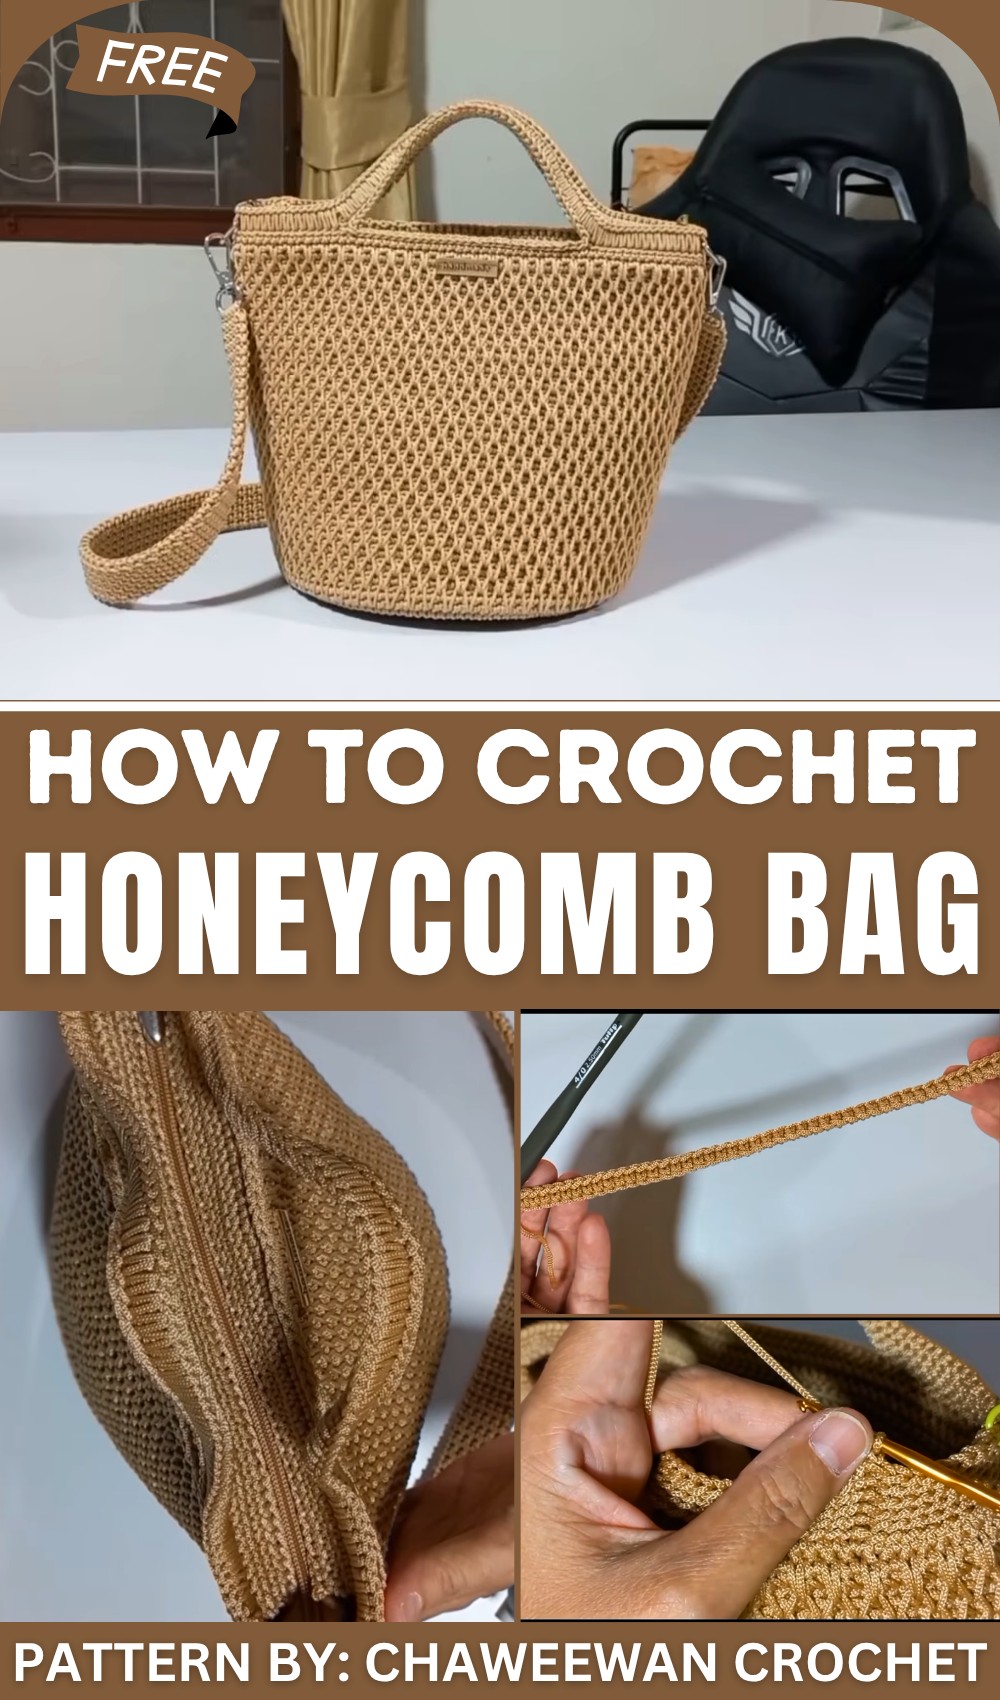
Think of it as a bag you can take almost anywhere. It can hold your phone, keys, wallet, glasses, and other small things you need during the day. Carry it for a quick shopping trip, a visit with friends, or a relaxed walk. The bag can also look lovely with jeans and a simple top, making it both useful and stylish.
The color can change its whole look. A single soft shade can make the honeycomb texture easy to notice. Two colors can bring more life to the pattern. You could pick a color that matches your favorite clothes or choose something bright when you want the bag to stand out.
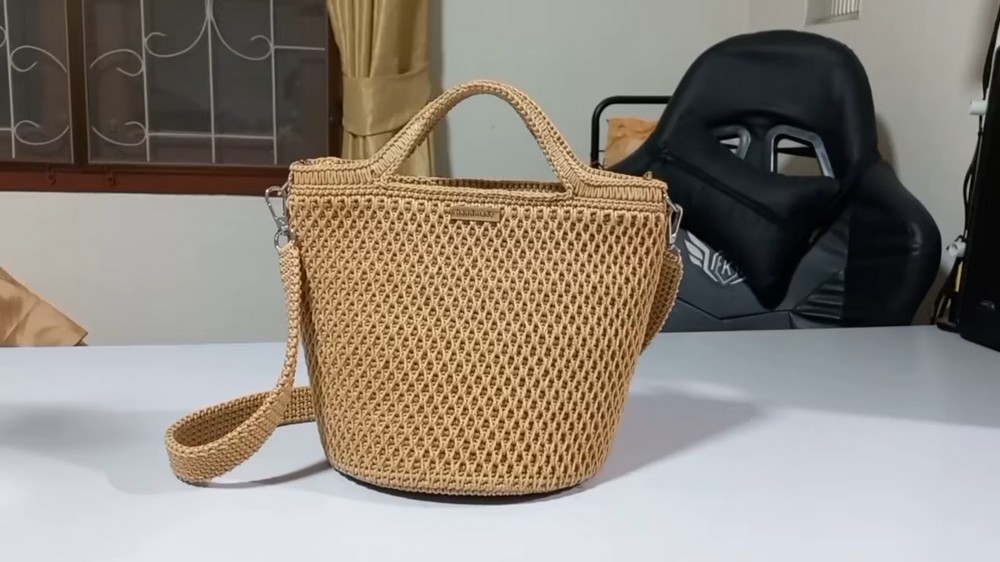
The tutorial is shared by Chaweewan Crochet, a YouTube channel known for crochet projects and video guides. The video gives you a helpful way to see how the special texture is worked.
This bag would make a lovely handmade present for someone who enjoys useful crochet items. It can be made for a birthday, holiday, or simple surprise. The finished piece is practical enough for daily use but pretty enough to feel special. Its unusual texture also gives it a place in a handmade bag collection.
Crochet Honeycomb Stitch Bag Pattern
This beginner-friendly pattern teaches you how to crochet a beautiful and functional Honeycomb Stitch Bag. Using sturdy umbrella cord yarn, this bag features a textured honeycomb body, a firm circular base, secure zipper panels, and comfortable handles and straps. Follow the clear step-by-step instructions to create your stylish new bag.
Quick Overview of Pattern
- Zipper Panels: Crochet two rectangular pieces and attach them to the zipper.
- Bag Base: Create a strong base by crocheting around a hard bag bottom.
- Body Foundation: Work single crochet foundation rows to build up the base.
- Honeycomb Stitch Pattern: Alternate textured rows to create the honeycomb design.
- Attaching the Zipper: Connect the zipper panels neatly to the bag opening.
- Handles and Finishing Touches: Make handles, attach hardware, and tidy inside edges.
- Shoulder Strap: Crochet a comfortable flat strap.
Notes
- Keep your tension consistent for an even texture.
- Use stitch markers to track important stitches or pattern repeats.
- Attach zipper panels with transparent nylon thread for neat finishing.
- The bag base provides structure; crochet carefully around its holes.
Skill Level
Intermediate beginner: Knowledge of basic stitches like single crochet (sc) and slip stitch (ss) is helpful, plus some experience working in rows and rounds.
Materials
- 500 grams of 1.8 mm umbrella cord yarn
- Crochet hooks: 5/0 (for base), 4/0 (for body)
- 7.5-inch hard bag base
- Size 5 zipper, cut to size, with end caps
- Tapestry needle
- Stitch markers
- Transparent nylon thread
Measurements / Sizing
- Bag base diameter: 7.5 inches
- Bag height: Approximately 8 inches (20 cm)
- Strap length: Approximately 80 cm
- Handle chain: 45 stitches (adjust length as preferred)
Abbreviations
- ch = chain
- sc = single crochet
- ss = slip stitch
- st(s) = stitch(es)
Special Stitches for Honeycomb Pattern
- Short Single Crochet (Short sc): Insert hook shallowly for a shorter stitch.
- Long Single Crochet (Long sc): Insert hook deeper for a longer stitch.
- Crossed Single Crochet (Crossed sc): Work stitches out of order to create crossed textures.
- Gathered Single Crochet (Gathered sc): Pull multiple loops together to form textured gathers.
The Crochet Pattern
Step 1: Make the Zipper Panels (Use 4/0 hook)
- Chain 49.
- Row 1: Starting from the 2nd chain from hook, work single crochet (sc) across (48 stitches total).
- Rows 2 to 5: Work a single crochet (sc) in every stitch back and forth, for a total of 5 rows.
- Make two identical panels following these steps.
- Attach the panels to both sides of the zipper using transparent nylon thread sewn neatly.
Step 2: Crochet the Bag Base (Use 5/0 hook)
- Place your hook into the holes of the 7.5-inch bag base harnessing the holes for stitch placement.
- Repeat the pattern 25 times around the base:
- Work 3 single crochet (sc) stitches into one hole.
- Then work 2 single crochet (sc) stitches into the next hole.
- Once all rounds are complete, finish by working slip stitches (ss) around the edge to close gaps and secure the base firmly.

Step 3: Build the Body Foundation (Use 4/0 hook)
- Work 2 rows of single crochet (sc) stitches into the stitches from the base rounds.
- For the first foundation row, insert the hook between stitches (not into the stitch) from the previous round. This widens the base slightly for shape.
- From row 3 onward, proceed with the 4/0 hook for finer stitches.
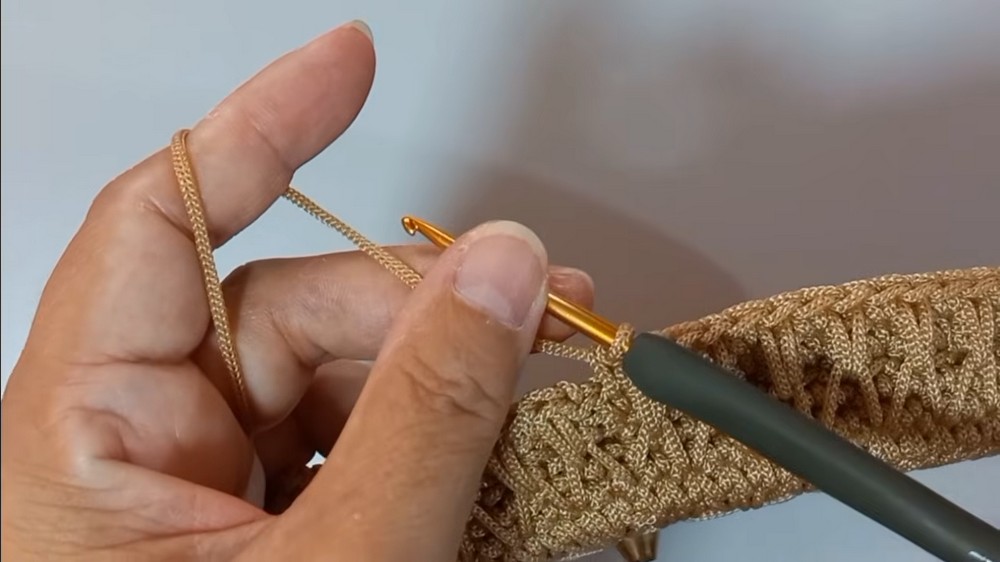
Step 4: Create the Honeycomb Stitch Pattern (Use 4/0 hook)
This pattern is formed by alternating two types of rows:
- Row Type A: Short/Long Single Crochet Row
- Alternate between Short Single Crochet (short sc) and Long Single Crochet (long sc) stitches across the row.
- This alternation creates ridges in stitch height, contributing to texture.
- Row Type B: Crossed/Gathered Single Crochet Row
- Work Crossed Single Crochet (crossed sc) stitches by crocheting stitches out of their usual order and crossing over previous stitches to create an “X” shape texture.
- Use Gathered Single Crochet (gathered sc) by pulling several loops together to form raised honeycomb-like gathers.
- Repeat Row Type A and Row Type B alternately.
- Continue this sequence until the bag body reaches a height of about 8 inches—approximately 25 pattern repeats.
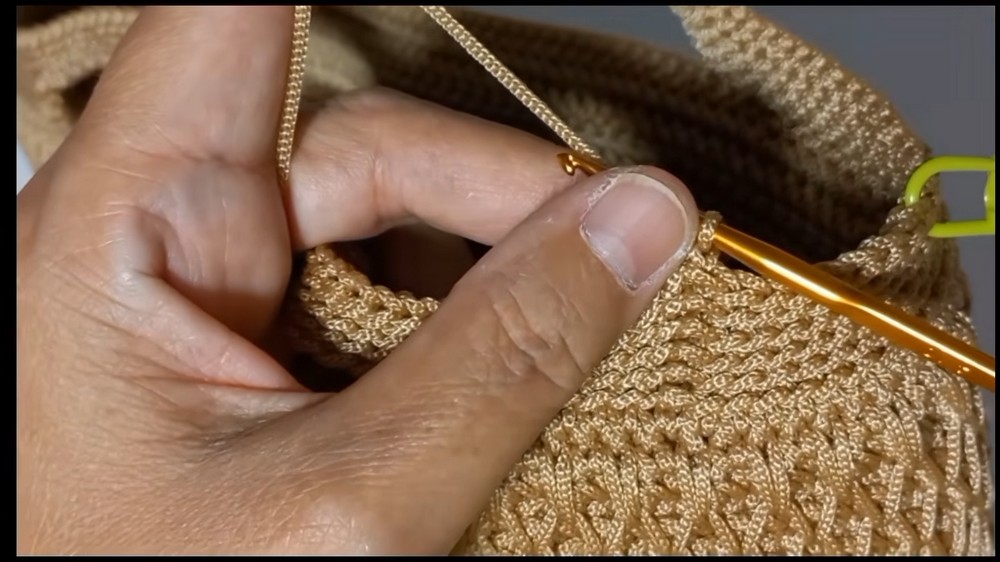
Step 5: Attach the Zipper
- Mark 48 evenly spaced stitches around the top edge of the bag’s body for zipper placement.
- Using single crochet (sc) stitches, join the zipper panels directly onto the bag rim.
- Sew carefully so the zipper is neat and secure.
Step 6: Crochet the Handles and Finish (Use 4/0 hook)
- Chain 45 stitches to form one handle (adjust length for personal preference).
- Work several rows alternating between:
- Slip stitch (ss) rows, and
- Single crochet (sc) rows.
- This provides a strong and flat strap body.
- Attach D-rings to the bag for connecting handles and straps.
- Finish the inside edges with a final row of slip stitches (ss) for a clean, professional look.

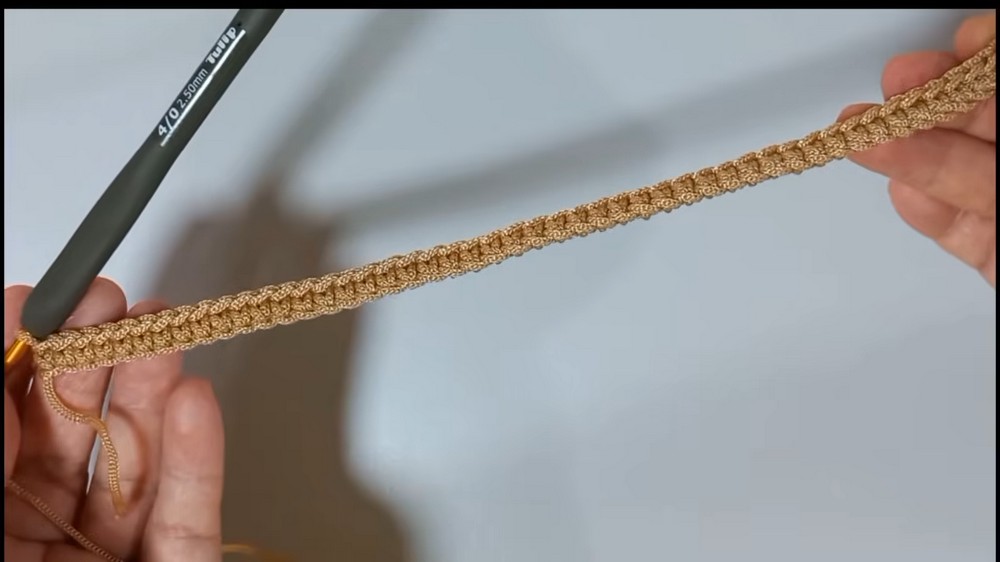
Step 7: Crochet the Shoulder Strap (Use 4/0 hook)
- Chain a strip 5 stitches wide.
- Crochet alternating rows of single crochet (sc) and slip stitch (ss) to keep the strap flat and sturdy.
- Continue until the strap measures about 80 cm (or your desired length).
- Attach strap ends to D-rings on the sides of the bag.
Assembly and Finished Size
- Secure all yarn ends and cut excess yarn.
- Seal ends of the umbrella cord yarn carefully to prevent unraveling.
- Attach bag base, zipper, panels, handles, and shoulder strap firmly with stitching or hardware.
- Finished bag dimensions approximately:
- Height: 8 inches
- Base diameter: 7.5 inches
- Strap length: 80 cm
- Handle length: depends on your chaining but approximately for shoulder use.
Conclusion
Congratulations on making your Honeycomb Stitch Bag! This pattern combines textured crochet techniques with structured assembly for a fashionable and durable accessory. With care and patience, your handmade bag will not only look fantastic but will also serve you for years to come.