Simple Free Bag Crochet Pattern with Clean Details
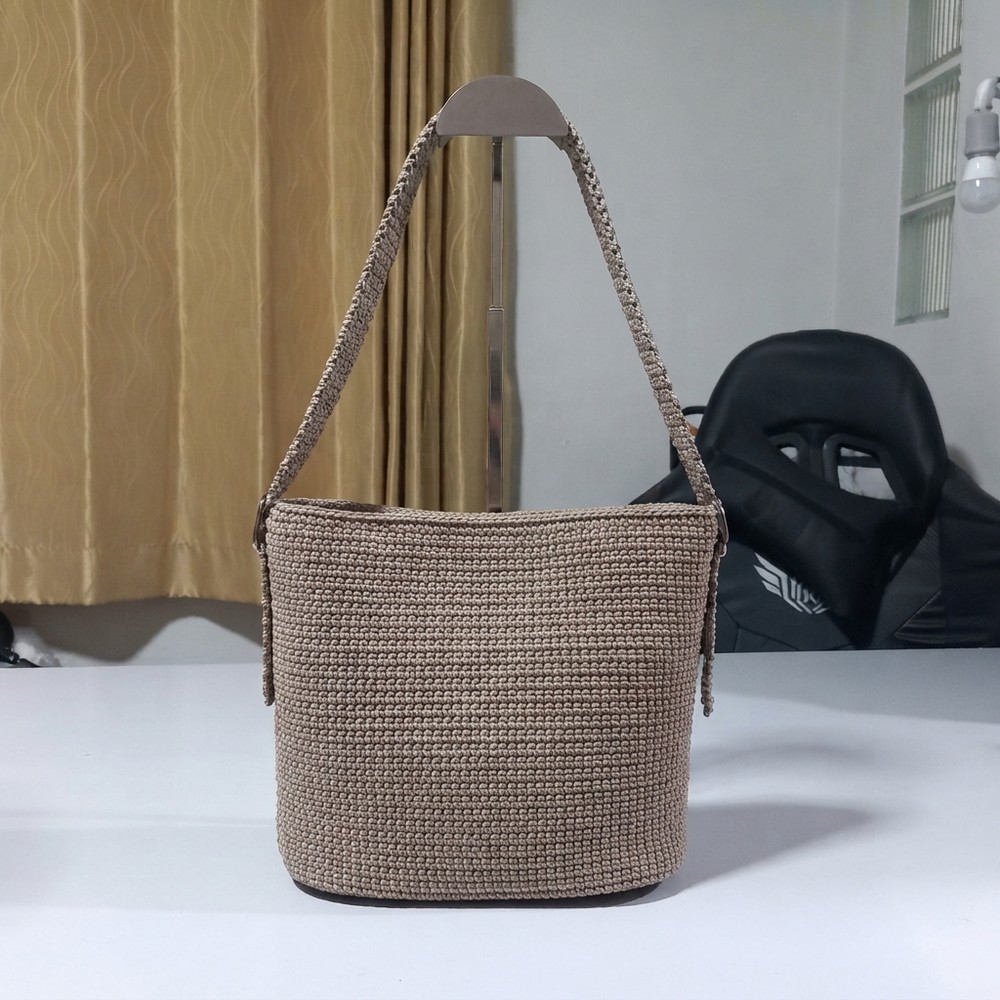
Lift your wardrobe with this free crochet bag pattern that is easy to use and helps you create a beautiful bag perfect for casual or dressy days.
This lovely bag design was shared by a skilled crocheter who enjoys teaching others to crochet. If you want more help, you can watch easy lessons on the YouTube channel Chaweewan Crochet. Their friendly tutorials make the project simple and fun from start to finish.
A handmade bag is always special because it holds things with love. The Free Crochet Bag Pattern is perfect for anyone who wants to make their own beautiful bag. This pattern is easy to follow and helps you crochet a bag that looks stylish and feels strong.
Free Crochet Bag Pattern for Gifts and Everyday Carry
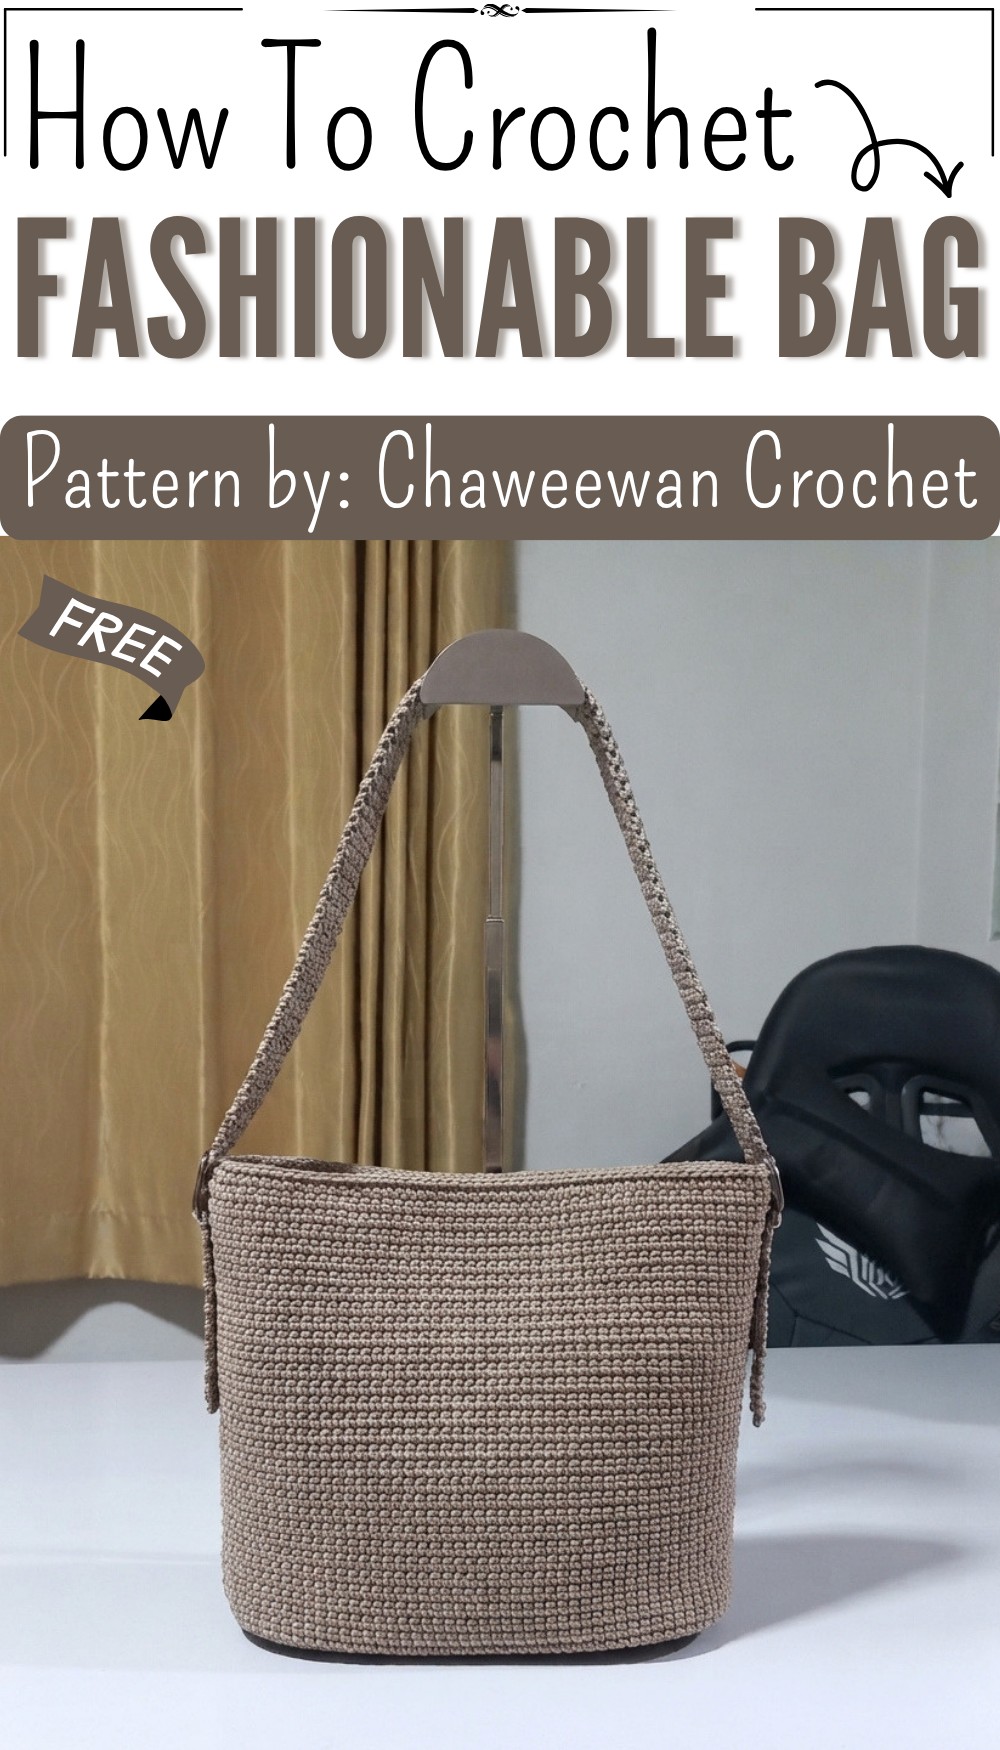
The finished bag is a simple, charming shape—usually rectangular or round—with a big opening to carry your stuff. It has a soft texture but is sturdy enough for books, toys, or groceries. The style can be casual or a little fancy, depending on the yarn and colors you choose. This bag is great for everyday use, trips to the market, or fun outings.
People love this bag because it combines beauty with usefulness. It’s a great size, comfortable to carry, and looks pretty with different stitches or decorations. Making it yourself means you get a unique bag that no one else has. It’s a wonderful gift idea for friends or family, showing that you care through handmade work.
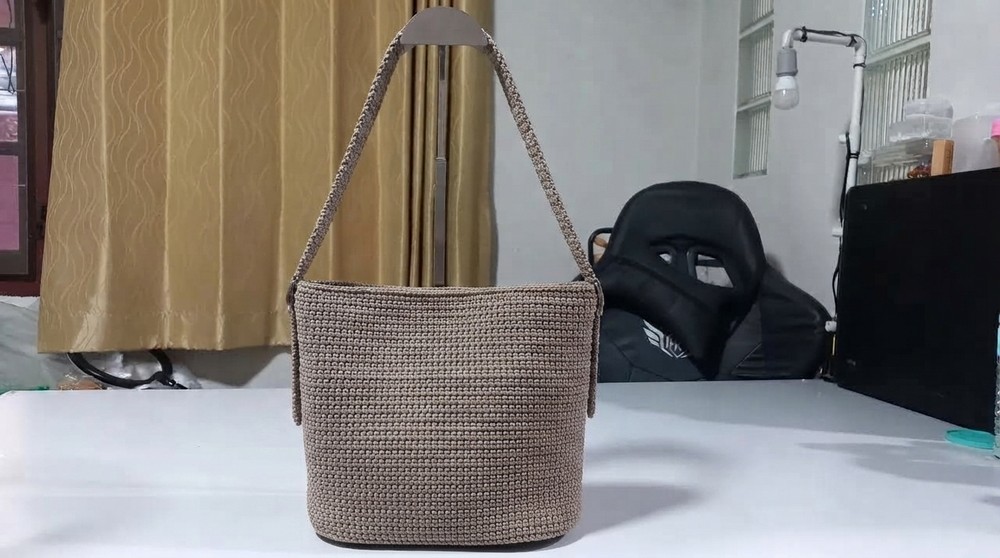
The Free Crochet Bag Pattern is a joyful project that gives you something nice to use every day. Whether for shopping or play, this bag fits perfectly into your busy life and adds a touch of handmade charm wherever you go.
Crochet Paracord Shoulder Bag Pattern
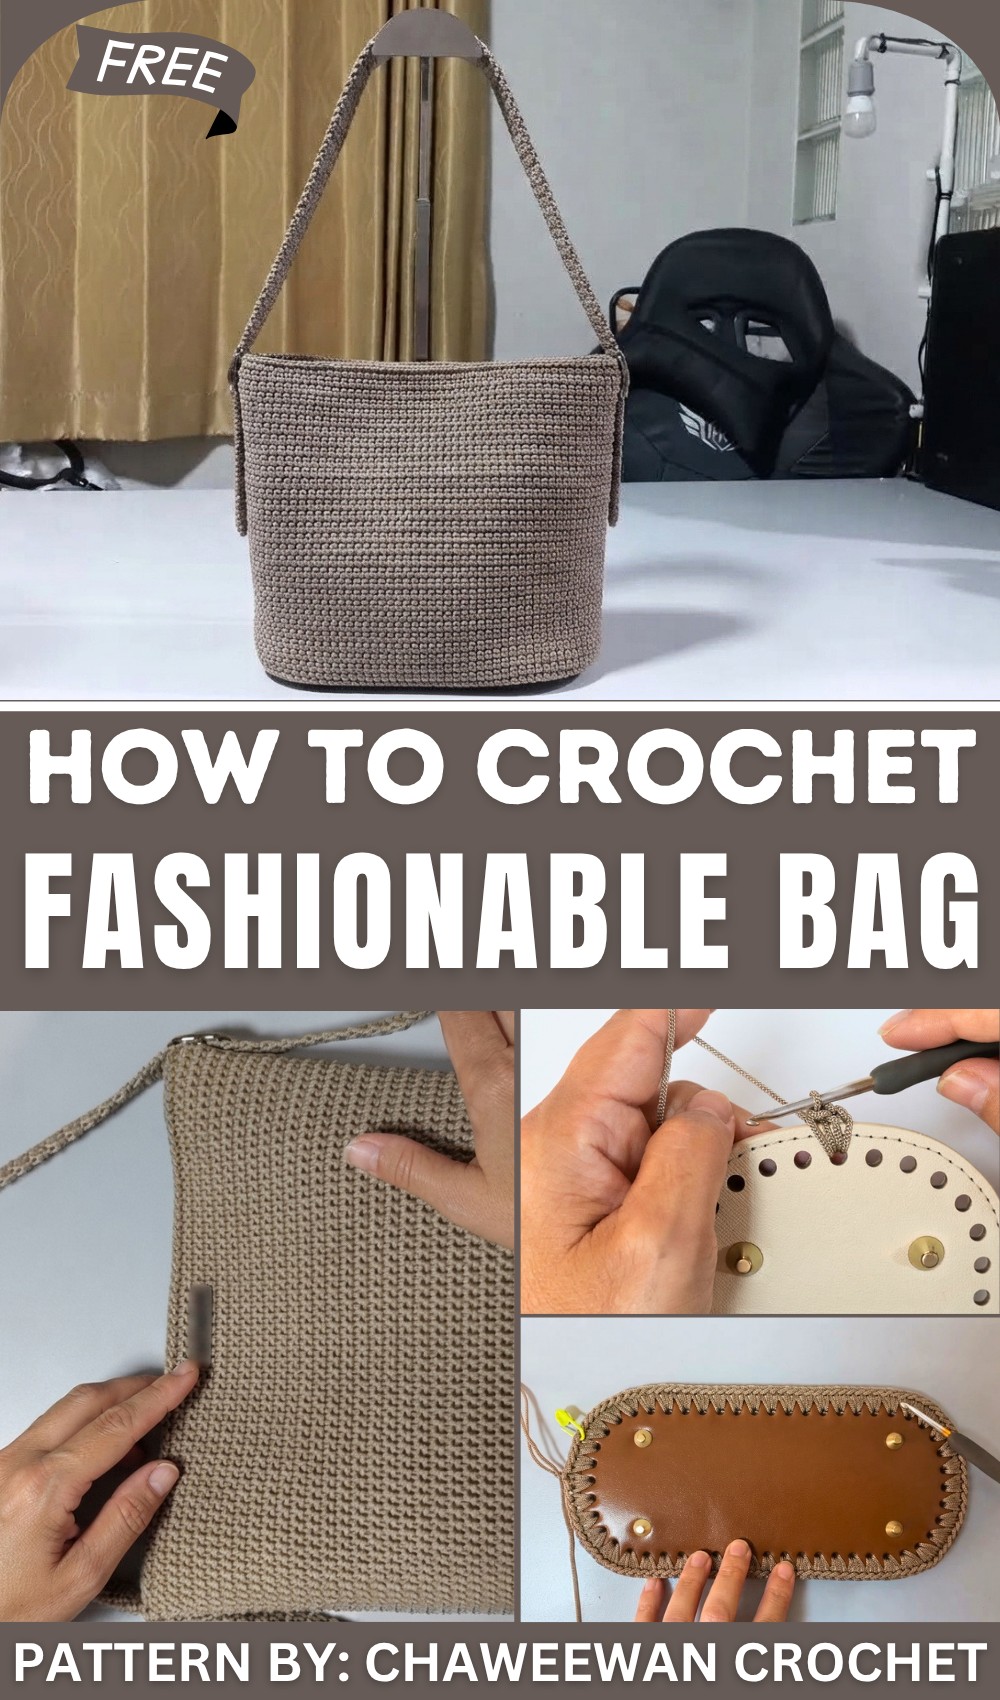
Welcome to this detailed crochet pattern for a stylish and durable paracord shoulder bag. Using 1.8mm paracord yarn and combining sturdy craftsmanship with beautiful textures, this project will guide you through crocheting a structured bag complete with a firm base, magnetic button closure, adjustable strap hardware, and professional finishing. Whether you’re making this as a gift or a personal accessory, this bag is functional and fashionable.
Quick Overview of Pattern
This project consists of several key parts:
- Crocheting the base of the bag around a hard bottom insert
- Building the body using paracord with stitch patterns for texture and stability
- Creating zipper panels and securing a magnetic snap button closure
- Crafting adjustable straps using hardware and finished crocheted cords
- Final assembly ensuring neat edges and strap attachment
Notes
- Paracord yarn is thicker and less elastic than conventional yarn; maintain even tension.
- Use stitch markers or pins to note key stitch points and panel join locations.
- The hard bag base insert provides structure and guides stitch placement.
- Transparent nylon thread is recommended for attaching zipper parts.
- Press straps gently with a steam iron for a polished look.
Skill Level
Intermediate: Familiarity with basic crochet stitches (chain, single crochet, slip stitch) and working in rounds and rows is necessary. Experience with attaching hardware and sewing finishes will be helpful.
Materials
- 1.8 mm paracord yarn, approximately 500 grams, in sheath (natural) color
- Crochet hooks size 5/0 and 4/0
- Hard bag base liner (about 10 cm by 22 cm)
- 8 mm magnetic snap button with pins
- Two strap adjusters (2.5 – 3 cm width)
- Zipper (cut to length as needed)
- Tapestry needle
- Scissors
- Stitch markers or pins
- Transparent nylon thread for sewing zipper and buttons
Measurements / Sizing
- Bag bottom: approximately 10 cm length and 22 cm width
- Bag height: approximately 22 cm
- Strap length: adjustable from approximately 12 to 22 cm, depending on personal preference
Gauge & Stitch Pattern
- Gauge is flexible due to paracord thickness; maintain consistent tension for neat stitches.
- Use tight single crochet (sc) stitches to provide structure.
- Base crochet works around the stiff bag bottom insert for support.
Stitch Abbreviations
- ch = chain
- sc = single crochet
- ss = slip stitch
- st(s) = stitch(es)
Special Techniques
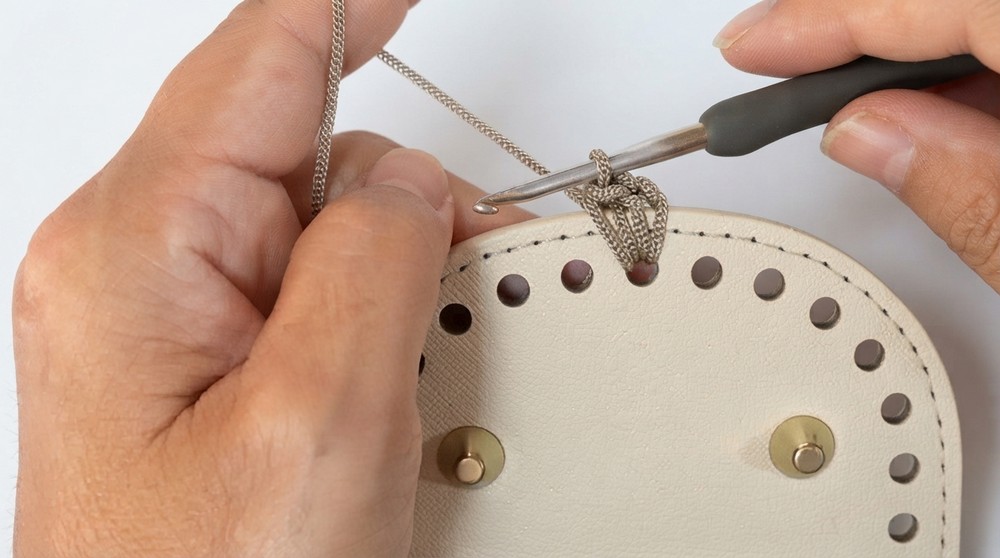
- Pulling paracord yarn through the bag base holes to anchor stitches.
- Crocheting stitches into specified slots of the bag base for a stable foundation.
- Creating button backing pads using small crochet panels.
- Sewing zipper panels using nylon thread for neat and strong attachment.
- Attaching strap adjusters securely with stitching.
The Crochet Pattern
Step 1: Prepare Materials and Base
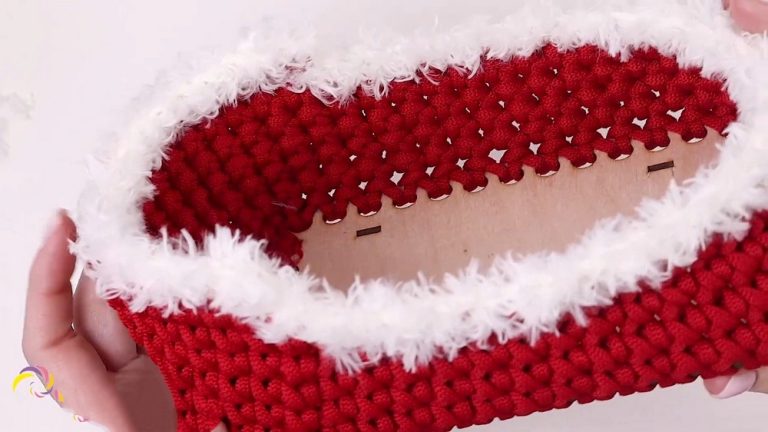
- Use size 5/0 crochet hook to work on the bag base (the harder bottom insert).
- The bag base measures approximately 10 cm by 22 cm.
- Place the base with the flat (sheath) side down and the convex side up for working.
Step 2: Start Crocheting the Base
- Insert the hook into the center post hole of the bag base.
- Pull a length of cord yarn through to leave a tail for weaving in later.
- Begin with chain 2 stitches, count this as your starting chain.
- Insert the yarn into the same hole again and make 2 single crochet (sc) stitches in that hole.
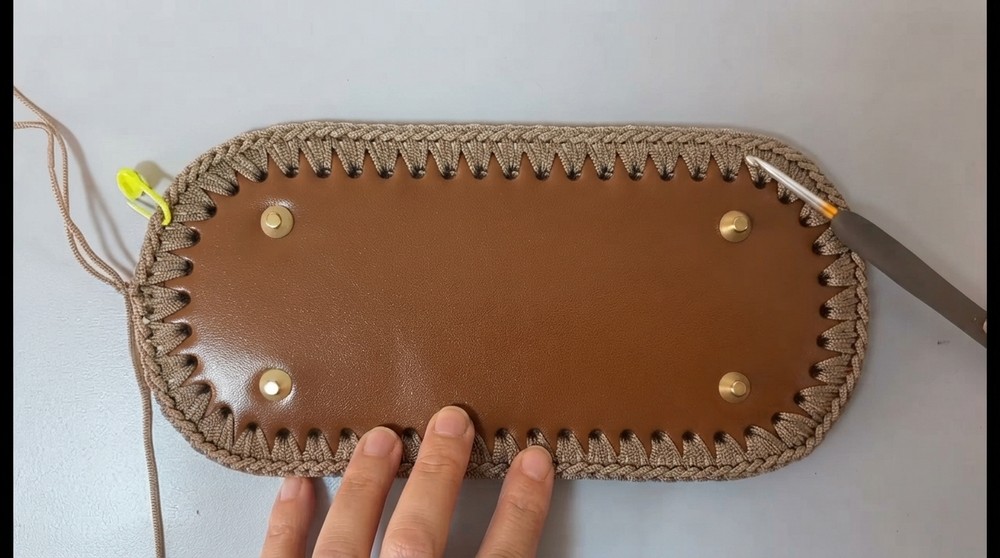
- Continue crocheting into the holes around the bag base in this pattern:
- 3 sc stitches into one hole,
- followed by 2 sc stitches into the next hole.
- Repeat this sequence for 25 rounds, ensuring even tension and snug stitches that tightly secure the base.
- At corners, insert 3 stitches into the same hole to allow for shaping.
Step 3: Closing the Base Insert
- After crocheting around the holes, work a slip stitch (ss) around the perimeter to close any gaps and secure the base firmly.
- Tuck in the yarn ends neatly at the back of the base.
Step 4: Begin Building the Bag Body
- Switch to a 4/0 crochet hook for the body to create a nicer texture.
- For Row 1 and 2 of the body:
- Work single crochet (sc) stitches evenly around the stitches of the base.
- For additional reach, insert the hook between stitches to create a wider base for the bag’s start.
Step 5: Extend the Body to Desired Height
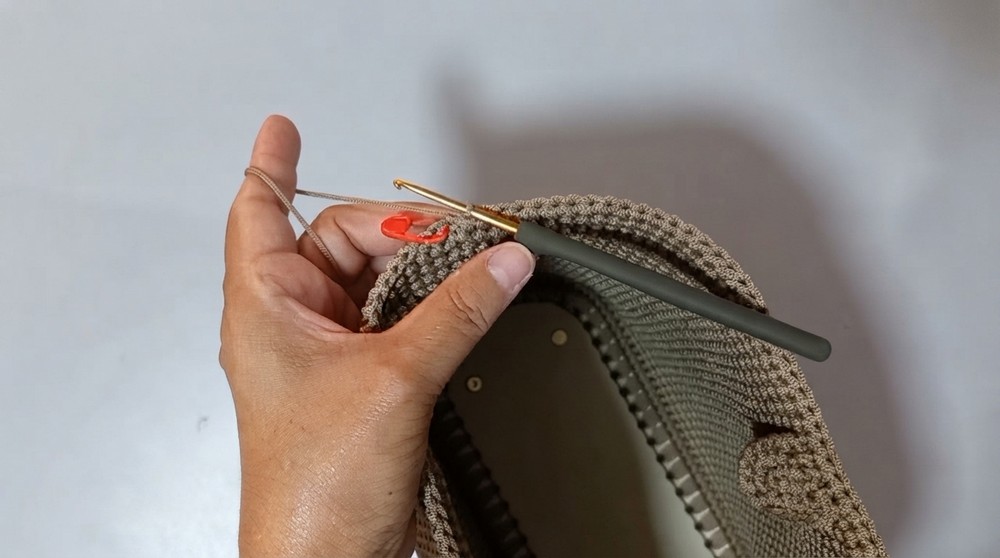
- Continue crocheting rows of single crochet (sc) up to the height of approximately 22 cm or until the strap attachment points are reached.
- Use stitch markers to mark where straps and magnetic button backing will be attached.
Step 6: Create Magnetic Button Backing Panels
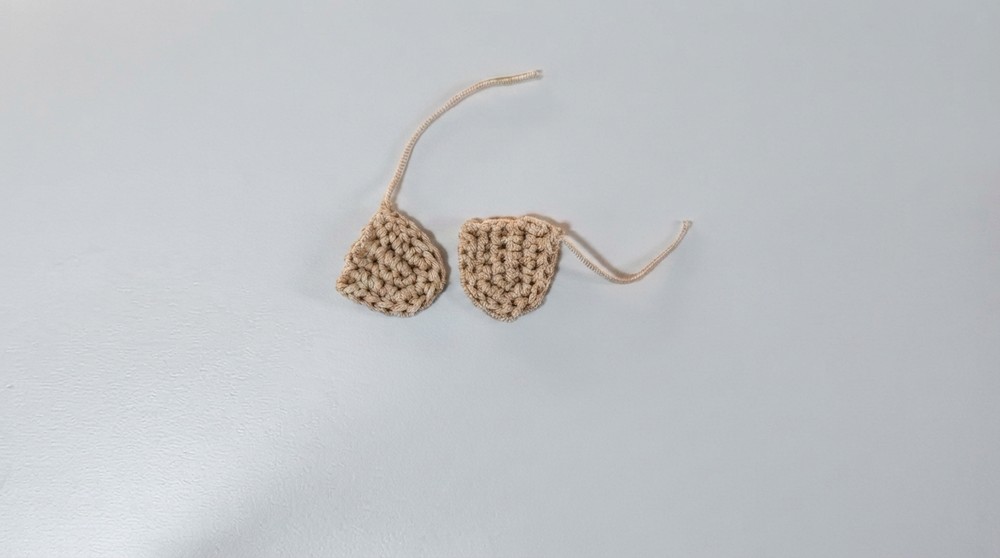
- Crochet small rectangular panels to attach magnetic snap buttons securely.
- Chain 5, work 3 rows of single crochet (sc) evenly.
- Sew the panels at the marked midpoints inside the bag body where the magnetic snaps will attach.
Step 7: Attach Magnetic Snap Buttons
- Use the pins provided with the magnetic snaps to secure the buttons through the backing panels.
- Thread properly and secure them on the outer bag flap and/from the backing panel inside.
Step 8: Attach Zipper Panels
- Crochet two panels (following the earlier zipper panel pattern):
- Chain 49, then 5 rows of single crochet (sc) back and forth for each panel.
- Sew panels onto the zipper using transparent nylon thread for a neat edge.
- Crochet the zipper panels onto the top edge of the bag by slip stitching (ss) through both pieces and matching marked stitches.
Step 9: Make the Bag Handles
- Chain 45 stitches for each handle (or length of your choice).
- Work rows alternating between slip stitch (ss) and single crochet (sc) to build firm, flat handles.
- Attach D-rings using the strap adjusters at the sides of the bag for flexible handle length adjustment.
Step 10: Crochet the Shoulder Strap
- Using the 4/0 hook, crochet a long strip 5 stitches wide for the shoulder strap.
- Alternate between rows of single crochet (sc) and slip stitch (ss) to keep the strap flat and sturdy.
- Continue until the strap reaches approximately 25 cm to 80 cm, depending on personal preference or adjustment needs.
- Attach strap ends securely to D-rings on the bag.
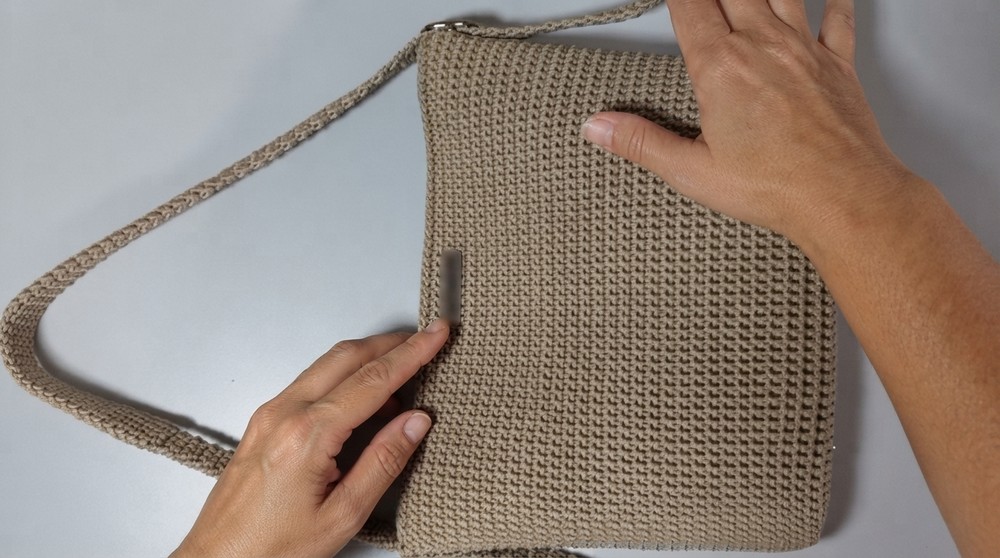
Assembly & Finished Size
- Tidy all yarn ends by weaving in securely inside bag seams.
- Use scissors carefully to trim excess cord yarn ends.
- Press straps gently with a steam iron to flatten them and enhance appearance.
- The bag finished size is approximately:
- Width: 22 cm
- Height: 22 cm
- Base length: 10 cm
- Adjustable strap length from about 12 to 22 cm (or longer as preferred)
Conclusion
You have successfully created a durable and elegant paracord shoulder bag! This project combines functional hardware, sturdy paracord yarn, and solid crochet techniques to produce a professional-looking accessory. With a firm base, secure magnetic snaps, adjustable straps, and neat finishing, this bag is sure to impress and serve you well.