Simple Free Crochet Shopper Bag Pattern
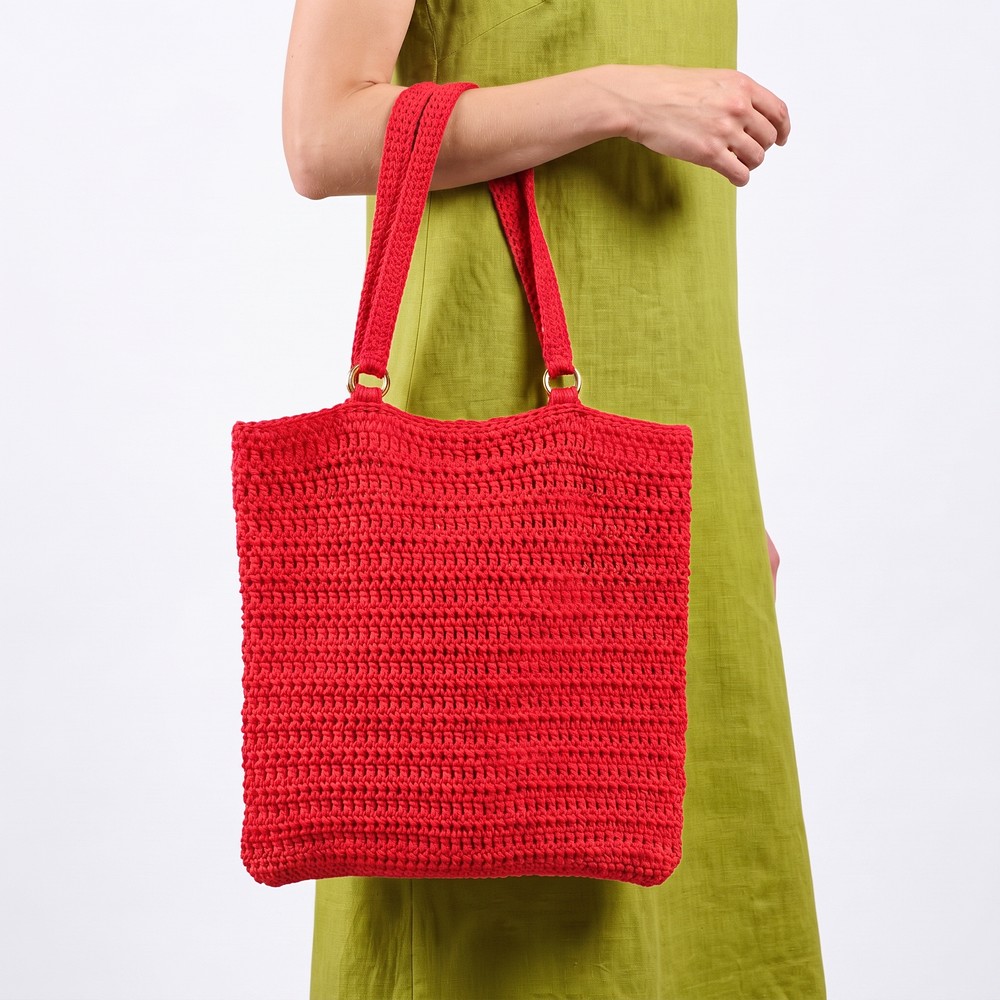
Simplify errands effortlessly with this free crochet shopper bag pattern that provides ample storage and a trendy vibe for your daily needs.
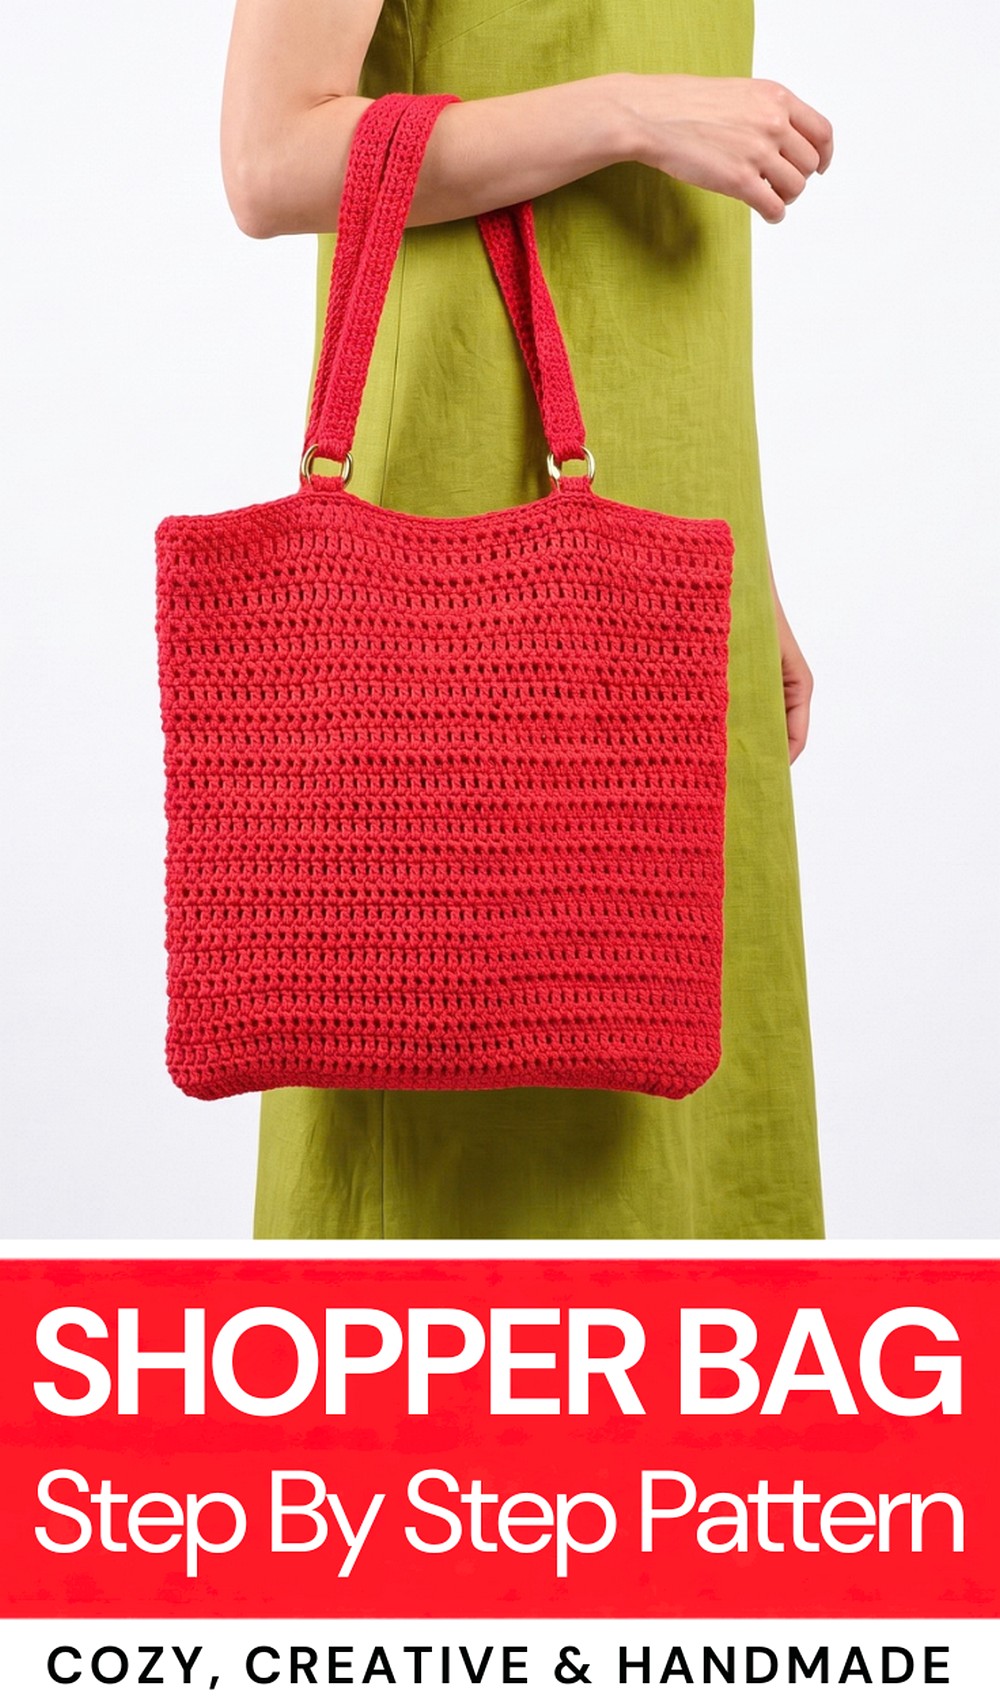
If you’re looking for a handy and stylish way to carry your things, you’ll love this free crochet shopper bag pattern. This crochet shopper bag is not only practical but also very pretty. It has a nice texture that feels soft but strong enough to hold groceries, books, or daily essentials. The shape is roomy and perfect for shopping trips or a day out. With its neat stitches and simple lines, the bag looks fresh and modern. It also has long handles that make it easy to carry on your shoulder.
Shopper Bag Free Crochet Pattern for Everyday Use
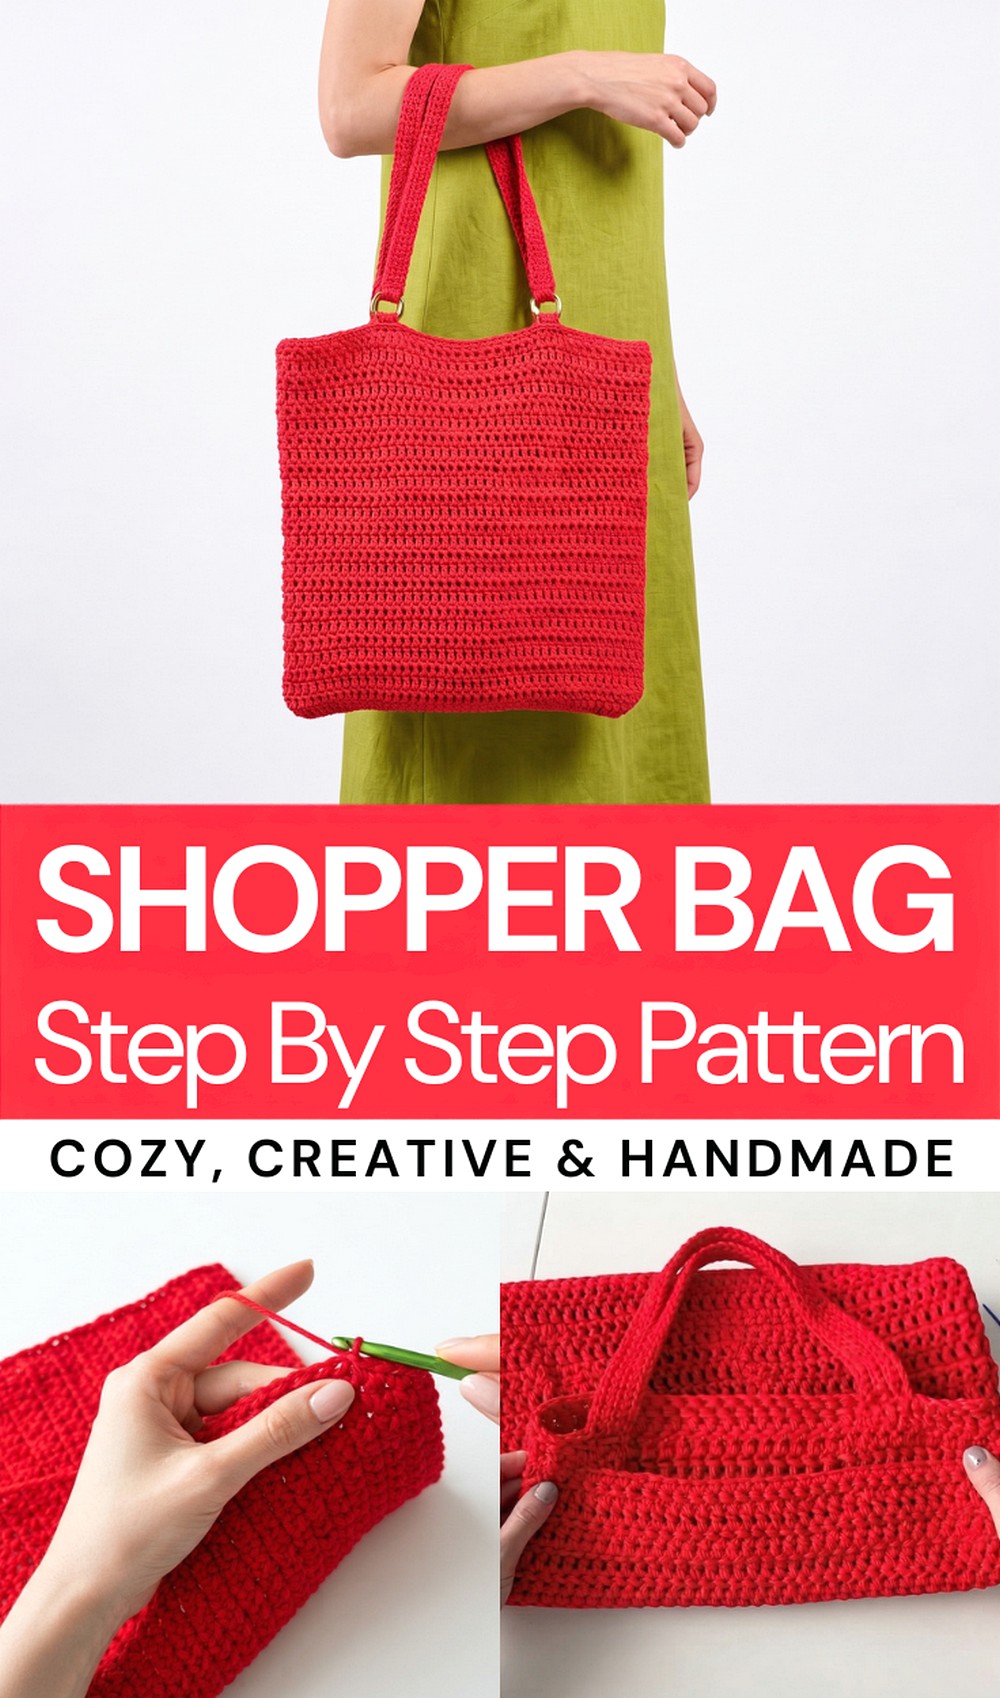
The style of this shopper bag is relaxed and casual, making it a perfect accessory for everyday use. Its design stands out because of the even stitching and natural look, which gives a handmade charm. You can choose any yarn color you like, so your bag can match your style perfectly. Plus, it’s lightweight and folds up easily, so you can carry it in your purse when you don’t need it.
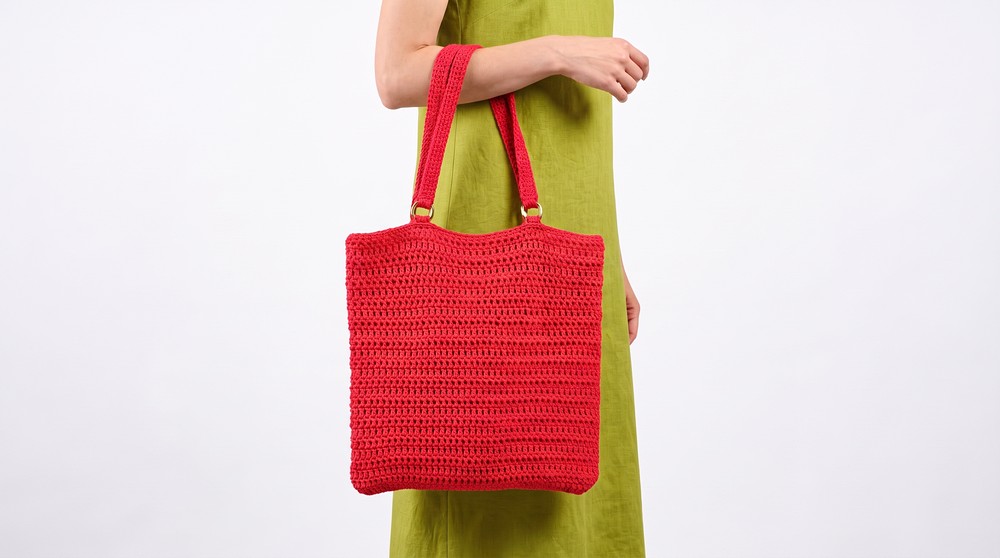
Making this crochet shopper bag is a fun and useful project. It’s a great way to practice your crochet skills while creating something you’ll use all the time.
Beginner-Friendly Crochet Shopper Bag Pattern
Welcome to this detailed crochet pattern for a practical and stylish Shopper Bag. Designed with beginners in mind, this pattern guides you step-by-step through creating two main bag panels, sturdy double-strand handles, and assembling all parts into a durable and fashionable tote. Perfect for daily shopping or as a gift!
Quick Overview of the Pattern
This project involves making two identical rectangular panels with a simple double crochet (dc) stitch, crafting two long handles using tightly worked slip stitches (sl st) for strength, and assembling all pieces with careful seam and handle attachment. The bag measures approximately 39 cm in width and 34 cm in height, with handles about 48 cm long, ideal for comfortable carrying.
Notes
- The pattern uses ch (chains), dc (double crochet), and sl st (slip stitch). These stitches form the foundation and detailing.
- The bag panels are solidly constructed to provide a sturdy base.
- Handles are made with double strands of yarn for added durability.
- Seam and handle attachments employ slip stitches or sewing for a clean finish.
- Yarn ends are woven in for neatness and long-lasting use.
- Stitch markers can help track edges and handle placements but are optional.
- Turning chains do not count as stitches unless specified.
Skill Level
Beginner — This pattern requires knowledge of basic crochet stitches and working in rows. Familiarity with chaining, double crochet, and slip stitching is beneficial.
Materials
- Yarn: YarnArt Jeans (approximately 5 skeins; color 408).
- Hooks: 4.5 mm crochet hook.
- Tools: Large-eye sewing needle for weaving in ends, stitch markers (optional).
- Scissors.
Measurements / Sizing
- Main panels: Approximately 39 cm wide × 34 cm high.
- Handles: Approximately 48 cm long each.
- Finished bag will have ample space for shopping essentials with comfortable carry.
Gauge
Gauge is not critical for this bag design; however, consistent tension ensures even panels and strong handles.
Stitch Abbreviations
- ch — Chain
- dc — Double Crochet
- sl st — Slip Stitch
- st(s) — Stitch(es)
- rep — Repeat
Special Stitches
- Double crochet (dc): Yarn over, insert hook into stitch, yarn over, pull through, yarn over, pull through two loops, yarn over, pull through remaining two loops.
- Slip stitch (sl st): Insert hook into stitch, yarn over, pull through stitch and loop on hook in one motion.
The Crochet Pattern
1. Main Bag Panels (Make 2 Identical Pieces)
Materials: 4.5 mm hook, YarnArt Jeans yarn.
Dimensions: Each panel approximately 39 cm wide and 34 cm tall.
Instructions:
- Foundation Chain: Ch 46 stitches. Then chain 2 additional turning chains (these do not count as stitches for this row).
- Row 1: Starting in the 3rd ch from the hook, work 1 dc in each chain across — total 46 double crochets. Turn your work.
- Row 2 and Subsequent Rows: Chain 2 (counts as first dc height). Work 1 dc in every stitch of the previous row, inserting your hook under both loops of each stitch for a neat finish. Turn after completing the row.
- Repeat Row 2 until you have completed 26 rows total, creating a firm, rectangular panel.
- Finishing Row 26: Cut yarn, leaving a long tail (approx. 30 cm) for sewing during assembly. Weave in any remaining ends neatly later.
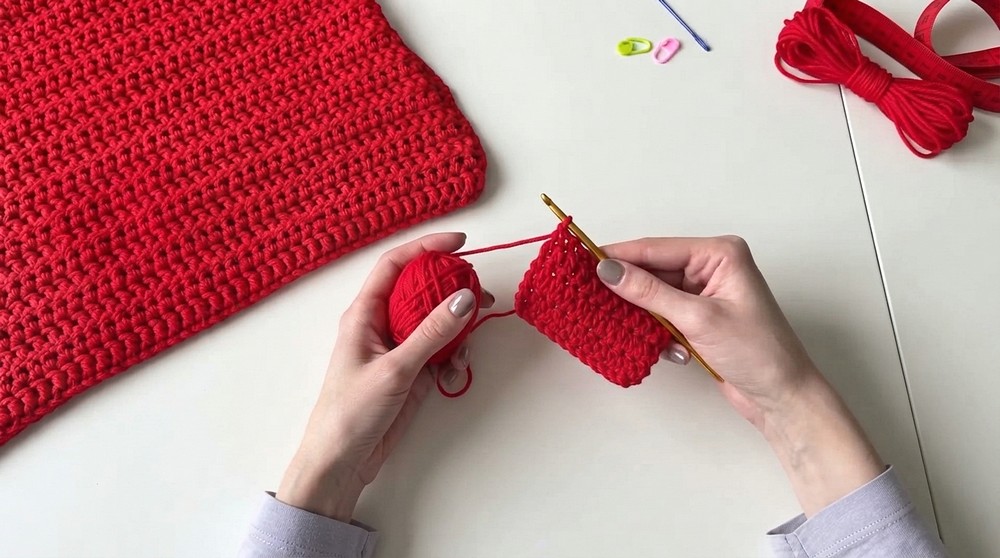
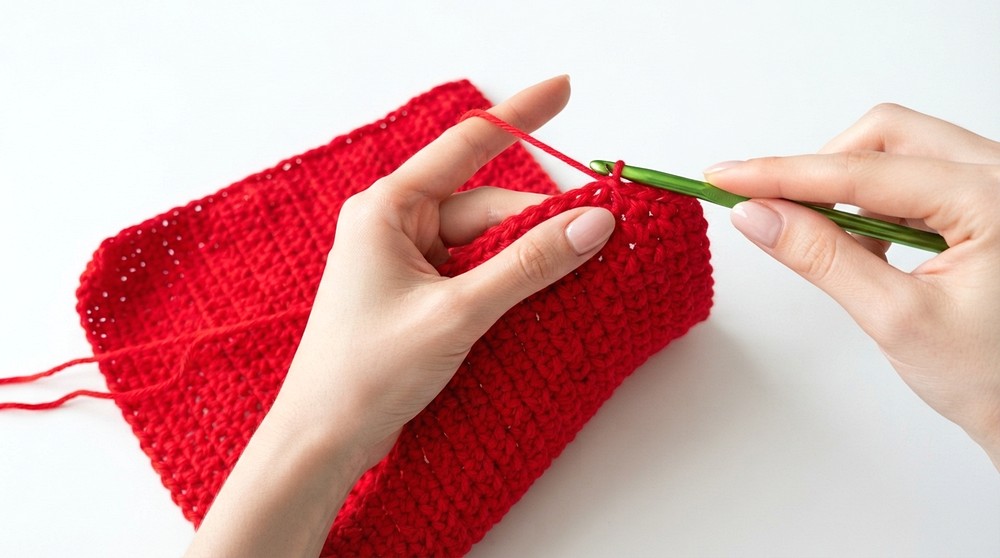
Tip: Keep an even tension throughout to maintain consistent size across both panels.
2. Bag Handles (Make 2)
Materials: Use the same YarnArt Jeans yarn, held double (two strands together), 4.5 mm hook.
Dimensions: Each handle approximately 48 cm long.
Instructions:
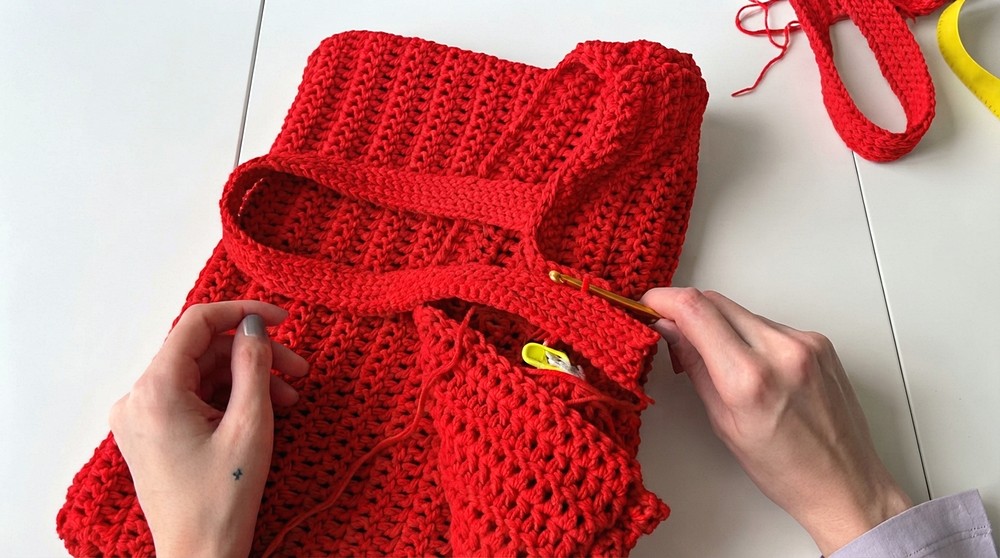
- Foundation Chain: Chain 80 stitches with both strands held together. Then chain 1 more (turning chain).
- Row 1: Starting in the 2nd chain from the hook, work a sl st in every chain—this creates a dense, sturdy fabric suitable for handles. Turn your work.
- Row 2 to Row 6: Chain 1 (does not count as a stitch), work sl st only into the back loop of each stitch across the row. Turning at each end. This technique creates a slightly ribbed texture that adds stability to your handles.
- After 6 rows, fasten off, leaving a long tail for sewing.
3. Assembly
This section details joining the two bag panels and attaching the handles securely.
Connecting the Panels:
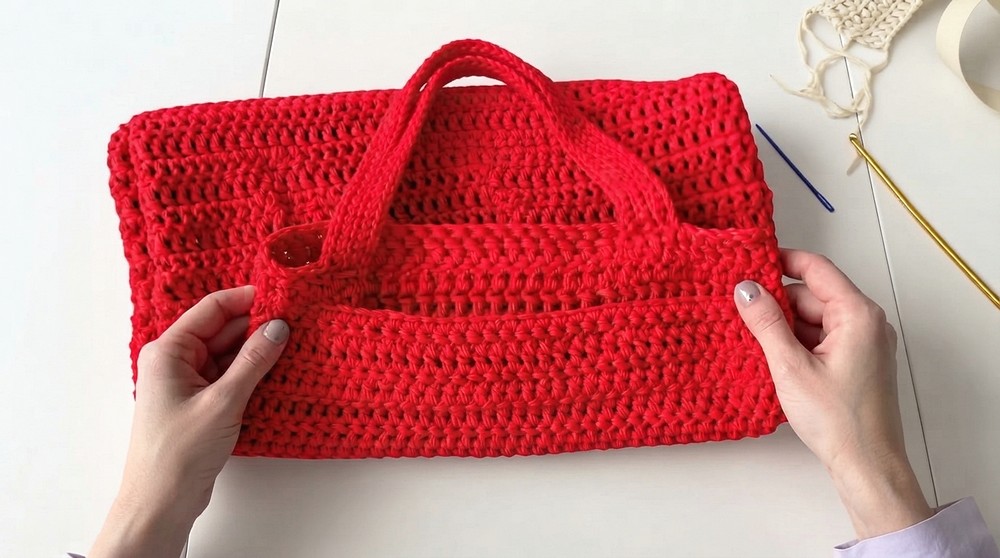
- Place the two main panels with right sides facing each other. Ensure edges line up precisely.
- Sew together along the sides and the bottom edge using either slip stitches with your crochet hook (working through both layers) or a sewing needle with yarn for a strong, concealed seam. Leave the top open for your bag’s mouth.
- Reinforce corners gently to avoid strain on seams during use.
Attaching the Handles:
- Turn your bag right side out (panels now facing outward).
- Mark placement for handles on the open top edge: measure 13 stitches in from each side edge. This is where the handles will be attached to ensure even spacing and balanced carrying.
- Using your crochet hook and yarn, attach each handle with single crochet (sc) stitches along the top edge, sewing through both the handle ends and the main bag fabric.
- Reinforce the handle attachment by finishing with several rows of sl st around the handle base and the bag edge for extra strength and durability.
- Adjust handles as needed for symmetry and shape.
Final Touches
- Weave in all remaining yarn ends carefully with the large-eye needle. Secure knots to prevent unraveling.
- Smooth and shape your bag. You may gently block if desired to give it a polished appearance.
Finished Size
- Main Body: Approximately 39 cm wide × 34 cm high.
- Handles: Approximately 48 cm in length each, suitable for shoulder or arm carry.
This shopper bag is durable and stylish, ideal for daily errands, gifting, or as a beginner’s intermediate project.
Conclusion
Congratulations on completing your crochet shopper bag! This simple yet functional pattern highlights foundational crochet stitches and teaches you techniques like double crochet rows and slip stitch worked handles that are perfect for beginners. The sturdy fabric and reinforced handles make this bag reliable for carrying your essentials, while the clean finish reflects your crafting skills. We hope this step-by-step project encourages your creative journey into crochet accessories.