Free Crochet Cherries Pattern for Kitchen Decor
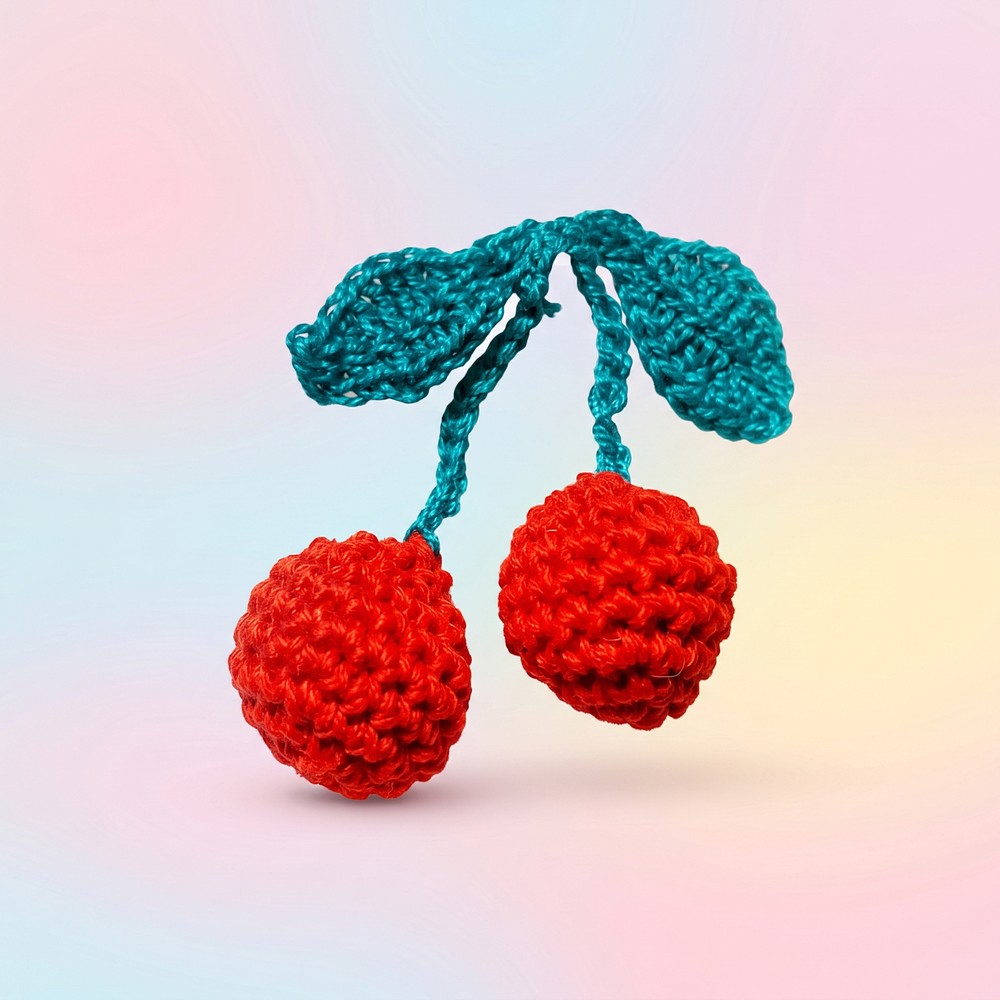
Accent your creations beautifully using this free crochet cherries pattern that’s designed to bring cheerful fruity vibes and eye-catching appeal with ease.
Want to add a sweet and colorful touch to your crochet projects? The free crochet cherries pattern is a fun and simple way to create cute little cherries that can brighten up your accessories and gifts.
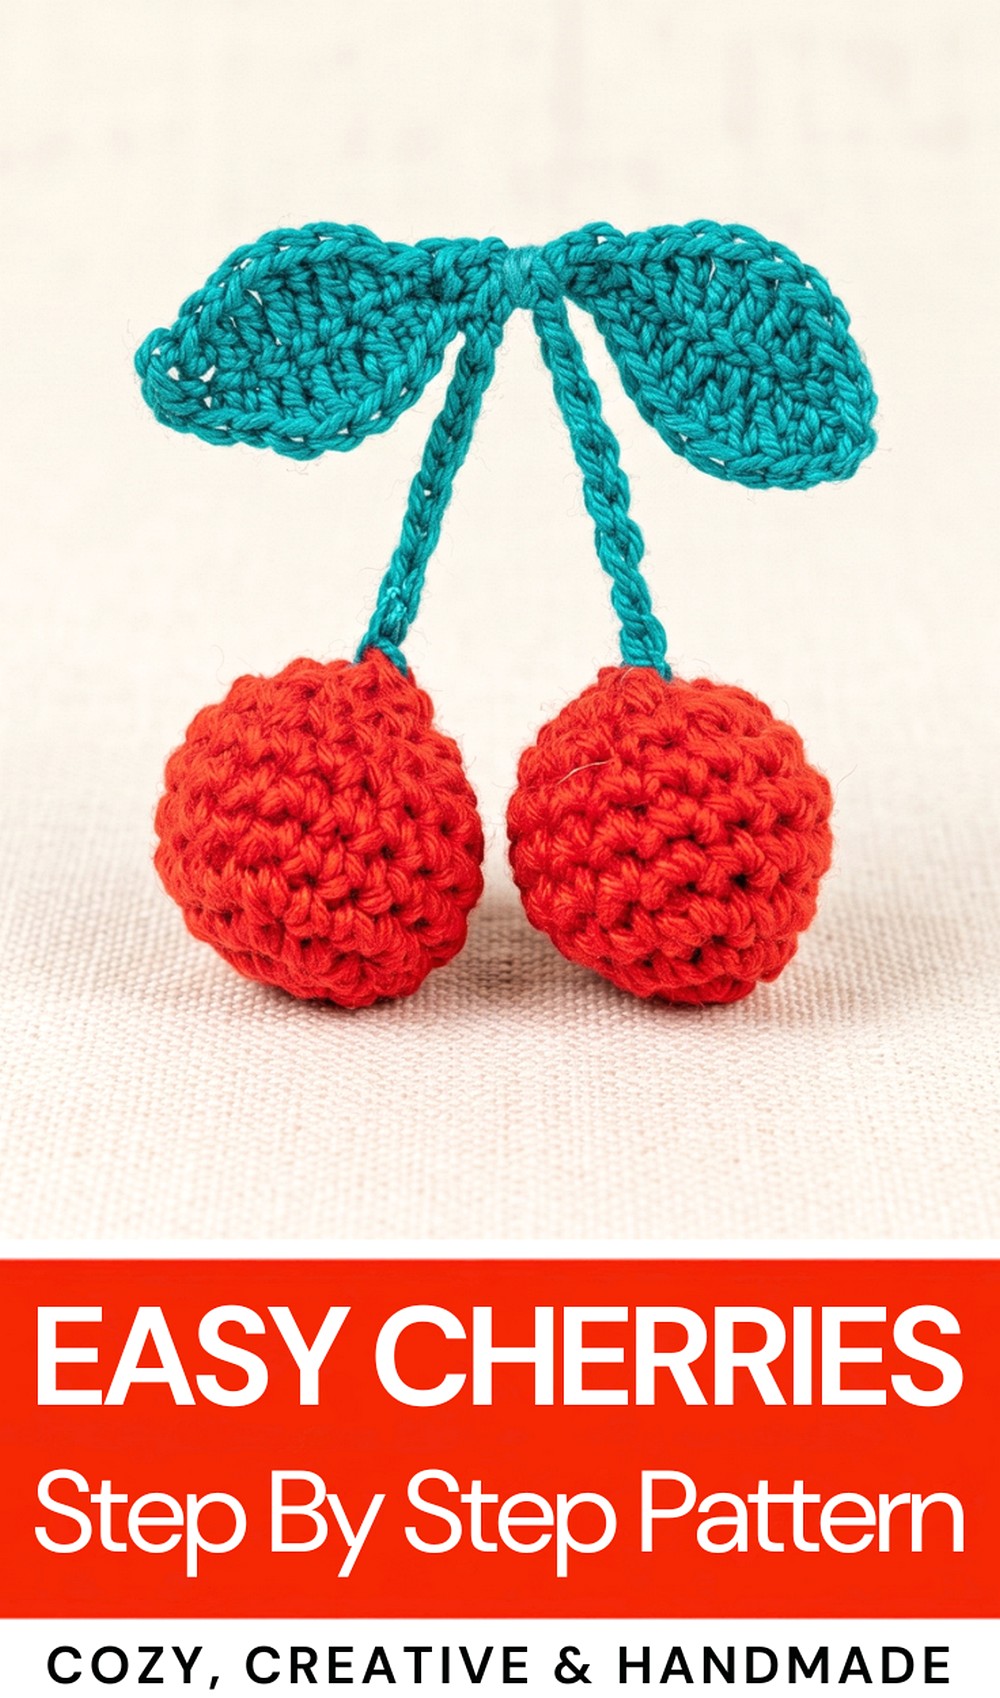
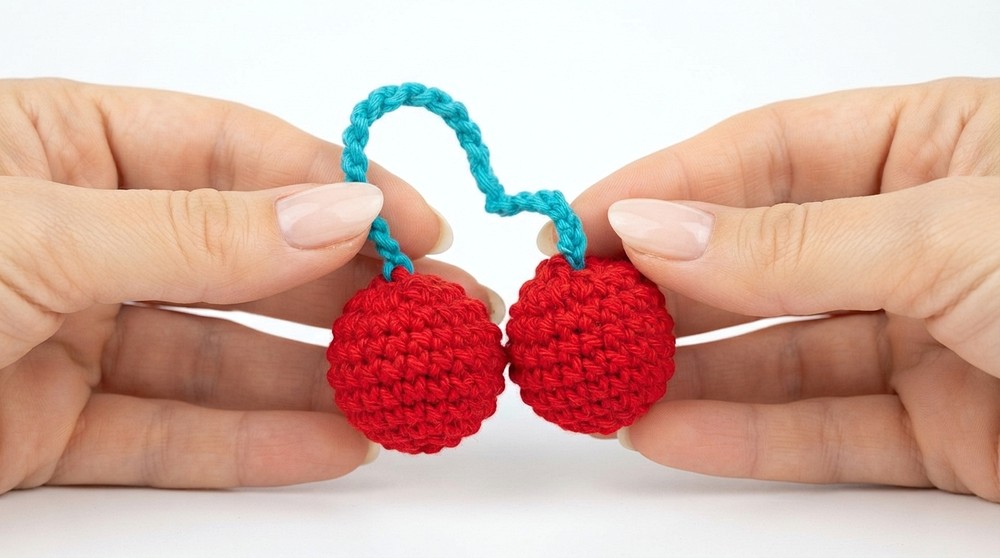
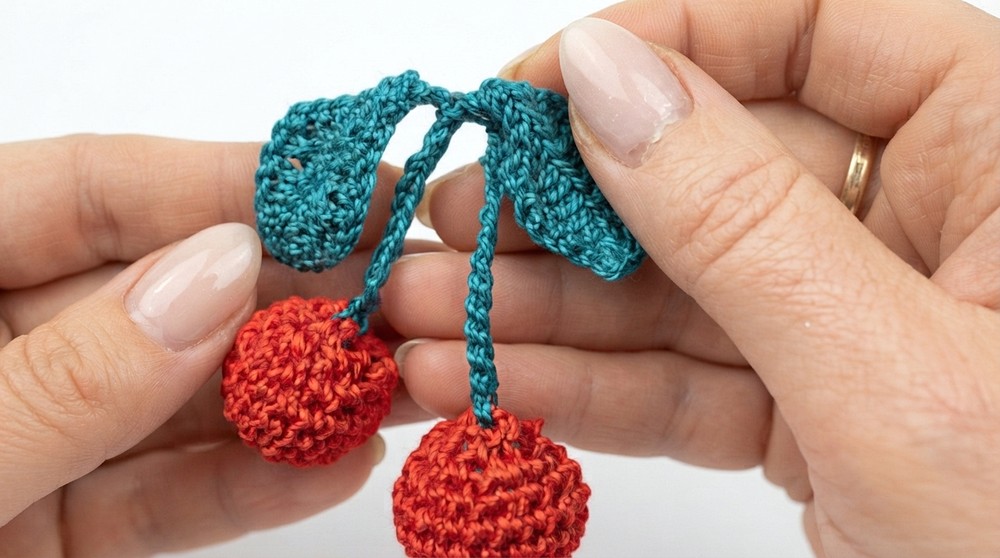
This pattern shows you how to make two round red cherries attached by a green stem with small leaves. The cherries have a smooth and soft texture thanks to tight, even stitches. Their small size makes them perfect for decorating hats, bags, scarves, or even as keychains. They also make lovely handmade gifts that anyone would enjoy.
Goldfaden Svetlana’s YouTube channel
Free Crochet Cherrie Pattern for Gifts and More
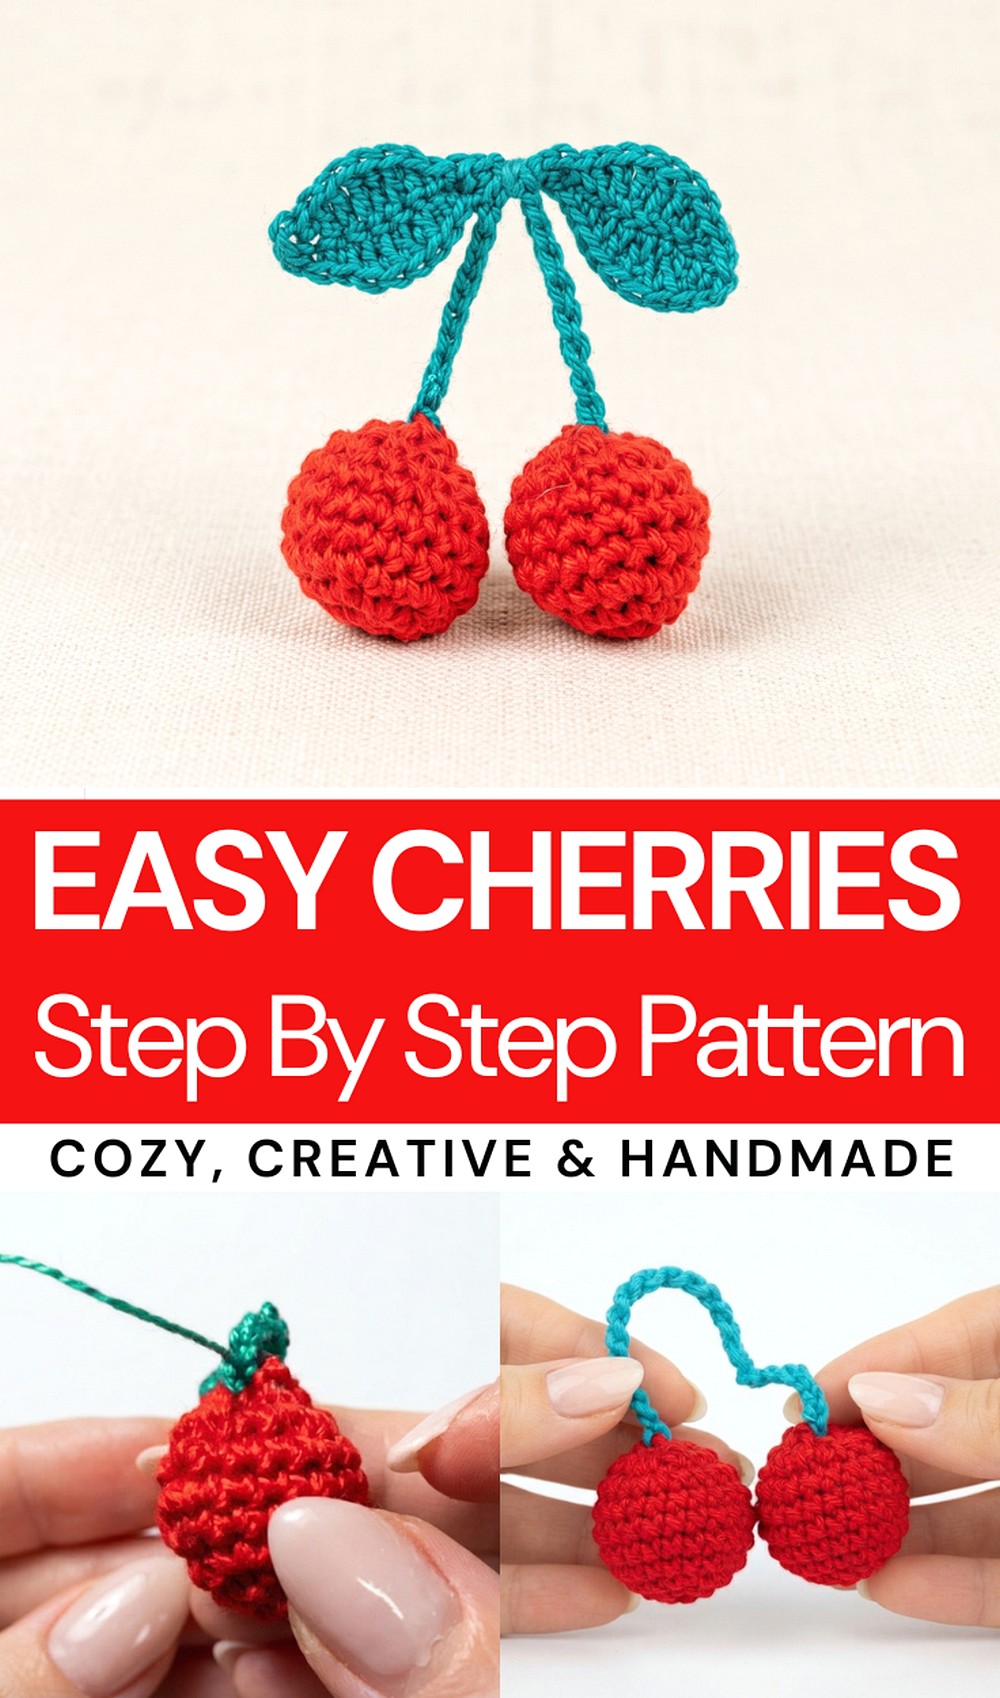
The design is playful and fresh, with bright colors that catch the eye. The green leaves add a nice contrast and make the cherries look more lifelike. Because they are lightweight and compact, you can add them to many different items without any trouble.
About Channel:
Goldfaden Svetlana’s YouTube channel offers an easy-to-follow video tutorial for this pattern. Her clear instructions help crocheters of all skill levels make these charming cherries quickly and easily.
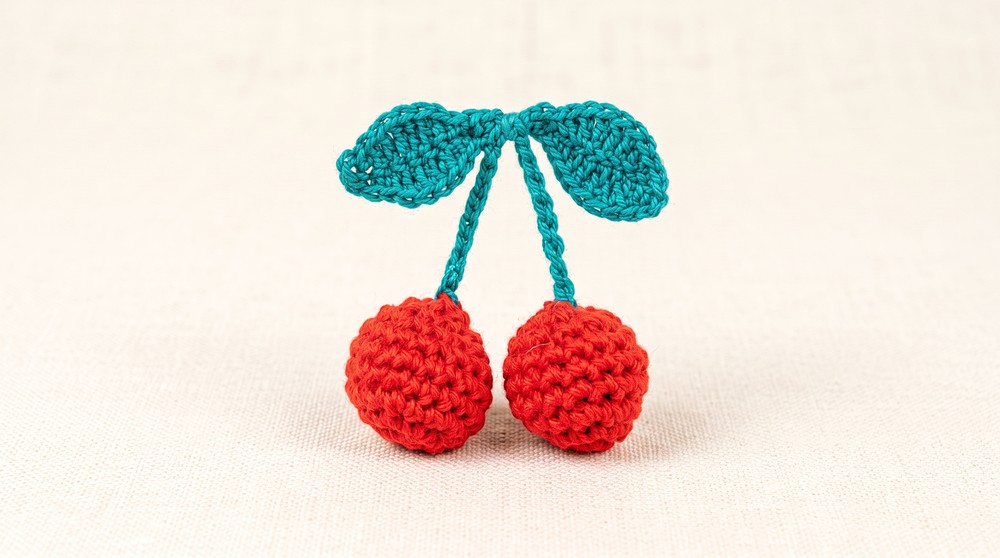
This free crochet cherries pattern is a great way to improve your crochet skills while making something cute and useful. It’s perfect for adding a pop of color and fun to your everyday items or giving as a thoughtful gift.
Decorative Crochet Cherries with Leaves Pattern
This detailed crochet pattern guides you step-by-step in creating charming decorative cherries complete with a stem and leaf. This beginner-friendly project uses minimal yarn and simple stitches to craft delightful embellishments perfect for home décor, gift wrapping, or as accessories.
Quick Overview of the Pattern
You will begin by crocheting two small, stuffed cherry bases using rounds of single crochet stitches to create a rounded shape. Next, you’ll connect the cherries with a crocheted stem made of chains. Finally, you will create a textured leaf using a combination of single, double, and treble crochet stitches to add natural detail. The pattern includes thorough instructions for stitch placement and finishing, including assembly tips.
Notes
- The cherries are worked in continuous rounds starting from a magic circle that ensures a tight center without holes.
- Regular stitch joining with slip stitches allows smooth shaping rounds and neat joins.
- The leaf uses an intermediate stitch sequence combining multiple crochet heights, suitable for beginners progressing to more decorative stitches.
- Stuff the cherries firmly but not overstuffed to avoid distorting stitches.
- Use the same yarn weight and hook size throughout for uniformity.
- You can customize colors, size, and leaf placement for personal touch.
Skill Level
This project is beginner-friendly, suitable for crocheters comfortable with the basics: chaining, single crochet (SC), double crochet (DC), treble crochet (TC), slip stitches, and working in rounds. Familiarity with magic circle foundation and simple shaping is helpful but explained within.
Materials
- Yarn:
- Red yarn for the cherries (any medium weight yarn is suitable).
- Green yarn for the stem and leaf.
- Tools:
- Crochet hook appropriate for your yarn weight (commonly 3.5 mm – 4.5 mm).
- Yarn needle for weaving in ends and assembly.
- Small amount of stuffing or scrap yarn for filling the cherries.
Measurements / Sizing (Approximate)
- Each cherry is about 3 to 4 cm in diameter when finished and stuffed.
- The stem’s length is approximately 23 chains long (~8-10 cm, adjustable).
- Leaf length is about 6-7 cm.
Gauge and Stitch Pattern
- Gauge is not critical but consistent tension is encouraged for even stitches.
- The cherry is worked mostly in single crochet rounds with increases and decreases shaping the sphere.
- The leaf combines stitches of varying heights creating a textured fan shape.
Stitch Abbreviations
| Abbreviation | Full Name |
|---|---|
| ch | Chain |
| sc | Single Crochet |
| dc | Double Crochet |
| tc | Treble Crochet |
| sl st | Slip Stitch |
| dec | Decrease (single crochet two stitches together) |
| st(s) | Stitch(es) |
Special Stitches
- Magic Circle: Create an adjustable loop foundation used for starting rounds with no hole in the center.
- Decrease (dec): Crocheting two stitches together to reduce stitch count, shaping the 3D form.
- Working into front loops only: Used for neat shaping surface, as seen in closing rounds.
The Crochet Pattern
1. The Cherry Base (Make 2)
Start by making two identical cherries following these rounds:
Magic Circle:
- Wrap the yarn around your finger forming a loop, pull a working loop through, chain 1 to secure.
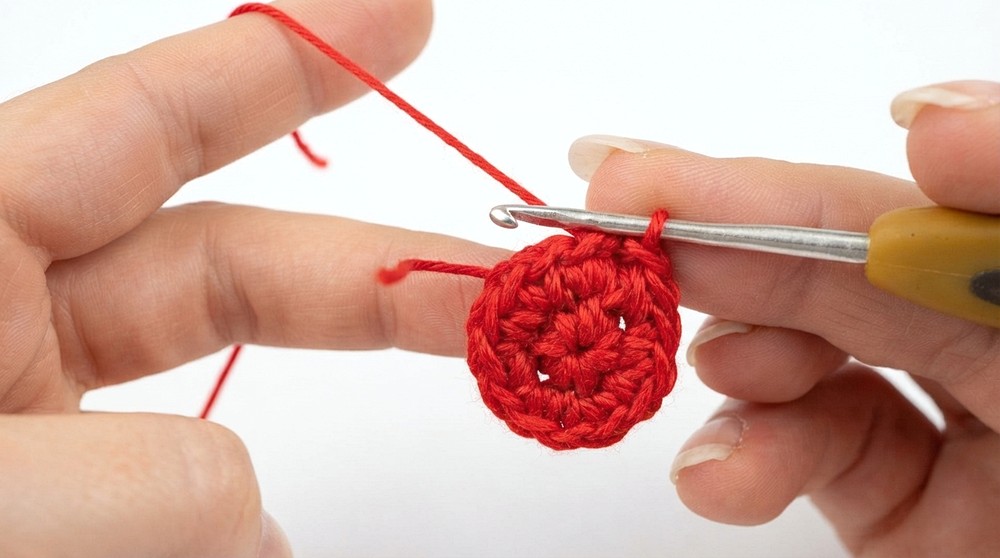
Round 1:
- Make 6 single crochet (sc) stitches into the magic circle.
- Pull the tail tightly to close the center hole.
- Join with a slip stitch (sl st) in the first sc to complete the round.
Round 2:
- Chain 1 (does not count as stitch).
- Work 2 sc in each stitch around (increase in every stitch).
- You will have 12 stitches at the end.
- Join with sl st at the beginning of the round.
Round 3:
- Chain 1.
- Work 1 sc in next stitch, 2 sc in the following stitch; repeat * around.
- Total 18 stitches.
- Join with sl st.
Rounds 4 to 6:
- Chain 1.
- Work 1 sc in each stitch around maintaining 18 stitches.
- Join with slip stitch at the end of each round.
- This adds height and builds the grape shape.
Round 7:
- Chain 1.
- Work 1 sc in next stitch, then decrease (dec) over the next 2 stitches by crocheting into their front loops together.
- Repeat this pattern around to reduce stitches.
- This round begins the top closure shaping.
Round 8:
- Chain 1.
- Work slip stitches only into the front loops around to tightly close the opening.
Stuffing:
- Before closing completely, stuff the cherry with fiberfill or scrap yarn to give it shape. Use minimal stuffing to avoid stretching.
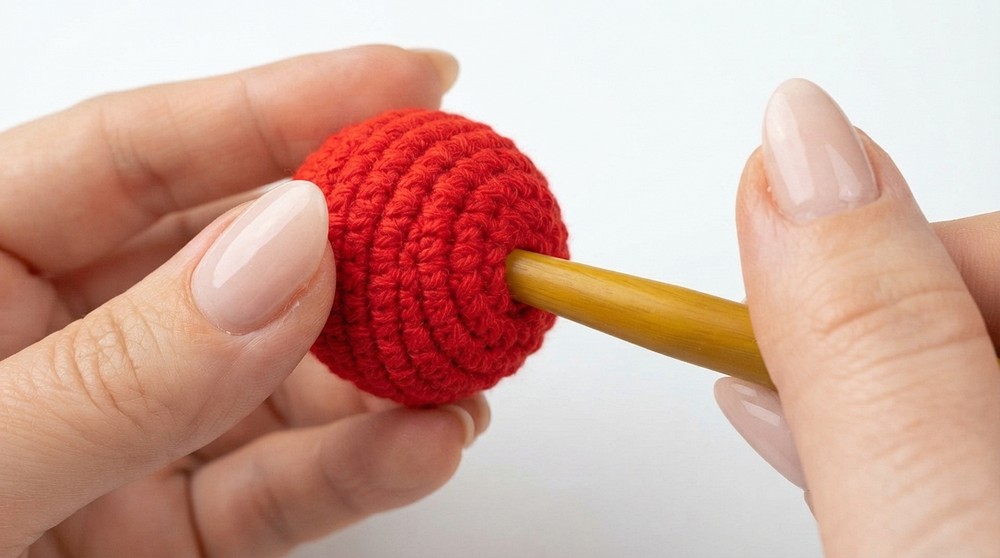
Repeat all steps to create the second cherry.
2. Stem Assembly
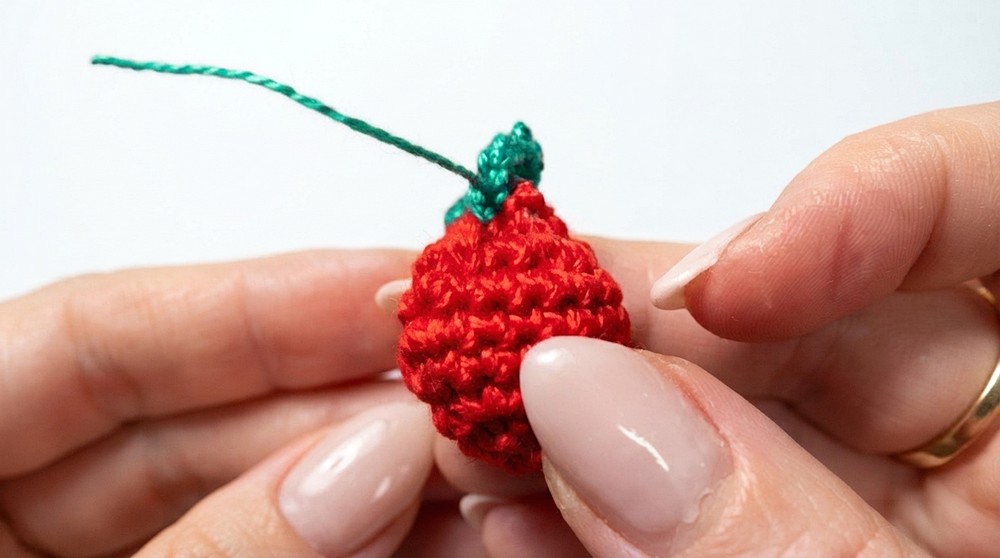
- With green yarn, join at the top of the first cherry using a slip stitch.
- Chain 23 stitches to create the stem length (adjust length to preference).
- Join the chain to the top of the second cherry by slip stitching into the stitch at the cherry’s top.
- Secure with a knot and hide the yarn ends inside the cherries.
3. Leaf Pattern
Foundation:
- Chain 13 stitches to start the leaf base.
Stitch Sequence:
- 2 single crochet (sc) stitches into the 2nd and 3rd chains from the hook.
- 2 double crochet (dc) stitches next.
- 2 treble crochet (tc) stitches next.
- 2 double crochet (dc) stitches next.
- 2 single crochet (sc) stitches next.
- Finish the row with slip stitches (sl st) to shape the leaf tip.
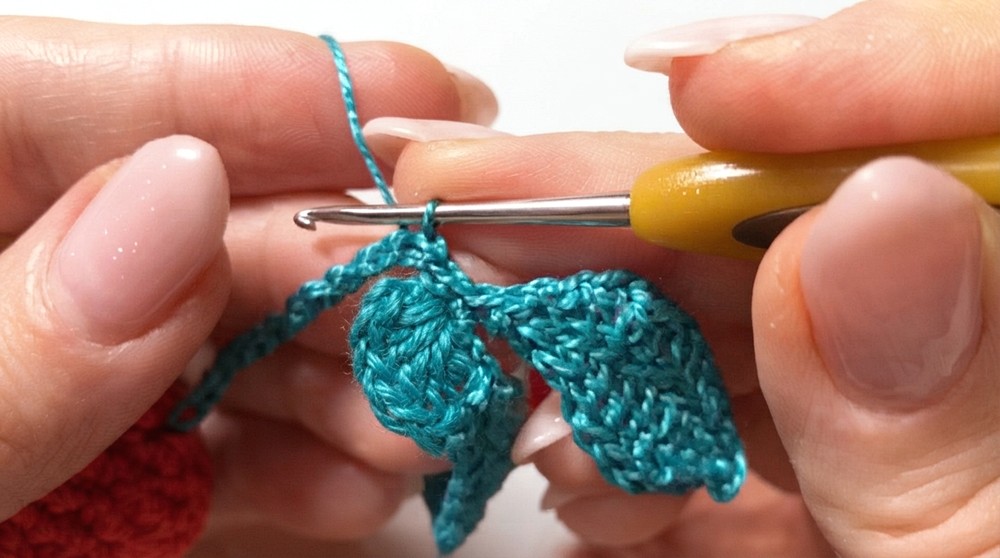
Turning and Symmetry:
- Turn work and repeat the above sequence on the opposite side of the leaf chain to create a mirror image, forming a symmetrical leaf shape.
Decorative Center Ridge:
- Using slip stitches, work down through the center of the leaf to create a raised ridge pattern adding dimension and realism.
Attach Leaf:
- Sew or slip stitch the completed leaf onto the green stem at your desired position to finish the decoration.
Assembly & Finished Size
When assembled, the two plump cherries connected by a slender green stem crowned with a naturalistic leaf create an eye-catching, ornamental crochet piece. The finished work measures approximately 10 cm wide (across two cherries and stem) and about 8–9 cm high including the leaf.
Conclusion
This decorative crocheted cherry set with a green leafy stem is a delightful, simple project suitable for beginner crocheters looking to add decorative flair to their skills. The combination of basic and creative stitches provides an approachable challenge with beautiful results. These cherries can embellish bags, hats, home décor, or gifts, offering a fresh and charming touch.