Crochet Turtle Keychain Gift Idea (Pattern is Totally Free!)
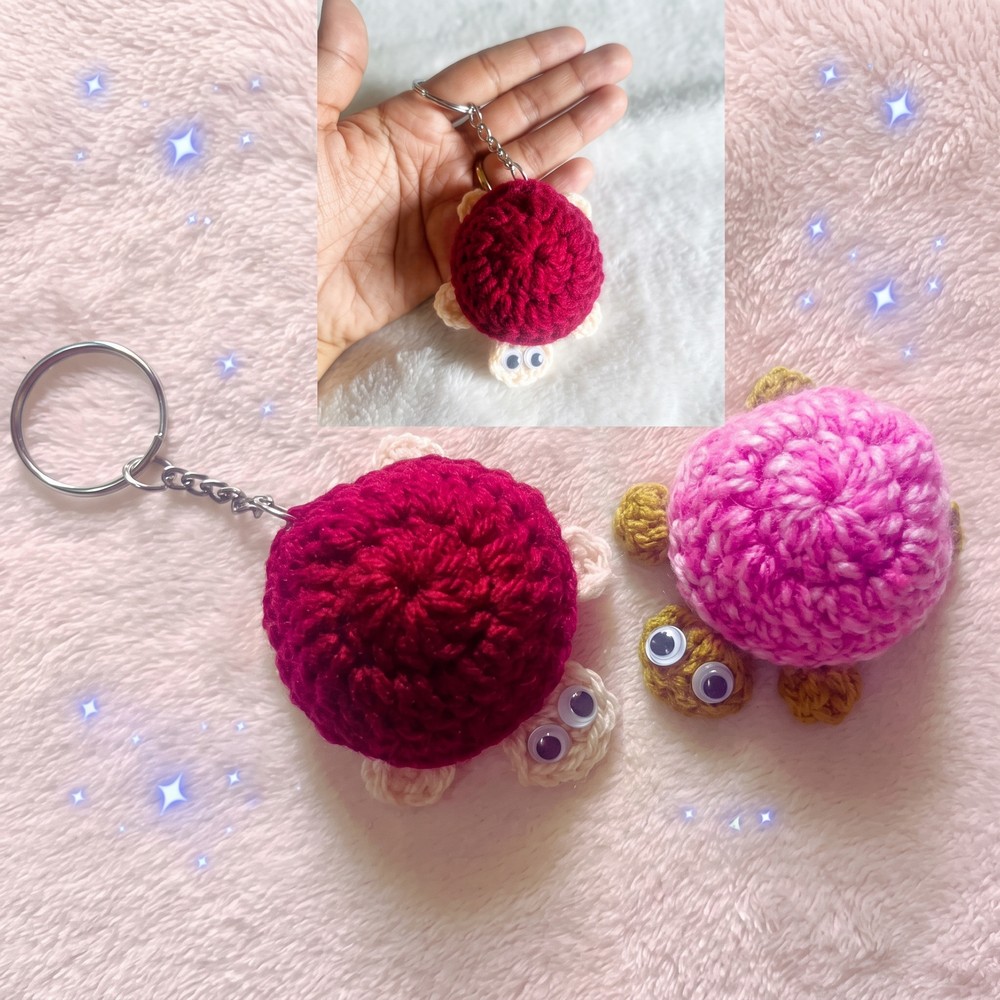
Create adorable turtle keychains quickly with the Free Crochet Turtle Keychain Pattern that helps you add charm to your accessories and enjoy easy stitching today.
Adding a touch of cuteness and personality to your everyday essentials. The Free Crochet Turtle Keychain Pattern is a delightful project that lets you create an adorable turtle keychain everyone will admire. Shared by Nozishandwork official, this pattern is designed to be simple to follow and perfect for anyone who loves fun and creative accessories. Whether it’s for your own keys or a wonderful handmade gift, this tiny turtle is guaranteed to bring joy.
Mini Turtle Keychain Crochet Pattern – Free and Adorable
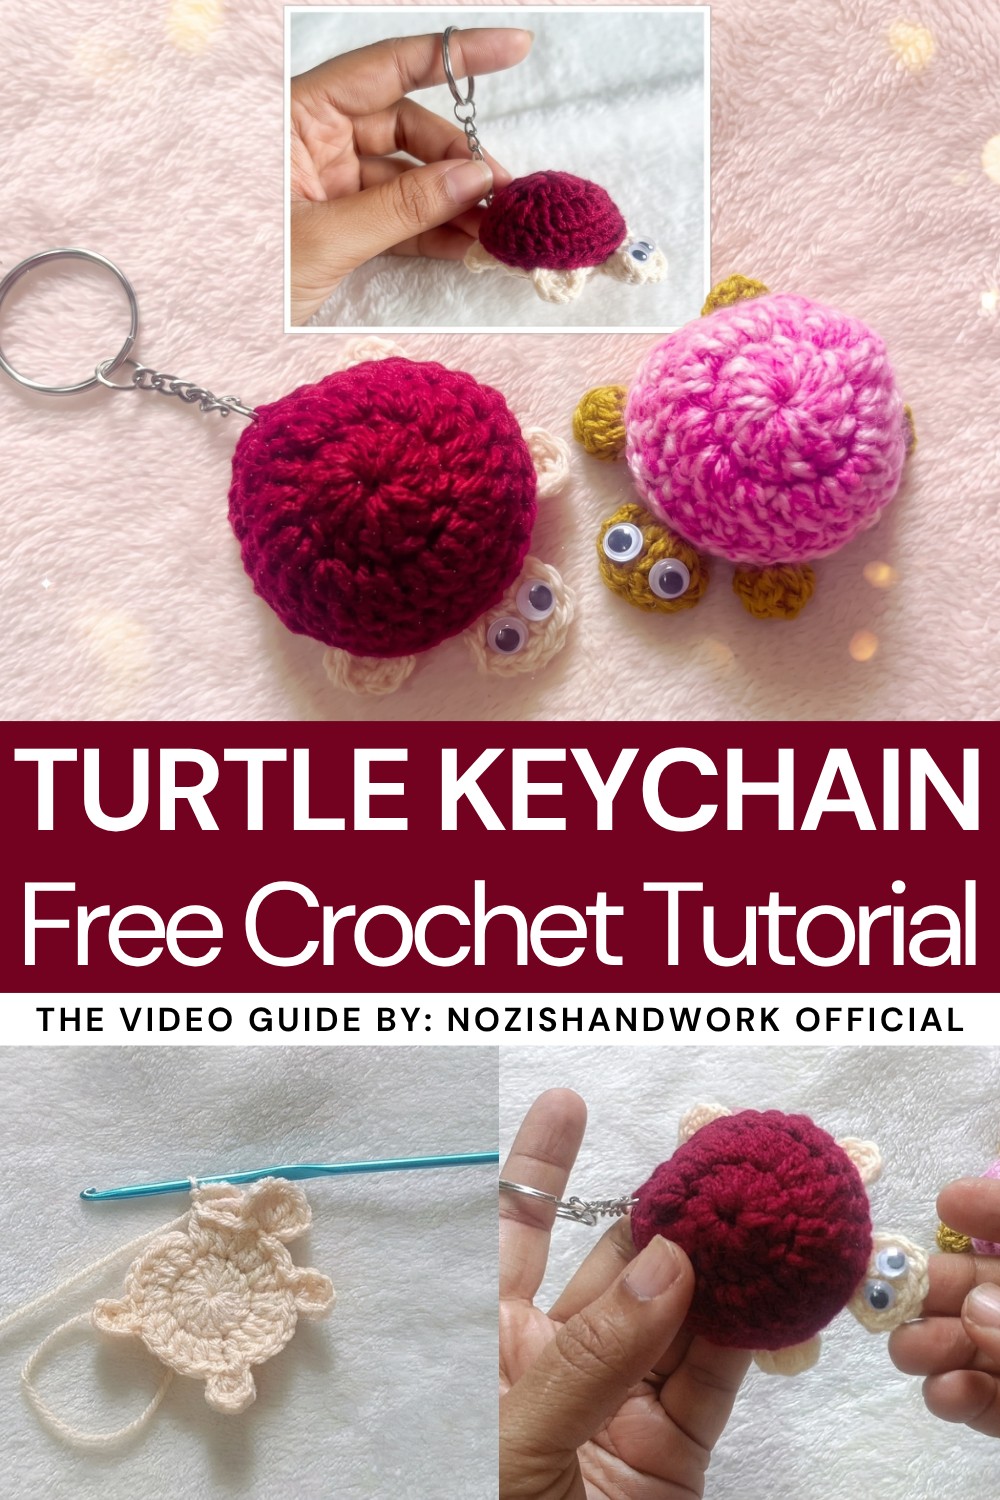
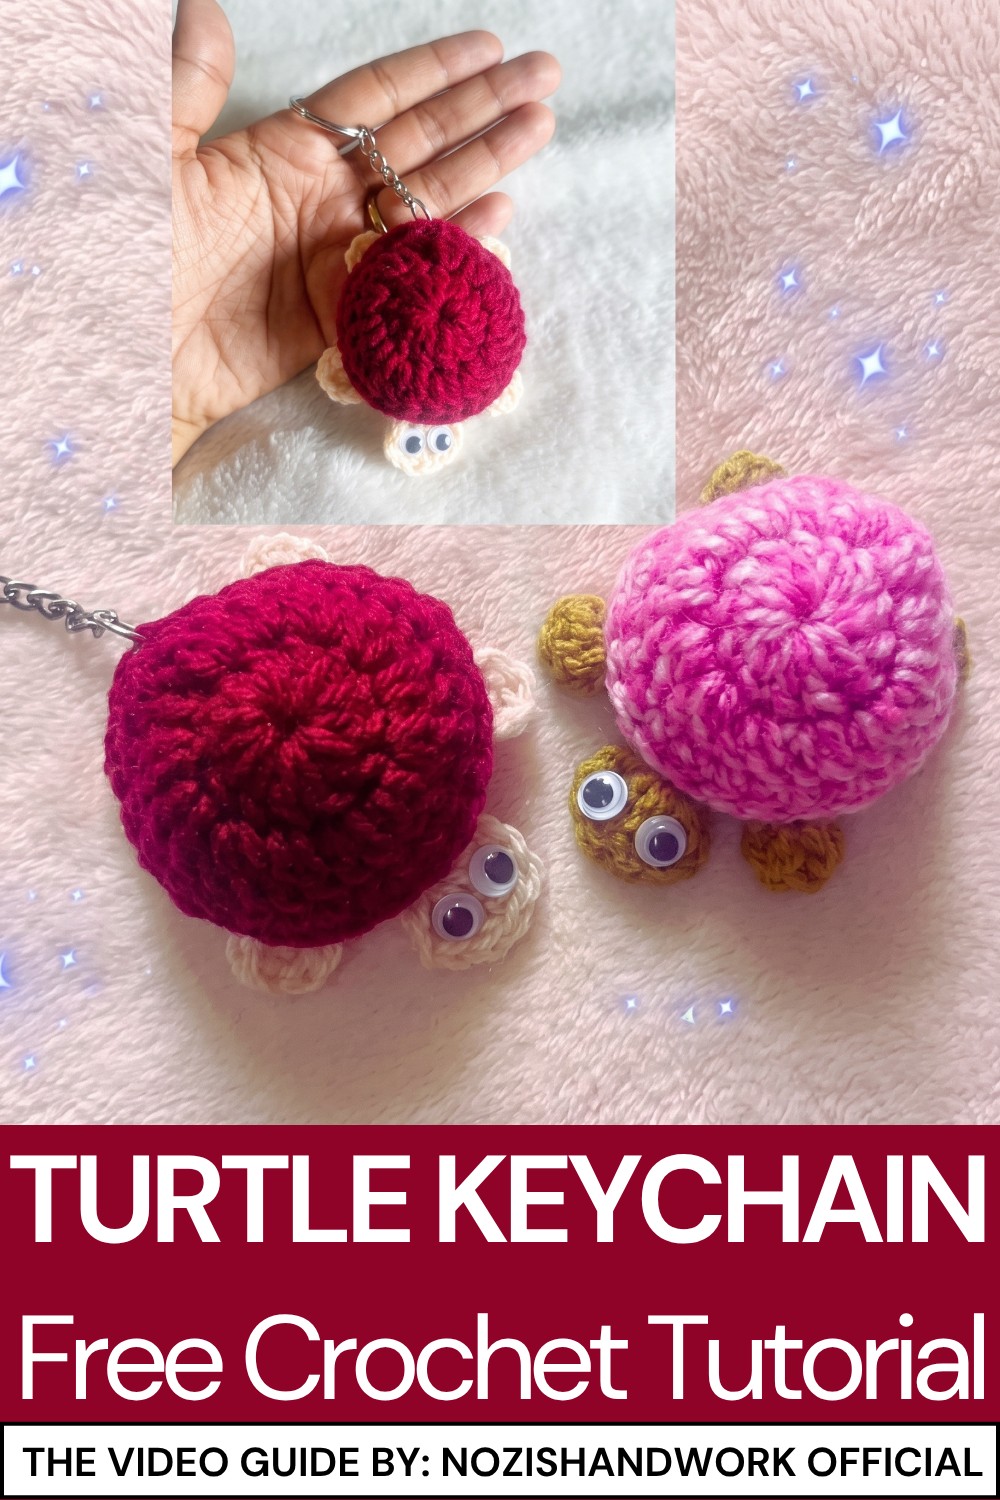
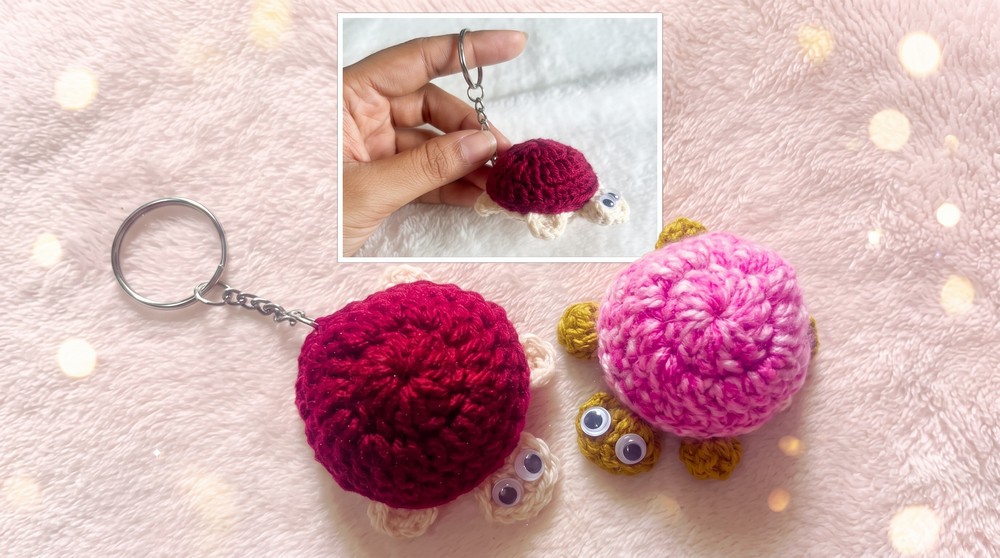
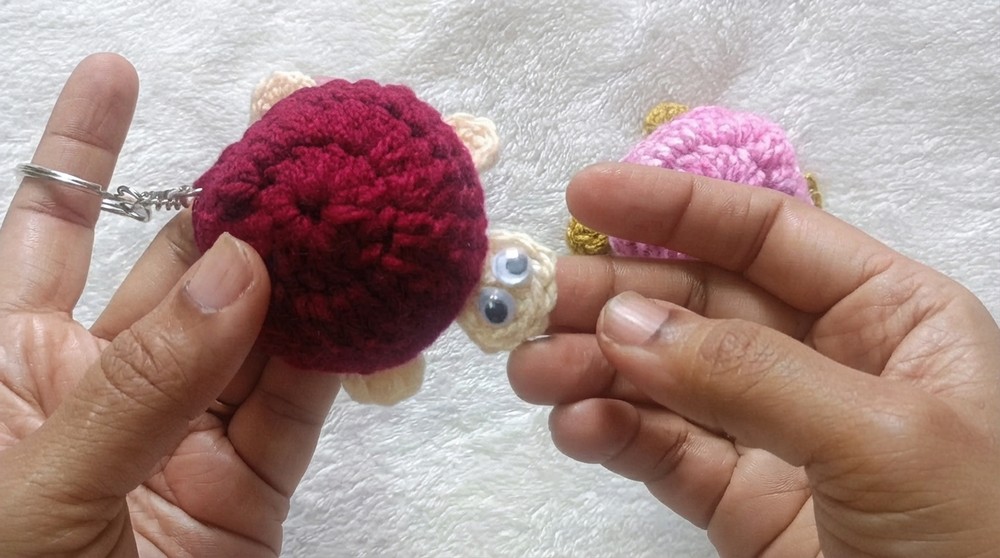
What makes this turtle so special is its beautiful design. It features a rounded shell, small legs, and a detailed head, all crocheted with care to give it an eye-catching appearance. Its smooth texture and carefully designed shape make it both realistic and playful. You can customize the colors to suit your preferences, making it as unique as you like. Not only is it adorable, but the keychain is durable too, standing up to daily use while retaining its charm.
This lovely turtle keychain is more than just a decoration, it’s a versatile accessory. Use it to brighten up your keys, bags, or even as a table decoration. It also makes a thoughtful gift for friends and family.
Crochet Turtle Keychain Pattern
This adorable crochet turtle keychain is an ideal project for adding personality to your keyring or gifting a handmade charm. Featuring a simple body-and-shell design, it’s quick to create and perfect for using up small amounts of yarn. The combination of easy stitches and a creative structure makes this project delightful and satisfying.
Skill Level
Beginner
This pattern is ideal for those who are familiar with basic crochet techniques like magic rings, double crochet, and slip stitches. Simple shaping makes it suitable for beginners looking to expand their skills slightly.
Materials
- Yarn:
- Two colors of 100% acrylic yarn or yarn of your choice:
- One color for the turtle’s body.
- A contrasting color for the shell.
- Two colors of 100% acrylic yarn or yarn of your choice:
- Crochet Hook: 3.5 mm.
- Darning/Yarn Needle: To sew and weave in ends.
- Scissors: For cutting yarn.
- Googly Eyes and Glue: Decorative googly eyes; glue them securely onto the turtle’s head.
- Keychain Ring: To attach the finished turtle charm to keys, bags, or other items.
Special Stitches
- Magic Ring: A seamless way to start projects worked in the round. Create a loop by wrapping the yarn around your fingers, then pull up loops into the ring to start your first round of stitches.
- Slip Stitch (sl st): Insert the hook into a stitch, yarn over, and pull through both the stitch and the loop on the hook.
- Double Crochet (DC): Yarn over, insert the hook into the stitch, yarn over again, pull up a loop, yarn over, and pull through two loops on the hook twice.
Stitch Abbreviations
| Abbreviation | Description |
|---|---|
| ch | Chain |
| dc | Double Crochet |
| sl st | Slip Stitch |
| st(s) | Stitch(es) |
Useful Tips
- Tension: Keep consistent tension throughout the project to ensure a well-shaped and even result.
- Color Changes: Fasten off securely when switching between body and shell colors to avoid unraveling.
- Googly Eyes: If crafting for small children, consider using embroidered eyes instead of googly eyes for safety.
- Customization: Change the yarn colors to create unique turtles or match personal preferences.
- Assembly: Use stitch markers to align the shell and body before joining them together for a neat finish.
Detailed Pattern
Turtle Body Pattern
The body is constructed first, featuring four legs, a head, and a simple round base.
Using the body color:
Round 1:
- Create a magic ring.
- Chain 2 (counts as the first dc). Work 12 double crochets (dc) into the ring. (Total: 13 stitches, including the initial chain).
- Slip stitch into the top of the first dc to join the round.
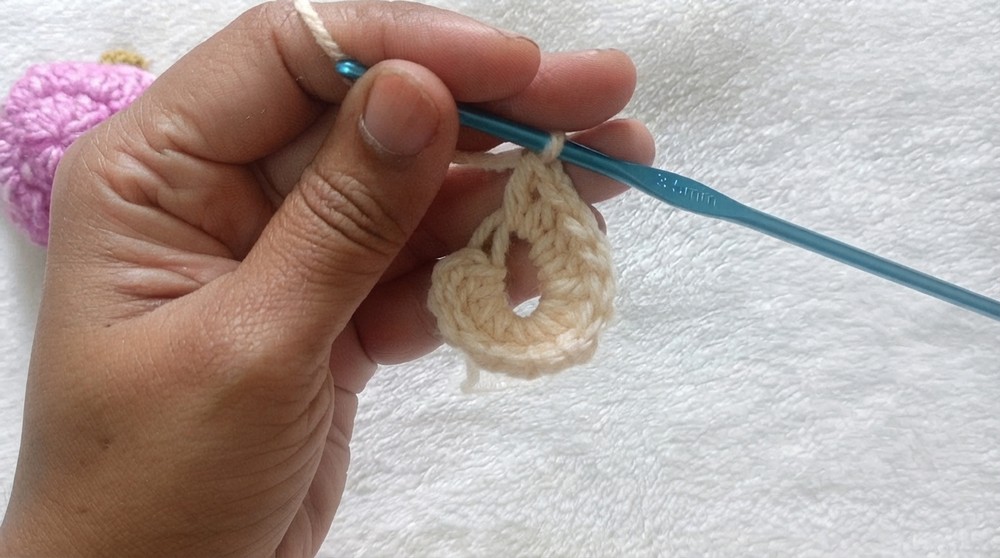
Round 2:
- Chain 2. Work 1 dc in the same space (treat this as an increase).
- In the next 2 stitches, work 2 dc in each (another set of increases).
First Leg:
- Chain 2. Work 2 dc in the same space, chain 2 again, and slip stitch back into the same space to form a leg.
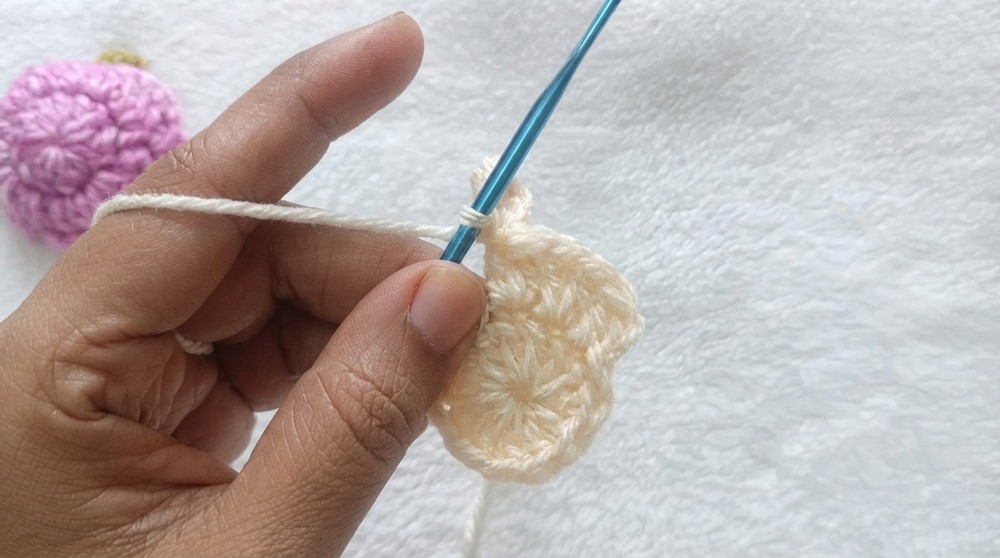
Next 3 Stitches:
- Work 2 dc in each stitch.
Second Leg:
- Repeat the instructions for the first leg: chain 2, 2 dc in the same space, chain 2, and slip stitch into the same space.
Next 3 Stitches:
- Work 2 dc in each stitch.
Third Leg:
- Repeat the leg instructions as above.
Next 2 Stitches:
- Work 2 dc in each stitch.
Head:
- Chain 3. Work 4 dc in the same space, chain 3, and slip stitch into the same space to form the turtle’s head.
Next 2 Stitches:
- Work 2 dc in each stitch.
Fourth Leg:
- Repeat the same instructions as the previous legs.
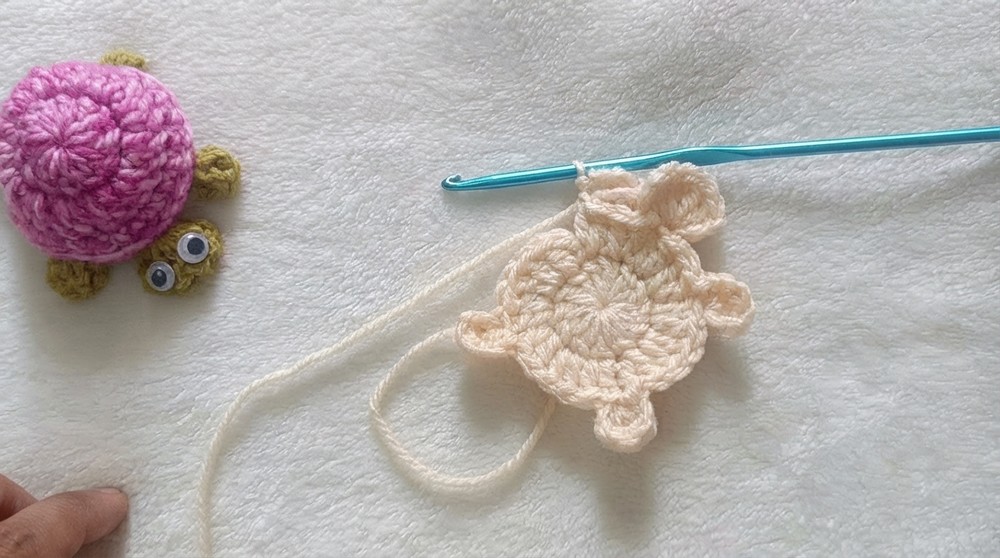
Cut the yarn and secure it. Weave in the ends using the darning needle.
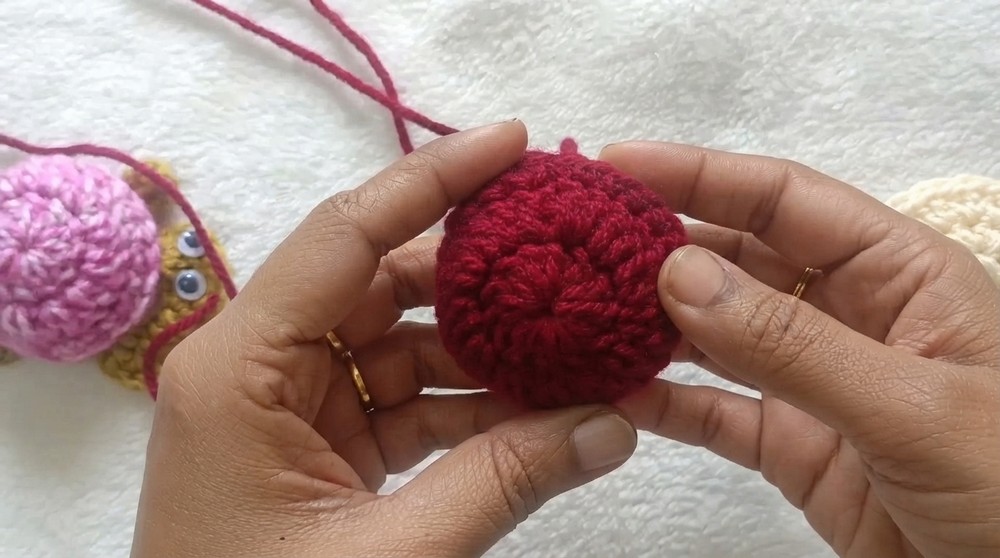
Turtle Shell Pattern
Using the contrasting shell color:
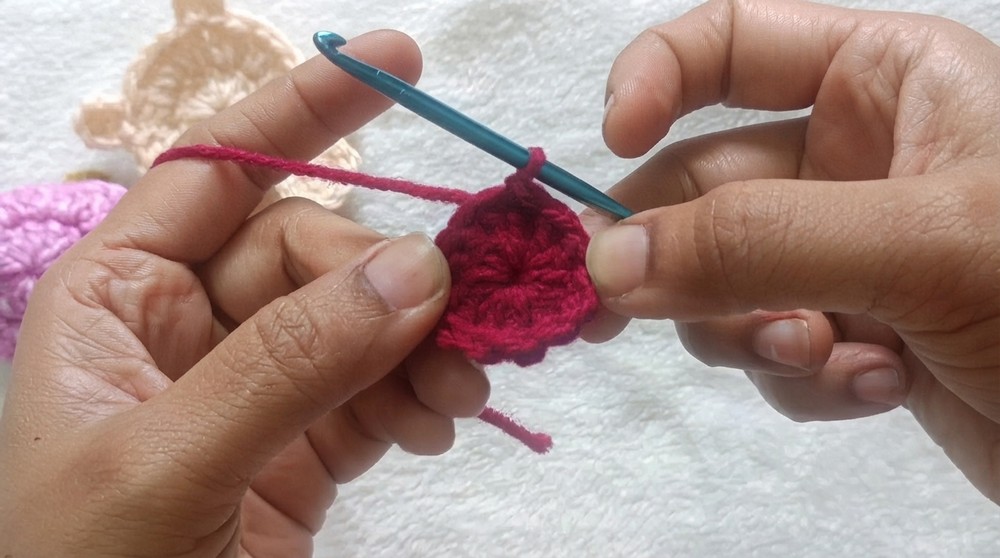
Round 1:
- Create a magic ring. Chain 2.
- Work 12 dc into the ring. Pull the ring tightly to close.
- Slip stitch into the top of the first dc to join the round.
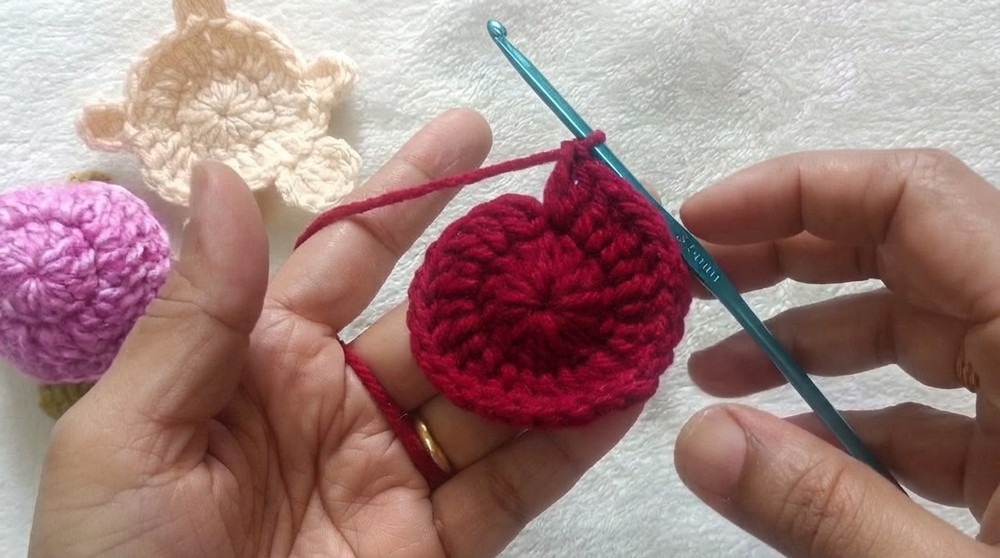
Round 2:
- Chain 2. Work 2 dc in each stitch around. (Total: 24 dc, including the initial chain).
- Slip stitch into the top of the first dc to join.
Round 3:
- Chain 1. Work 1 single crochet (sc) into each stitch around to give the shell a neat edge.
- Slip stitch into the first stitch to join and fasten off.
Assembly
- Position the Shell:
- Lay the shell over the turtle body, aligning the stitches. If needed, use stitch markers to hold the pieces in place while joining.
- Joining the Pieces:
- With the shell and body stacked, insert your hook through the back loop of both the shell and body stitches.
- Work a round of slip stitches (sl st) through corresponding stitches all the way around the edges to connect the pieces securely.
- Finishing Touches:
- Use glue to attach the googly eyes onto the turtle’s head. Alternatively, the eyes can also be embroidered using black yarn for a softer look.
- Weave in any remaining yarn ends using the darning needle.
- Add Keychain:
- Attach the keychain ring to one of the legs or sew it onto the turtle for reinforcement.
Assembly and Sizing
- Finished Size: Approximately 6–8 cm in diameter, depending on your yarn weight and tension.
- Customization Ideas: Choose a brighter or pastel palette for a fun and colorful look, or earthy tones for a more realistic turtle.
Conclusion
This crochet turtle keychain makes a playful yet practical accessory, perfect for gifting or adding a personalized touch to your belongings. Its compact size and charming design allow for endless customization, making it a fun addition to any crocheter’s project collection. Whether attached to your keys, bags, or used as a tiny ornament, this turtle is sure to bring a smile to anyone’s face.