Free Crochet Mouth Keychain Pattern with Unique Shape
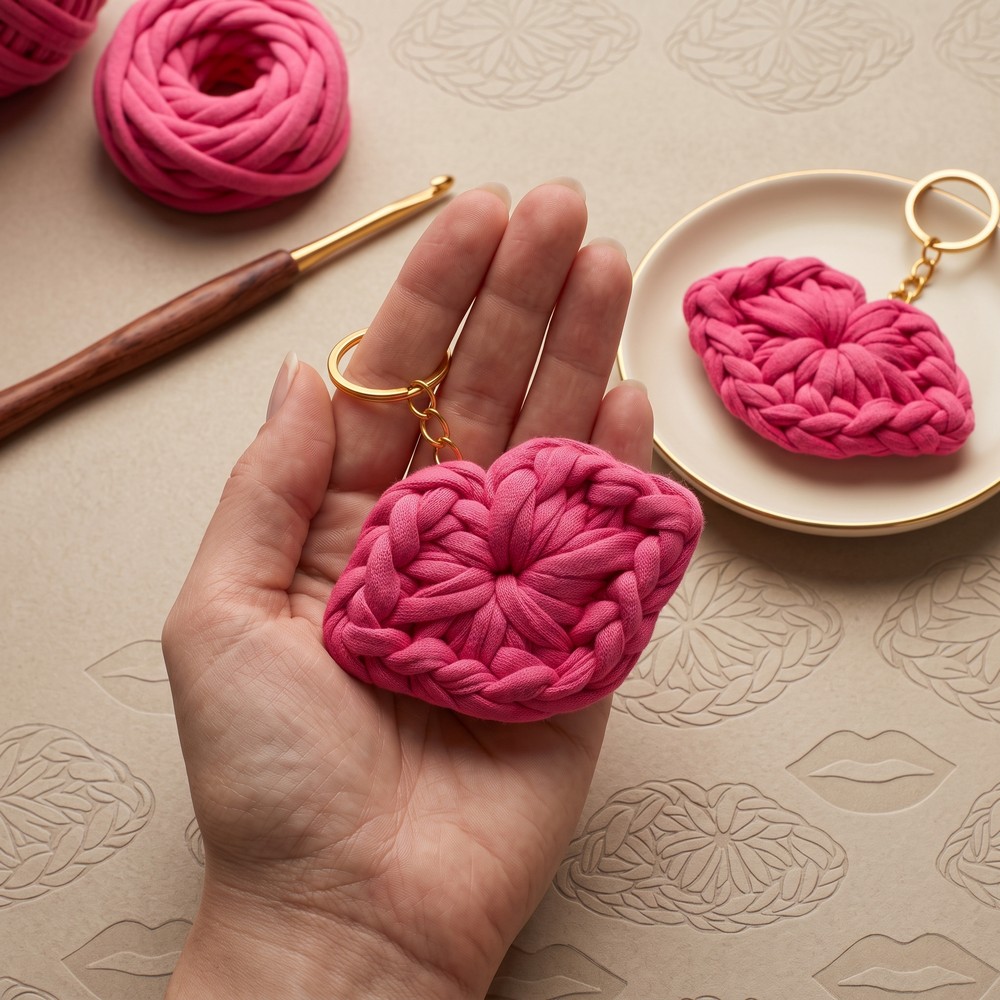
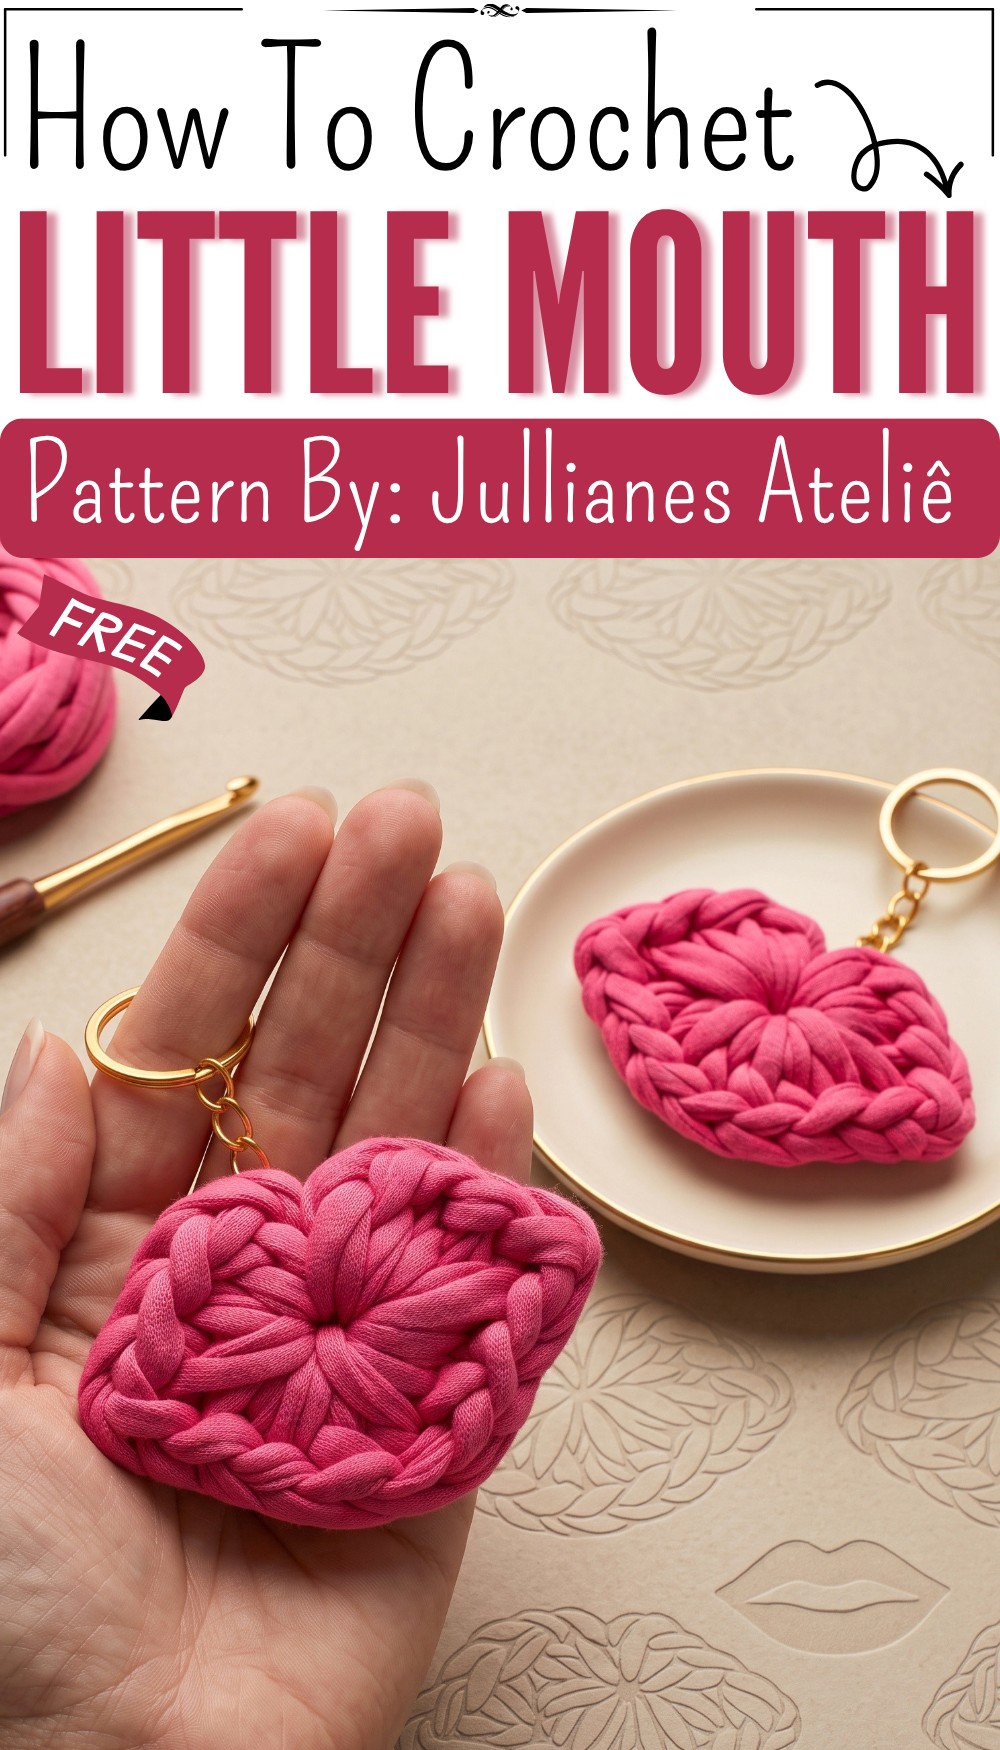
Carry quirky charm with this Free Crochet Mouth Keychain Pattern that’s featuring bold details, soft texture, and fun appeal for keys, bags, backpacks, or purses.
A small accessory can make everyday belongings feel more personal, and this playful crochet piece brings plenty of character in a tiny size. The Free Crochet Mouth Keychain Pattern offers a fun mouth-shaped accessory with a neat form, soft texture, and a cheerful look. The finished piece has a curved shape that gives it a funny and eye-catching appearance without feeling too large or heavy. Its simple style makes it easy to enjoy with different colors.
Bright red, pink, purple, or mixed shades can give the mouth a lively look, while softer colors can create a cute and gentle feel. The unusual shape is what makes this keychain stand apart from ordinary small accessories. It can hang from house keys, car keys, handbags, backpacks, pencil cases, pouches, or luggage. The compact size makes it easy to carry, while the playful design adds a little personality wherever it goes.

One of the nicest things about this project is the way it combines a useful purpose with a fun appearance. A plain bag can look more cheerful with this small decoration attached to it, and a simple key set can feel much more interesting with a unique crochet detail. The design can suit children, teenagers, and adults who enjoy cute or unusual accessories. Jullianes Ateliê presents this crochet idea through its YouTube channel, giving crochet fans a charming project to enjoy.
The finished piece can also be changed through personal color choices, making it possible to create different moods and styles. A bright version may feel bold and playful, while a softer combination can look sweet and simple. Making several pieces in different colors can also create a fun collection for different bags or gifts.
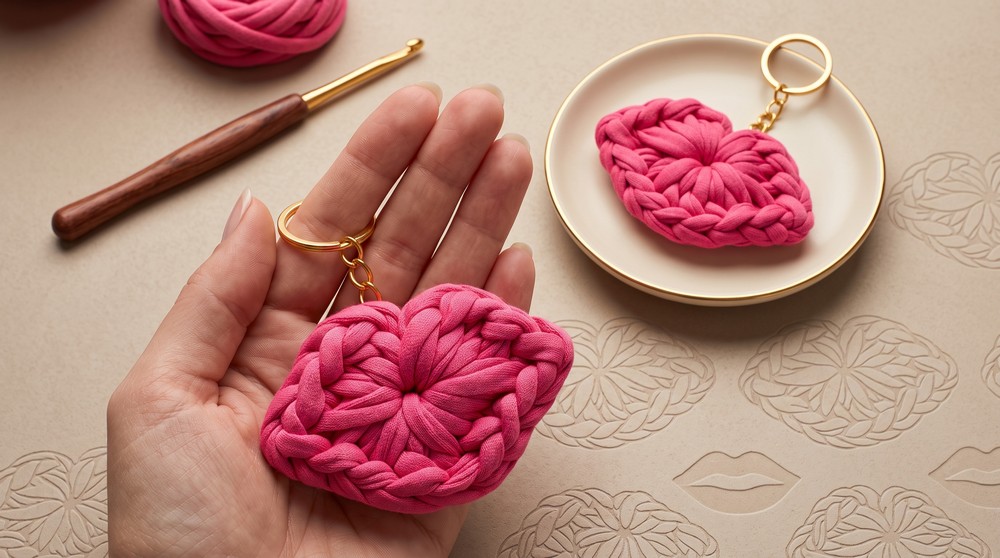
As a small present, this keychain has plenty of charm. It can suit a friend, sister, classmate, or anyone who enjoys creative accessories with a humorous touch. Its small size makes it easy to include with a birthday present, celebration gift, or simple surprise. It can also become a fun addition to a handmade accessory collection. More than just a key decoration, this little crochet piece shows how a simple shape can bring a strong sense of personality to everyday items.
The soft surface, curved form, and playful appearance work together to create something that feels cheerful and memorable. Anyone who enjoys crochet projects with a different and modern feel may find this design especially appealing. It is practical enough for daily use yet distinctive enough to make people smile when they notice it.
Cute Little Mouth Crochet Pattern
This crochet pattern will guide you step-by-step to create an adorable little mouth motif with simple stitches, perfect for adding charming details to keychains, plush toys, or decor. Beginning with a magic ring, you will build the shape by working single crochet, half double crochet, and double crochet stitches arranged in a harmonious sequence. This motif is ideal for beginners who want to practice working in rounds, basic stitch combinations, and finishing techniques suitable for small crochet crafts.
Quick Overview Of Pattern
- Starts with a magic ring to form a tightly closed center.
- Combination of single crochet (sc), half double crochet (hdc), and double crochet (dc) stitches used to sculpt the shape.
- Incorporates chain stitches (ch) for spacing to define the mouth’s sides.
- Ends with neat finishing: cutting the yarn, tightening the ring, shaping, and attaching a metal ring for keychain functionality.
- Small but detailed, this motif is perfect as a stand-alone charm or embellishment.
Notes
- Work with medium tension to ensure the shape holds well without curling or gaps.
- Be consistent with stitch height as you alternate between sc, hdc, and dc to form the natural curvature of the mouth.
- The magic ring closure should be pulled snugly to avoid gaps in the center.
- Finishing with glue on knots and careful shaping enhances durability and appearance.
- Use sharp-nosed scissors to cut yarn cleanly.
- Needle and metal ring essentials enable neat assembly for keychain purposes.
- Tagging your finished work on social media helps share and inspire creativity!
Skill Level
This pattern is great for beginner to intermediate crocheters who are familiar with:
- Magic ring (adjustable loop start)
- Single crochet (sc)
- Half double crochet (hdc)
- Double crochet (dc)
- Chain stitch (ch)
- Slip stitch (slst) for joining rounds
- Basic finishing techniques
Materials
- Medium weight yarn in your choice of color (cotton or acrylic suggested)
- Crochet hook suited for your yarn (usually 3.5 mm to 4.5 mm)
- Yarn needle for weaving ends
- Scissors
- Small metal ring (for keychain attachment)
- Instant glue (optional, for securing finishing knots)
Measurements / Sizing
- Finished motif is small and compact, approximately 3-4 cm wide and 1.5-2 cm tall depending on yarn thickness and tension.
- Suitable as keychain ornament, doll accessory, or decorative patch.
Gauge (and Stitch Pattern if applicable)
- Gauge is not critical for this motif but maintaining consistent tension is important for uniform shape.
- Predominant stitches: sc, hdc, dc, and ch to define spacing.
Stitch Abbreviations
| Abbreviation | Meaning |
|---|---|
| mr | Magic Ring (adjustable loop start) |
| sc | Single Crochet |
| hdc | Half Double Crochet |
| dc | Double Crochet |
| ch | Chain |
| slst | Slip Stitch |
Special Stitches
Magic Ring (mr)
Wrap yarn to form an adjustable loop, work stitches inside it, then pull the tail to close the center tightly. This technique eliminates holes and creates a neat starting point for your circle.
The Crochet Pattern
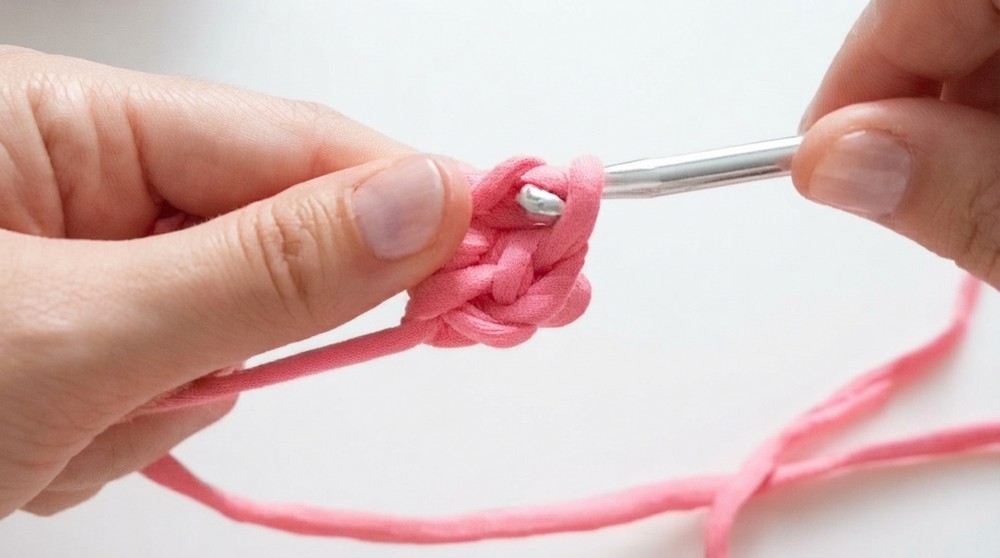
Step 1: Start with the Magic Ring and First Row
- Create a magic ring (mr) with your yarn and hook.
- Work a slip stitch (slst) to close the ring.
- Begin by crocheting into this ring a tall stitch. This “tall stitch” is interpreted here as a double crochet (dc), which forms the foundation of one side of the mouth shape.
- Next, work a sequence of 2 double crochet (dc) stitches inside the magic ring to form the height of one side.
Step 2: Chain Space and Starting the “Side Panels”
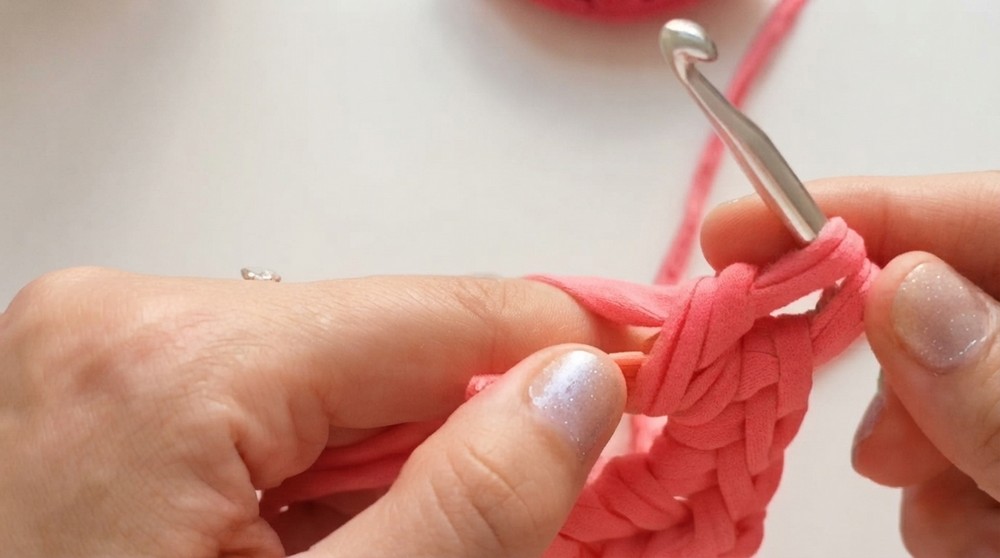
- After completing the double crochet stitches, chain 2 to create some spacing—this chain section helps define the separation between the sides of the mouth.
- Then, work 2 single crochet (sc) stitches inside the magic ring to anchor the base of the side panel.
- This completes the first side panel of the mouth.
Step 3: The Center Section – Sculpting the Mouth Curve
- Moving on from the side panel, crochet a half double crochet (hdc) stitch to start the shaping of the mouth center.
- Then crochet two double crochet (dc) stitches consecutively to add height and curvature in the center part of the mouth.
- Follow this with another half double crochet (hdc) stitch, rounding out the central curved section.
- This combination of stitches in the center creates a smooth shape mimicking the upper lip’s arch.
Step 4: The Opposite Side Panel
- Now, replicate the first side panel on the other side:
- Work 2 double crochet (dc) stitches into the magic ring to mirror the first side panel height.
- Chain 2 to provide spacing same as the first edge.
- Work 2 single crochet (sc) stitches inside the magic ring to lock the chain and build the opposite side panel.
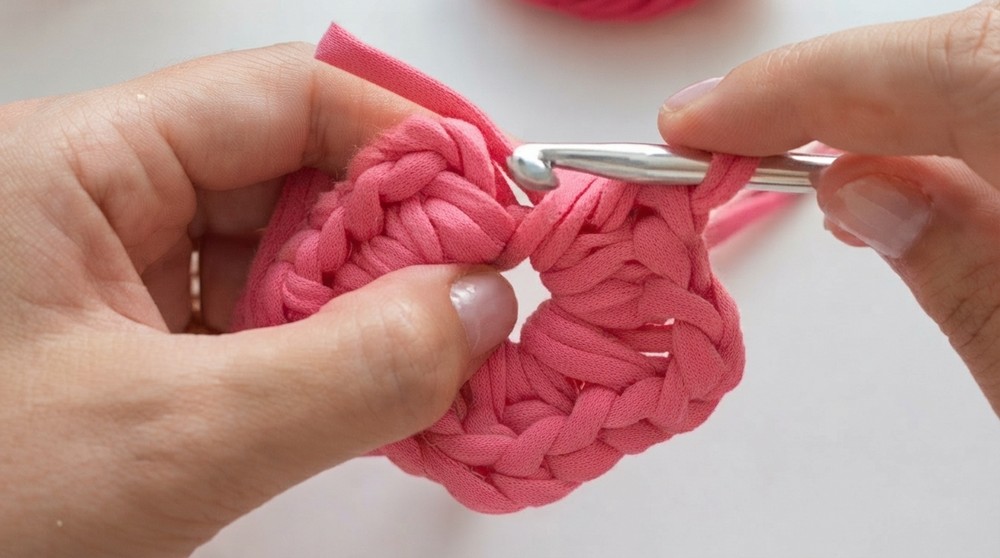
Step 5: Finishing the Mouth Detail
- To complete the shape, crochet a half double crochet (hdc) followed by a single crochet (sc). These smaller stitches help smooth out the bottom edge of the mouth.
- Cut the yarn carefully, leaving a small tail for finishing.
Step 6: Closing the Magic Ring
- Pull the yarn tail of the magic ring to tighten the circle, preventing any holes in the center of the mouth.
- Use your fingers to gently shape the mouth motif, making sure the curves and sides sit nicely defined.
Step 7: Final Finishing Touches
- Optionally, place a small drop of glue on the knot to secure your yarn firmly.
- Attach the small metal ring using a yarn needle or by threading the ring through a chain loop created earlier. This step makes your motif suitable as a keychain or charm.
- Weave in all loose ends neatly with a yarn needle for a clean look.
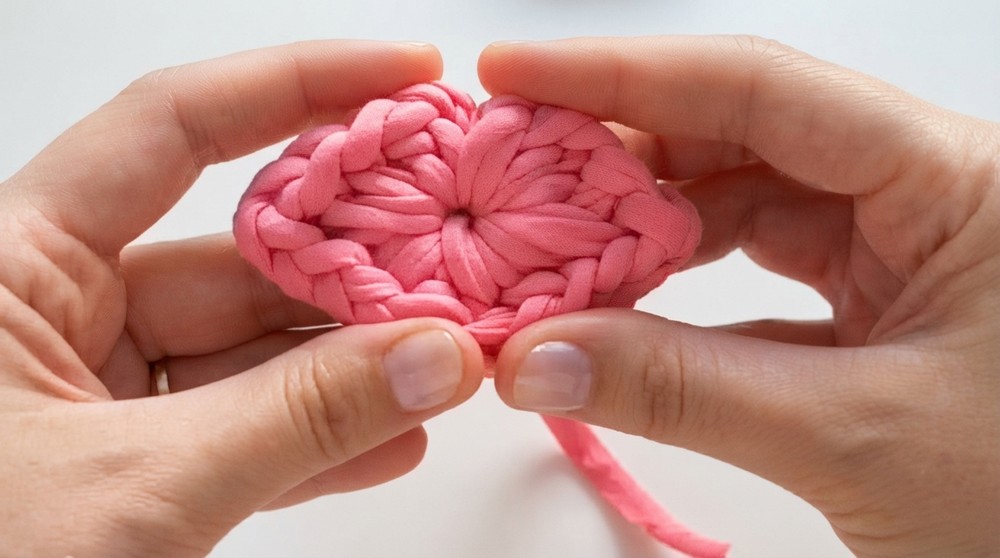
Assembly & Finished Size
Your finished little mouth measures approximately 3-4 cm in width and around 1.5-2 cm in height, compact and charming. The neat closure of the magic ring ensures no gaps in the center. The alternating height of stitches (sc, hdc, and dc) curves naturally to form a sweet smile shape. Attaching the metal ring allows easy use as keychains, zipper pulls, or decorative accents on bags or toys. With finishing touches like glue securing knots and shaping by hand, your motif will be durable and visually appealing.
Conclusion
This little mouth motif is a fun and simple crochet project for beginners to practice stitch variety and round shaping. By following this step-by-step guide, you will develop confidence working with the magic ring, stitch height variations, and finishing techniques. Whether you use it as a keychain charm or decorative patch, this small crochet piece adds character wherever it is placed. Remember to maintain consistent tension, close the magic ring tightly, and shape your work with your hands before final assembly for best results.