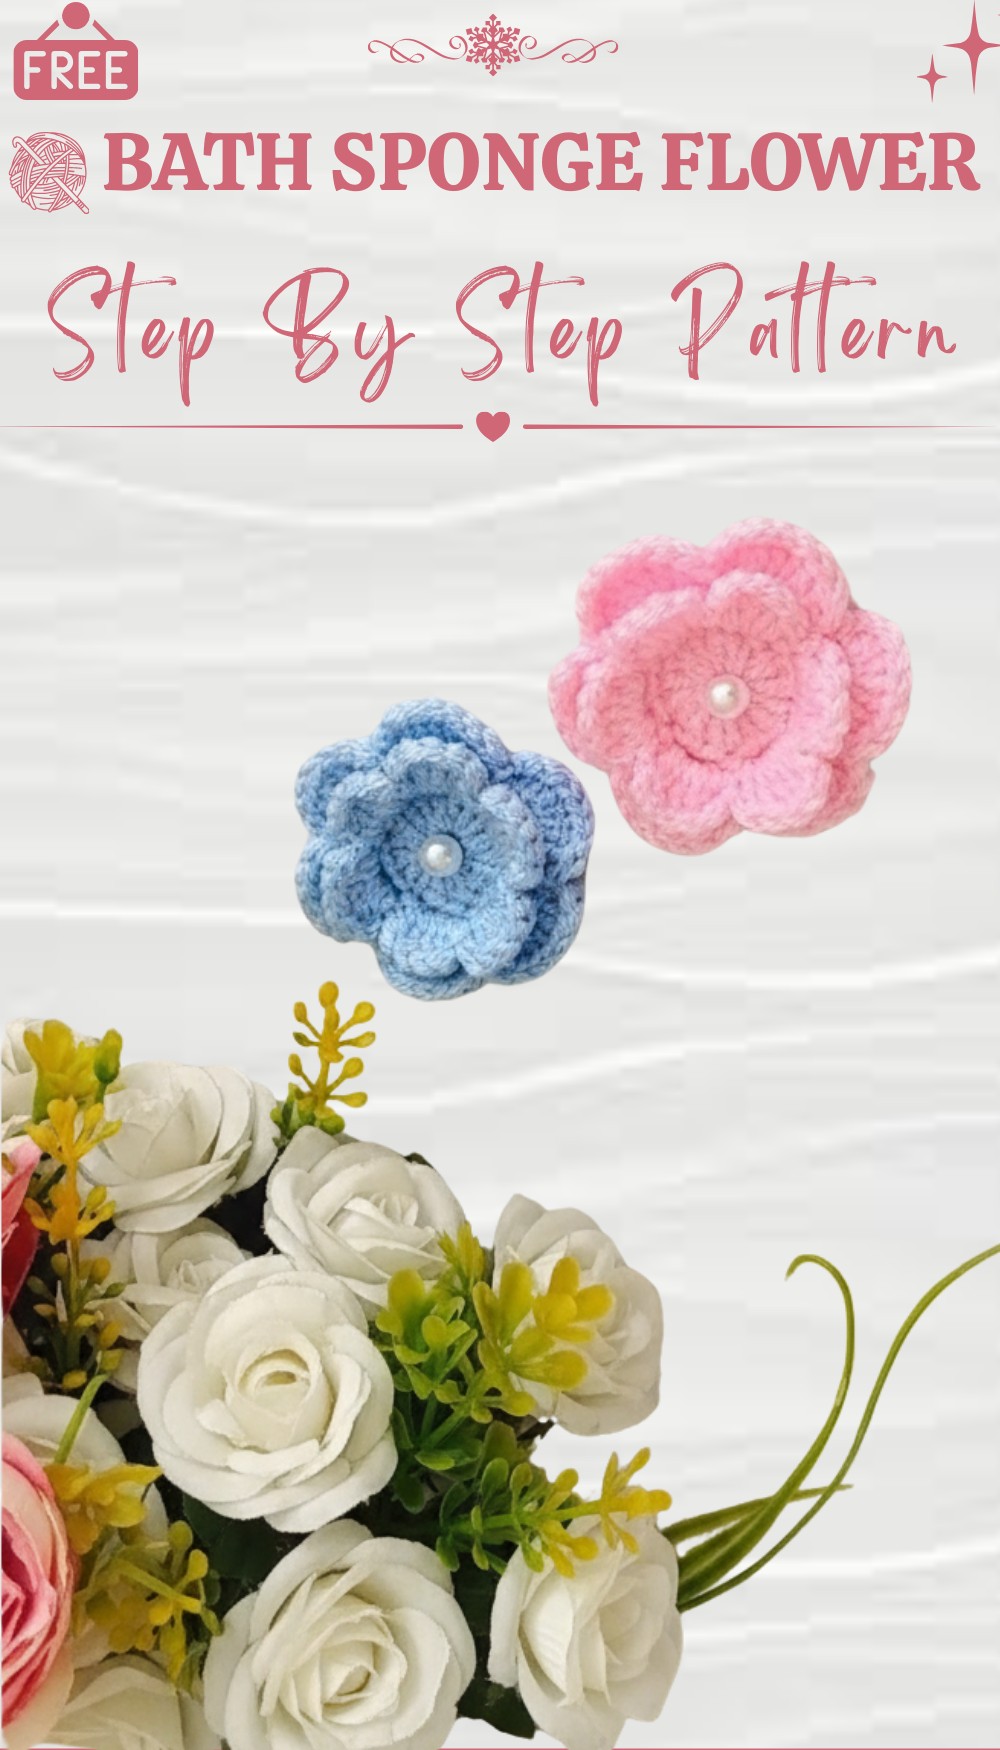
Simple Free Crochet Flower Pattern for Any Project
Sprinkle your home & gifts with colorful beauty using Free Crochet Flower Pattern that’s easy to follow & perfect for beginners of all ages.
Imagine a little burst of color that brightens up any space and makes everything look joyful. This pretty bloom can dress up your pillow, decorate your bag, or even turn an old scarf into something stunning and new. Using a crochet flower pattern is a simple way to sprinkle charm onto your everyday item or handmade gift. The flower is soft to touch, light to wear, and easy to stitch up—even for someone who is just learning.
Quick & Easy Free Crochet Flower Pattern for Beginners
You don’t have to worry about having fancy tools or being an expert. All you need is some yarn in a color you love and a simple hook to get started on your soft blossom. As you work each petal and stitch, it becomes easier and more fun, giving you a wonderful little piece to brighten any corner of your home. Your finished flower shines with eye-catching color and soft beauty, bringing a touch of nature’s happiness wherever you place it.
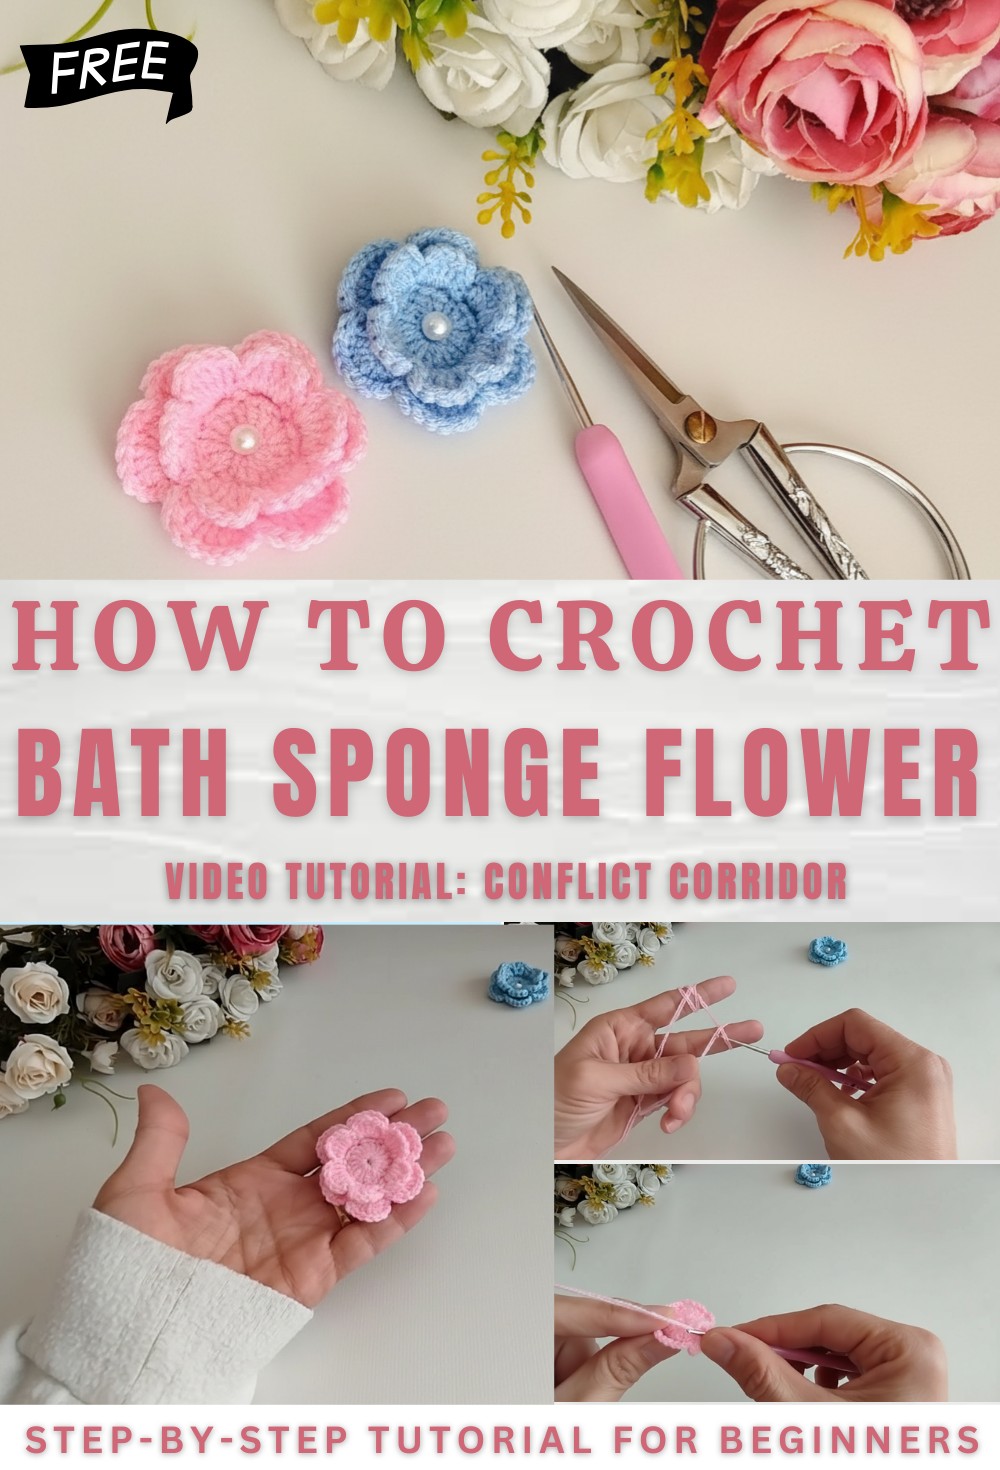
Free Crochet Decorative Flower Pattern
Materials List
- Yarn: Fiber (acrylic) or cotton yarn; recommended for flowers: sport or DK weight—choose colors as desired.
- Hook: 1.25 mm crochet hook (or size suitable for your yarn; a steel lace hook for fine work recommended)
- Darning needle: For weaving in ends and attaching motifs
- Scissors
- Optional: Pearl/bead for center embellishment, hair clip, or barrette for accessory finishing
Key Abbreviations
| Abbreviation | Meaning |
|---|---|
| MR | Magic Ring |
| ch | Chain |
| sc | Single Crochet |
| dc | Double Crochet |
| sl st | Slip Stitch |
| st(s) | Stitch(es) |
| sp | Space |
Special Notes
- Pattern uses US crochet terminology.
- For the flower center, you may use either a magic ring or a starting chain of 6–7, joined in a ring.
- “Railing” refers to dc (double crochet) in this context.
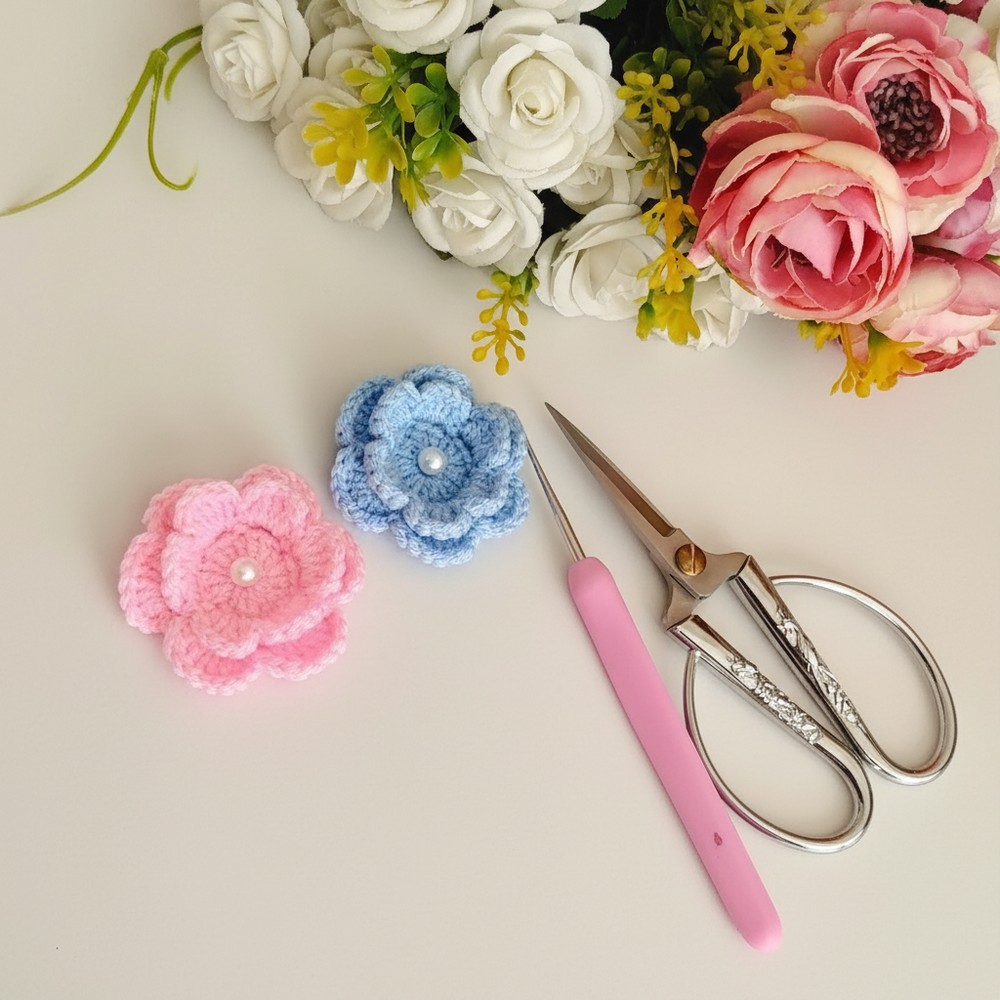
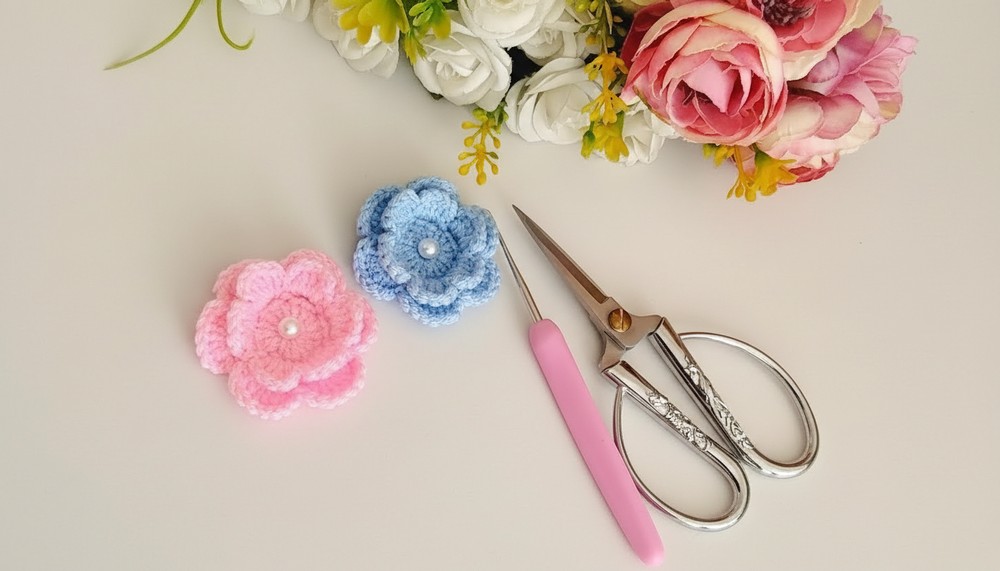
- Finished flowers can be sewn onto accessories, blankets, garments, etc., or attached to clips for hair pieces.
- Tension should be relaxed for a soft, ruffled flower.
Pattern
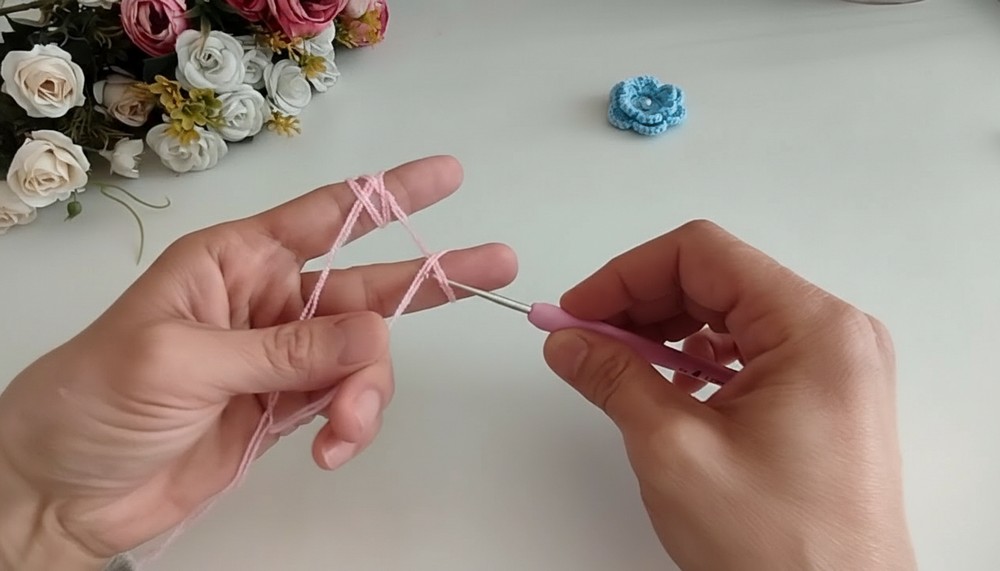
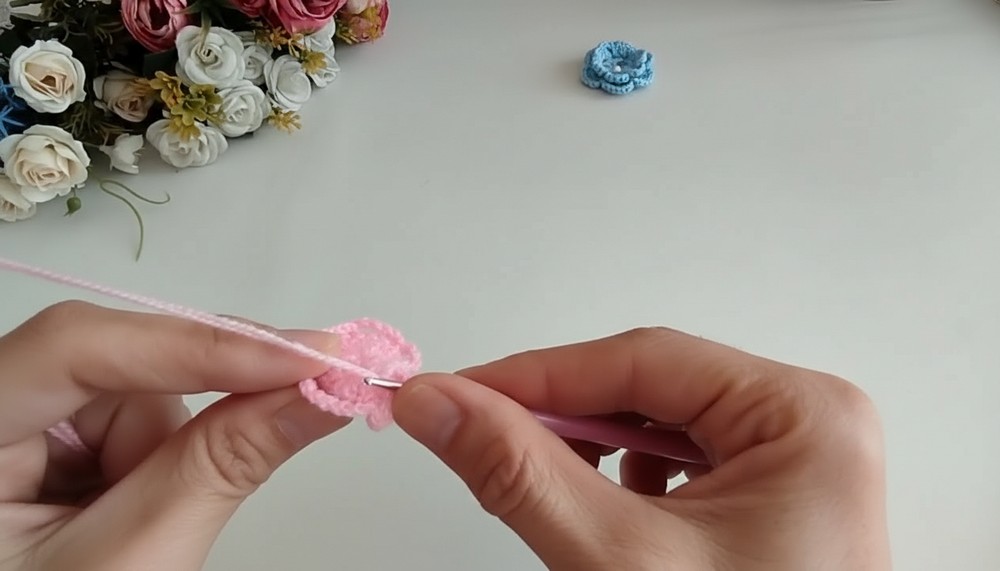
Center of Flower (Using a Magic Ring)
- MR (Magic Ring) or ch 6 and join with a sl st to form a ring.
- Ch 2 (does not count as a dc here—optional for height only).
- Work 18 dc into the ring.
- Tighten the ring gently.
- Sl st to the top of the first dc to join the round.
- [Optional: Fasten off if changing color for next round.]
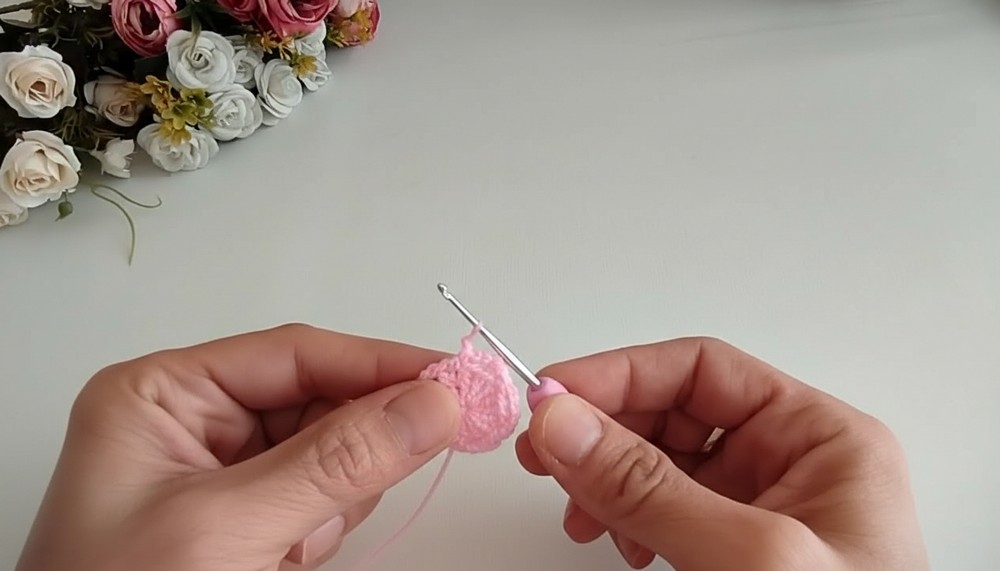
First Layer of Petals (Forming Petal Bases)
- Ch 4.
- Skip 2 dc, sc in next st.
- Ch 4, skip 2 dc, sc in next st—repeat around. You should form 6 chain-4 spaces (nests/bases for petals).
- Sl st to the base of the first petal space to close the round.
First Layer of Petals (Petal Rounds)
- In first ch-4 space:
- Ch 1 (does not count as a st),
- 5 dc into ch-4 space,
- Ch 1, sl st at base of same space (completes the petal).
- Repeat above step in each ch-4 space around, total 6 petals.
- After last petal, sl st to base of first petal to finish the round.
Second Layer of Petal Bases (Work Behind First Layer)
- With the wrong side facing you, position petals forward.
- Ch 6, sl st at the base between petals (where the previous round’s petals meet).
- Repeat (ch 6, sl st at next intersection) behind each petal, making 6 chain-6 spaces.
- Do not pull chains too tight; this provides space for the next petal layer.
Second Layer of Petals (Larger, Outer Petals)
- Rotate work to bring ch-6 loop to front, and in each ch-6 space:
- Ch 1, 7 dc into ch-6 space,
- Ch 1, sl st to base of same space (petal complete).
- Repeat for all 6 ch-6 spaces to create 6 outer petals.
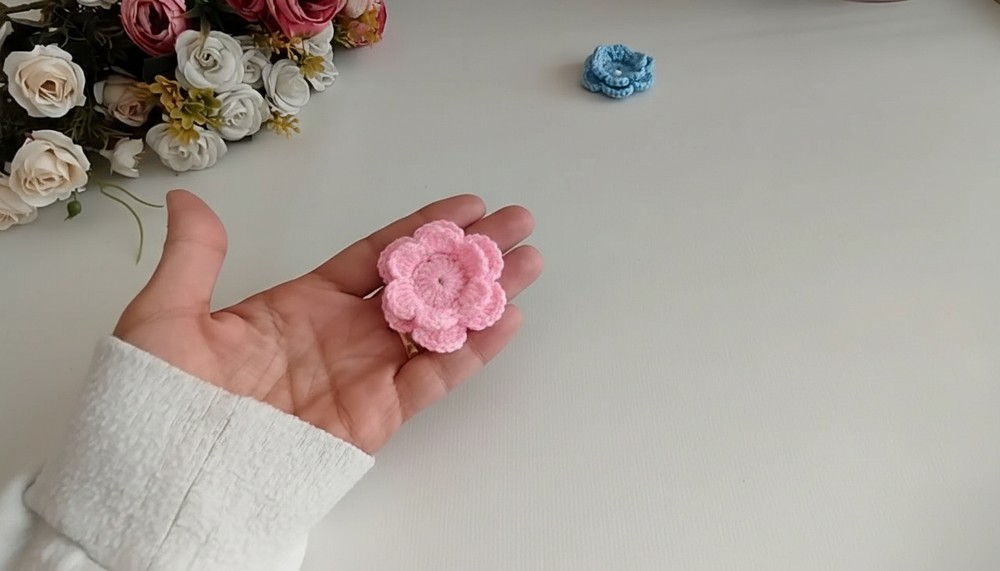
- Finish off and weave in all ends.
Finishing & Embellishing
- Tidy all ends on the reverse side with a darning needle.
- Optional: Sew a bead or pearl at the center.
- Attach flower to desired items (hair clip, bag, slipper, etc.).
- Optional: Block petals gently to desired shape for a crisper finish.
Pattern Corrections
- The original description mentions working “railings”; in US terminology, double crochet (dc) is used for each petal.
- Ensure you have 6 evenly spaced chain spaces after the base round so petals do not overlap unevenly.
- Use gentle tension when making long chains behind petals, to avoid puckering and ensure a neat flower shape.
Tips
- For a denser, more three-dimensional look, use a slightly thicker yarn or layer more petals by repeating similar rounds with longer chains and more dcs.
- If you find it hard to work into the magic ring, start with ch 6, join in a ring with sl st as an alternative.
- Crochet over your starting yarn tail to minimize finishing work.
- Mix yarn colors for the center, inner, and outer layers for multi-colored flowers.
Conclusion
This decorative layered crochet flower is quick, versatile, and perfect for embellishing many projects—blankets, accessories, home decor, and more. Its structure provides a beautiful, dimensional effect and can be customized in size, color, and embellishments.