Crochet Granny Square Handbag Step-by-Step Free Pattern
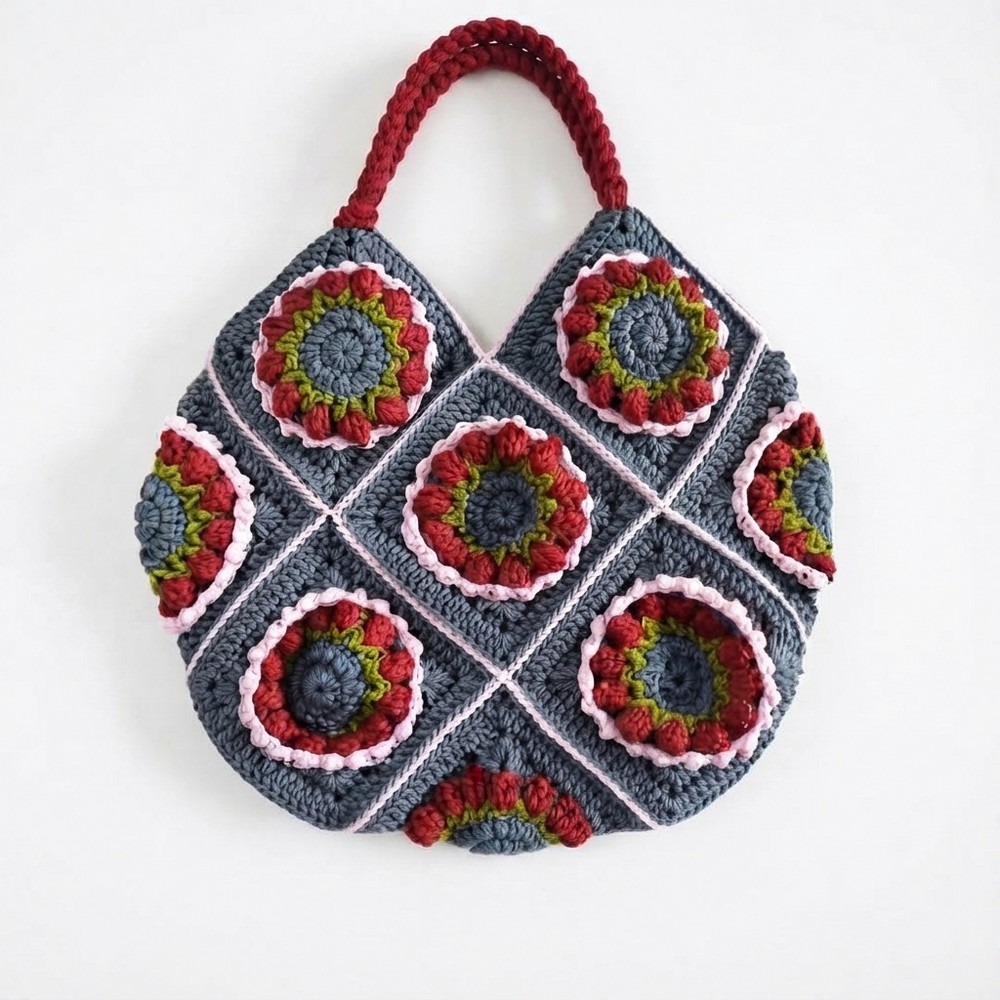
Spruce up your style with this free crochet granny square handbag pattern delivering cheerful texture and a unique vintage inspired flair for daily carrying.
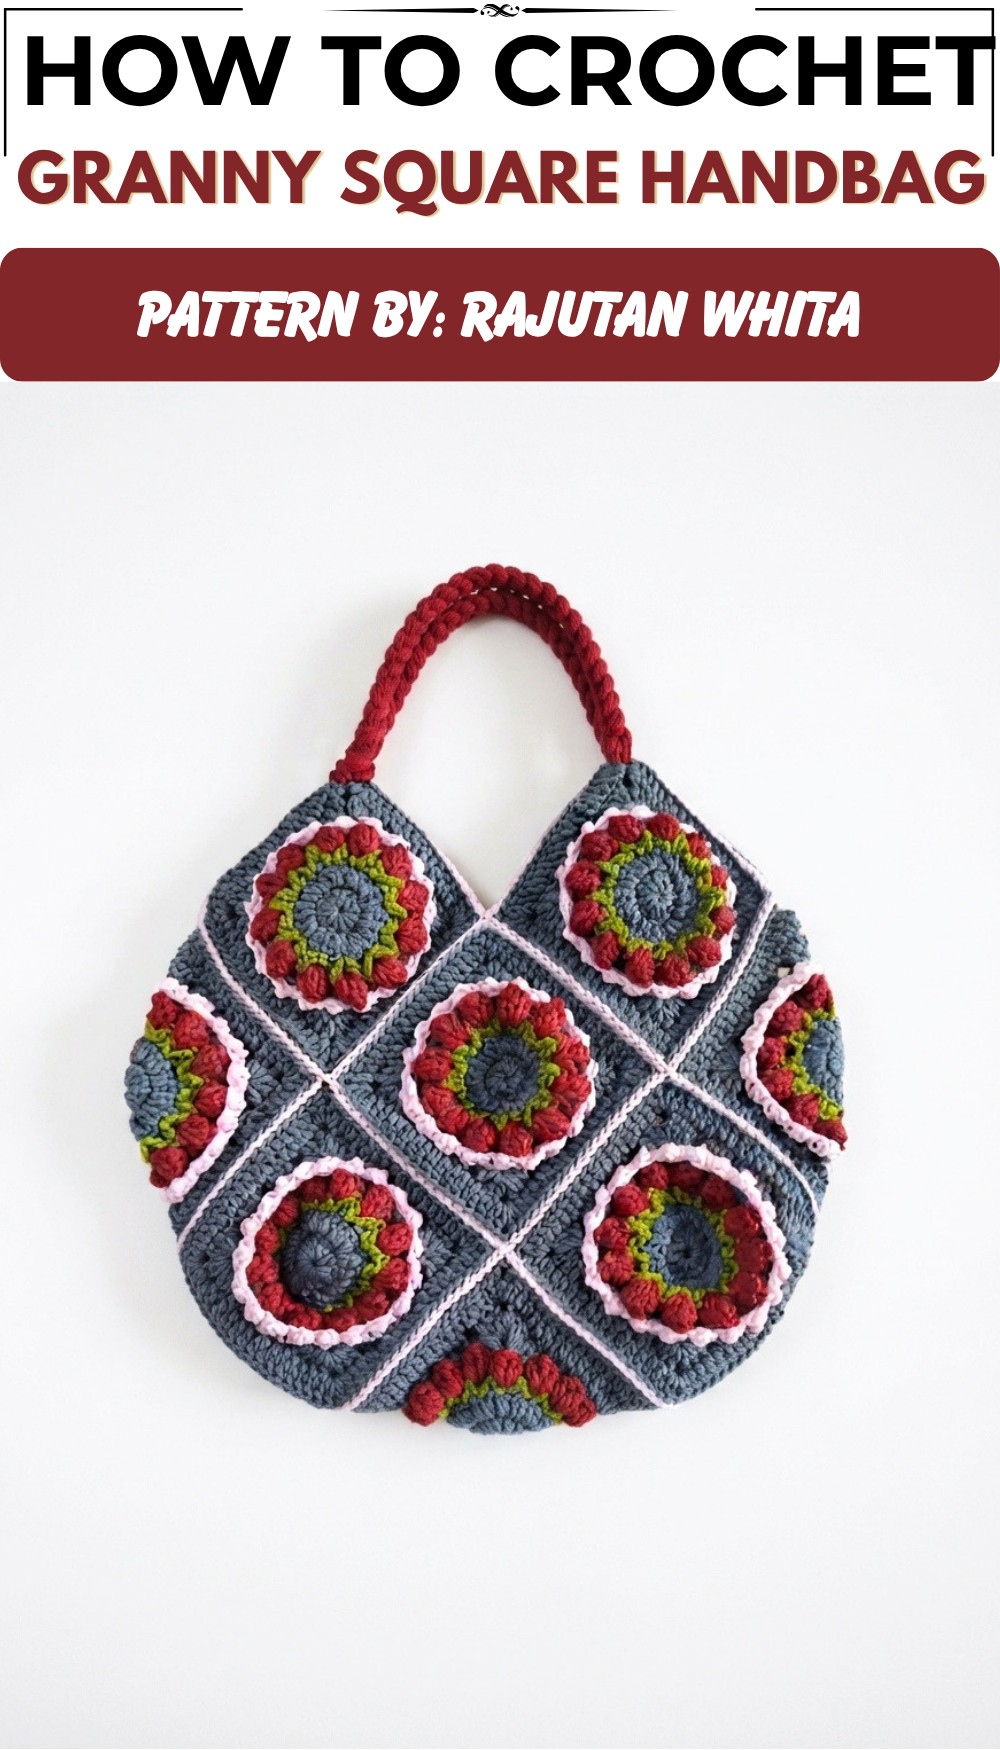
Last week, I went to the market for shopping, but I didn’t have a good bag to carry my things. While searching for ideas, I came across the YouTube channel (Rajutan Whita), where they offer the Free Crochet Granny Square Handbag Pattern. This pattern shows how to make a colorful and handy handbag that fits perfectly for everyday use. The bag is made from granny squares, which are small crochet pieces joined together to form the whole handbag.
The handbag looks cheerful because each granny square uses bright, pretty colors stitched carefully. When all the squares come together, they create a neat square-shaped bag that is both charming and practical. Its size is ideal—not too big to be heavy, not too small to limit what you can carry. The texture is slightly rough but comfortable, with little holes in the granny squares that make the bag light and breathable. This style also adds to the bag’s charm, giving it a unique, vintage feel that stands out. The strap is sturdy and matches the bag’s colors, making it easy to carry over your shoulder or by hand.
Easy Crochet Granny Square Handbag Free Pattern You’ll Love
Rajutan Whita’s YouTube channel explains the Free Crochet Granny Square Handbag Pattern step-by-step in a simple way. Their friendly teaching style helps beginners and experienced crocheters alike to follow along without confusion. This makes the project enjoyable and not overwhelming, even if you’re new to crocheting.
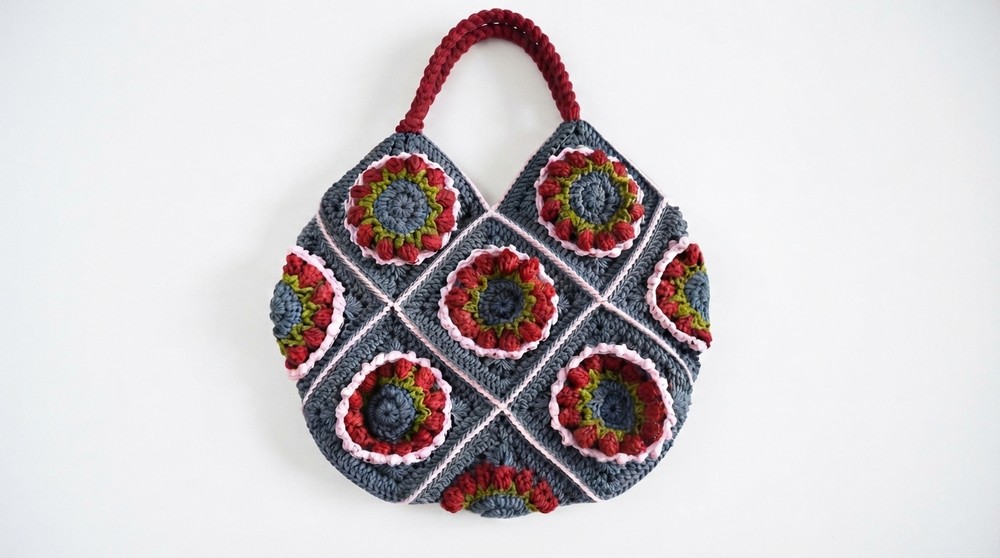
Besides being useful for carrying your daily items, this crochet handbag can be a lovely gift to give family or friends. It also looks beautiful hanging on a wall as decoration, adding a burst of color to your room. Many people enjoy collecting such handmade bags because each one is unique and shows care and skill. Overall, this Free Crochet Granny Square Handbag Pattern creates a beautiful, practical, and special bag that anyone would be happy to own.
Granny Square Tote Bag Crochet Pattern
This pattern guides you step-by-step to create a colorful and charming Granny Square Tote Bag, measuring approximately 26.5 cm wide by 19 cm tall. The bag is constructed by crocheting individual tulip granny squares, joining them with a neat slip stitch technique, then forming the tote shape with finishing touches like an edging and a strap handle. This detailed pattern is designed to be easy to follow, especially for beginners who want to learn granny square assembly and handle creation.
Quick Overview Of Pattern
- Crochet 13 tulip granny squares.
- Join squares with pink yarn using slip stitch (sl st) through back loops only (BLO).
- Fold and join squares to form tote shape.
- Work a neat edging round with pink yarn.
- Create a sturdy handle using multiple yarn strands with a larger hook.
- Optionally add lining and magnetic snap for finishing.
Notes
- Joining through back loops only (BLO) creates flat seams that look professional.
- Keep working yarn underneath while joining to control tension.
- Finish joins with one chain (ch) stitch to prevent tight seams.
- Handle length can be adjusted by changing chain count.
- Use multiple yarn strands for a strong, durable strap.
Skill Level
Suitable for beginner to intermediate crocheters familiar with basic stitches and working in rounds or rows.
Materials
- Yarn: 4 colors
- Base color (granny square background)
- Red (tulip flowers)
- Green (leaves)
- Pink (edging and handle)
- Hooks: 2.0 mm for granny squares, 4.0 mm for handle
- Scissors
- Lighter (to carefully secure yarn tails)
- Tapestry needle
- Measuring tape
- Optional: Fabric for lining and magnetic snap closure
Measurements
- Bag size: approx. 26.5 cm width × 19 cm height
- Granny square size: approx. 7 cm × 7 cm
- Handle length: Adjustable (standard 30 chains recommended)
Gauge & Stitches
- Main stitches:
- Slip stitch (sl st)
- Chain (ch)
- Single crochet (sc)
- Joining technique: slip stitch in back loops only (BLO)
Stitch Abbreviations
- ch = chain
- sc = single crochet
- dc = double crochet
- sl st = slip stitch
- BLO = back loops only
- inc = increase (2 stitches in one stitch)
- dec = decrease
The Crochet Pattern!
Step 1: Crochet 13 Tulip Granny Squares
- Follow your preferred tulip granny square pattern to make 13 squares using base color, red (flowers), and green (leaves) yarn.
- Each square should be approx. 7 cm.
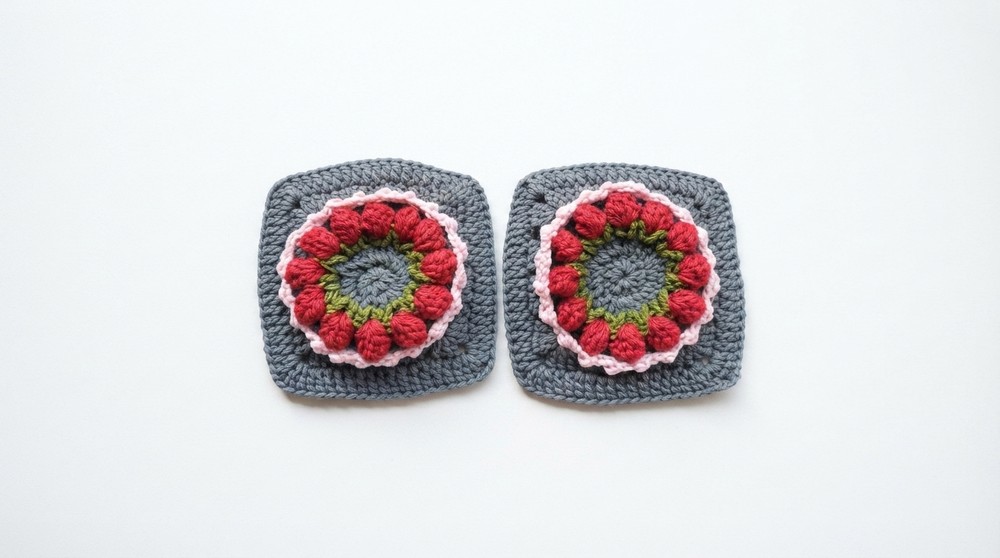
Note: This pattern focuses on assembling the tote bag; detailed tulip granny square instructions can be found in dedicated tutorials.
Step 2: Joining Granny Squares
Materials: Pink yarn, 2.0 mm hook
- Join squares two at a time using slip stitch (sl st).
- Work through the back loops only (BLO) of both squares to create a flat seam.
Joining Tips:
- Insert hook from the top of both pieces you want to join.
- Keep the working yarn underneath the squares while joining for smoother tension.
- After completing one join, chain 1 (ch 1) before moving on to the next join to avoid tight seams.
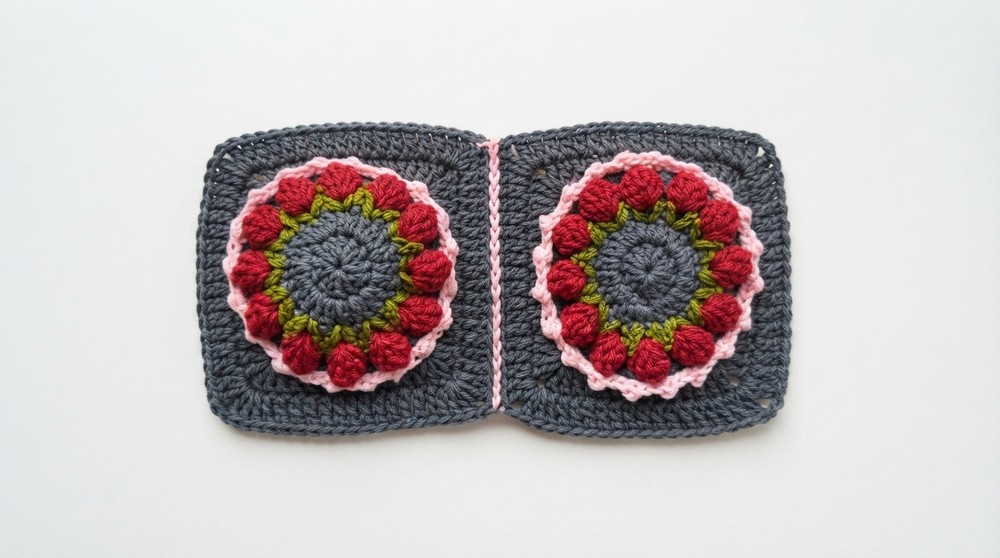
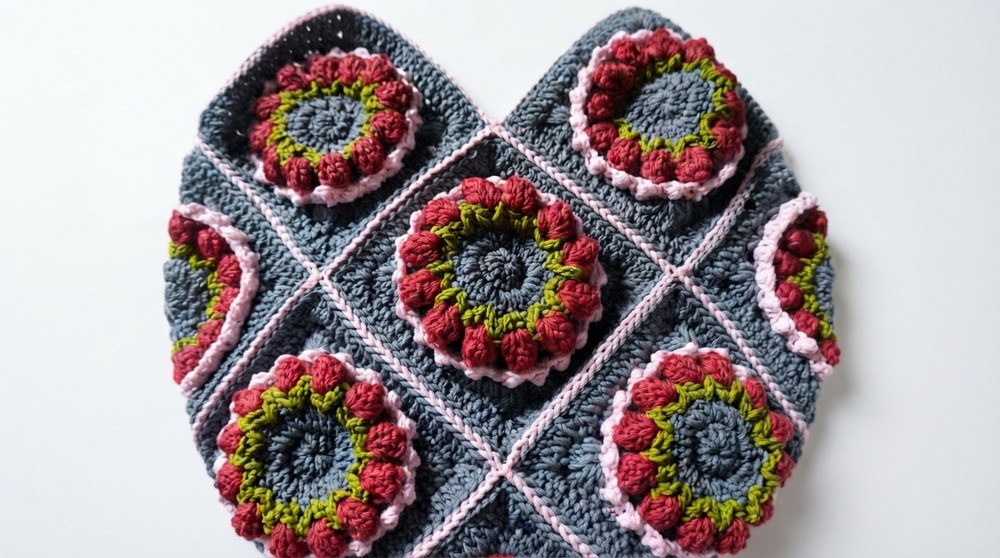
Continue joining all 13 squares according to your preferred layout of the tote’s front, back, and sides.
Step 3: Forming the Tote Bag Shape
- After joining the main panel, fold the piece so the top edges align.
- Attach remaining squares to form the sides of the bag by slip stitching with pink yarn.
Ensure that the corners and edges meet neatly for a clean shape.
Step 4: Edging the Bag’s Top
- Using pink yarn and 2.0 mm hook, work a round of slip stitches (sl st) evenly along the entire top edge of the bag.
- This creates a tidy, firm border and reinforces the bag opening.
Step 5: Create the Bag Handle
Materials: Pink yarn, 4.0 mm hook, 10 yarn strands each 2.5 meters long
- Gather 10 strands of pink yarn approximately 2.5 meters each.
- Attach all strands together at one corner of the bag, leaving about 10 cm of tail for weaving.
- Using the 4.0 mm hook, chain 30 stitches (or your desired handle length) with all strands held together for thickness and strength.
- Secure the other end of the handle at the opposite corner of the bag.
- Use a tapestry needle to weave in all yarn tails securely.
Assembly & Finishing
- Use a tapestry needle to weave in all remaining yarn ends carefully.
- Use a lighter carefully to seal ends if necessary (especially for handle ends) to prevent fraying.
- Optionally, cut and sew a fabric lining matching the bag’s interior dimensions with a 2 cm seam allowance.
- Optionally, sew or glue a magnetic snap fastener into the center of the top edge for secure bag closure.
Finished Size
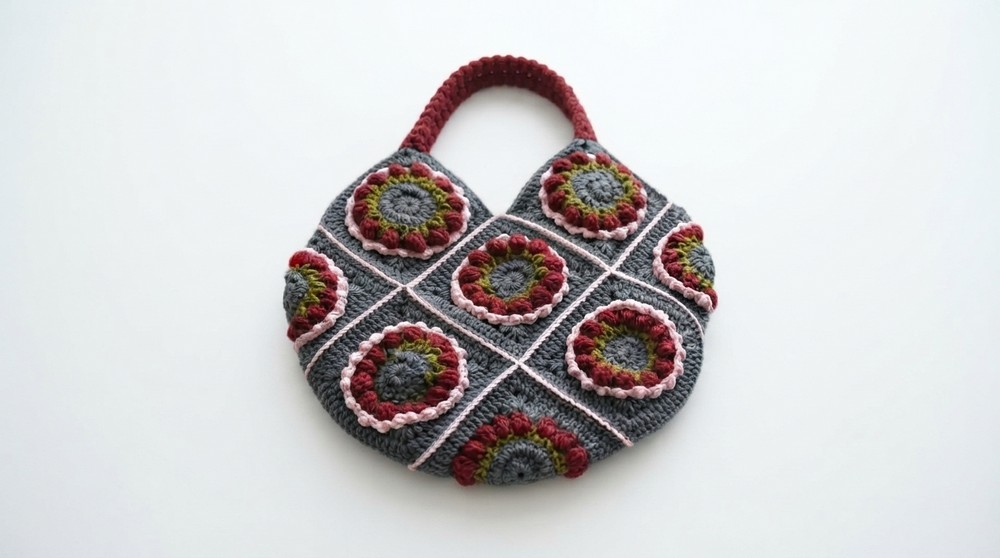
- Final dimensions of your tote bag should be approximately:
- Width: 26.5 cm
- Height: 19 cm (excluding handle)
- Handle length: Adjustable; standard used is 30 chains (~50-60 cm in total length).
Conclusion
This Granny Square Tote Bag pattern offers a wonderful way to practice granny square assembly, joining via slip stitches through back loops only, and creative handle construction using multi-strand yarn. The finished bag combines colorful tulip granny motifs into a practical, attractive accessory suitable for everyday use or gifting. With patience and attention to the neat joining technique, even beginners can achieve professional-looking results.