Free Whale Keychain Crochet Pattern for Amigurumi Fans

Inspire smiles through this free crochet whale keychain pattern that’s combining whimsical sea character and practical use for keys or decorations.
About The Channel: The video comes from Hook and thread, a crochet channel with projects that can inspire fans of small handmade items.
A tiny whale charm can bring a playful ocean feel to your everyday things. The Free Crochet Whale Keychain Pattern is a cute project for anyone who loves small crochet pieces with a fun and friendly look.
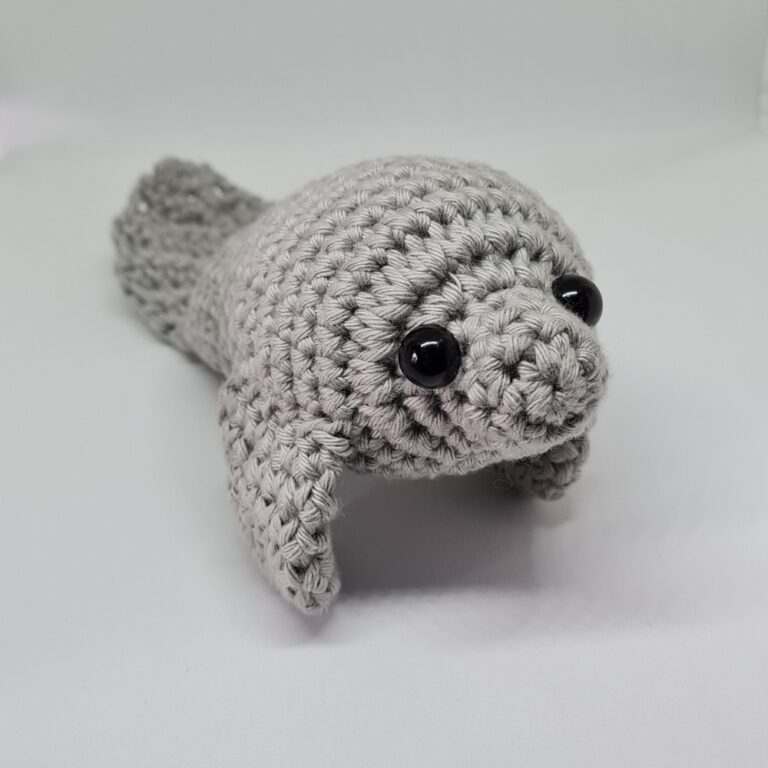
The finished whale has a sweet little body, a rounded shape, and a smooth, soft texture. Its small fins and tail give it a fun sea-creature look. The simple details make the whale easy to notice without making it look too busy.

Free Crochet Whale Keychain with This Free Pattern
Clip the charm onto a set of keys, backpack, purse, or handbag. It can also hang from a pencil case or zipper for a cheerful touch. Because it is small and light, it is easy to carry around wherever you go. The whale can also brighten up a child’s bag or room accessory. Ocean lovers may enjoy keeping one close as a tiny reminder of the sea. Its friendly shape makes it a fun choice for both kids and adults.
Small crochet animals are also great for gifts. A whale keychain can be given for a birthday, friendship gift, school prize, or simple thank-you. Choosing a favorite color can make the little piece feel more personal.

One of the nicest parts of this design is its cheerful style. The rounded body gives it a soft look, while the tail and fins add character. It feels playful without being too fancy, so it can fit many everyday items.
For crochet fans, the pattern offers a fun way to finish a small project with a useful result. The Free Crochet Whale Keychain Pattern is a charming choice for anyone who wants a tiny sea friend that can travel along on bags, keys, and more.
Crochet Amigurumi Whale Pattern for Beginners
This pattern provides clear, step-by-step instructions for crocheting a cute amigurumi whale, ideal for beginners. Using simple stitches and logical shaping, you will craft a soft whale with distinctive fins and a contrasting white belly. The whale is finished with 10 mm safety eyes positioned near the fins for charming expression. Each section is carefully designed to ensure ease of following along, covering the basics of increasing, shaping, color changes, and finishing techniques perfect for your starter amigurumi project.
Pattern Highlights
- Creates a soft amigurumi whale using basic crochet techniques.
- Includes detailed shaping for body and fins to add dimension.
- Contrasting white belly worked in slip stitches for a neat finish.
- Eyes inserted at an anatomically correct point near the fins.
- Final rounds involve progressive decreases and neat closure with stuffing.
Notes
- Stitch marker use is recommended to track the beginning of rounds and stitch counts.
- Tight tension maintains the amigurumi shape and prevents stuffing from showing through.
- Color change for the belly is done using slip stitches into the back loop for a smooth, subtle join.
- Safety eyes should be inserted before continuing the decreases to ensure proper placement and attachment.
- The whale is stuffed firmly to maintain shape but not overly stuffed to avoid distorting the final form.
Skill Level
Beginner
This pattern is designed with beginners in mind, using only basic stitches such as single crochet, slip stitch, and basic increases and decreases. Some experience working in rounds is helpful but the instructions are detailed for new amigurumi makers.
Materials
- Main body yarn: Your choice of color (e.g., blue cotton or acrylic yarn).
- White yarn (for belly accent).
- 3.5 mm crochet hook.
- 10 mm safety eyes.
- Stitch marker.
- Yarn needle for finishing.
- Scissors.
- Fiberfill stuffing.
Measurements / Sizing (Approximate)
- Finished amigurumi whale measures about 12 cm in length.
- Size can slightly vary depending on personal crochet tension and stuffing amount.
Gauge and Stitch Pattern
- Worked primarily in Single Crochet (SC) rounds.
- Sizing is flexible as amigurumi tolerance accepts slight gauge variations; however, maintaining consistent tight tension is important to avoid visible gaps.
- Slip stitches (SL ST) used for color transitioning and creating the belly edge.
Stitch Abbreviations
| Abbreviation | Meaning | Description |
|---|---|---|
| CH | Chain | Yarn over, pull through loop |
| SC | Single Crochet | Insert hook, yarn over, pull through two loops |
| INC | Increase | Two SC stitches in the same stitch |
| DEC | Decrease | Single crochet decrease—crochet two stitches together |
| SL ST | Slip Stitch | Insert hook, yarn over, pull through stitch and loop |
Special Stitches
No special stitches are used beyond standard amigurumi techniques. Color transitions for the belly use slip stitches worked into the back loops to create a neat edge.
The Crochet Pattern!
Step 1 – Starting the Body
Foundation:
- Begin by chaining 2 chains (CH 2).
- Into the first chain, work 8 single crochet (SC) stitches. This forms the base circle.

Round 2:
- Work an increase (INC) in every stitch around. This means working 2 SC in each of the 8 stitches, resulting in 16 SC stitches.
- Place a stitch marker in the first stitch of the round to mark the starting point.
Step 2 – Shaping the Body
Round 3:
- Work the following sequence twice around the round:
- 7 SC, then 1 INC (work 2 SC in next stitch).
- The total stitch count for this round is now 18 SC.

Round 4:
- Work 18 SC stitches evenly around maintaining the stitch count. This round adds height without increasing width.
Step 3 – Creating the Fins and Details
Round 5 (Fin Round):
- Begin round with 3 SC, then make 3 chains (CH 3) to create the fin’s base.
- Into the 2nd chain from the hook, make a Slip Stitch (SL ST).
- Then work 1 SC in the next chain.
- Slip stitch back into the main round to reconnect.
- Work 10 SC stitches to continue along the body.
- Repeat the fin sequence on the other side:
- 3 chains, 1 slip stitch in 2nd chain, 1 SC in following chain, with a slip stitch back to the round.
- Continue with 4 SC stitches.
- Make 4 chains (CH 4) for a second fin type.
- In the 2nd chain from the hook, work 1 half-double crochet (hdc),
- Then 1 SC in the next chain, and 1 slip stitch in the last chain.
- Slip stitch back into the round.
- Repeat the second fin sequence once more, then finish the round with 1 SC.
Step 4 – Adding the White Belly
- Switch to white yarn.
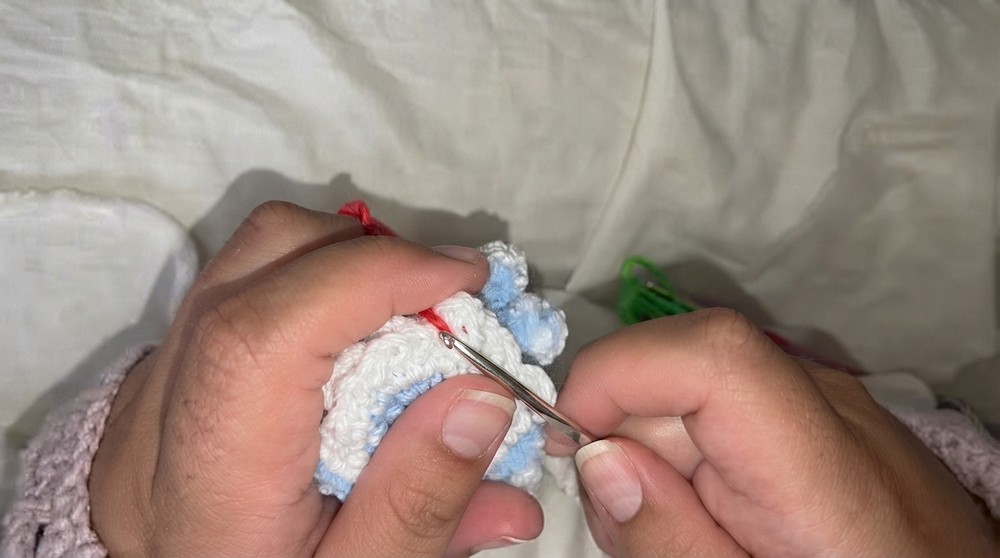
- Work 18 slip stitches (SL ST) into the back loops of the stitches on the previous round to form a neat edge for the belly.
- This forms a white belly panel seamlessly connected around the whale’s body.
Step 5 – Finishing and Stuffing
Inserting Safety Eyes:
- Place the 10 mm safety eyes between Rounds 4 and 5, close to where the fins start, positioning them symmetrically on both sides.
Rounds 6 and 7 (Decreasing Rounds):
- Round 6: Work a pattern of 1 SC, 1 decrease (DEC) repeatedly around until stitch count reduces to 12 stitches.
- Round 7: Continue decreasing with 1 SC, 1 DEC, reducing stitches further to 8 stitches.
Stuffing:
- Firmly stuff the whale with fiberfill before closing the final hole to maintain a smooth, rounded shape.

Closing:
- Fasten off the yarn leaving a long tail.
- Using a yarn needle, weave the tail through the front loops only of the remaining stitches.
- Pull tightly to cinch the opening closed neatly.
- Secure with a knot inside the body and weave in the ends invisibly.

Assembly & Finished Size
When fully assembled, the whale measures approximately 12 cm long with a well-balanced, rounded body and fins neatly positioned near the safety eyes. The white belly contrasts nicely with the main color body, and the key features such as fins and eyes are firmly attached for durability.
Conclusion
This beginner-friendly amigurumi whale pattern introduces you to essential crochet techniques including working in rounds, increases and decreases, color changes, and finishing methods such as stuffing and closing openings. The inclusion of fins and a white belly adds character while keeping the project manageable. Successfully completing this pattern will strengthen skills and provide a delightful handmade whale to treasure or gift.