Free Heart Keychain Crochet Pattern for Beginners
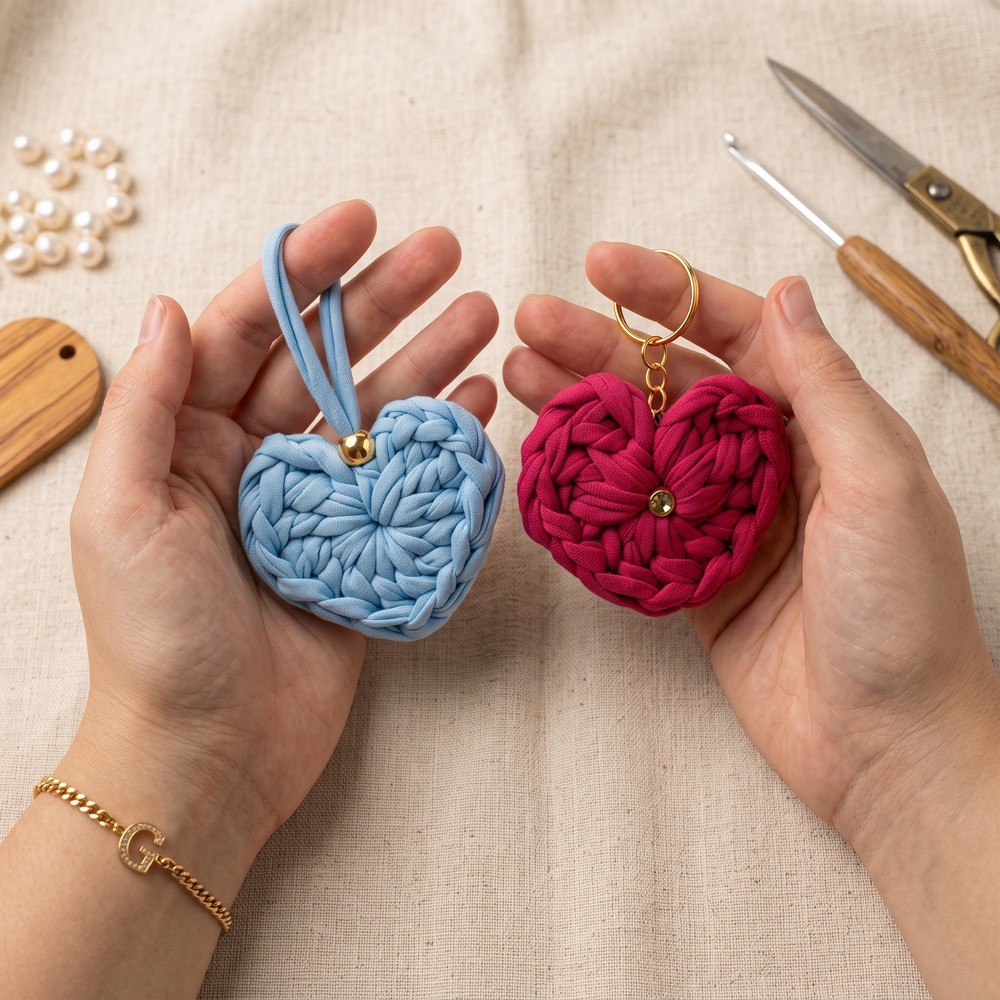
Freshen up your accessories with this free crochet heart keychain pattern that combines cute appeal and effortless charm in one lovely piece.
About Channel:
This sweet project is shared through Jullianes Atelier, a YouTube channel with creative crochet ideas. The heart keychain is a nice choice for people who enjoy small projects that can be finished and enjoyed in many ways. Its simple shape also makes it easy to match with different bags and personal styles.
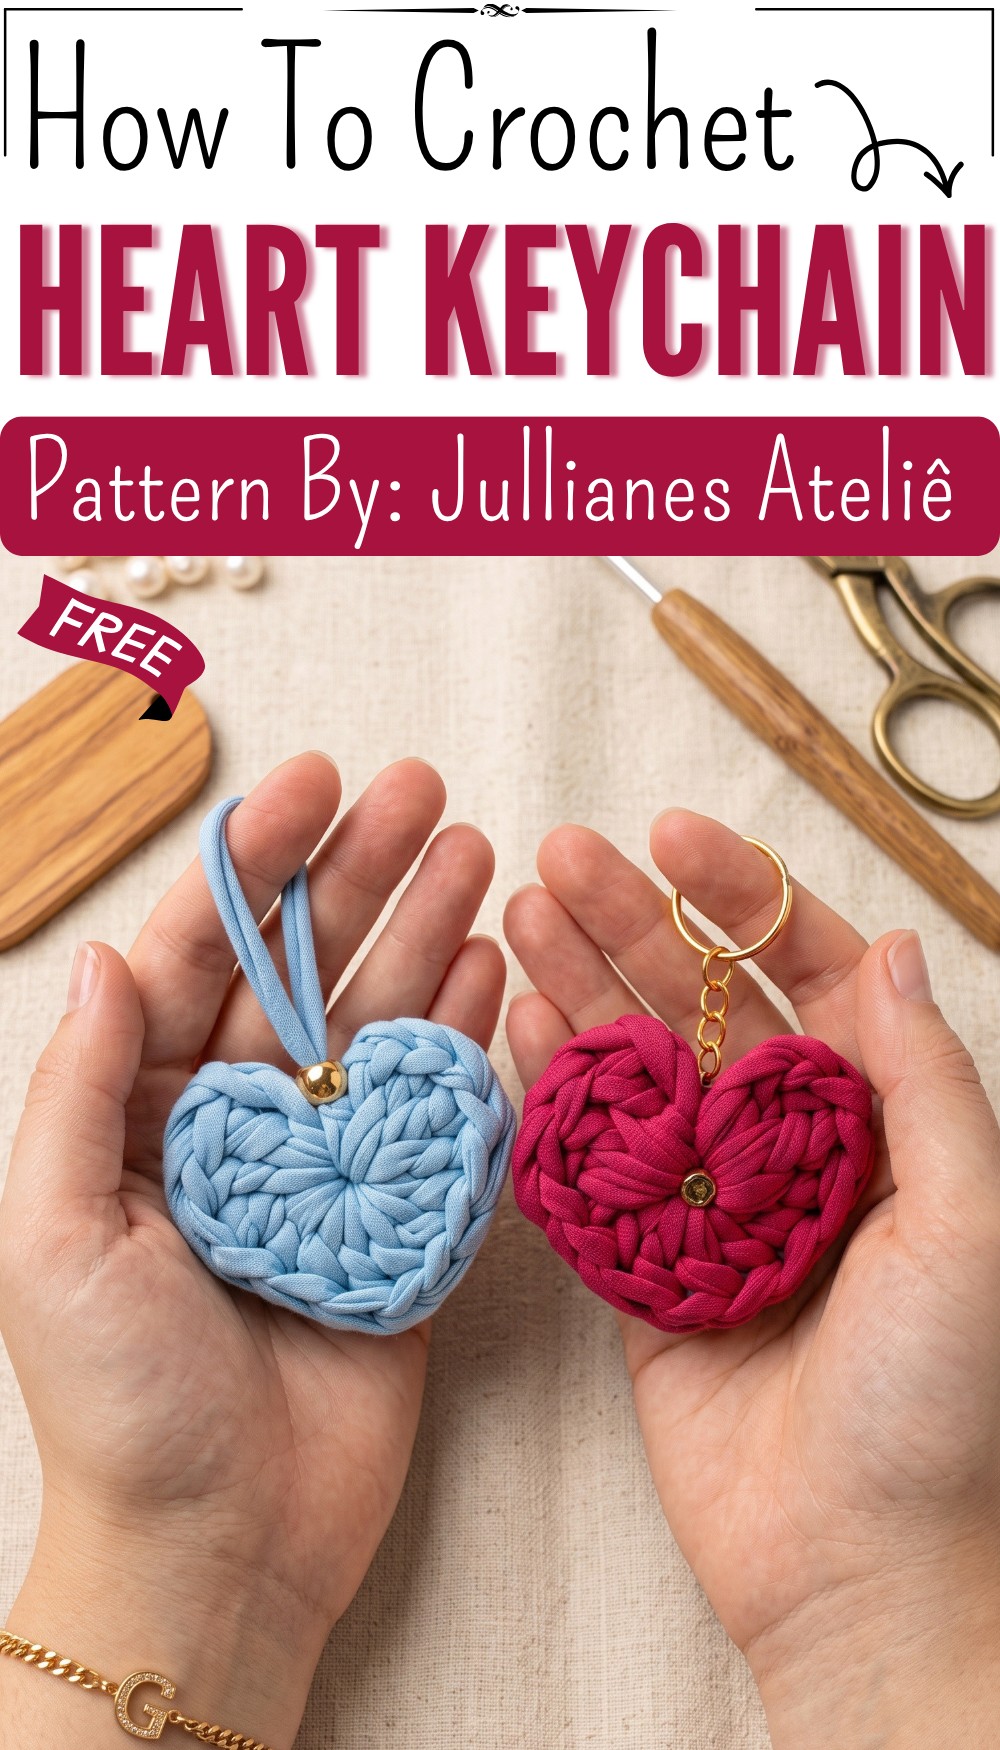
A crochet heart keychain is a small and lovely accessory that can add a sweet touch to everyday items. The Free Crochet Heart Keychain Pattern is a cute project for anyone who enjoys making small pieces with a warm and personal feel.
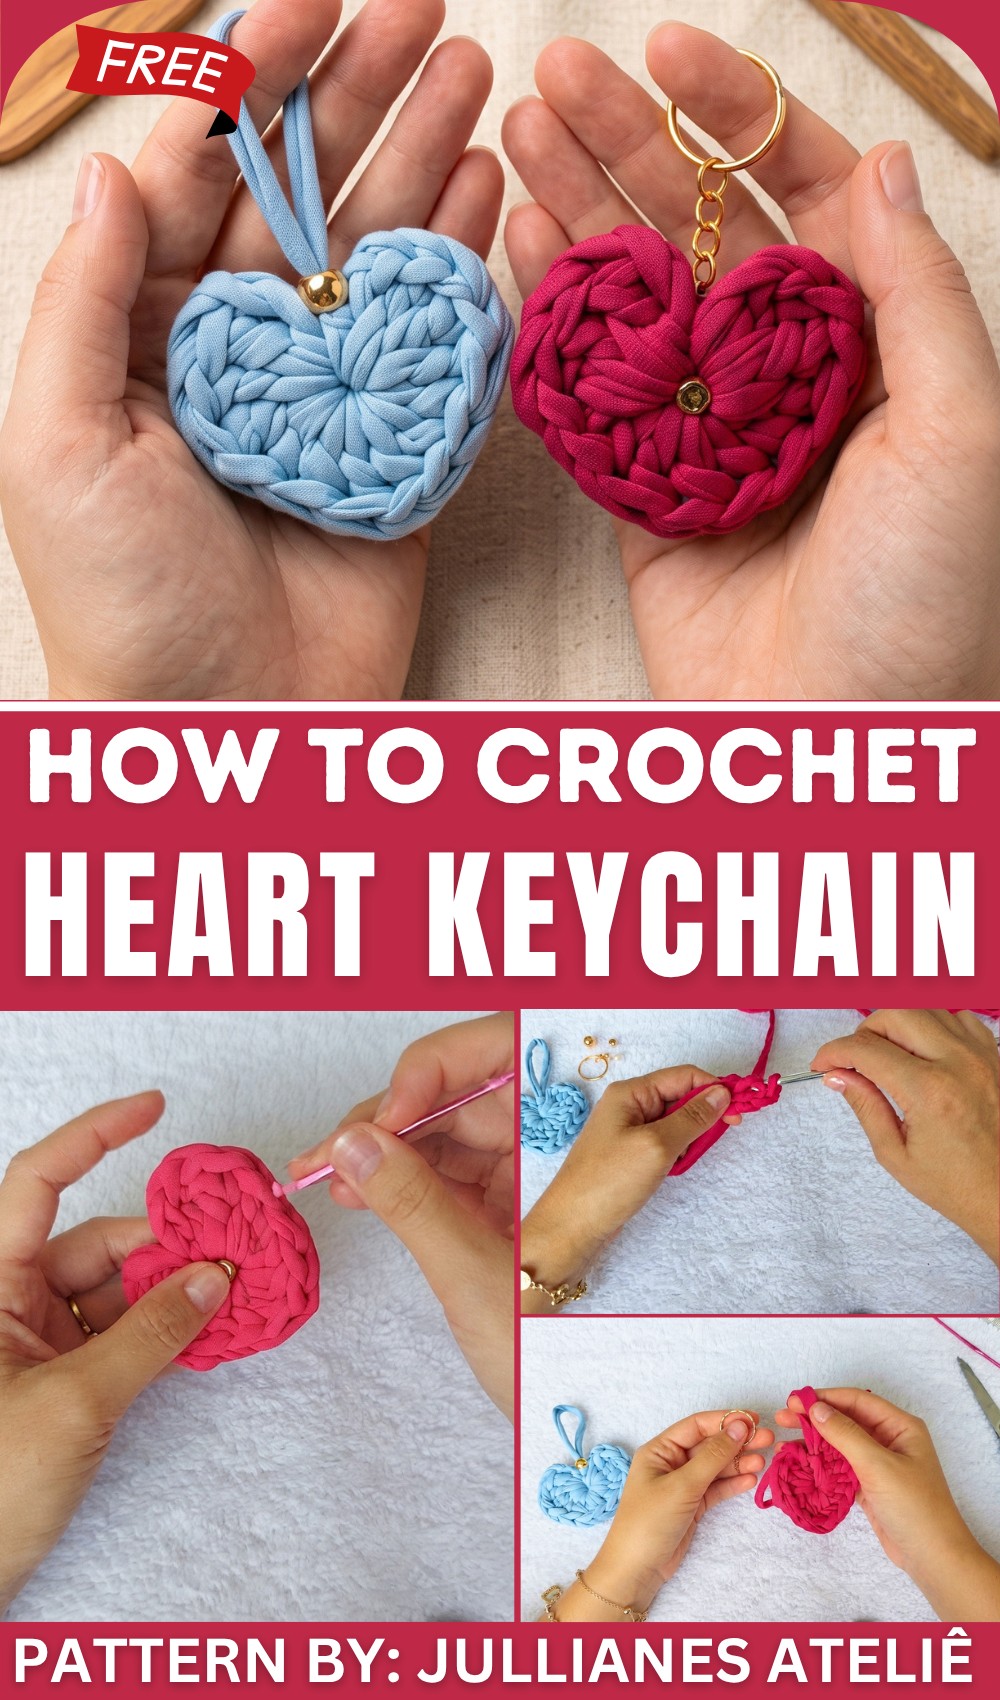
Free Heart Keychain Pattern for Easy Crochet
This heart keychain has a soft and friendly look. Its heart shape gives it a clear and charming style, while the crochet texture makes it feel cozy and special. The small size makes it easy to carry and perfect for adding a little color to your daily things. It can look great in bright shades, soft colors, or classic red and pink.
There are many simple ways to use this little heart. Attach it to a set of keys, a handbag, backpack, purse, or pencil case for a fun extra touch. It can also be used as a small bag charm or kept as part of a collection of cute crochet accessories. The neat shape makes it stand out without being too large or heavy.
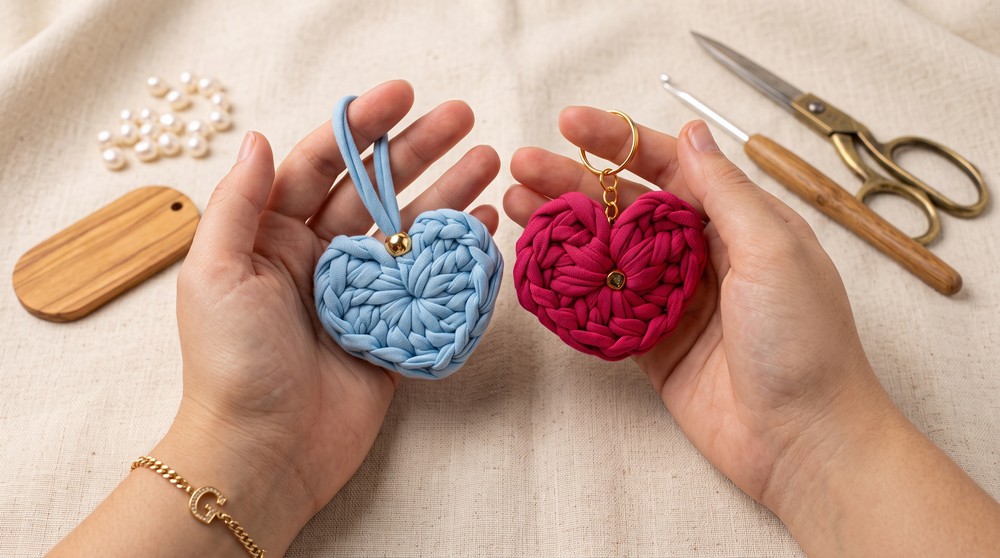
A crochet heart keychain can be more than just a useful accessory. It can become a lovely little gift for a friend, family member, teacher, or someone special. Add one to a present for a personal touch, or keep several in different colors for a cute collection. Its heart shape also gives it a warm meaning, making it a thoughtful choice for birthdays, special days, or simple acts of kindness.
Crochet Heart Keychain Pattern
This step-by-step guide shows you how to create a beautiful crochet heart keychain using knit fabric thread with elastane and 6 mm crochet hooks. The pattern includes detailed instructions for shaping the heart using half double crochet and chain stitches, as well as the finishing touches that give the keychain a polished and professional look. The heart is adorned with a delicate golden bead and carefully assembled with secure gluing and sewing for durability.
Pattern Highlights
- Heart body: Worked using a magic ring foundation with half double crochet and chain stitches
- Detailed shaping: Incorporates varying stitch heights along the halves to form a symmetric heart shape
- Finishing touches: Use of a gold bead threaded with yarn for decoration and a neat finish
- Secure assembly: Ends are hidden and glued with Tech Bond glue to ensure longevity
- Optional customization: Adding leather tags, pearls, or other embellishments for personal style
Notes
- This pattern uses knit fabric thread with elastane for a flexible, sturdy texture appropriate for keychains
- The 6 mm needle provides a comfortable gauge for a firm yet soft fabric
- Use of Tech Bond glue is recommended for securing thread ends; it remains durable after washing and peels off cleanly if needed
- Threading beads requires a thinner needle to pass through bead holes easily
- Careful alignment and tension balance help create a neat and even heart shape
- The pattern is designed to avoid holes or gaps in the heart’s center by tight ring closure and consistent stitch tension
- Sewing the bead for decoration is done with a running stitch on the front side for a clean look
- Adjust bead placement and finishing based on personal preferences
Skill Level
- Convenient for intermediate crocheters familiar with magic ring, half double crochet, slip stitch, chains, and finishing techniques
- Requires attention to tension to achieve the heart’s curve and symmetry
- Basic hand-sewing skills beneficial for attaching decorative beads securely
Materials
- Knit fabric yarn with elastane (color of choice)
- 6 mm crochet hook
- Thinner sewing needle suitable for threading beads
- Gold beads (approx. 10 mm) or beads of your choice
- Strong glue such as Tech Bond
- Small metal ring for keychain attachment
- Scissors
Measurements / Sizing
- Approximate finished heart diameter: 5–6 cm (flexible depending on yarn tension)
- Size is small and compact, ideal for hanging on keys or bags
- Keychain ring size can be selected according to preference for attachment
Gauge and Stitch Pattern
- Gauge is flexible but consistency improves the heart’s final shape
- Primary stitch: half double crochet (hdc), worked in sequences with chain stitches for shaping
- Slip stitches (sl st) used minimally at finishing points
- Chains incorporated mainly to raise stitch height and close magic ring
Stitch Abbreviations
| Abbreviation | Meaning |
|---|---|
| ch | Chain |
| hdc | Half Double Crochet |
| sl st | Slip Stitch |
| mr | Magic Ring (Magic Circle) |
Special Stitches
Magic Ring (mr)
- Form a loop with yarn and insert the hook inside it
- Yarn over and pull through to create the first loop
- Work stitches directly inside the ring, then pull the tail to close it tightly
- Provides a clean, hole-free center for round or shaped motifs
The Crochet Pattern
Heart Construction
Step 1: Magic Ring and Initial Foundation
- Begin by creating a magic ring with the knit fabric yarn and 6 mm hook.
- Pull yarn from the ball and make a small slip stitch to close the ring.
- Chain 3 stitches to start, counting these as a raised foundation for the first half double crochets.
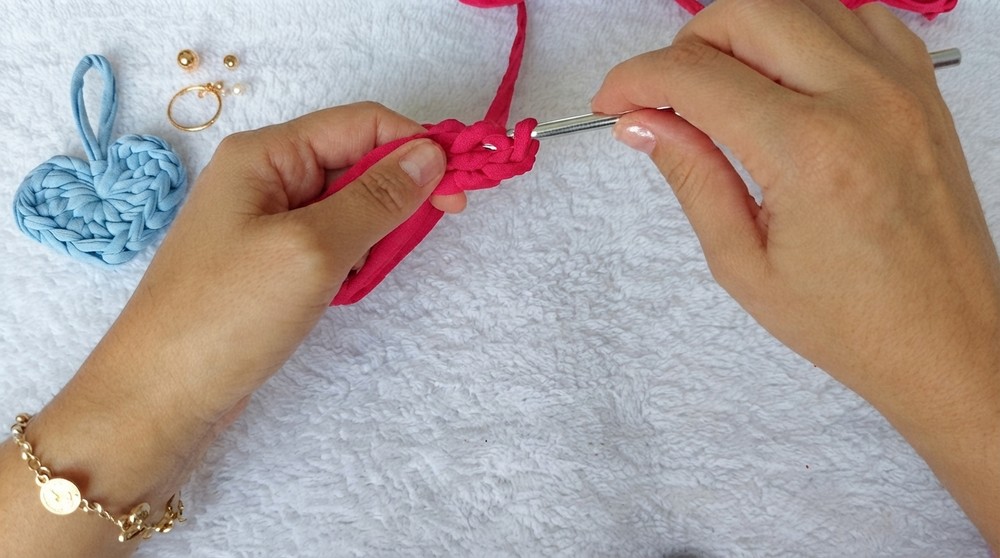
Step 2: First Half Double Crochet Sequence
- Work a series of half double crochet (hdc) stitches into the magic ring.
- Continue until you reach approximately halfway around the ring. This section forms the first side of the heart.
- Pay attention to stitch consistency to maintain a smooth curve.
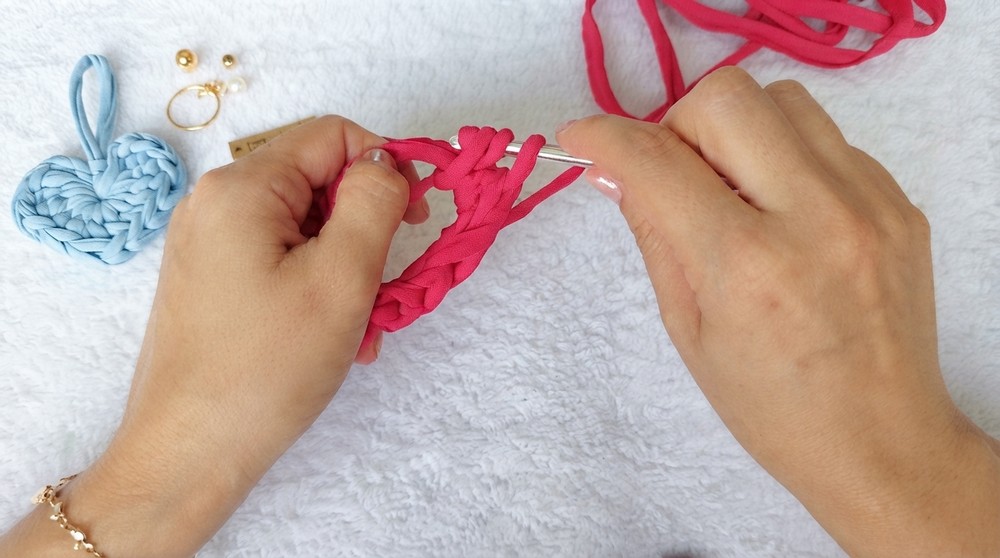
Step 3: Transition with Half Double Crochet Increase
- After the initial hdc stitches, work two half double crochets into the next stitch to gently increase.
- This helps shape the apex of the heart’s curve and keeps the form rounded elegantly.
- Follow the increase with a taller stitch — a high (double crochet) stitch that marks the center top point of the heart.
Step 4: Turning and Second Half Formation
- After reaching the middle, turn your work to begin the opposite side of the heart.
- Mirror the stitch sequence of the initial half but in reverse order: start with two chains, then half double crochets, incorporating an extra third medium height half double crochet at a certain point to balance the shape.
- Continue working half double crochets back down along the magic ring curve.
Step 5: Closing the Magic Ring and Finishing Round
- Work three chains to adjust the placement of the final stitch.
- Complete the round with a slip stitch (sl st) into the magic ring to securely close the heart’s base.
- Leave a generous yarn tail for pulling tight and finishing.
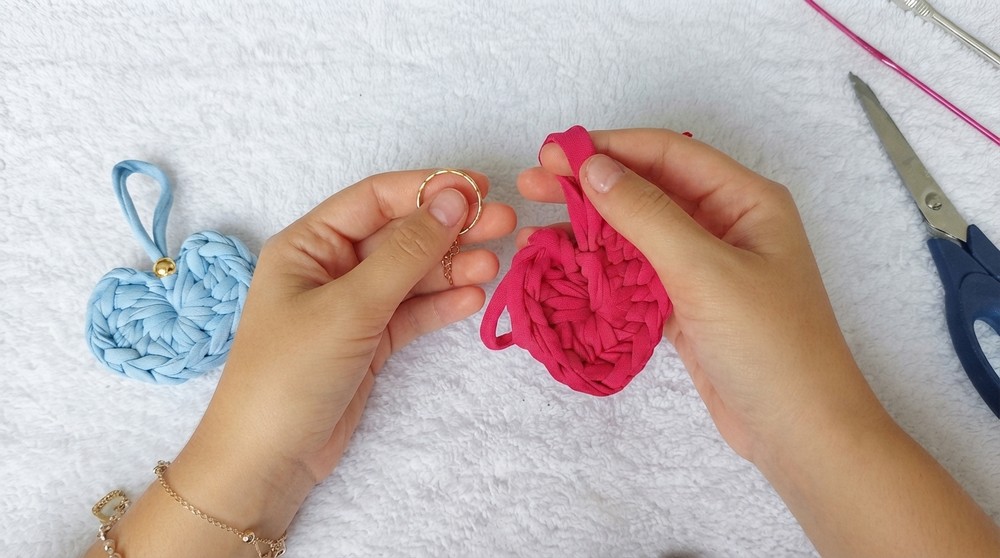
Step 6: Tightening the Heart Shape
- Pull the tail firmly to close the magic ring tight, shaping the heart so that the center is nicely rounded and neat.
- Adjust the tension and shaping by hand as needed to achieve a smooth heart form.
Decorative Finishing
Step 1: Bead Attachment
- Using a thinner needle designed for threading beads through yarn, thread a 10 mm gold bead onto the yarn tail.
- Pull the yarn carefully through the bead, bringing the bead down to rest neatly at the base or top center of the heart, depending on your design.
- Leave a longer strand for the bead loop to dangle attractively or secure flush against the heart.
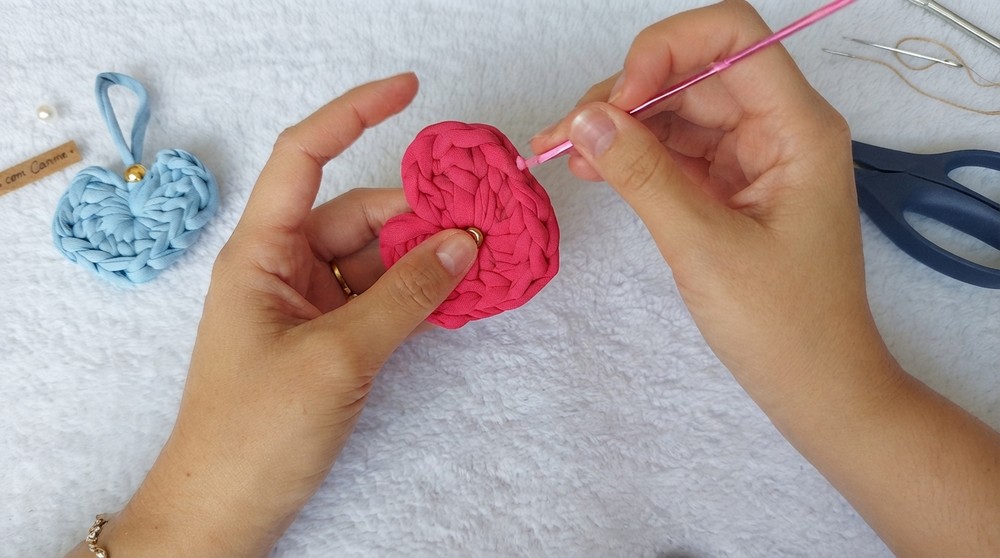
Step 2: Hiding Ends and Securing
- Hide the remaining yarn tails between the heart’s stitches or points to ensure a clean finish.
- Use Tech Bond glue, or a similarly strong adhesive, to apply small drops at critical holding points.
- Press gently to secure and prevent yarn loops from loosening or unravelling.
- Allow the glue to dry and cool to a hard bond before handling.
Step 3: Sewing the Bead in Place
- Thread the thinner needle with yarn matching or contrasting your bead.
- Using a running stitch on the front side of the heart, sew through the bead, securing it without visible yarn behind the work.
- Avoid leaving loose thread ends by carefully weaving and trimming.
Final Touches and Assembly
Step 1: Attaching the Keychain Ring
- Use pliers to gently open the metal ring without distorting its shape.
- Attach the metal ring through the yarn loop at the top of the heart, ideally including the base thread used for the bead.
- Close the ring tightly with the pliers for secure attachment.
Step 2: Final Shaping and Inspection
- Mold the heart gently by hand to ensure evenness and consistent curvature.
- Inspect the bead attachment and glued ends, reinforcing with additional glue or stitching if necessary.
- Trim any excess thread for a tidy finish.
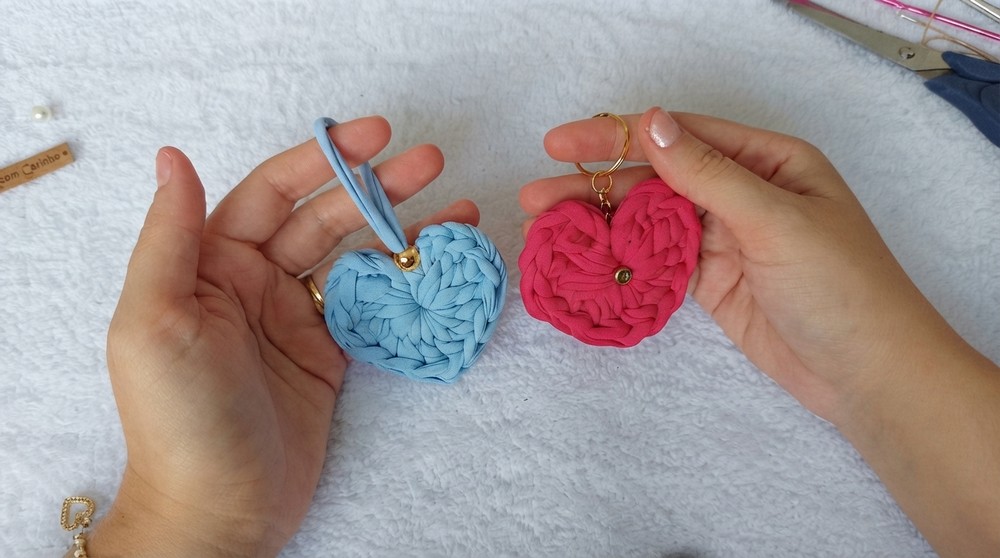
Assembly & Finished Size
The completed crochet heart keychain measures approximately 5 to 6 cm across, with a neat, rounded shape and smooth curves. The gold bead adds a delicate decorative element, enhancing its charm and uniqueness. The heart is flexible but sturdy, ideal for everyday use on bags, keys, or as a gift tag. The metal ring attachment allows easy addition to any keyring or hanging accessory.
Conclusion
This crochet heart keychain combines simple yet thoughtful crochet techniques to deliver a beautifully shaped accessory with elegant finishing details. By carefully following the foundation magic ring construction, half double crochet sequences, and strategic stitch increases, the heart attains a graceful, natural contour. The addition of a golden bead and meticulous finishing — hiding yarn ends, applying firm glue, and sewing beads securely — ensures durability and attractiveness. This pattern invites creativity in the choice of yarn color and charm accents, allowing each project to be personalized. Perfect for gifting or personal use, this crochet heart is a testament to how basic stitches and patient finishing create lovely handmade treasures.