Free Anti-Stress Tic Tac Pattern with Easy Crochet Instructions

Try this easy and soothing crochet anti-stress Tic Tac helps calm your mind and provides a simple way to relax whenever you need a peaceful moment.
Do you ever feel stressed and wish you had something soft and gentle to help you relax? The Crochet Anti-Stress Tic Tac is just the perfect little companion! Designed by Meu crochê ponto a ponto, this sweet and cuddly crochet piece is soft, small, and very easy to hold. Its simple, charming look invites you to touch and squeeze it whenever you need a calm break from a busy day.
Easy Crochet Anti-Stress Tic Tac Free Pattern for Handmade Gifts
This crochet tic tac is made with soft yarn and neat stitches, making it smooth and pleasant to feel in your hand. You can keep it in your pocket, purse, or backpack and use it anytime—at school, work, or even while watching TV. Holding or gently squeezing it can help you focus better and feel less anxious. It’s also great to use during meditation or quiet moments to bring calmness and peace.
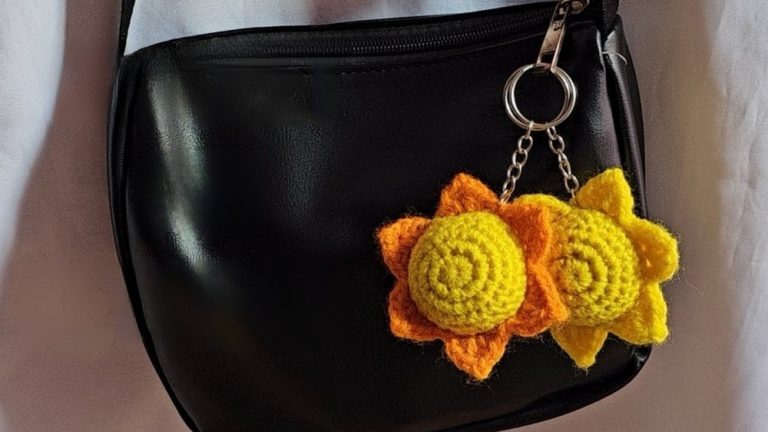
Besides being a helpful stress-reliever, this crochet tic tac can be a cute keychain or desk decoration. It is also a thoughtful handmade gift for friends or family who could use a little comfort. The design is light, friendly, and easy to carry anywhere, making it a perfect little reminder to slow down and relax.
If you want to try making your own, go ahead and check out the free pattern for the Crochet Anti-Stress Tic Tac by Meu crochê ponto a ponto. It’s a fun and easy project that brings calm and joy in a small package!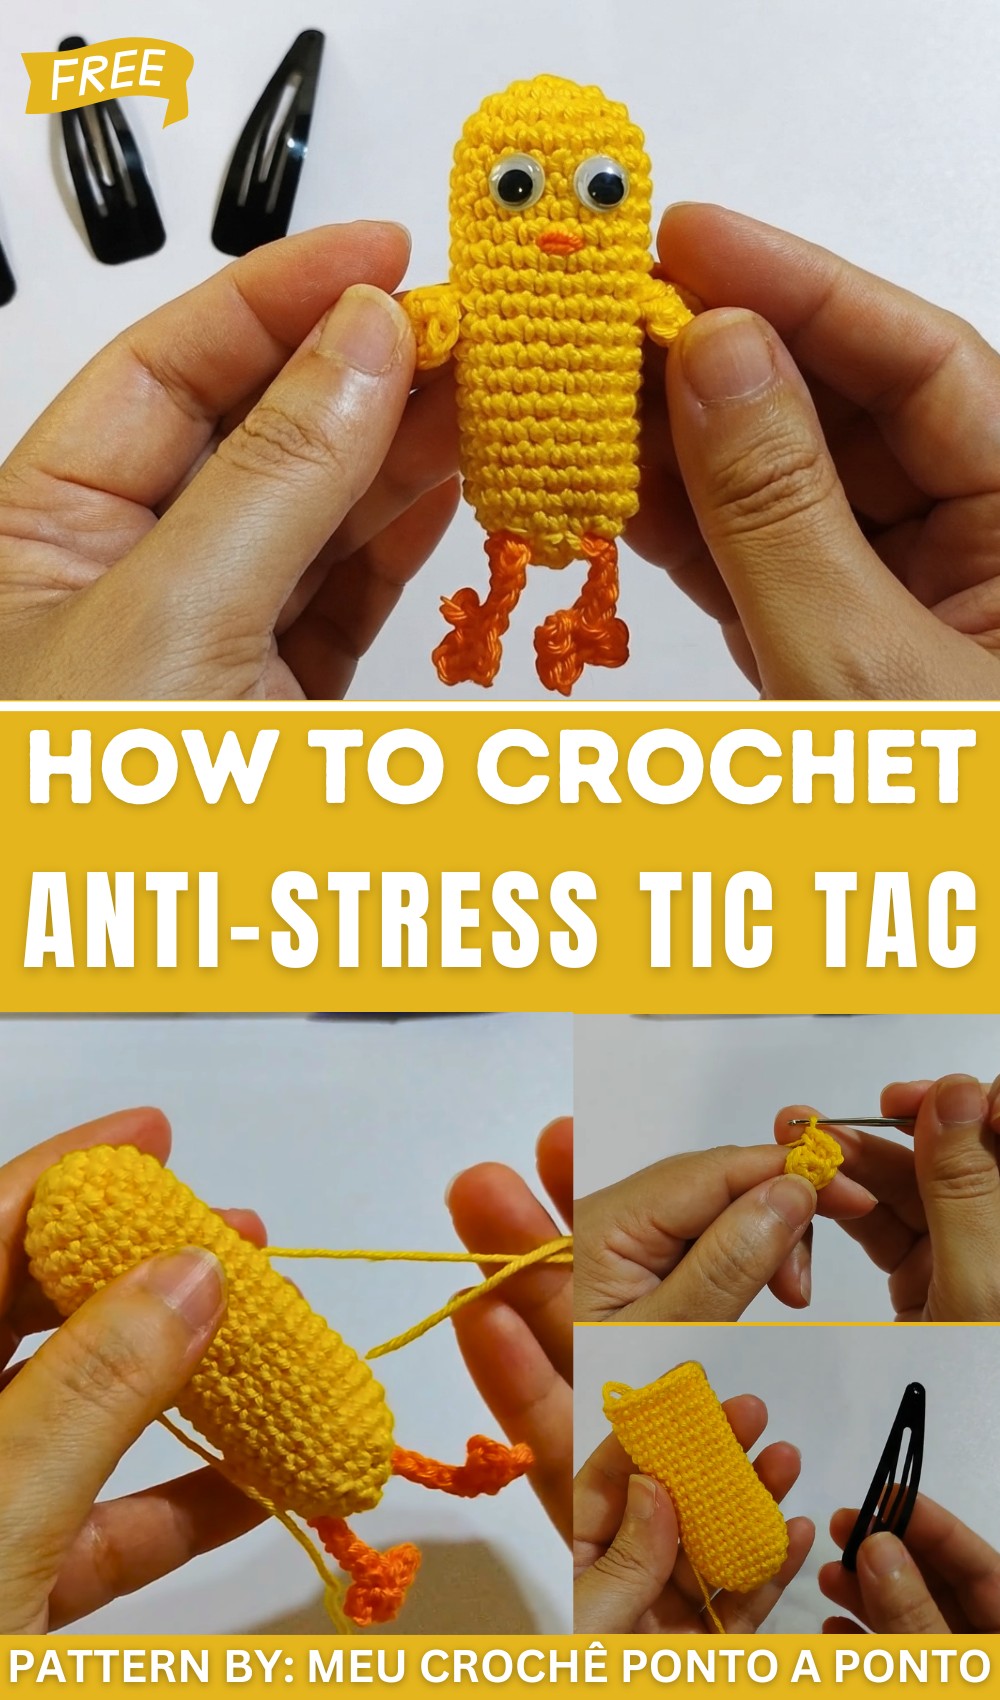
Amigurumi Anti-Stress Chick Pattern
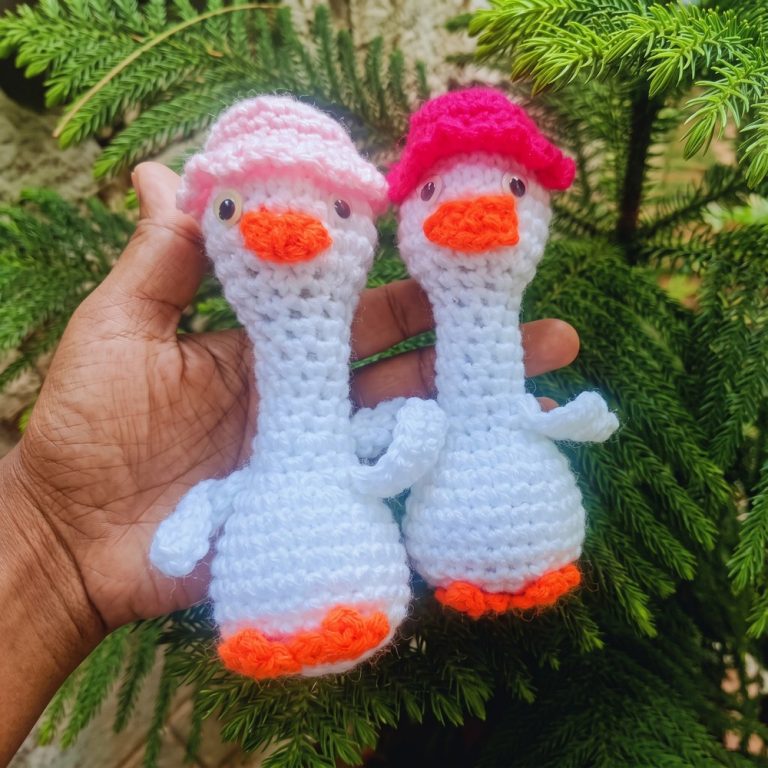
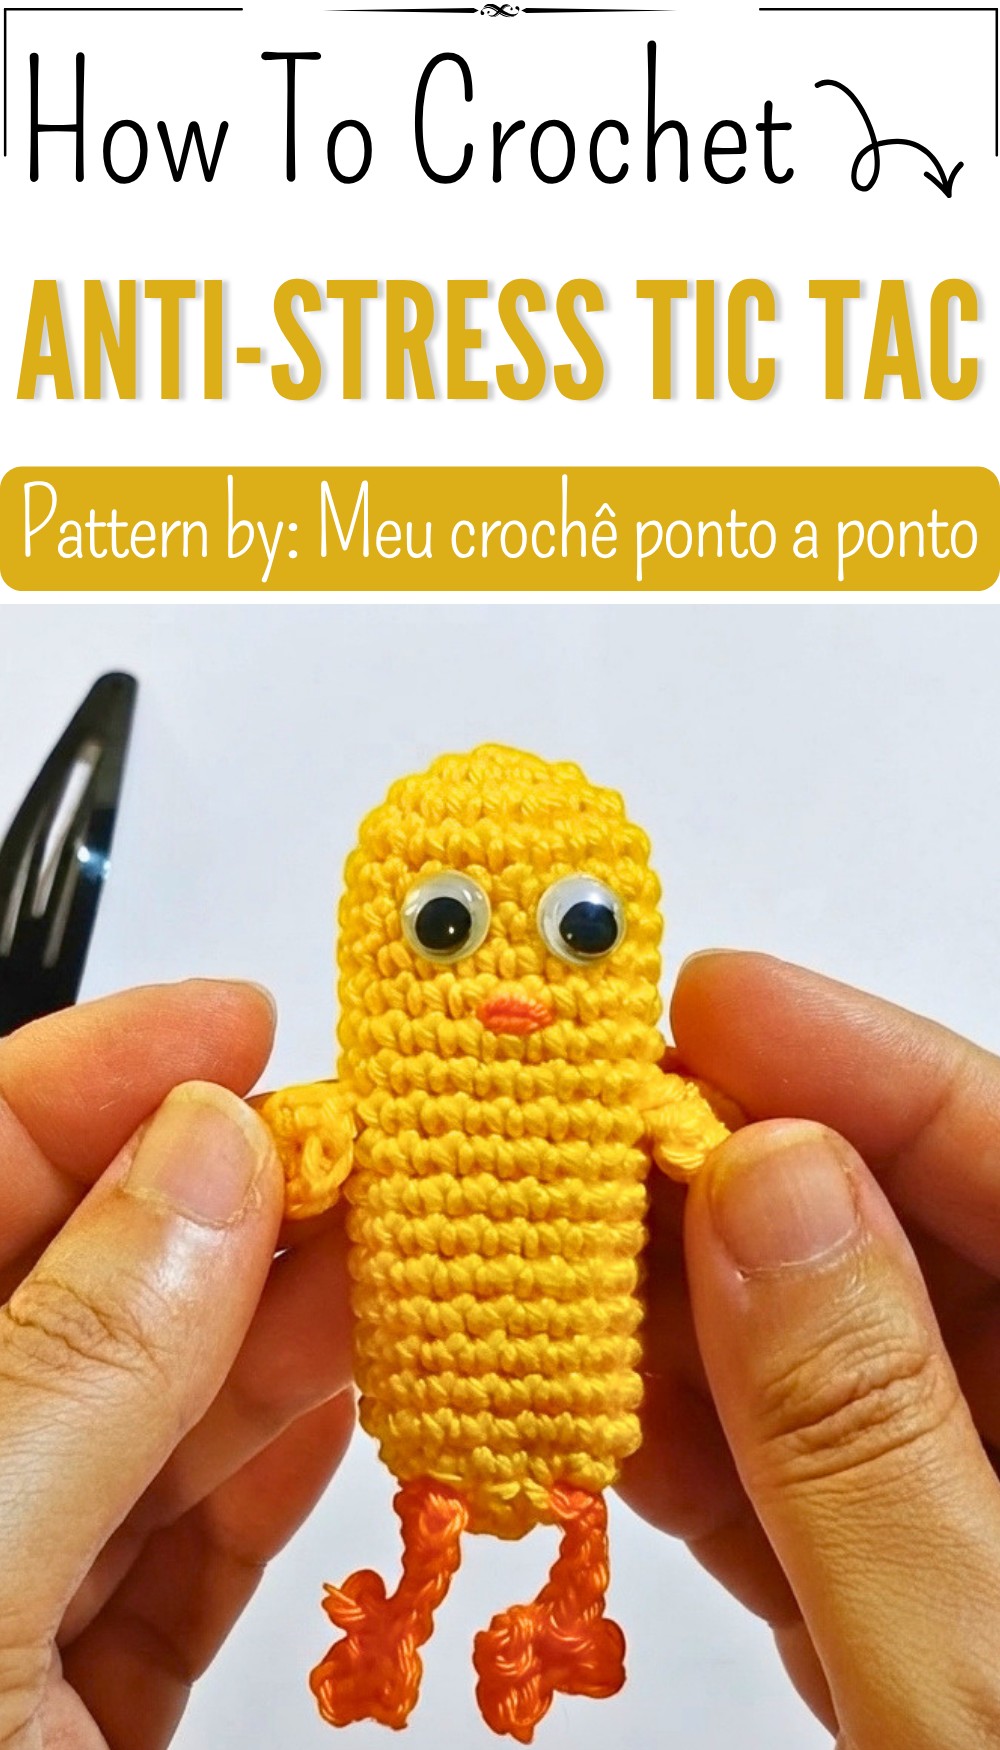
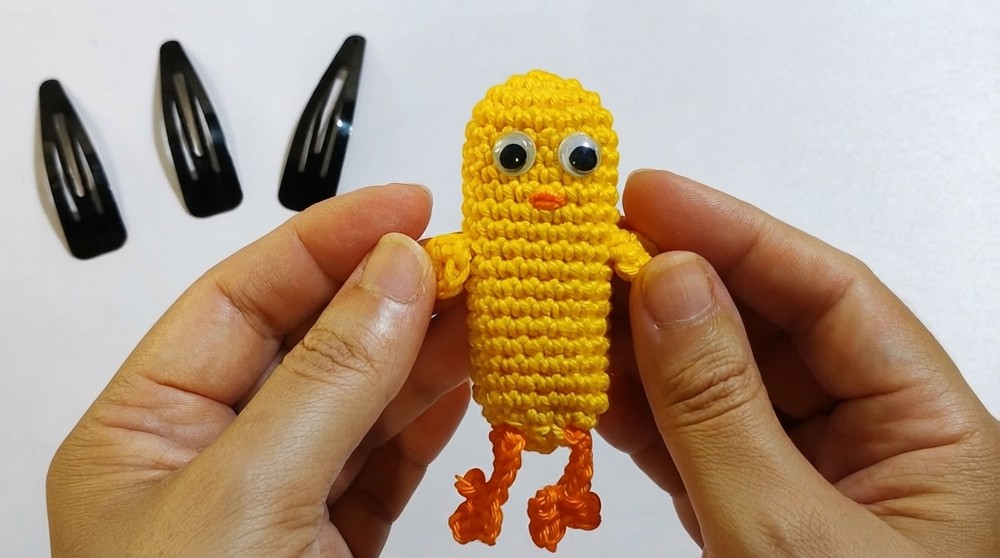
This project designed to bring a smile to your face and help chase away stress—an adorable amigurumi anti-stress chick. With its playful design and simple construction, this pattern is perfect for anyone seeking a relaxing crochet session and a therapeutic finished object. Whether you keep it as a stress-relief toy or transform it into a keychain, this chick will undoubtedly brighten your day.
Quick Overview of Pattern
- This project creates a squeezable amigurumi chick with an inner hair clip (tic-tac clip) to give it a clicky, fidgety quality that’s great for stress relief.
- The body is crocheted in rounds, with separate pieces for wings and legs, and easy embroidery for the beak.
- The project includes steps for neatly inserting the hair clip, careful stuffing, and finishing details for a polished result.
- Features can be customized with different yarn colors, eye styles, and keychain or bag charm attachments.
Notes
- Work continuously in spirals; use a stitch marker if needed to denote the first stitch of each round.
- Select soft amigurumi yarn for a pleasant tactile experience.
- Adjust the stuffing: fill moderately, ensuring the chick feels squeezable and not overly stiff to maintain its stress-relieving function.
- The hair clip (“tic-tac”) is inserted during assembly for a satisfying clicking sound and tactile feedback.
- You can use safety or glued-on eyes. Embroidered eyes are recommended for small children.
Skill Level
Beginner / Confident Beginner
Basic knowledge of magic ring, chain, single crochet, increases, decreases, slip stitch, working in round, and basic sewing/embroidery is required.
Materials
- Amigurumi yarn in canary yellow (main body)
- Amigurumi yarn in orange (legs and beak)
- Small amount of stuffing/fiberfill
- Hair clip (tic-tac/tick-tock style)
- Safety eyes, black beads, or half-pearls (or embroider with black thread)
- Crochet hook size 1.50 mm
- Tapestry needle for assembly
- Scissors
- Glue (optional, for eyes)
- Keychain ring (optional, for portable version)
Measurements / Sizing
- Finished chick size: Approximately 6–7 cm (2.5–2.75 inches) long, not including legs.
- Hair clip: Standard tic-tac length (approx. 4–5 cm) fits comfortably inside.
(You may adjust size slightly with different yarn weights or hook sizes.)
Gauge
Gauge is not critical, but stitches should be tight to prevent stuffing from escaping.
Stitch Abbreviations
- mr – magic ring
- ch – chain
- sc – single crochet
- inc – increase (2 sc in the same stitch)
- dec – decrease (sc2tog)
- sl st – slip stitch
- st(s) – stitch(es)
Special Stitches
- Magic Ring (mr): Create a loop with yarn, insert hook, pull up a loop, chain once, then crochet required stitches into the ring. Pull tail to close.
- Invisible Decrease (dec): Insert hook into the front loop of the next two stitches, yarn over and pull through both loops, yarn over and finish as for sc. Creates a less noticeable decrease.
Crochet Pattern
Body
Round 1:
With yellow yarn, start with a magic ring (mr) and make 6 sc into the ring.
(6 sts)
Round 2:
6 inc—2 sc in each st around.
(12 sts)

Round 3:
(1 inc, 1 sc)—repeat around. For each sequence: 2 sc in one st, 1 sc in the next.
(18 sts)
Rounds 4–20:
Sc in each st around.
(18 sts for 17 rounds.)
This forms a cylindrical tube—the body of your chick.
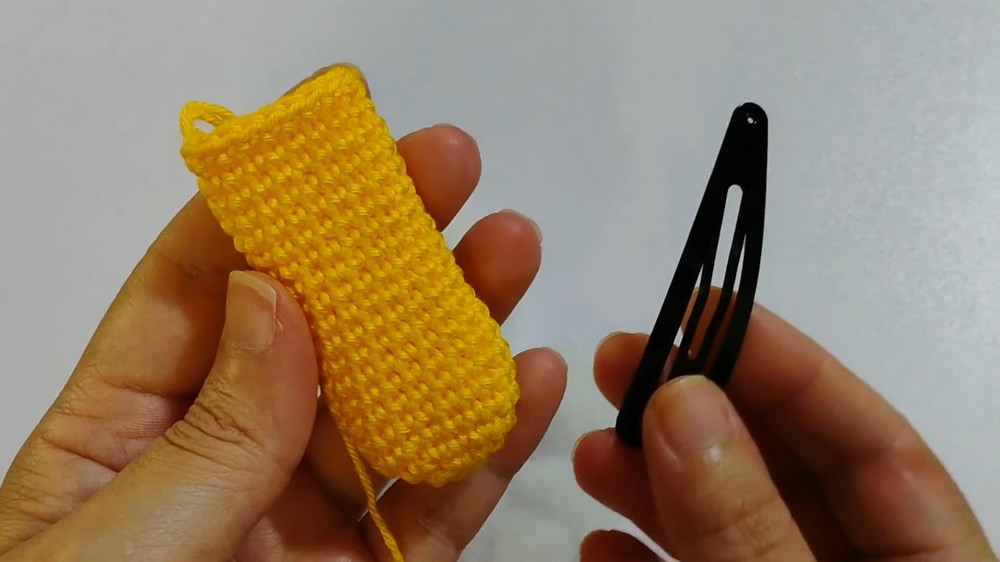
Inserting the Tic-Tac Clip and Stuffing:
- After finishing Round 20, lightly stuff one side of the chick with a small amount of fiberfill (do not overfill).
- Insert the tic-tac hair clip horizontally inside the body, centered so it sits at the chick’s “belly.”
- Add more stuffing on the opposite side, being careful not to over-stuff. The chick should remain “squishy” and the tic-tac still operable from the outside.
Round 21:
(1 sc, 1 dec)—repeat around.
(12 sts)
Round 22:
6 dec—sc2tog in each pair of sts around.
(6 sts remaining)
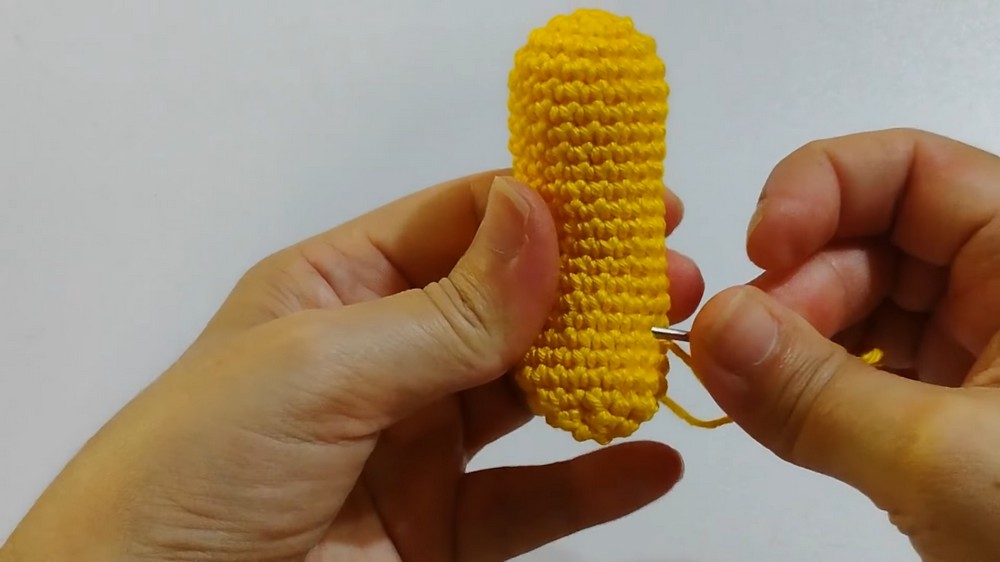
- Fasten off, leaving a tail for sewing.
- Using a tapestry needle, thread the yarn tail through the outside loops of the final 6 stitches and pull tight to close the opening (like an inverted magic ring).
- Insert the needle through the hole into the inside, exit through another area, tie a knot, and hide the end inside the chick.
Wings (Make 2)
Round 1:
With yellow yarn, make a magic ring, 6 sc into ring.
(6 sts)
- Fasten off after joining with a sl st to the first sc. Leave a tail for sewing.
- Make two identical wings.
Legs (Make 2)
For the first leg (worked directly onto the closed end of the body):
- With orange yarn, insert the hook into 2 adjacent stitches on the body, around the lower side of the chick.
- Pull up a loop, then ch 6 (this forms the leg shaft).
- Mark the final ch. Then, ch 3 (for first toe/finger).
- Sl st in the marked chain.
- Ch 4 (second toe/finger), sl st into the same marked chain.
- Ch 3 (third toe/finger), sl st into the same marked chain.
- Work back up the main leg chain with sl st in each ch up to the body.
- Fasten off, tie the starting and ending yarn together, and weave in ends for a neat finish.
Repeat for the second leg, spaced a couple of stitches away from the first.

Attaching the Wings
- Thread a tapestry needle with the wing tail.
- On the body, count up about 10 rounds from the closed end.
- Insert the needle and sew on the first wing over two adjacent stitches, whipstitching securely.
- Hide the yarn tail by pulling it inside the body and trimming.
- Repeat for the second wing on the opposite side, mirroring the position of the first.
Beak (Embroidered, Orange Yarn)
- Thread a tapestry needle with orange yarn.
- On the head (open side facing you), count up about 8 rounds from the base.
- Insert the needle into a stitch below the midpoint between the wings and exit centrally where the beak will sit.
- Use two stitches next to each other, passing the needle through both a couple of times to create a little bar (beak).
- Optionally, for extra definition, add a second stitched bar beneath the first, going back into the body where you entered.
- Tie off and hide ends securely in the body.
Eyes
- Use safety eyes, glued pearls, or black embroidery for the eyes.
- If using safety eyes, insert them before closing the top of the body, between rounds 8–10, spaced evenly.
- If gluing, attach after closing.
- For embroidery, use black thread/yarn and take a few small horizontal stitches for each eye.
Finishing Touches & Optional Keychain
- If desired, attach a keychain ring to the back or top of the chick for a portable fidget toy.
- Carefully check all ends are woven in, and cut any excess.
- If you wish, lightly shape the chick and feet for neatness.
Assembly & Finished Size
- Your anti-stress chick should be soft and squishy, perfectly sized for your palm at approx. 6–7 cm in length.
- The tic-tac clip inside provides that satisfying “click” and tactile stress relief.
- The finished toy features two wings, two three-toed feet, an embroidered beak, and adorable, customizable eyes.
Conclusion
This quick and fun project not only offers therapeutic crocheting but also yields a toy that is perfect for mindful fidgeting. It makes an adorable desk companion, thoughtful gift, or playful keychain addition. Don’t forget to experiment with yarn colors and customize expressions to make each chick unique.