How to Crochet Cat Scrunchie Free Pattern
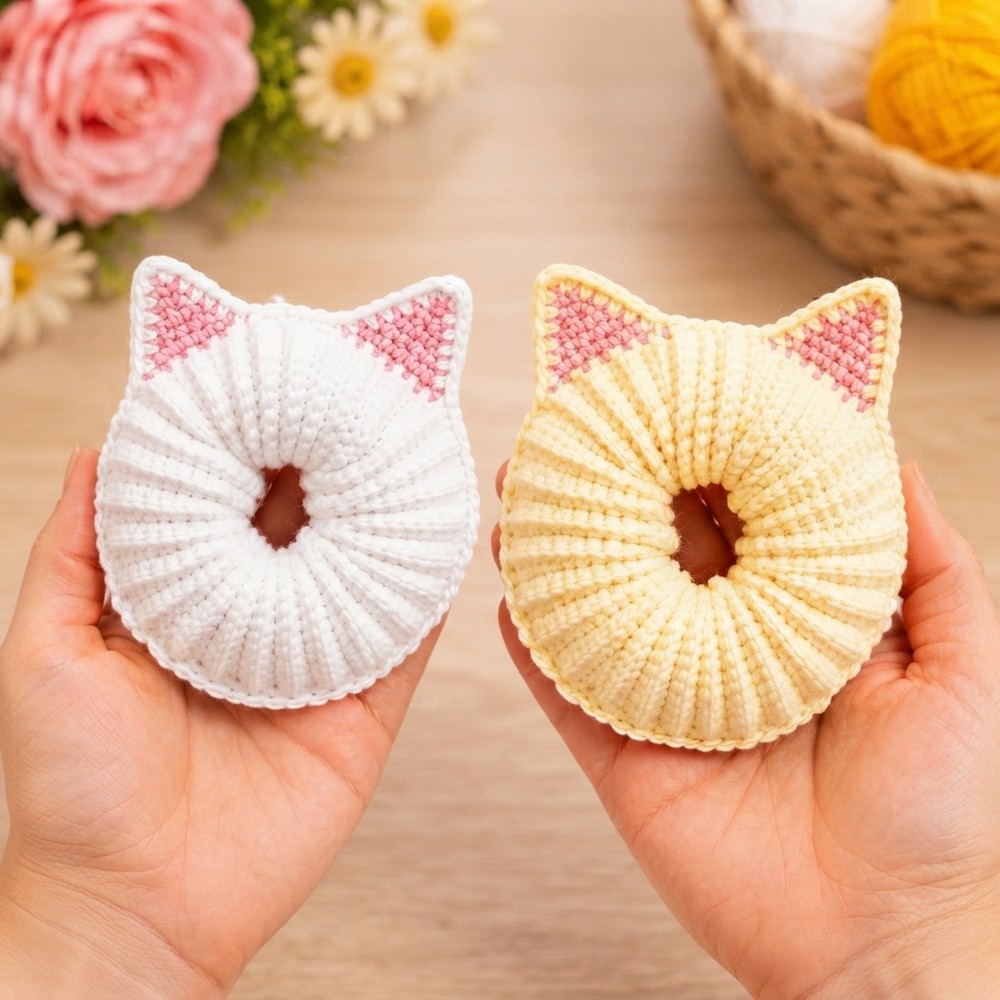
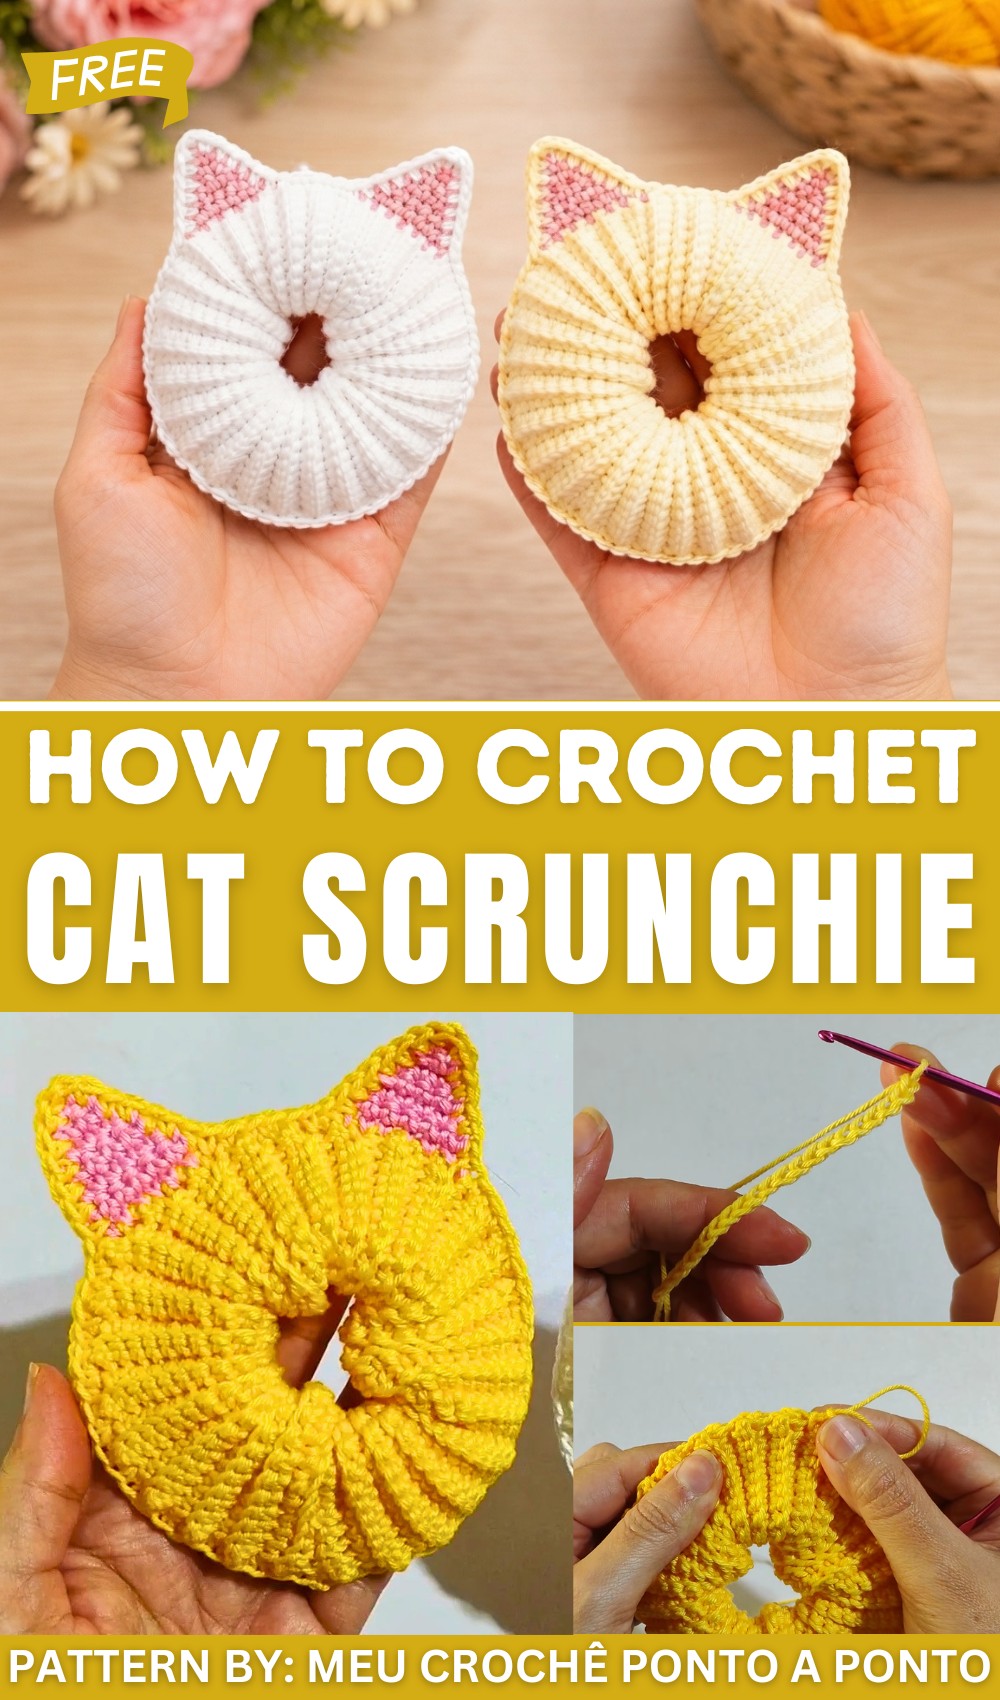
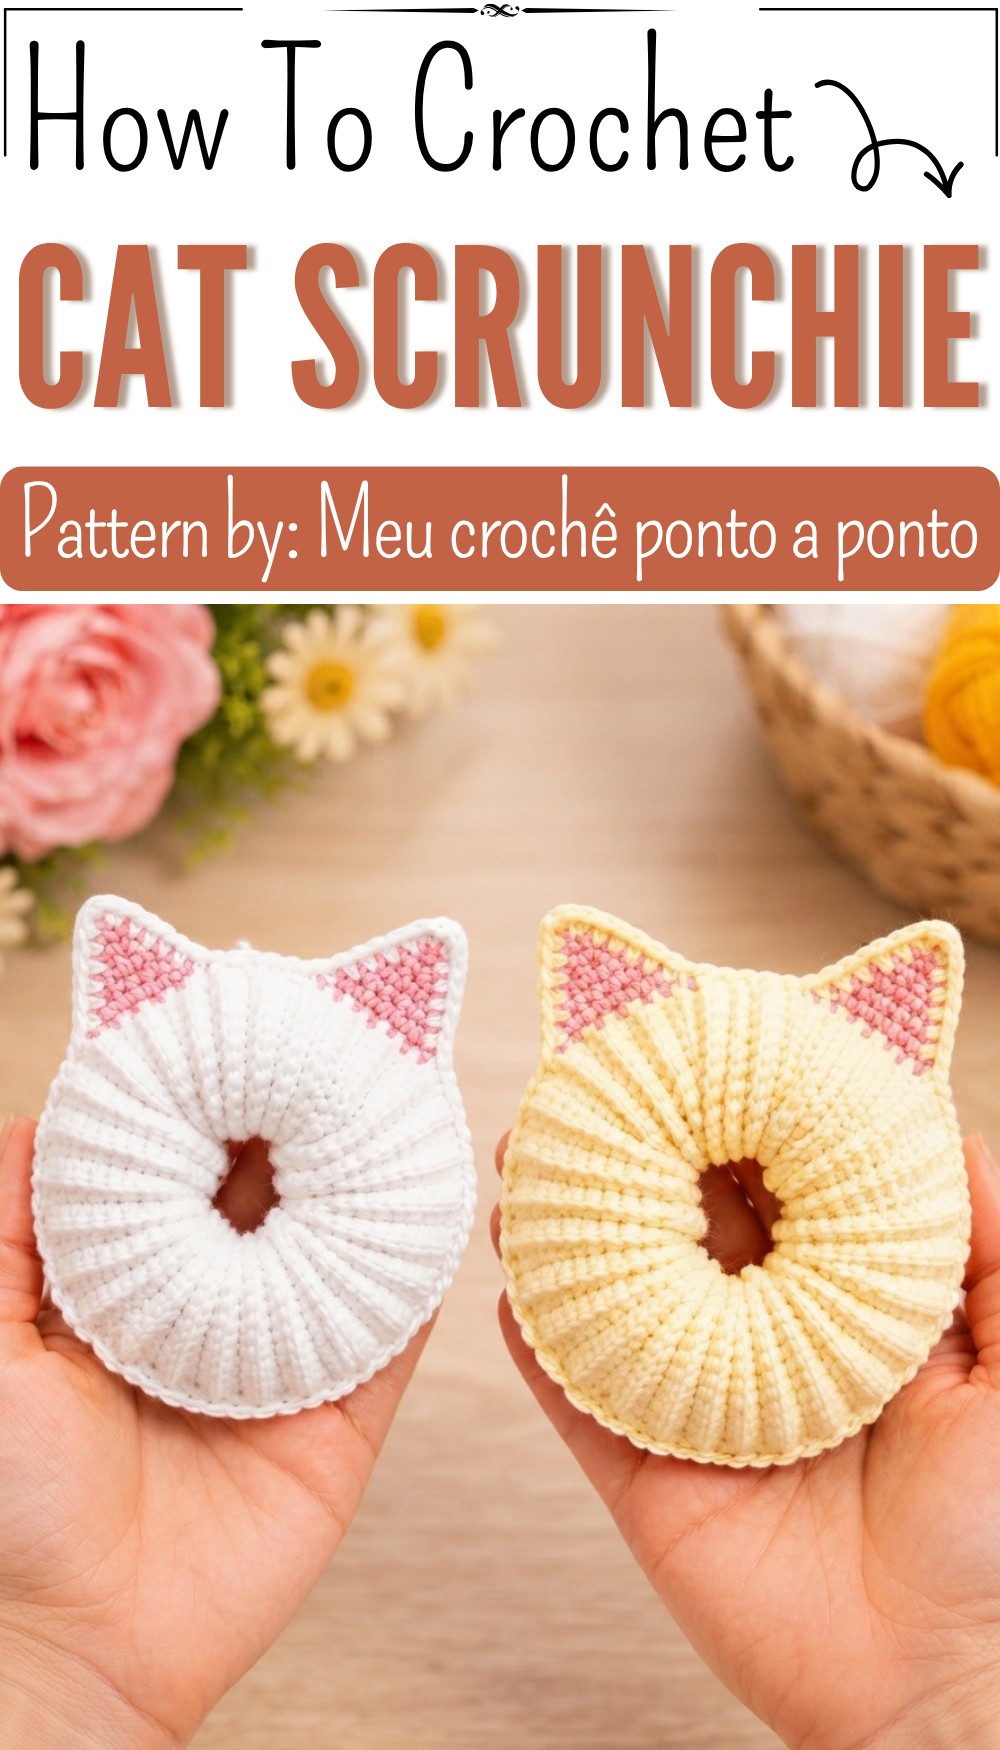
How this scrunchie adds personality without being too big or heavy. The little ears give it a sweet and playful look that stands out from ordinary hair ties. Perfect for school, hanging out with friends, or casual days at home, this accessory brightens up hairstyles with a touch of feline charm.
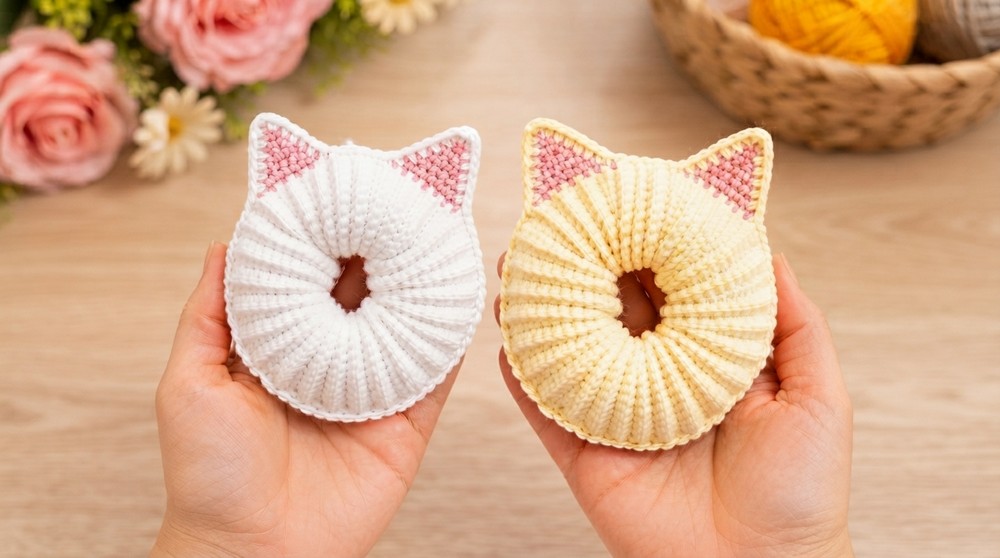
The Free Crochet Cat Scrunchie Pattern is a great project for beginners and experienced crocheters. It’s an excellent way to make a special gift or add a whimsical piece to your accessory collection. Using this pattern, you’ll enjoy a simple yet delightful way to add some fun to everyday hair styling. Try the pattern and let your hair show off some kitty-inspired joy!
Cat Kitten Hair Scrunchie Crochet Pattern
Welcome to this detailed crochet pattern guide for creating an adorable kitten-themed hair scrunchie. This project combines a cozy fabric tube with charming cat ears, perfect for adding a whimsical touch to your hair accessories. Using Amigurumi yarn and a fine 2.50mm crochet hook, you’ll learn to crochet the scrunchie base, join the ends securely, insert elastic for stretch, and add the cat ears with neat finishing stitches for professional flair. Ideal for gift-giving or personal use, this pattern carefully walks you through every step for a neat and durable result.
Quick Overview of the Pattern
- Foundation chain of 21 stitches forming the width of the scrunchie fabric strip.
- Rows of single crochet in back loops only, building length until 20 cm.
- Folding and joining the fabric strip into a tube using slip stitches.
- Elastic inserted inside the tube, joining the open edges with single crochet stitches while keeping the elastic enclosed.
- Creation of two kitten ears in pink yarn, using single crochets and decreases to shape the pointy ears.
- Final neat edging with single crochet around ears using the main yarn color for a polished look.
Notes
- Work stitch counts carefully, especially when placing ears evenly along the scrunchie circumference.
- Maintaining consistent tension is important for the fabric tube; back loop crocheting creates a textured ribbed effect.
- Elastic insertion requires patience; bear in mind the tube must stretch to accommodate hair comfortably.
- Joining techniques (slip stitches and single crochets around edges) ensure durable assembly.
- Use stitch markers if needed to mark ear placement and seam positions.
Skill Level
Intermediate Beginner
- Basic skills in chaining, single crochet, working in rows and rounds.
- Familiarity with crocheting in back loops only to create subtle texture.
- Comfort with slip stitches and joining layered pieces.
- Basic shaping via decreases in crochet for the ears.
Materials
- Amigurumi yarn, preferably in yellow (main scrunchie body) and pink (ears)
- Crochet hook size 2.50 mm
- Hair elastic (standard scrunchie size)
- Scissors
- Yarn needle for weaving ends
Measurements / Sizing
- Foundation chain width: approx. 9 cm across 21 chains
- Fabric strip length: 20 cm before joining
- Final scrunchie: circumference suitable for average hair elastics (~inner circumference 15 cm, stretches comfortably)
- Ears approx. 3–4 cm in height
Gauge and Stitch Pattern
- Gauge not critical but aiming for tight-ish stitches to hold shape
- Primary stitch: single crochet (sc) worked only in the back loops of stitches to give a ribbed texture
- Ear shaping uses decreases via skipping stitches at row ends
Stitch Abbreviations
| Abbreviation | Meaning |
|---|---|
| ch | Chain |
| sc | Single crochet |
| sl st | Slip stitch |
| dec | Decrease (skip first stitch or sc2tog) |
| BLO | Back loop only |
Special Stitches
Single Crochet in Back Loop Only (BLO)
- Insert the hook only into the back loop (part of the stitch farthest from the hook)
- Yarn over and pull up a loop
- Yarn over and pull through both loops on hook
- Creates visible ridges resembling knitting ribs
The Crochet Pattern
Step 1: Foundation Chain
- Begin by making a slip knot.
- Chain 21 stitches (ch 21).
- This chain should measure approximately 9 cm across, providing the width of the scrunchie fabric strip.
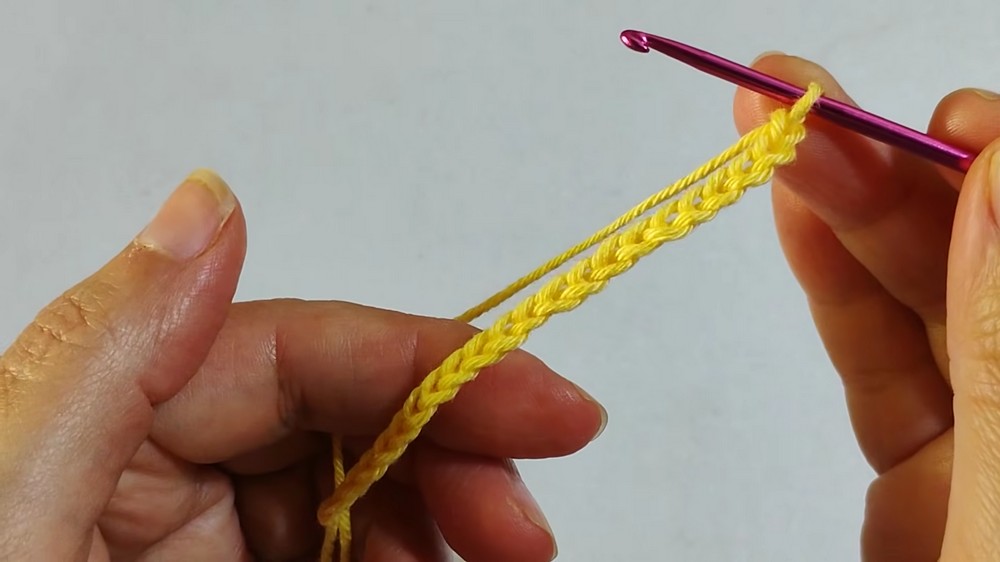
Step 2: Row 1 — Single Crochet across Foundation Chain
- Skip the first chain from the hook.
- Work 20 single crochet stitches (sc) across the remaining chain stitches.
- This completes the first row and forms the base row of your scrunchie strip.
Step 3: Rows 2 and Beyond — Back Loop Single Crochet
- Chain 1 and turn your work.
- For each stitch in this row, work single crochet stitches (sc) into the back loop only (BLO).
- This technique creates a ribbed, stretchy fabric ideal for scrunchies.
- Repeat these rows, always crocheting in BLO, until your piece measures approximately 20 cm in length.
Note: Maintaining even tension ensures the ribbing looks consistent and the strip lays flat without curling.
Step 4: Joining the Ends
- Fold the fabric strip so the two short edges meet.
- Using your crochet hook and working through both layers simultaneously, join these edges by crocheting slip stitches (sl st) evenly across the entire edge.
- This forms a fabric tube—the base of the scrunchie.
Step 5: Adding the Elastic
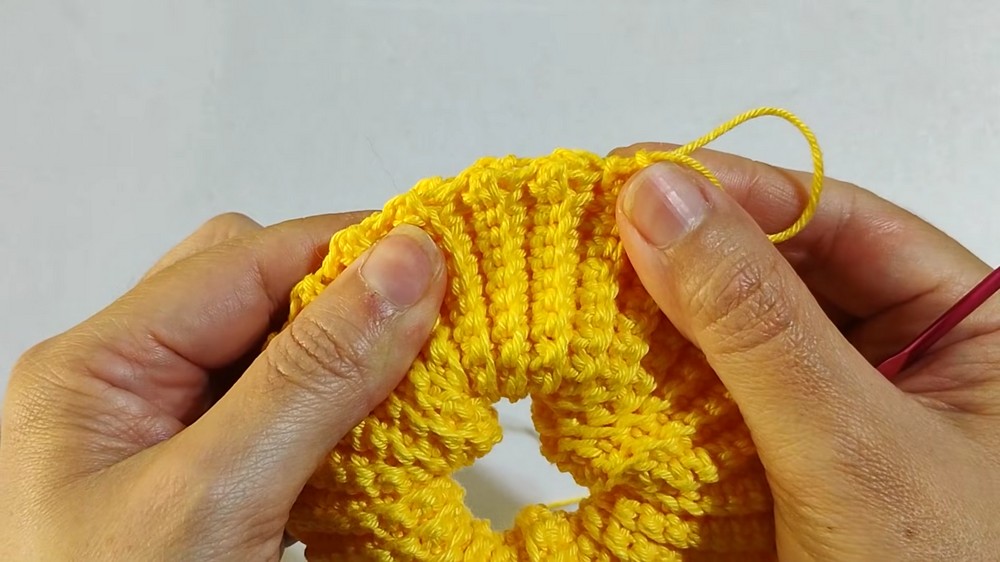
- Insert the hair elastic inside the fabric tube through the open ends.
- Fold the two open edges together, keeping the elastic snugly inside.
- Using the crochet hook, join the edges by working single crochet stitches (sc) through both layers all the way around, encasing the elastic inside the tube.
- This secures the elastic and completes the scrunchie base.
Step 6: Creating the First Ear (Pink Yarn)
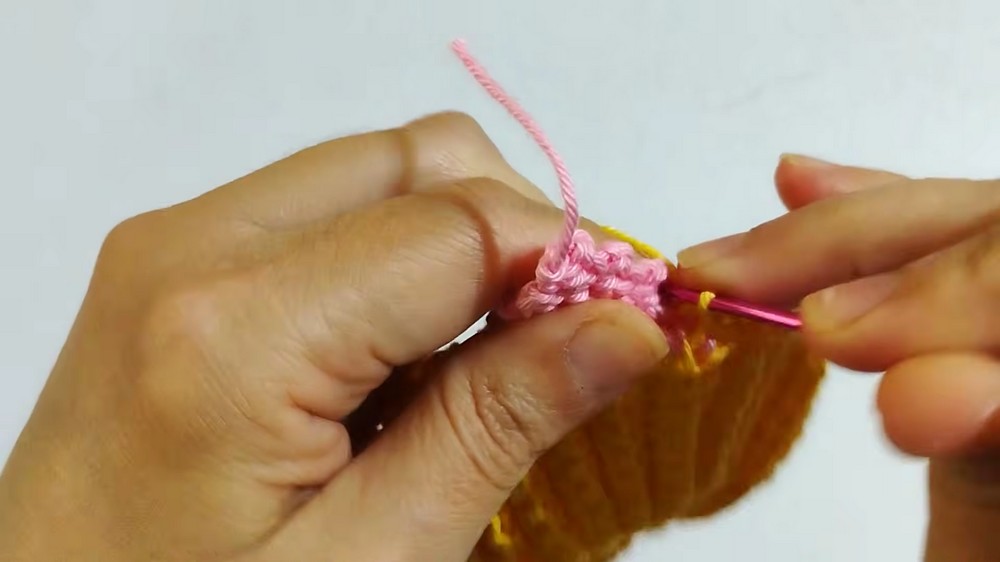
- Join pink yarn at the desired stitch location on the scrunchie edge where the first ear will be attached.
- Chain 1, then work 6 single crochet stitches (sc) evenly through both layers of fabric at this spot.
- Chain 1, turn, and work 6 single crochet stitches (sc) across this row.
Shaping the Ear (Decreases):
- For the next rows, create an ear shape by decreasing stitches as follows:
- Skip the first stitch to decrease
- Continue crocheting the remaining stitches as single crochet (sc)
- Repeat these decrease rows until only 1 single crochet (sc) remains at the tip of the ear.
- Fasten off and cut the yarn, leaving ends for finishing.
Step 7: Creating the Second Ear
- Skip 3 stitches (or “gominhos”) from the base of the first ear on the scrunchie edge to space the ears evenly.
- Repeat the same sequence from Step 6 to crochet the second ear:
- Chain 1, 6 single crochet stitches over both layers
- Second row: 6 single crochet stitches
- Subsequent rows: decrease by skipping the first stitch until 1 single crochet remains
- Fasten off and weave in yarn ends neatly.
Step 8: Final Finishing Around the Ears
- Reattach the main yellow yarn at any point along the scrunchie edge near the ears.
- Work single crochet stitches (sc) evenly around the perimeter of both ears to give a polished and reinforced edge.
- At the tips of the ears, add two single crochet stitches (sc) to create the pointy shape typically seen in cat ears.
- Continue working single crochets around the entire piece to blend ear edges into the scrunchie base smoothly.
- Finish with a slip stitch (sl st) to close and fasten the yarn securely.
Assembly & Finished Size
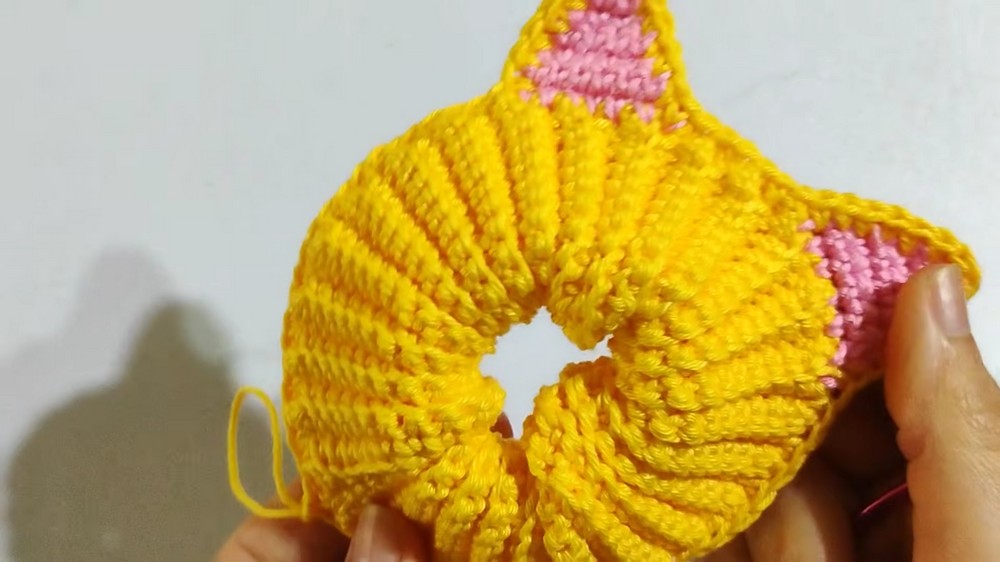
- After completing all steps, your kitten scrunchie will be approximately 9 cm wide and 20 cm in length before joining, forming a stretchy, approximately inner circumference of 15 cm or more when joined with elastic.
- The ears will stand about 3 to 4 cm tall, noticeable but not bulky.
- The overall scrunchie is stretchy and comfortable enough for everyday wear, with soft yarn and durable construction.
Conclusion
Congratulations on crafting your charming kitten-themed hair scrunchie! This pattern combines simple crochet fundamentals with creative detailing such as back loop ribbing and ear shaping, resulting in an accessory that is both fun and functional. The use of Amigurumi yarn provides softness and durability, ensuring comfort and style for your hair. Whether for yourself or as a thoughtful handmade gift, this scrunchie adds a playful touch to any hairstyle.