Free Crochet Kitten Bracelet Pattern for Unique Style
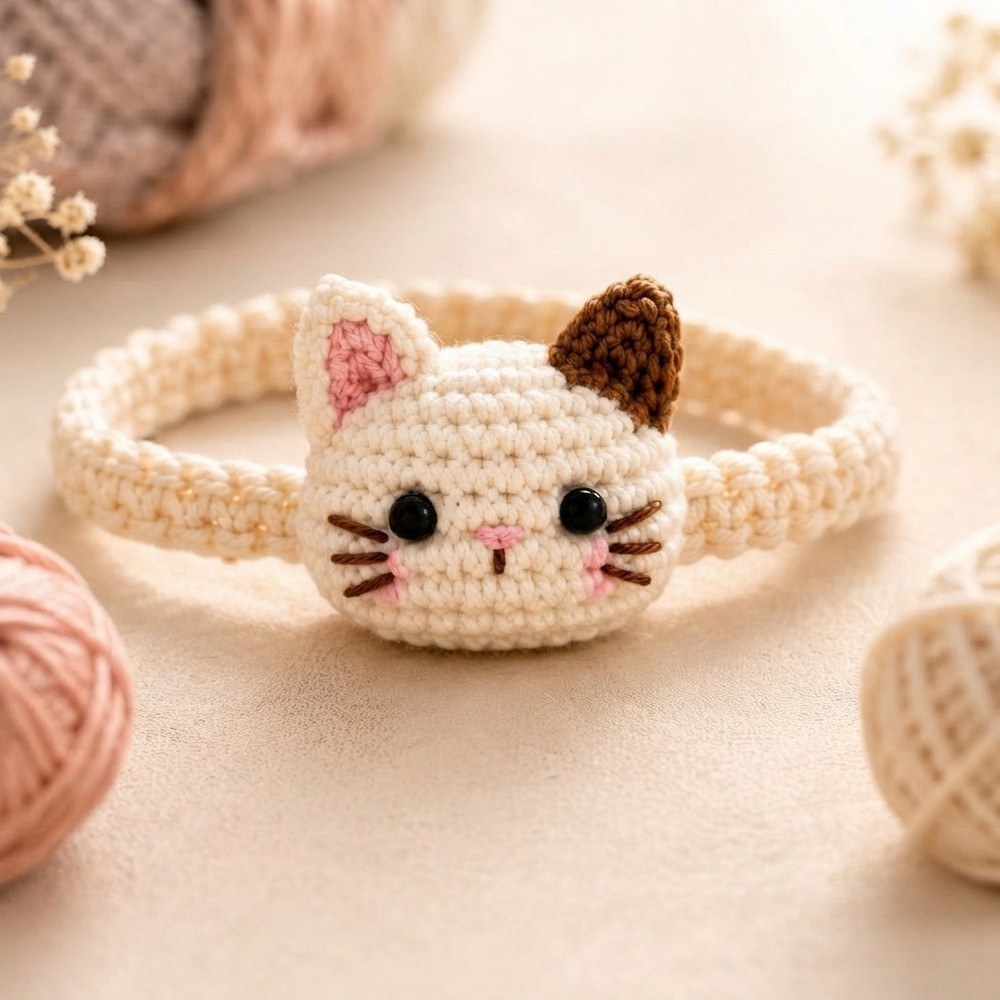
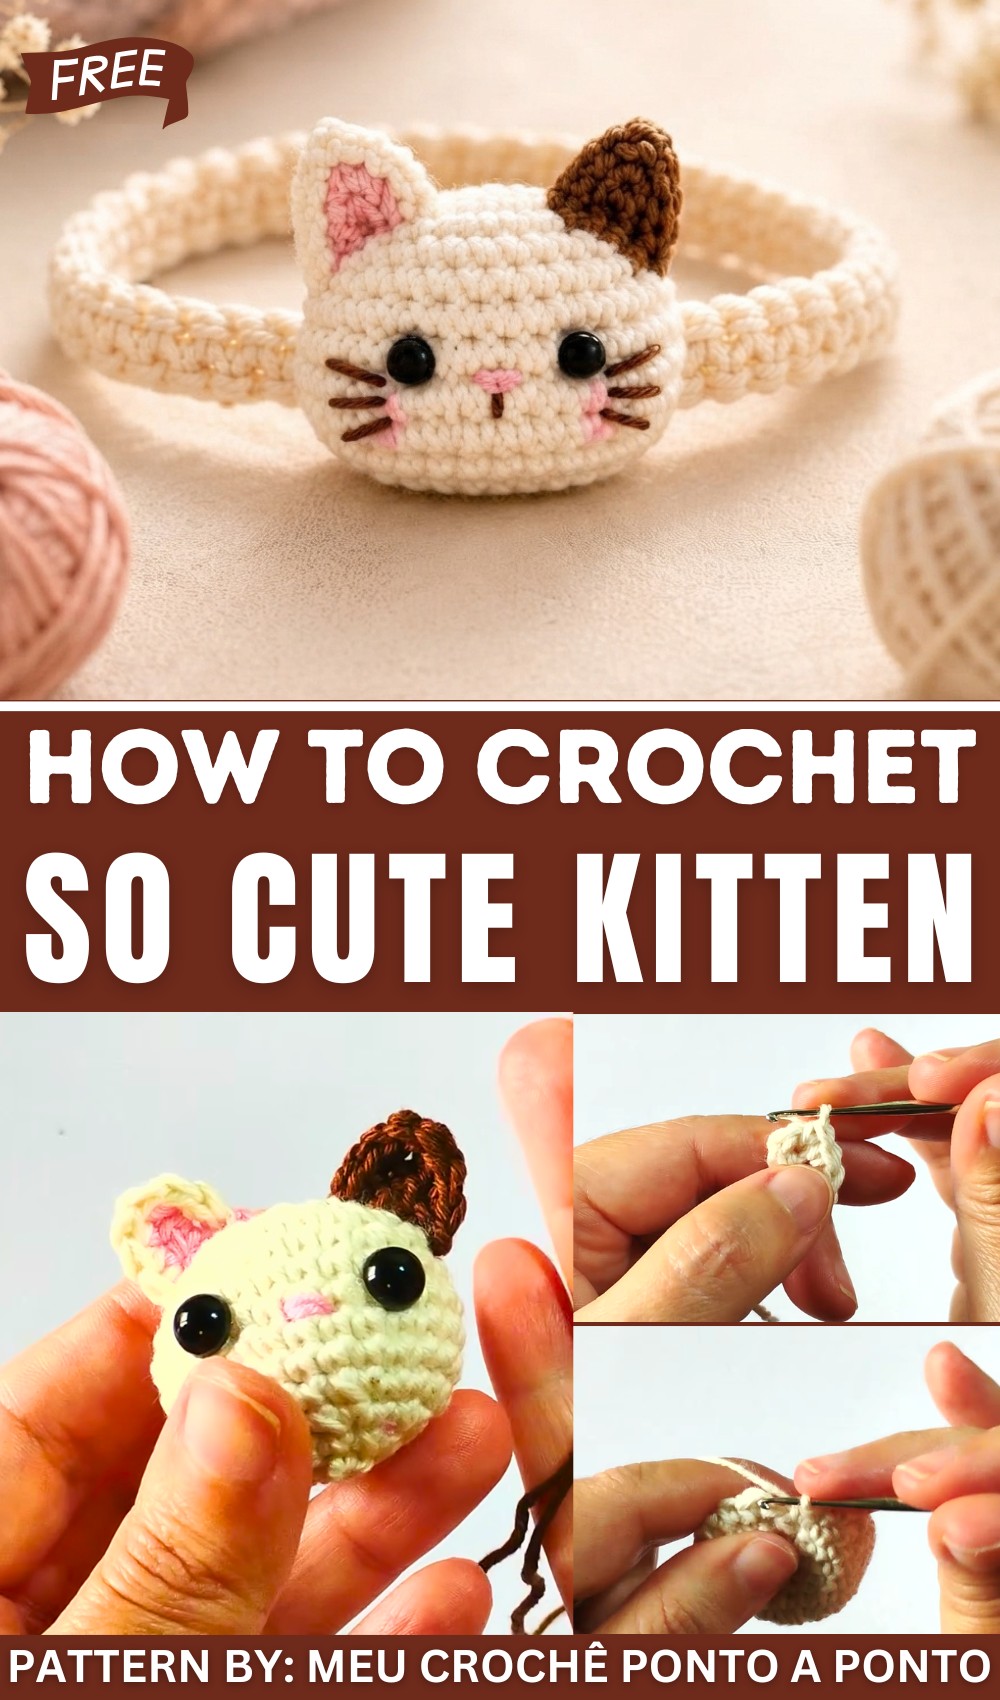
This bracelet is perfect for adding a cute accent to casual outfits. Whether you’re going to school, spending time with friends, or just relaxing at home, it’s a small treasure that shows your personality. Many will appreciate how lightweight and charming it feels, making it a favorite accessory to wear often.
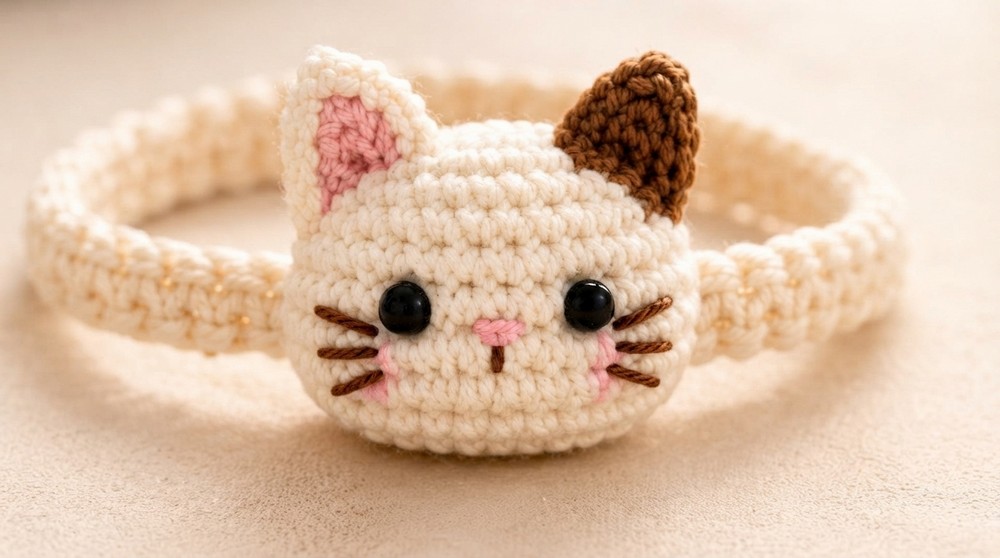
Handmade and full of charm, this Free Crochet Kitten Bracelet Pattern also makes a thoughtful gift. Friends who adore cats will smile when they receive such a sweet, handmade present. If you enjoy making simple and adorable projects, this bracelet is a great way to express creativity and affection.
Cat Bracelet Crochet Pattern (Beginner Friendly Guide)
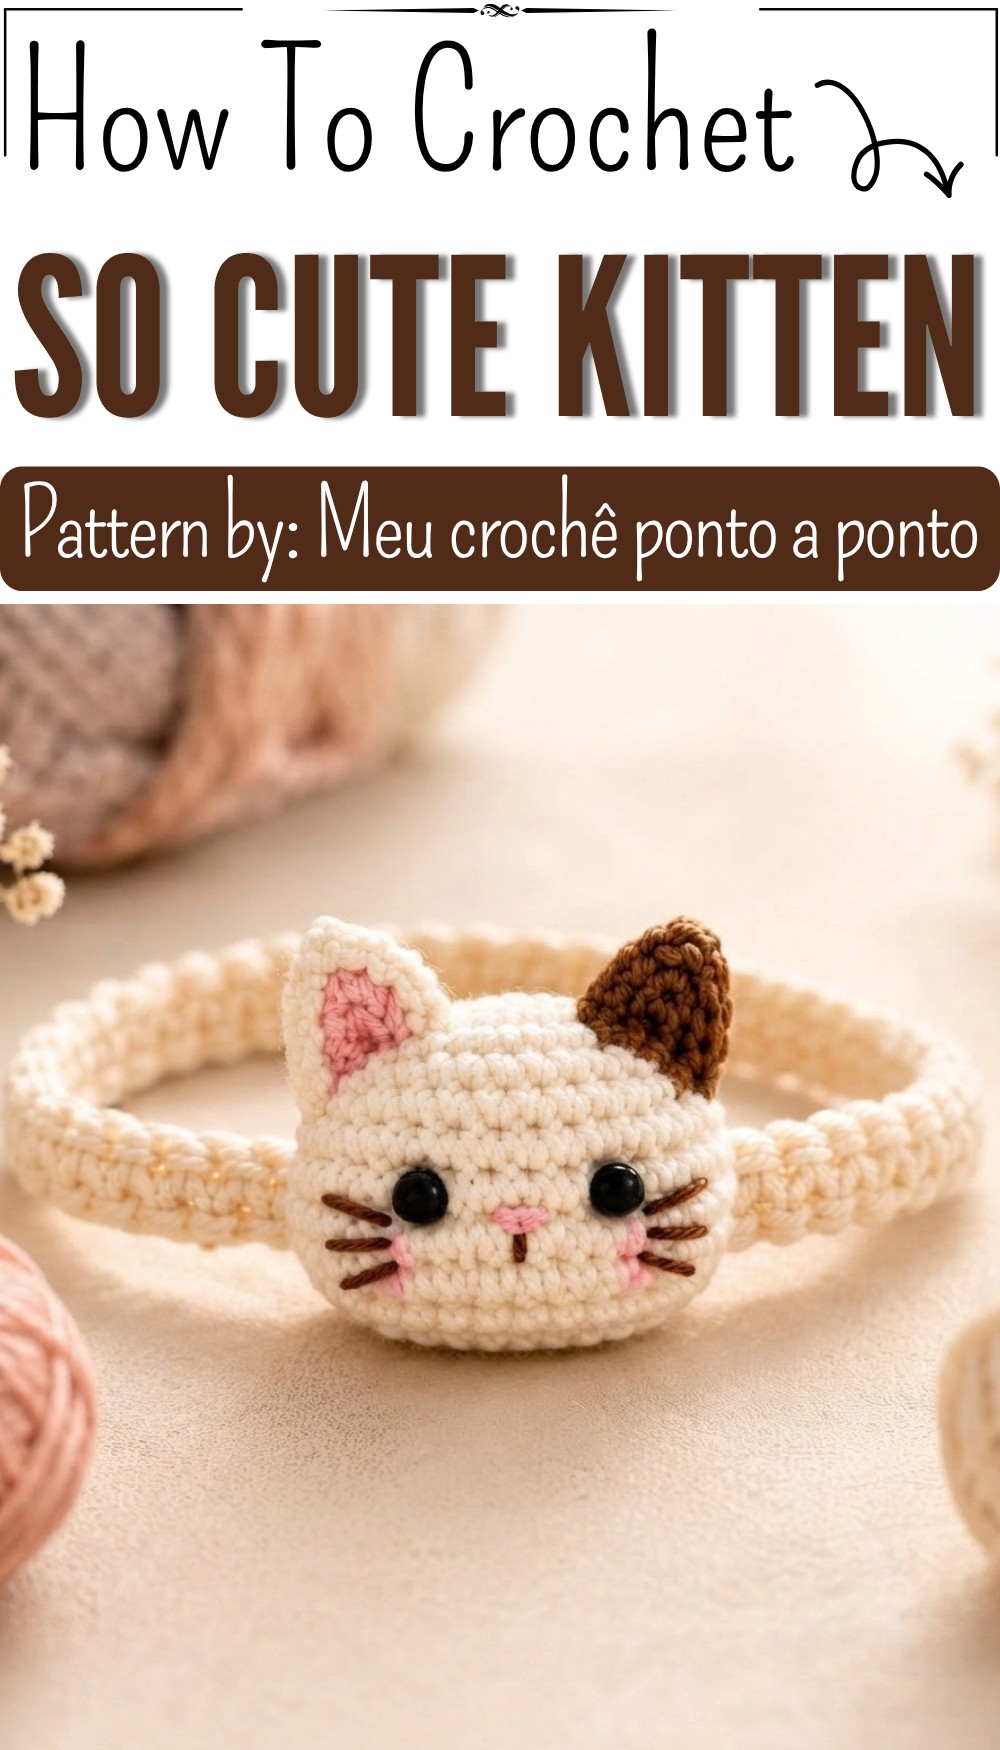
Welcome to this beginner-friendly crochet pattern to create a cute Cat Bracelet using the Amigurumi technique! This guide will take you through each stitch and step clearly, producing a small oval cat head with colored ears, which attaches to a pretty crochet bracelet base. The finished bracelet is a charming handmade accessory perfect for gifting or personal use.
Materials Needed
- Amigurumi yarn in three colors:
- Natural (cream or beige) for the head and bracelet base
- Rosa Chiclet (pink) for one ear
- Brigadeiro (brown) for the other ear
- Crochet hook (around 2.5 – 3.5 mm)
- Stitch markers (optional)
- Tapestry needle
- Stuffing material (polyfill)
- Two number 8 black half-pearl beads (for eyes)
- Strong craft glue (preferably T6000 glue)
- Jewelry hardware (jump rings and bracelet clasp)
- Pliers for attaching hardware
- Small blush or chalk for optional cheek color
Skill Level
Beginner to Intermediate
- Basic knowledge of chaining, single crochet (sc), slip stitch (sl st), increases (inc), and decreases (dec).
- Willingness to practice small crochet pieces and sewing.
- No advanced stitches; all steps are explained in detail.
Abbreviations and Stitches Used
| Abbreviation | Description |
|---|---|
| ch | Chain stitch |
| sc | Single crochet |
| inc | Increase (2 sc in one stitch) |
| dec | Decrease (sc 2 together) |
| sl st | Slip stitch |
| hdc | Half double crochet |
| dc | Double crochet |
Special Techniques Explained
- Increase (inc): Work 2 single crochet stitches in the same stitch to widen your piece.
- Decrease (dec): Crochet two stitches together (sc2tog) to reduce stitch count and taper your work.
- Slip Stitch (sl st): Insert hook into stitch, yarn over, pull through both the stitch and the loop on hook to join rounds or pieces neatly.
Measurements
- Cat head: approximately 4–5 cm long, 3 cm wide
- Bracelet fits an average wrist — adjustable by changing chain length
- Bracelet width approx. 1.5 cm
The Crochet Pattern
1. The Cat’s Head (Oval Shape)
Foundation Oval
- Make a slip knot.
- Chain 4 (ch 4).
Work along one side of chain:
- Skip the first chain (nearest to hook).
- Work 2 single crochet (2 sc) in the second chain.
- Work 1 single crochet (1 sc) in the third chain.
- Work 3 single crochet (3 sc) in the last (fourth) chain.
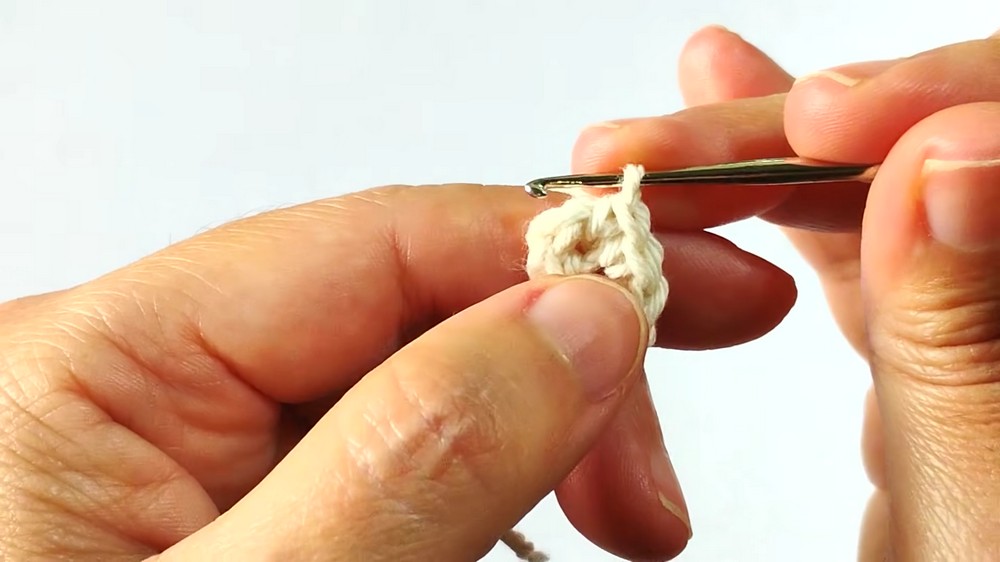
Work along opposite side of chain, completing oval:
- Work 3 single crochet (3 sc) down this side.
- Work 1 single crochet (1 sc) in last stitch.
- Join with a slip stitch (sl st) at the beginning to close round.
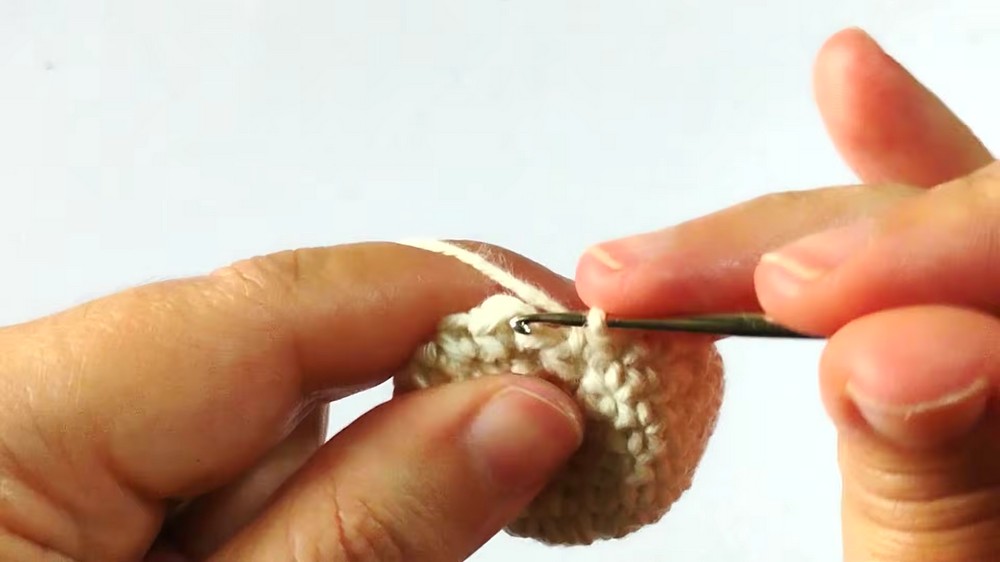
Increasing Rounds (Expanding Oval Shape)
Work the following rounds, always starting with chain 1 (ch 1) and ending by joining with a sl slip stitch (sl st):
- Round 1: Single crochet in each stitch around, with increases evenly spaced to widen oval.
- Round 2 & 3: Repeat similar increase pattern to extend the oval’s length and width.
- Follow video timestamps 2:45–4:42 for exact increase placement.
Body Rounds — Building the Cat Head
- Work 4 rounds with single crochet (sc) in each stitch around, no increases or decreases.
- This keeps the shape stable and creates the cat’s head body.
Decreasing & Stuffing
- Start decreasing stitches to shape top of head:
- Work 2 sc stitches, then 1 decrease (dec = sc2tog). Repeat around to reduce stitches evenly.
- Stuff the cat head lightly with stuffing material through the opening before completely closing.
- Continue decreasing until only a few stitches remain.
- Cut yarn, leaving a long tail.
- Use tapestry needle to sew remaining stitches closed securely.
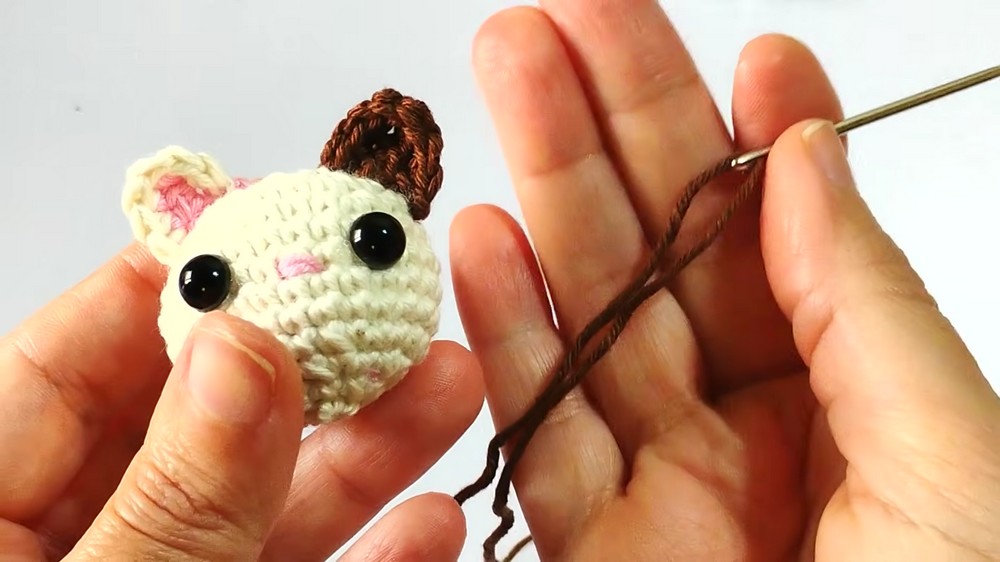
2. Cat Ears (Make 2)
Ear in Pink and Brown Yarn
- Chain 4 (ch 4) with chosen color (Rosa Chiclet for one ear, Brigadeiro for the other).
- Skip the first chain.
Work down chain:
- 1 single crochet (1 sc) in 2nd chain from hook.
- 1 half double crochet (1 hdc) in 3rd chain.
- 1 double crochet (1 dc) in last (4th) chain for ear tip.
Shape sides:
- Work single crochet (sc) stitches along sides of chain foundation to build ears’ shape.
- Fasten off with yarn tail for sewing.
3. Bracelet Base (Natural Yarn)
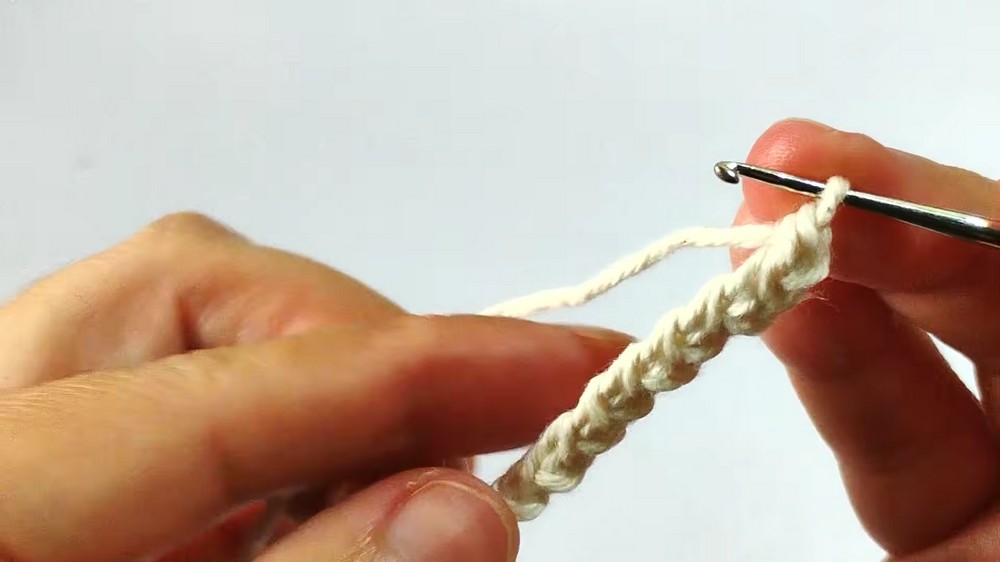
- Chain enough stitches to fit your wrist comfortably (approximate 60–70 ch for standard adult wrist).
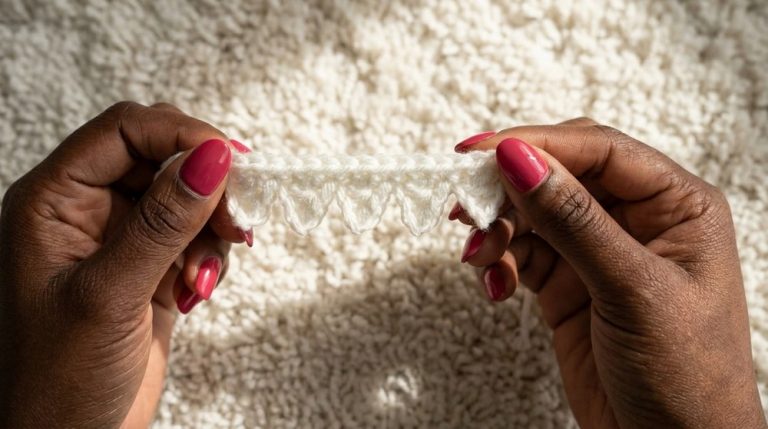
- Work rows of single crochet (sc) and chain spaces to create a delicate looped lace effect.
- The chain spaces add flexibility and style while the sc rows provide structure.
Assembly and Finishing
Attaching the Ears
- Position the two ears symmetrically on top of the cat head.
- Using a tapestry needle and matching yarn, sew them securely in place.
Adding the Eyes
- Use two number 8 black half-pearl beads as eyes.
- Glue these onto the 7th row of the cat head using T6000 glue.
- Allow glue to dry completely for a firm hold.
Embroidering Nose and Whiskers
- Using pink yarn, embroider a small nose centered beneath the eyes (a small triangle or upside-down “Y” shape works best).
- With brown yarn, stitch delicate whiskers extending to each side of the nose.
- Add a small mouth line if desired.
Attaching Jewelry Hardware
- Use pliers to open jump rings and attach to ends of bracelet base.
- Fix a clasp (lobster or toggle) to one jump ring for easy opening and closing.
Final Touches
- Glue the cat head securely onto the center of the bracelet base.
- Optionally, add blush or fabric chalk to the cheeks for a rosy effect.
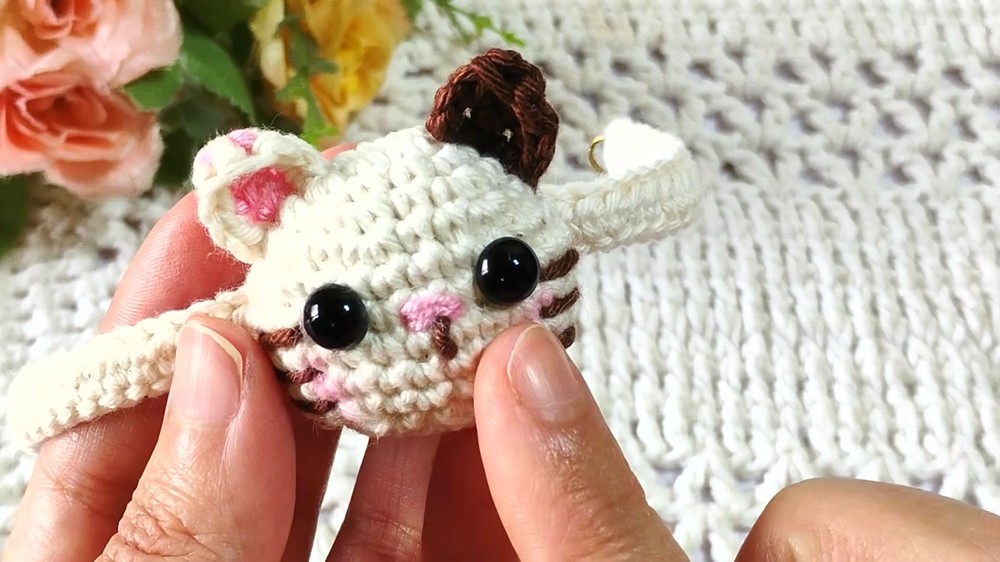
Finished Size
- Cat head approx. 4–5 cm long and 3 cm wide
- Bracelet circumference adjustable; usually fits 16–19 cm wrist comfortably
- Bracelet band approx. 1.5 cm wide with decorative loops
Conclusion
You have now completed your adorable cat bracelet using simple crochet stitches and easy shaping techniques! This project introduces increases, decreases, assembling small components, and basic embroidery, enhancing your amigurumi skills while creating a charming accessory. Wear your new bracelet proudly or gift it to friends and family for a heartfelt handmade token. With practice, you can customize colors, sizes, and details to make many unique variations.