Free Owl Earrings Crochet Pattern: Perfect for Gifts
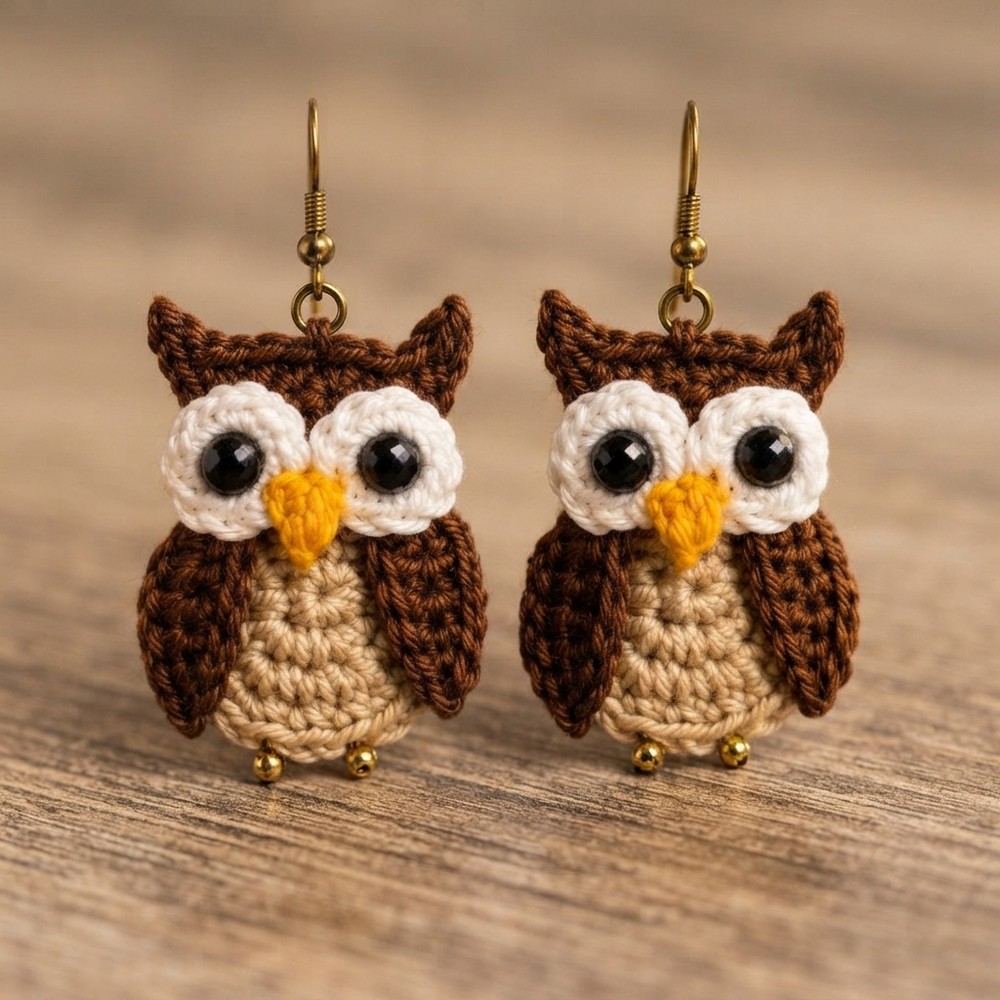
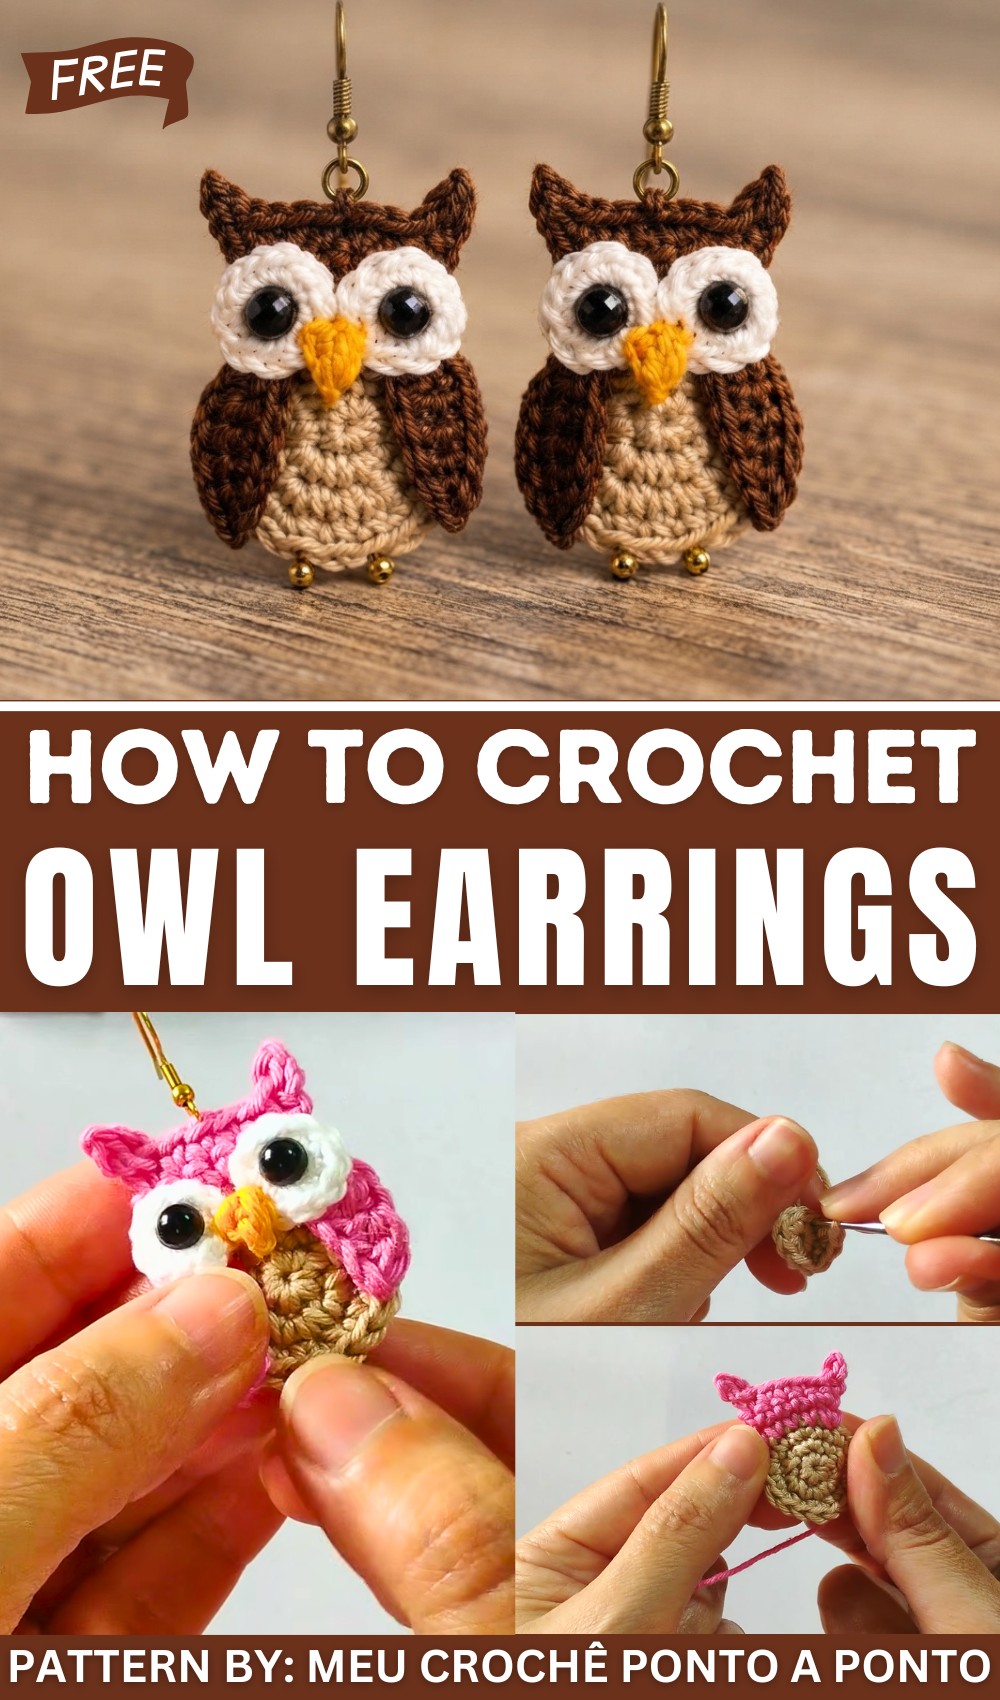
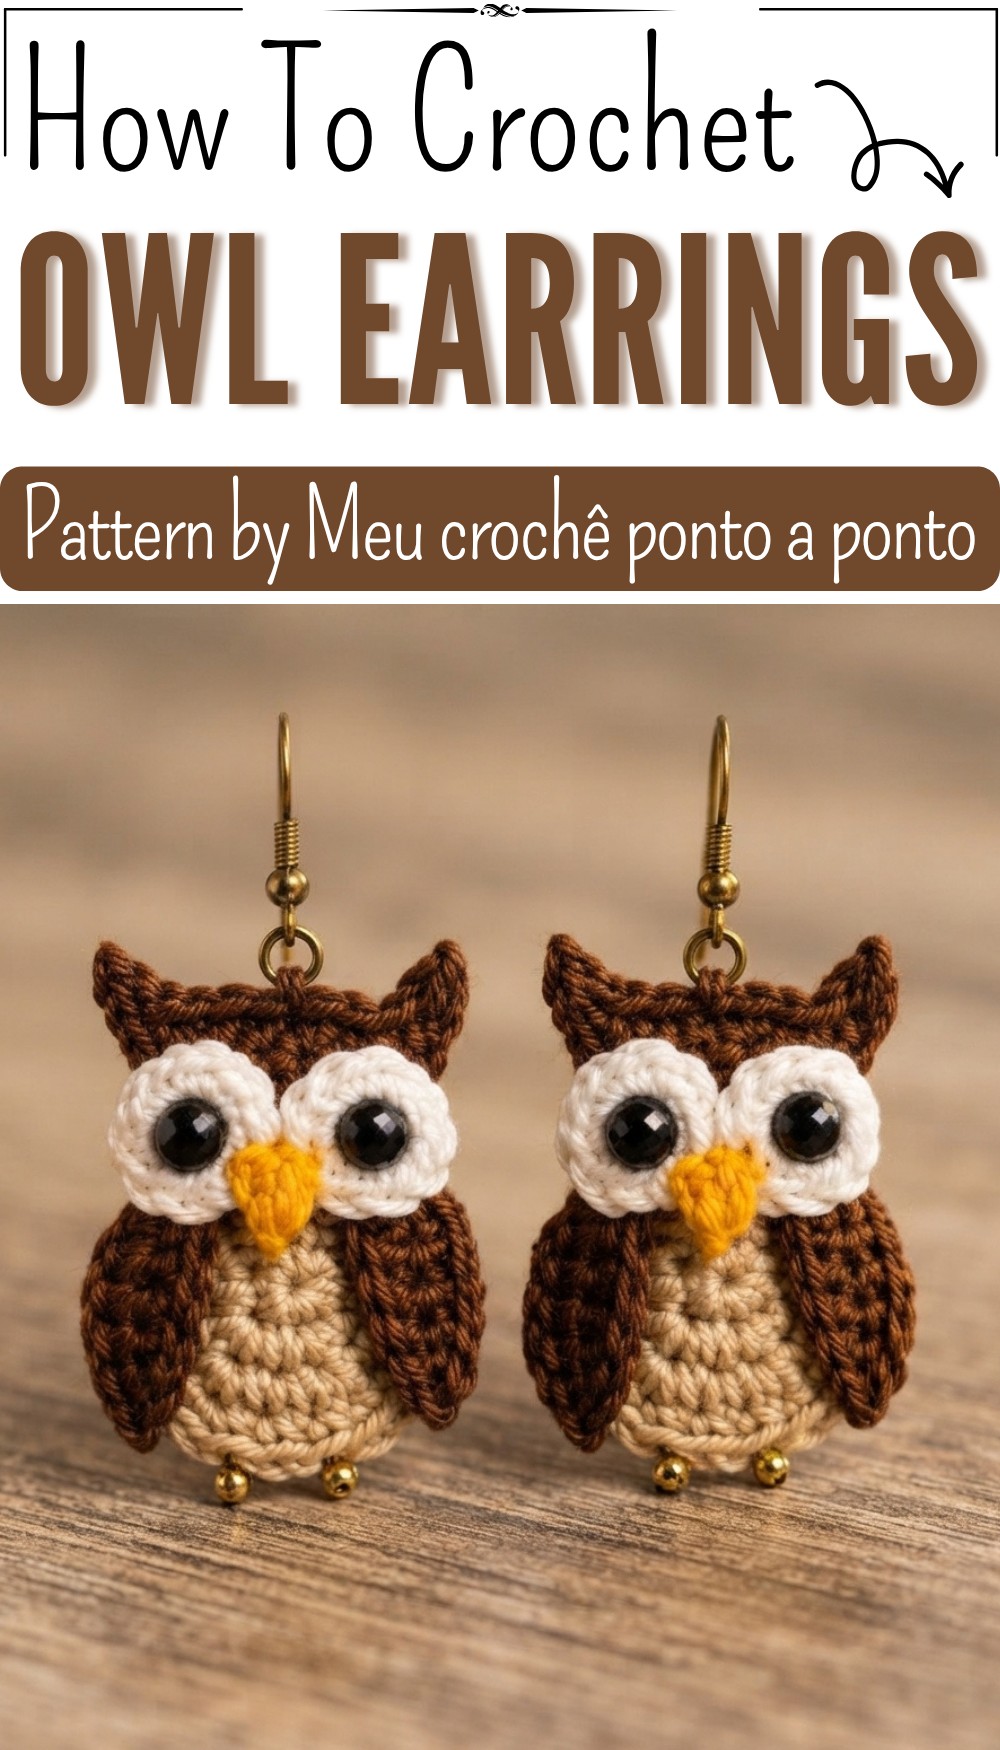
A pair of tiny owls can also be a lovely present for a friend, sister, daughter, teacher, or animal lover. They are small enough to feel like a sweet surprise and special enough to become a favorite accessory.
What gives this project its charm is the character packed into each little owl. The eyes, shape, and soft colors can make the earrings feel almost like two tiny friends sitting beside your face. That playful detail makes them stand out from ordinary jewelry.
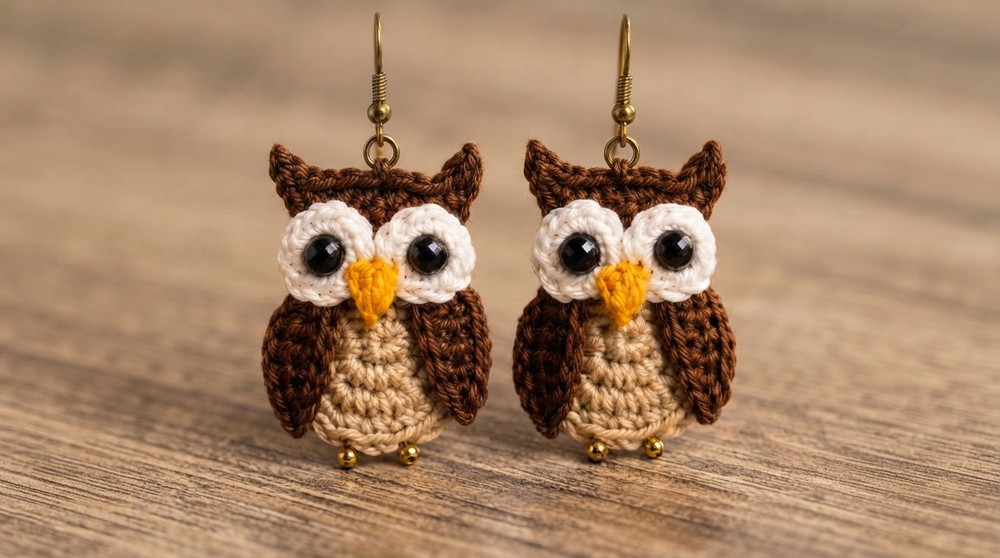
For anyone who enjoys animal-themed accessories, this project offers something cheerful and different. The Free Crochet Owl Earrings Pattern is a lovely choice for adding a touch of woodland charm to daily outfits, gifts, and handmade jewelry collections.
Crochet Owl Earring Pattern
This delicate crochet owl earring pattern provides step-by-step instructions to create a charming miniature owl using fine yarns and precise stitches. With a soft combination of colors, subtle detailing, and simple finishing touches like glued wings and tiny bead feet, this accessory is perfect for adding a handcrafted touch to your jewelry collection or gifting to loved ones.
Quick Overview of the Pattern
- Belly: Worked as a small flat circle in Amêndoa color using the magic ring method with single crochets and increases.
- Head: Built on top of the belly using Chiclet color yarn, forming a small rectangle with ears framed by slip stitches and chains.
- Wings: Crocheted separately on both sides using doubles crochets, half-double crochets, and single crochets, then glued into position.
- Eyes & Beak: Miniature eyes made from white yarn magic rings adorned with half-pearl beads; the beak is a tiny single crochet piece secured in place.
- Final Assembly: Attach the earring hook through the top stitch and glue two golden beads as feet.
Notes
- This pattern calls for precise, small stitches and careful control due to the delicate size of the earring.
- Use a fine crochet hook and smooth yarn suitable for miniature crochet amigurumi work.
- Take care when gluing small parts to ensure secure placement without excess glue. Use silicone glue for wings and T6000 glue for eyes and beads.
- The yarn ends are carried neatly through stitches and hidden to maintain a clean finish.
- Blocking is optional but can help shape components softly before assembly.
Skill Level
Intermediate
- Comfortable with the magic ring and working in rounds.
- Experience with single crochet (sc), half-double crochet (hdc), double crochet (dc), slip stitch (ss), and increases.
- Familiarity with fine yarn handling and joining yarn colors seamlessly.
- Some experience with glue-enhanced assembly of small embellishments.
Materials
- Yarn in these colors:
- Amêndoa (light beige) for belly
- Chiclet (soft pink) for head and wings
- White (Anne yarn) for eyes
- Yellow for beak
- Crochet hook appropriate for yarn thickness (fine, likely 1.5 – 2.5 mm)
- Silicone glue (for wings)
- T6000 glue (for eyes and beads)
- Black half-pearl beads (for pupils)
- Two small gold beads (for feet)
- Tapestry needle
- Earring hooks
Measurements / Sizing
- Finished earring size: approx. 2.5 – 3 cm (1–1.2 inches) tall, width proportional to owl shape
- Lightweight to comfortably hang as earrings
Gauge and Stitch Pattern
- Gauge is not critical but maintain tight, small stitches to preserve form.
- Stitch pattern centers on single crochet rounds increased in the belly, a straight edge for the head, and small wing motifs using basic crochet stitch variations.
Stitch Abbreviations
| Abbreviation | Meaning |
|---|---|
| ch | Chain |
| sc | Single Crochet |
| hdc | Half Double Crochet |
| dc | Double Crochet |
| ss | Slip Stitch |
| inc | Increase (2 sc in one stitch) |
Special Stitches
- Magic Ring: Technique to start crochet in a closed circle, eliminating the hole center.
- Increase (inc): Work 2 single crochets in the same stitch, essential for shaping the belly circle.
- Slip Stitch (ss): Joining stitch used to close rings or attach pieces neatly.
The Crochet Pattern
1. The Belly (Amêndoa Color)
Ring:
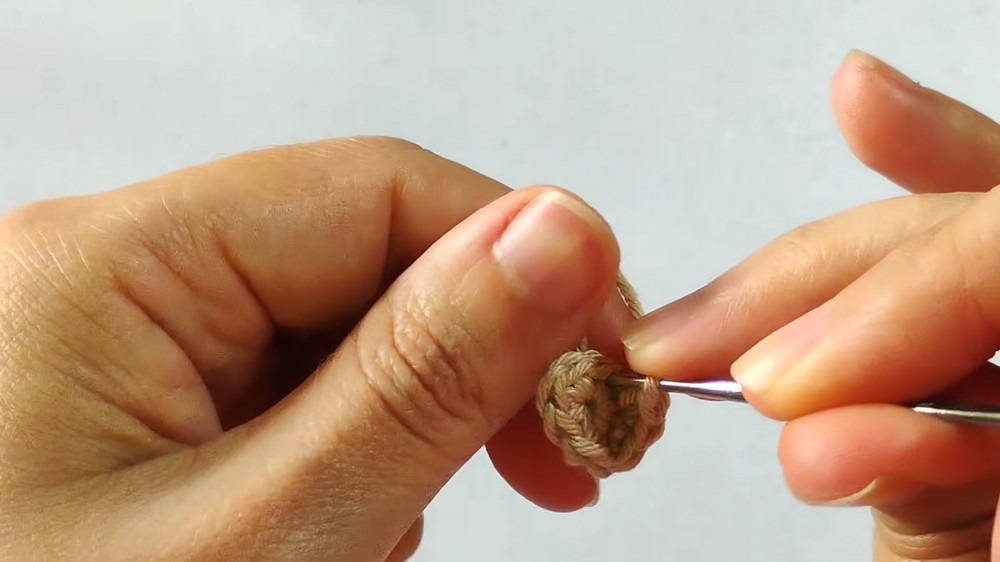
- Create a magic ring.
- Work 6 single crochet (sc) inside the ring.
- Pull the ring tight to close.
- Close the ring with a slip stitch (ss) into the first stitch.
Row 2:
- Work 6 increases (inc), meaning 2 single crochet in each stitch around, doubling from 6 to 12 stitches total.
- As you crochet, carry the yarn tail through the stitches to secure it and prevent unraveling.
Row 3:
- Work 1 sc in the first stitch, then 1 increase (2 sc) in the next stitch.
- Repeat this 1 sc, 1 inc sequence around (increasing evenly) to total 18 stitches.
- Close row with slip stitch (ss).
- Cut yarn and pull end to the back side for neatness.
2. The Head (Chiclet Color)
Foundation:
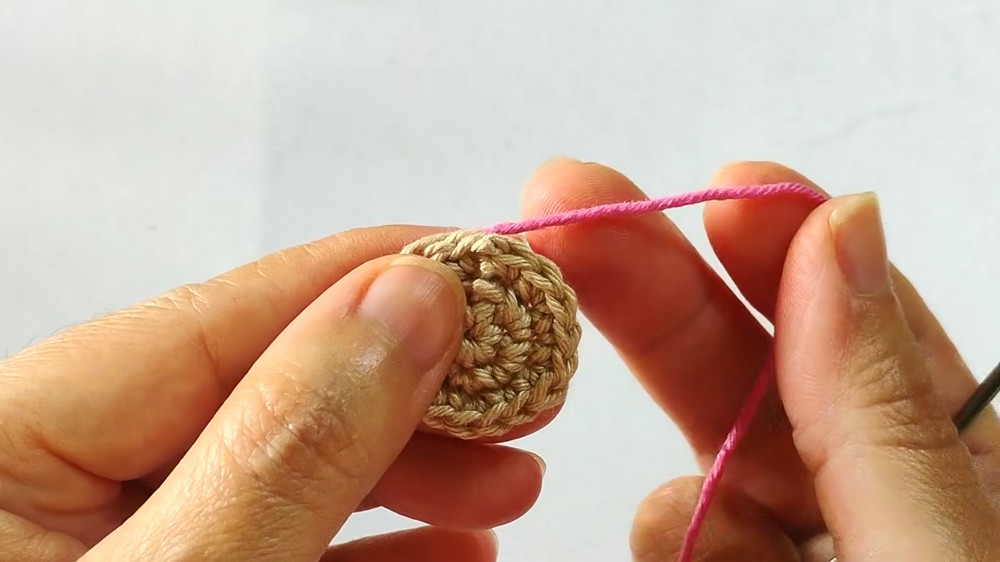
- Join Chiclet (soft pink) yarn at any stitch on the edge of the belly.
- Chain 1.
- Work 5 single crochet (sc) evenly spaced across the belly’s edge.
- Carry and secure yarn ends neatly as you work to prevent bulk.
Row 4:
- Chain 1 and turn.
- Work 4 single crochets (sc) in the row.
- In the last stitch, work an increase (2 sc) to widen the head edge slightly.
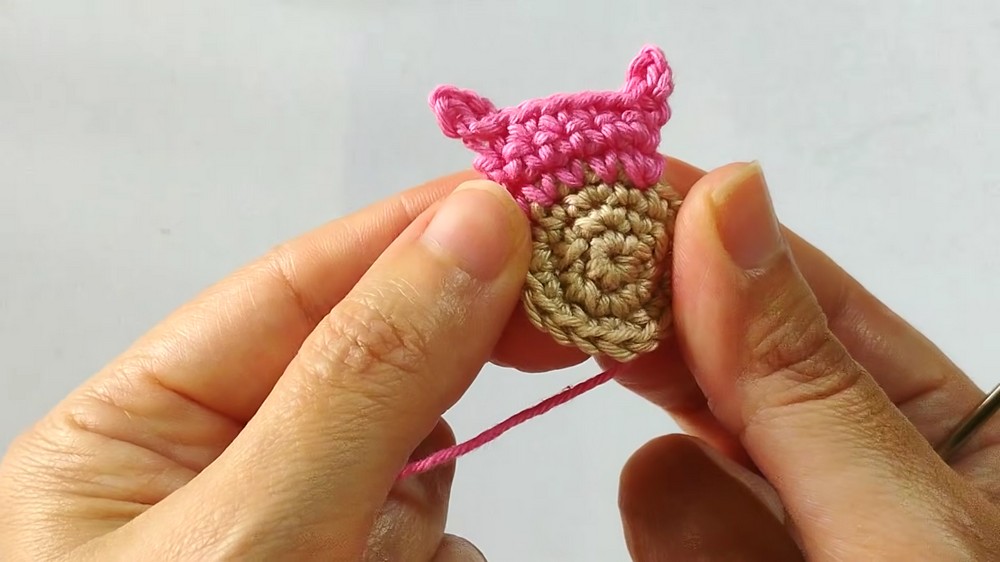
Ears:
- Chain 3.
- Skip the first chain.
- Work a slip stitch (ss) in the next chain (second chain).
- Work a slip stitch (ss) again in the base stitch from which you started the ear chain.
- Continue by working 5 single crochet (sc) stitches evenly across the row for the head width.
- Repeat the ear pattern on the opposite side with chain 3, skip 1, and 2 slip stitches as before, to form symmetrical ears.
3. The Wings
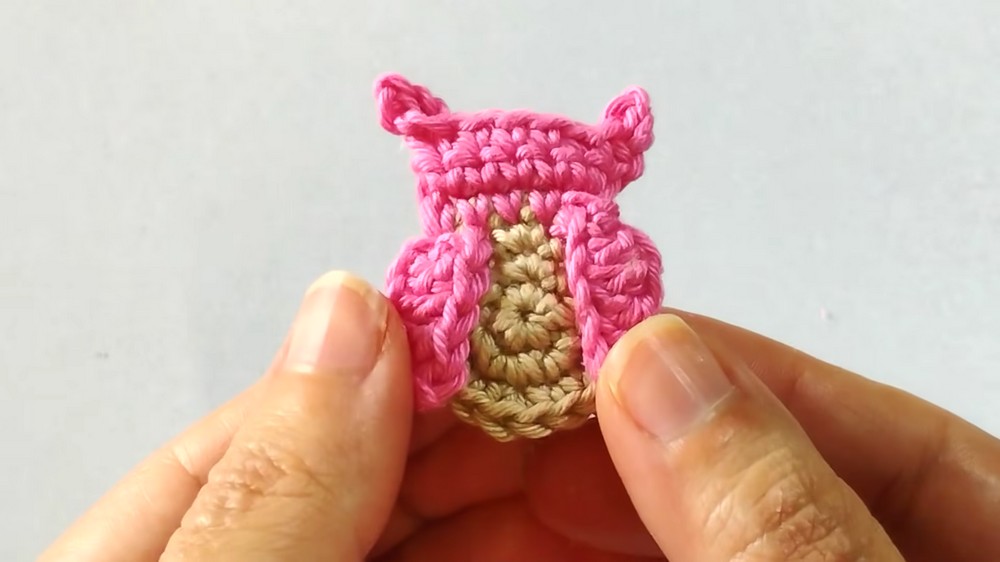
Left Wing:
- Join pink yarn at the first stitch of the belly or head seam.
- Chain 6.
- Work the following stitches down the chain:
- 1 single crochet (sc)
- 1 half-double crochet (hdc)
- 2 double crochets (dc)
- 1 single crochet (sc) at the base chain’s end.
- Cut yarn and weave ends securely.
Right Wing:
- Repeat the same sequence on the opposite side of the owl’s body.
Finishing:
- Use silicone glue to securely attach the wings to the owl body, holding until set.
4. Eyes and Details
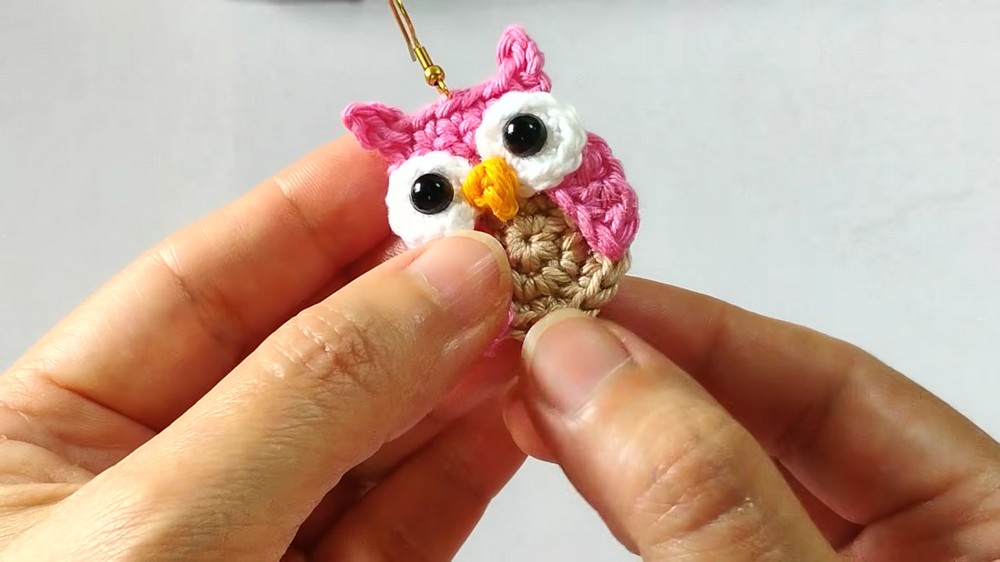
Eyes:
- Using white Anne yarn, create a magic ring.
- Work 10 single crochet (sc) into the ring.
- Do not pull the ring completely closed; leave a small opening for character.
- Attach small black half-pearl beads as pupils using T6000 glue and let dry.
Attachment of Eyes:
- Glue the finished eyes onto the front of the head symmetrically.
Beak:
- With yellow yarn, create a starting knot.
- Chain 1.
- Work 1 single crochet (sc) into the knot to form a tiny beak shape.
- Using a tapestry needle, carefully pull the yarn ends through the center between the eyes.
- Glue the beak securely in place.
Earring Hook:
- Pass the earring hook through the top center stitch of the owl’s head.
- Secure tightly to prevent wobbling or loosening.
Feet:
- Glue two small gold beads at the bottom of the owl to resemble feet.
Assembly & Finished Size
- Finished earrings are approximately 2.5 – 3 cm tall.
- Lightweight and small, perfect for delicate wear.
- Ensure all glued pieces are fully dry before handling.
- Use anti-tarnish earring hooks to maintain shine longer.
Conclusion
This charming crochet owl earring blends detailed miniature craft with accessible techniques for an elegant wearable art piece. By following precise rounds from the belly circle through head shaping, to attaching wings, eyes, beak, and fine embellishments, you create a unique accessory full of personality. This pattern also encourages neat finishing skills like securing yarn tails and gluing components carefully. Whether gifting or personal use, your handcrafted owl earrings are sure to enchant.