Rocking Horse Toy Free Crochet Pattern for Beginners
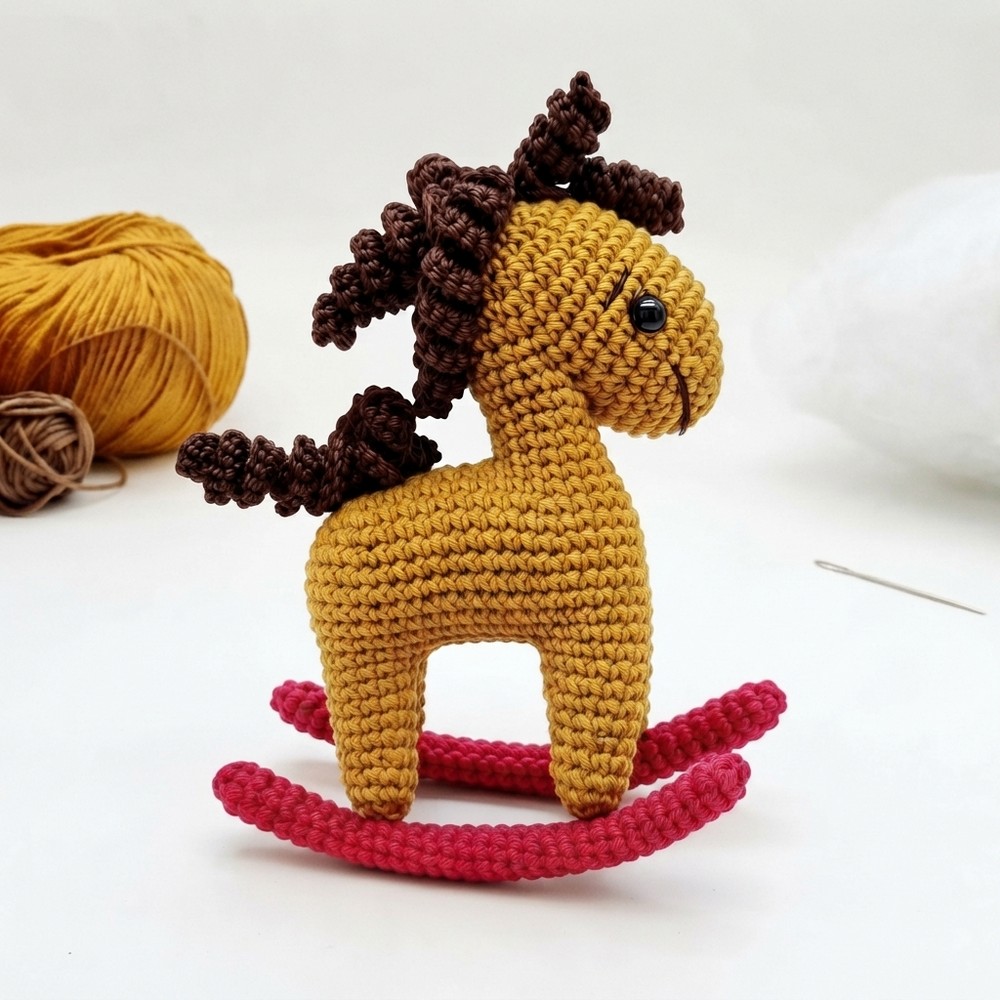
Delight children with the Free Crochet Rocking Horse Toy Pattern that blends nostalgic charm and soft textures perfect for playful moments.
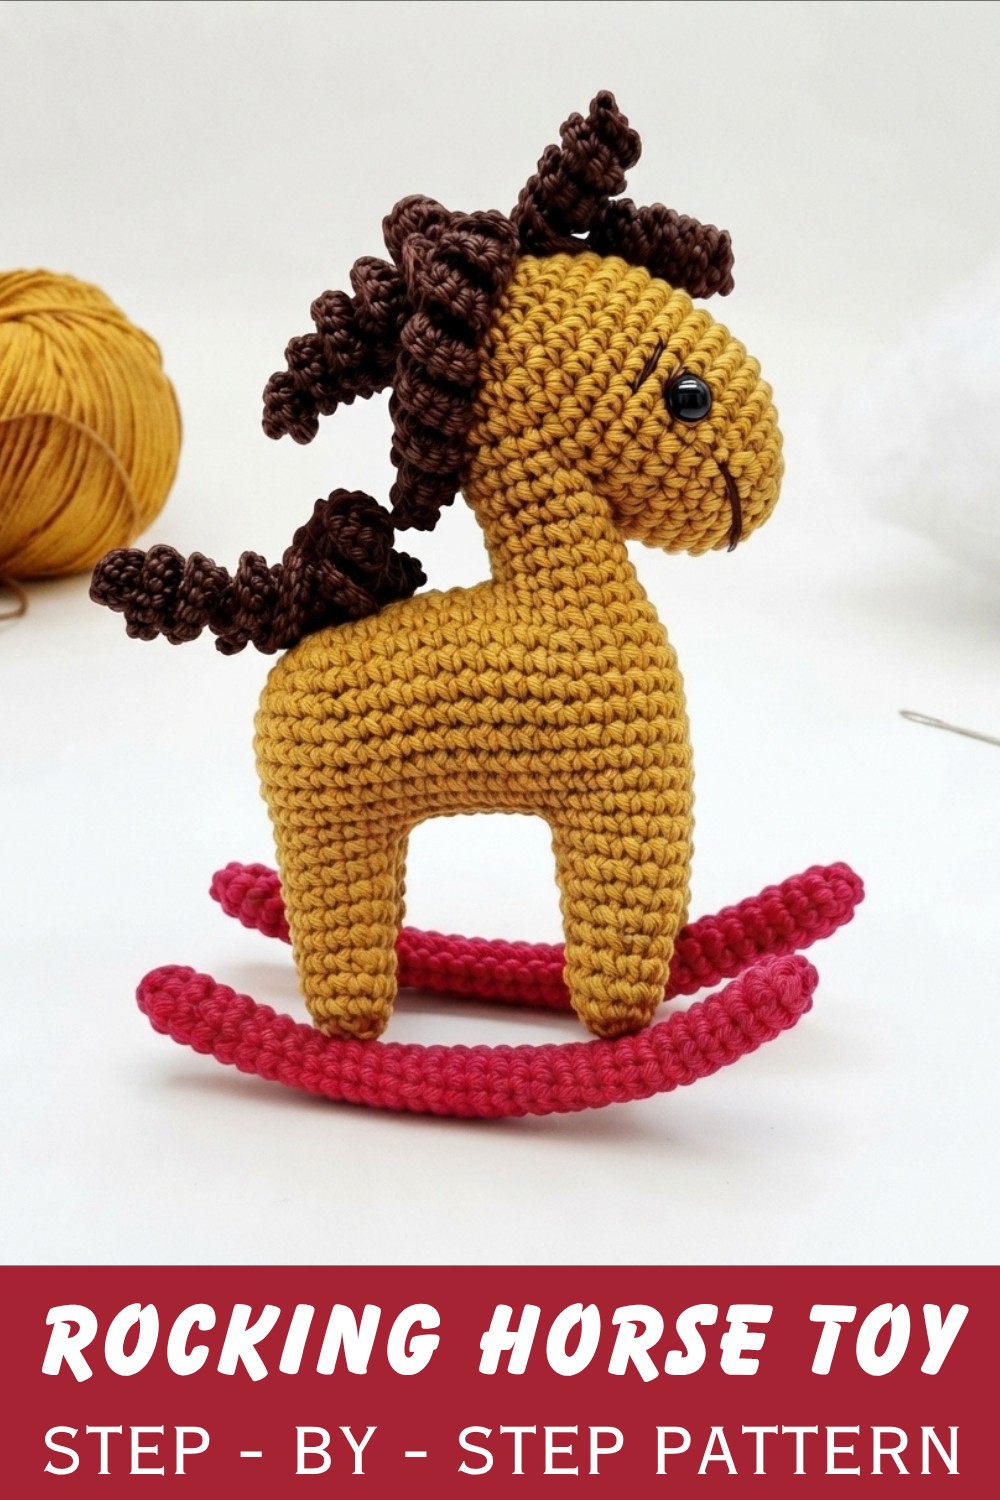
A rocking horse toy is a sweet crochet project that brings a classic childhood toy into a soft handmade form. Shared by Наташа Болди /вязание крючком, the Free crochet Rocking Horse Toy pattern is a lovely choice for making a cute toy with a warm and playful look.
The rocking horse has a charming shape that is easy to recognize, with a curved body, a sweet horse head, and a sturdy rocking base. Its soft crochet surface gives the toy a cozy feel, while the small details add personality. The gentle shape and friendly look make it feel cheerful and inviting.
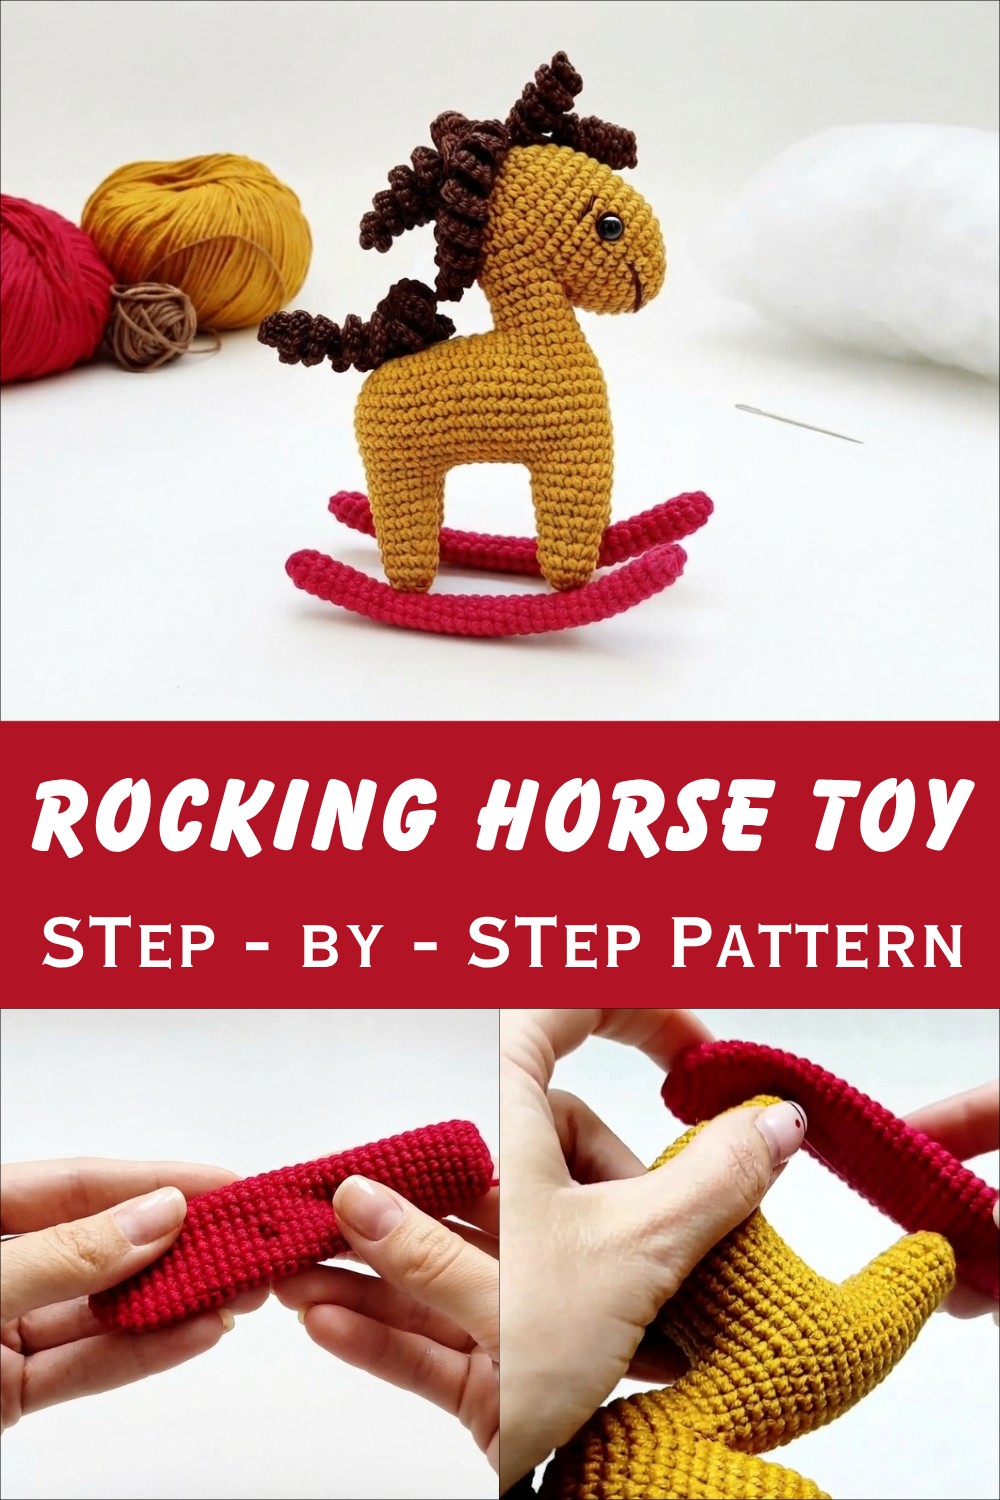
Rocking Horse Toy Crochet Pattern for Playthings
This project can be a lovely gift for a baby, child, or family member who enjoys cute toys. A handmade rocking horse can also become a special keepsake that parents may keep for years. Its soft look makes it suitable for a nursery, playroom, shelf, or child’s bedroom.
Beyond being a toy, this crochet horse can add a fun handmade touch to home decor. It looks lovely displayed on a shelf or beside other favorite toys. The simple animal theme also makes it easy to enjoy in many different room styles.
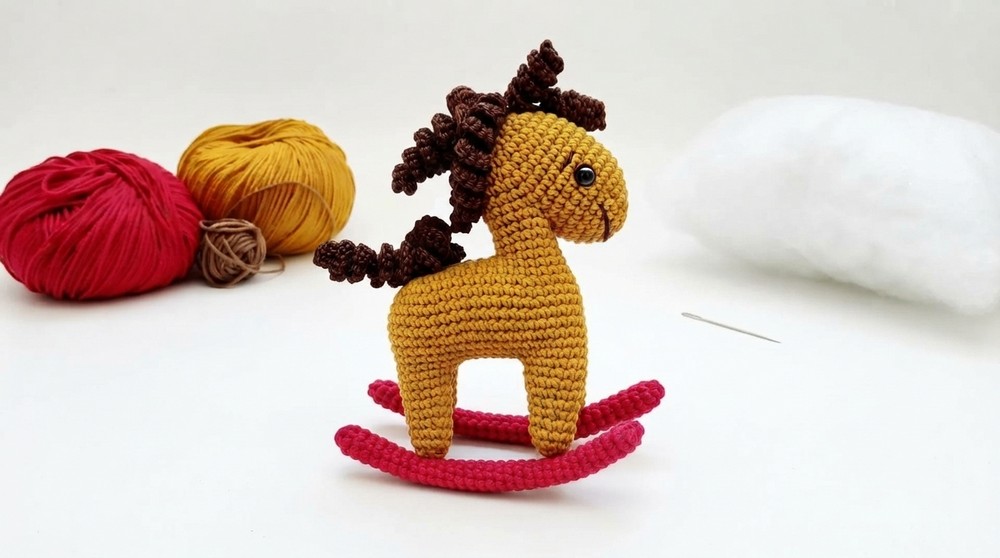
The project has a gentle, playful style that makes it stand out from common crochet toys. Its rounded body, little ears, friendly face, and rocking base give it a clear horse-like character. These details make the finished piece feel cheerful without looking too busy.
Whether made as a present or kept as a special decoration, this crochet rocking horse is a fun project with plenty of charm. It combines a familiar toy shape with the warm look of handmade crochet, making it both useful and memorable.
Toy Rocking Horse Crochet Pattern
Create a charming toy rocking horse by following this detailed crochet pattern. This easy-to-understand guide uses clear headings, step-by-step instructions, and highlights stitches to help beginners follow along smoothly.
Pattern Highlights
- Step-by-step instructions for the head, neck, body, legs, ears, rocker, mane, tail, and assembly
- Uses YarnArt Jeans yarn and a 2.0 mm crochet hook for fine detail
- Includes safety eye placement, stuffing as you crochet, and spiral curls for the mane and tail
- End product is a sturdy and adorable toy rocking horse
Notes
- Maintain consistent tension using the recommended hook and yarn to achieve the correct size.
- Insert safety eyes at the specified row to ensure proportional facial features.
- Stuff pieces firmly but gently to preserve shape without stretching stitches.
- Leave long yarn tails for ease of sewing parts together.
- Optional super glue is suggested for attaching the rocker securely but can be skipped.
Skill Level
Intermediate Beginner – Prior knowledge of magic ring, single crochet (SC), increase (INC), decrease (DEC), chain stitch (CH), and working in rounds is helpful.
Materials
- Yarn: YarnArt Jeans (main color for horse & rocker, small amount for mane & tail)
- Hook: 2.0 mm crochet hook
- Stuffing: Holofiber fiberfill
- Safety Eyes: with fasteners
- Tools: scissors, sewing needle, and a stick or pencil for stuffing
- Optional: Super glue for rocker attachment
Stitch Abbreviations
| Abbreviation | Meaning |
|---|---|
| SC | Single Crochet |
| INC | Increase (2 SC in 1 stitch) |
| DEC | Decrease (crochet 2 stitches together) |
| CH | Chain stitch |
| MR | Magic Ring |
Step-by-Step Pattern
1. Head & Neck
Start with the head and neck using the main yarn color.
- Round 1: Make a Magic Ring (MR) and crochet 6 SC into the ring. Tighten the ring.
- Rounds 2–6: Increase stitches according to the following:
- Work increases evenly spaced to expand from 6 to 30 SC by Round 6.
- Rounds 7–9: Work 30 SC evenly (no increases or decreases) to build the head’s form.
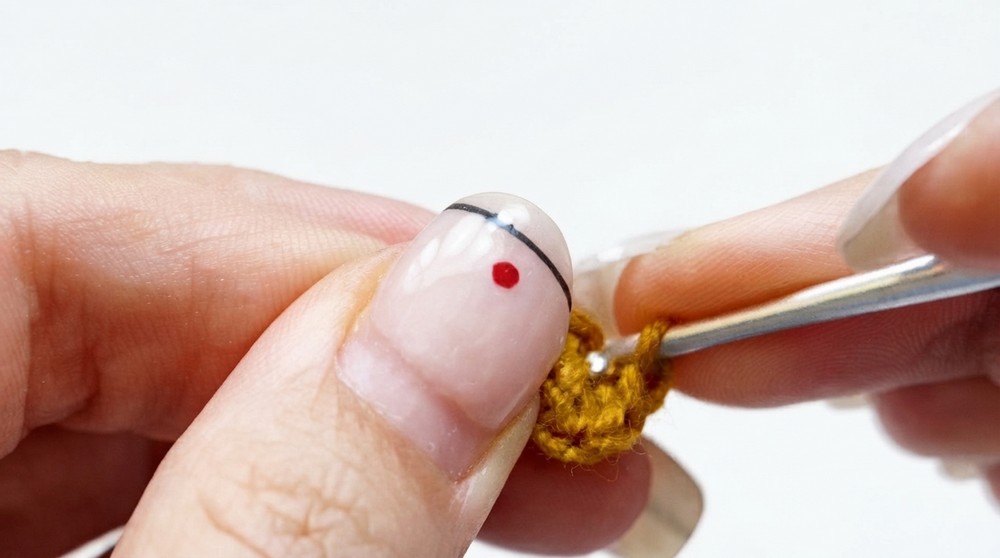
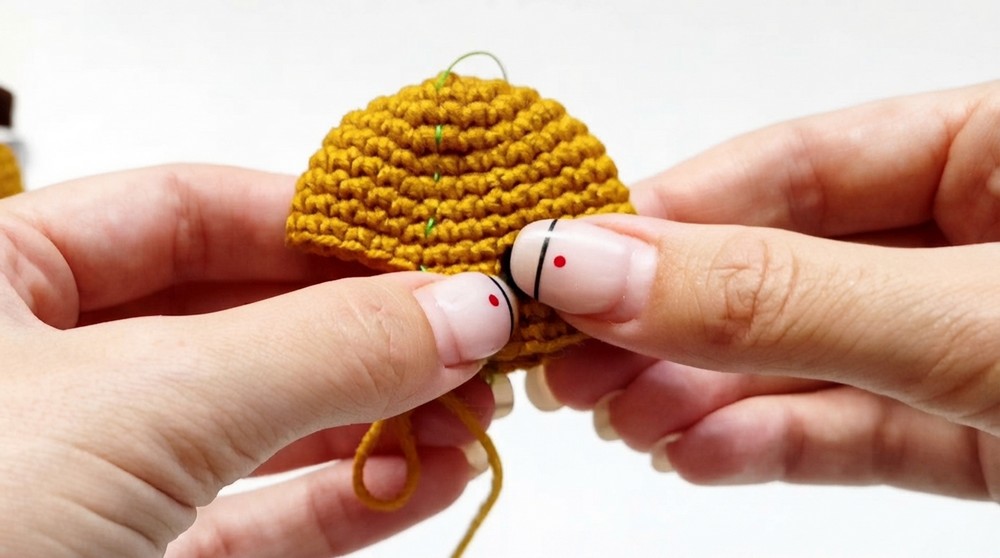
- Round 10: Shape neck opening
- Crochet 20 SC,
- CH 4,
- Skip 10 stitches,
- Continue to the end of the round.
- Rounds 11–14: Crochet 24 SC per round to form the neck with the opening.
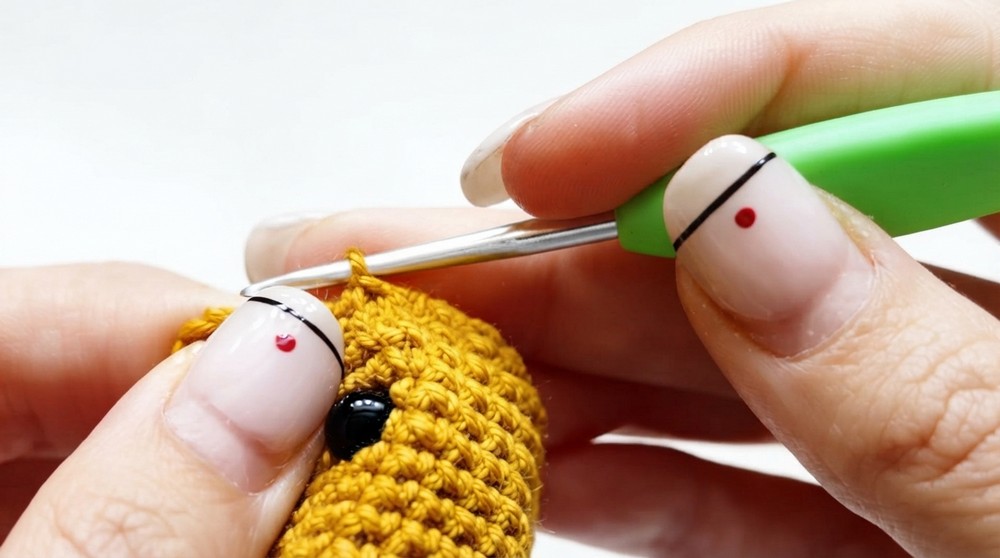
- Safety Eyes: Insert safety eyes at 3 rows down from the top of the head (between Rounds 7 and 9) securely with fasteners.
- Rounds 15–18: Begin decreasing to close the head:
- Work decreases evenly per round until closed.
- Stuff the head gradually during these rounds to keep shape.
- Neck Completion: Rejoin yarn and crochet Rounds 11–13 again to finish the neck area.
2. Back & Body
- Rounds 14–26: Continue from the neck and increase evenly to expand to 46 SC per round to form a broad and stable body base.
- Crochet evenly to shape the body without changing stitch count for the last few rounds.
3. Legs
Legs are worked separately, then attached later.
- Front Legs:
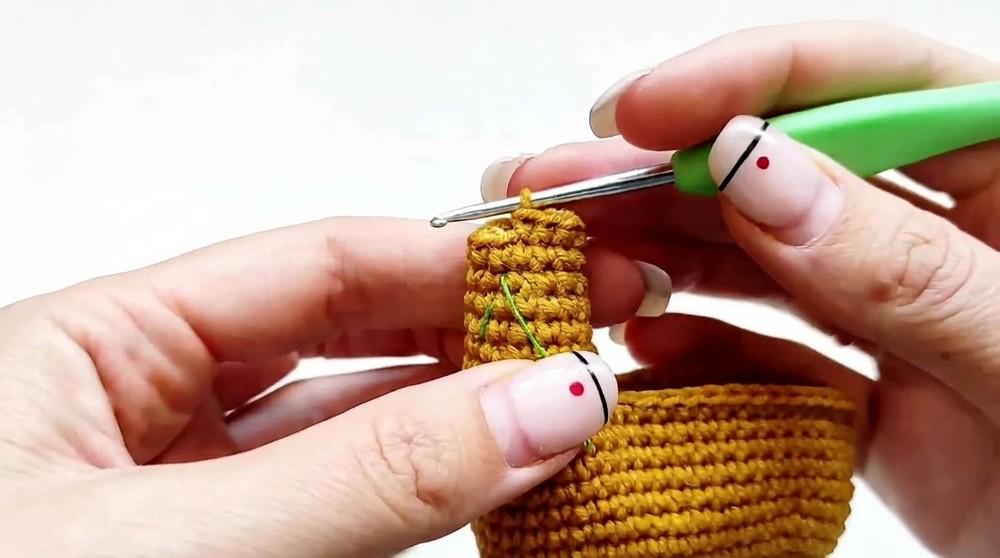
- At Round 27, separate stitches and crochet 16 SC in rounds.
- Follow decreases as shown, reducing stitch count gradually down to 6 SC by Round 36.
- Stuff firmly before closing the legs.
- Back Legs:
- Repeat front leg steps exactly to create the back legs, finishing with 6 SC and closing.
- Stuff firmly prior to closing.
4. Ears
- Start with a Magic Ring (MR) and crochet 6 SC into it.
- Increase each stitch to have 12 SC total in the round.
- Leave a long yarn tail for sewing ears onto the head later.
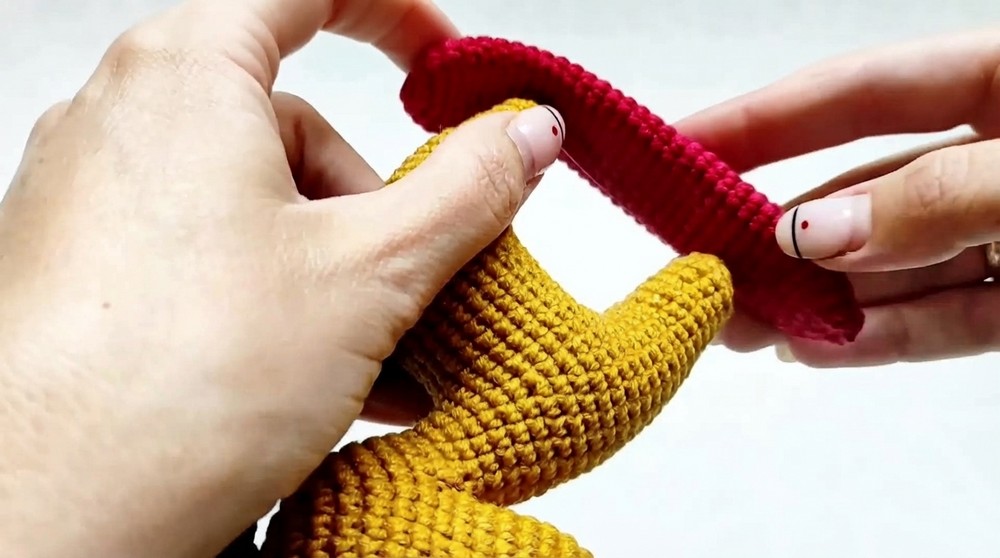
5. Rocker
- Begin with 6 SC in a Magic Ring.
- Increase evenly to 16 SC to widen the ring.
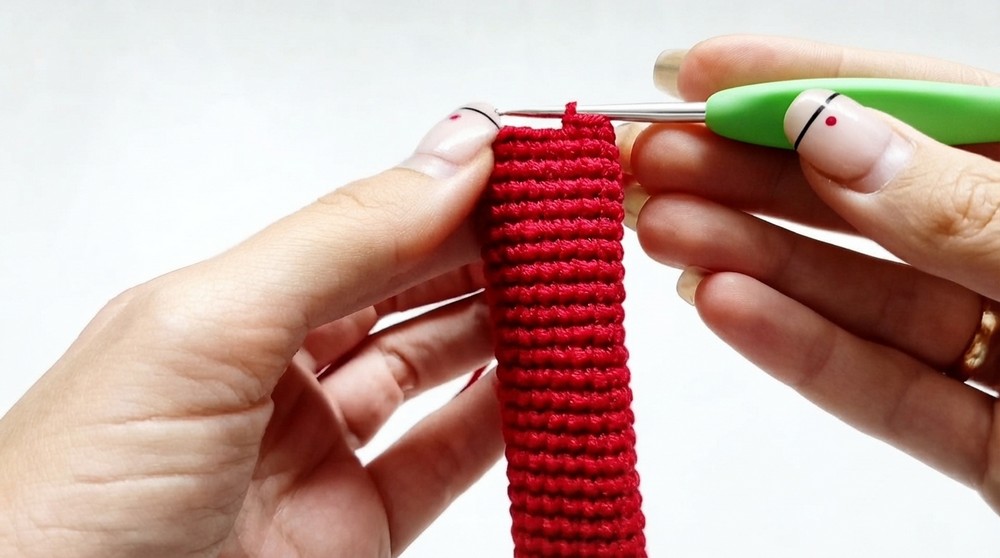
- Crochet 30 rounds of 16 SC each to create the length and height of the rocker.
- Decrease evenly back to 6 SC to taper the ends.
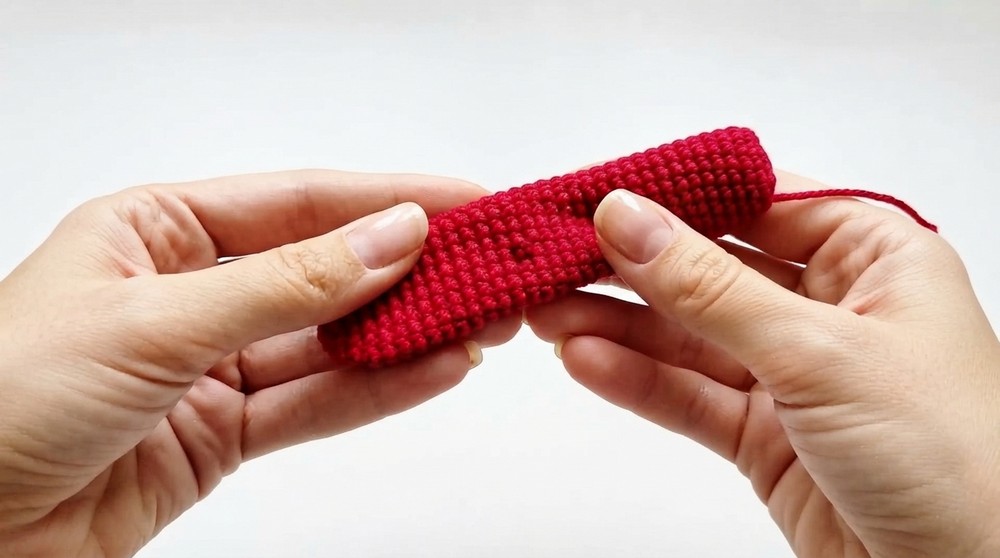
- Flatten the rocker and seam edges together by sewing for stability. Optionally use super glue to reinforce.
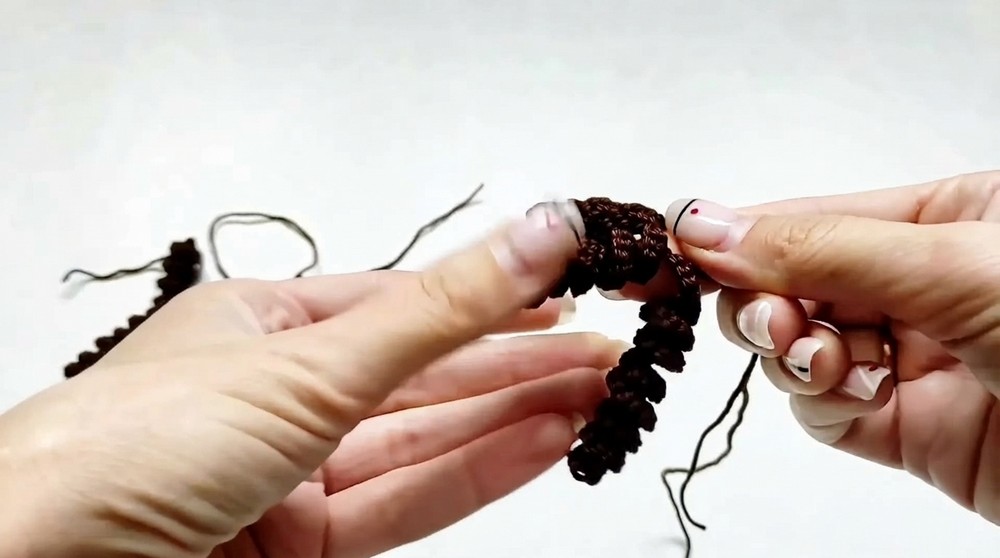
6. Mane & Tail
- Create spiral curls:
- Chain 20, 30, or 40 stitches (depending on desired curl length),
- Crochet 2 SC in each chain stitch back along the chain to form spirals.
- Make 7 spirals for the mane and 3 spirals for the tail with the chosen yarn color.
7. Assembly
- Sew on the mane, tail, and ears using the long yarn tails and a sewing needle.
- Embroider the face: Add nostrils and mouth with yarn and needle for detail.
- Attach the body to the rocker: Sew or glue securely for lasting hold.
- Check balance and seam neatness carefully before finishing.
Final Tips
- Work tightly but comfortably to maintain shaping.
- Regularly stuff pieces to guide form.
- Tie off yarn ends securely and weave them in neatly to avoid loose threads.
- Personalize using different yarn colors or facial embroidery styles as desired.
Conclusion
By following this beginner-friendly toy rocking horse crochet pattern, you will craft a delightful and sturdy plaything. The detailed instructions for shaping the head, body, and legs combined with the fun spiral mane and tail technique make this project both satisfying and decorative. With patience and careful stitch work, your finished rocking horse will be a treasured toy or gift, showcasing the art of crochet with every stitch. !