How to Crochet Boat Garland – Free Step-by-Step Pattern
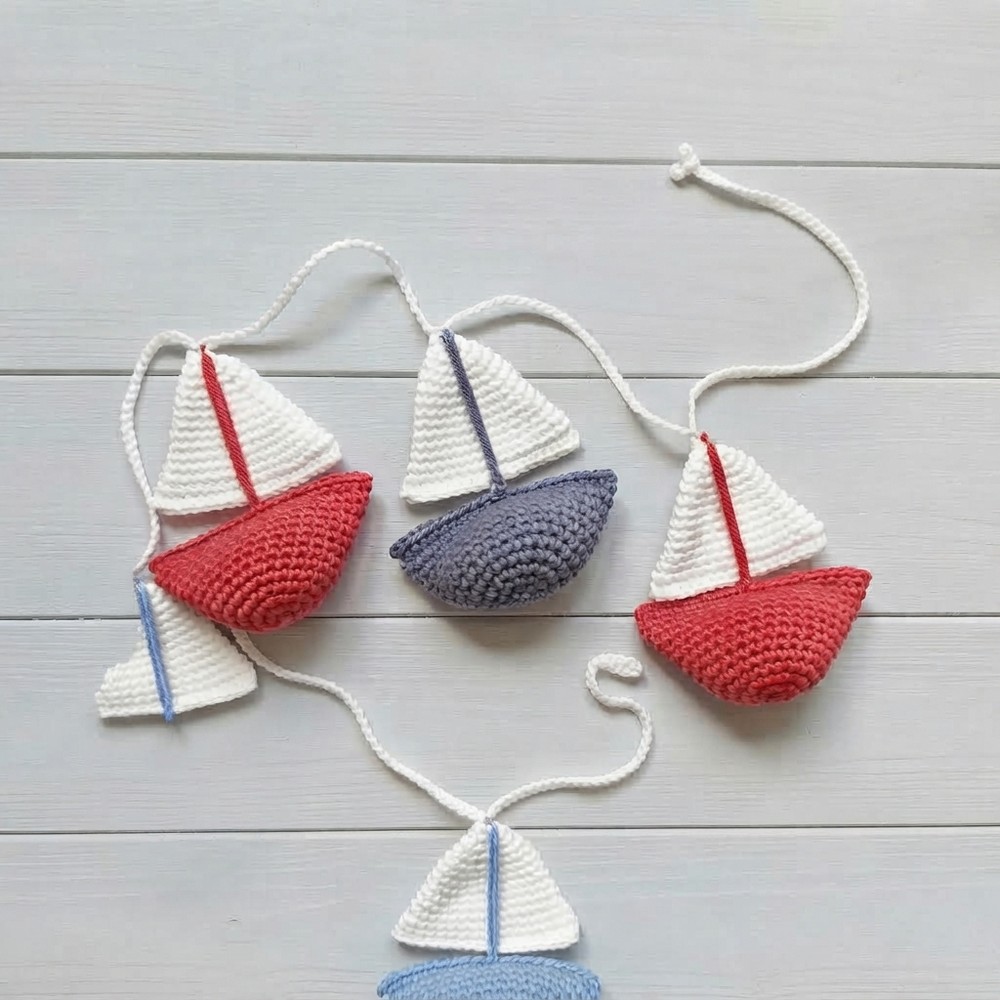
Decorate spaces stylishly with the Free Crochet Boat Garland Pattern that’s featuring cute miniature boats that brighten up events and home interiors alike.
Support: Наташа Болди /вязание крючком
Adding cute decorations to your home can make any room feel cozy and happy. The free crochet boat garland pattern lets you create a fun string of tiny boats that look bright and cheerful. This handmade garland is perfect for decorating children’s rooms, parties, or even summer-themed events.
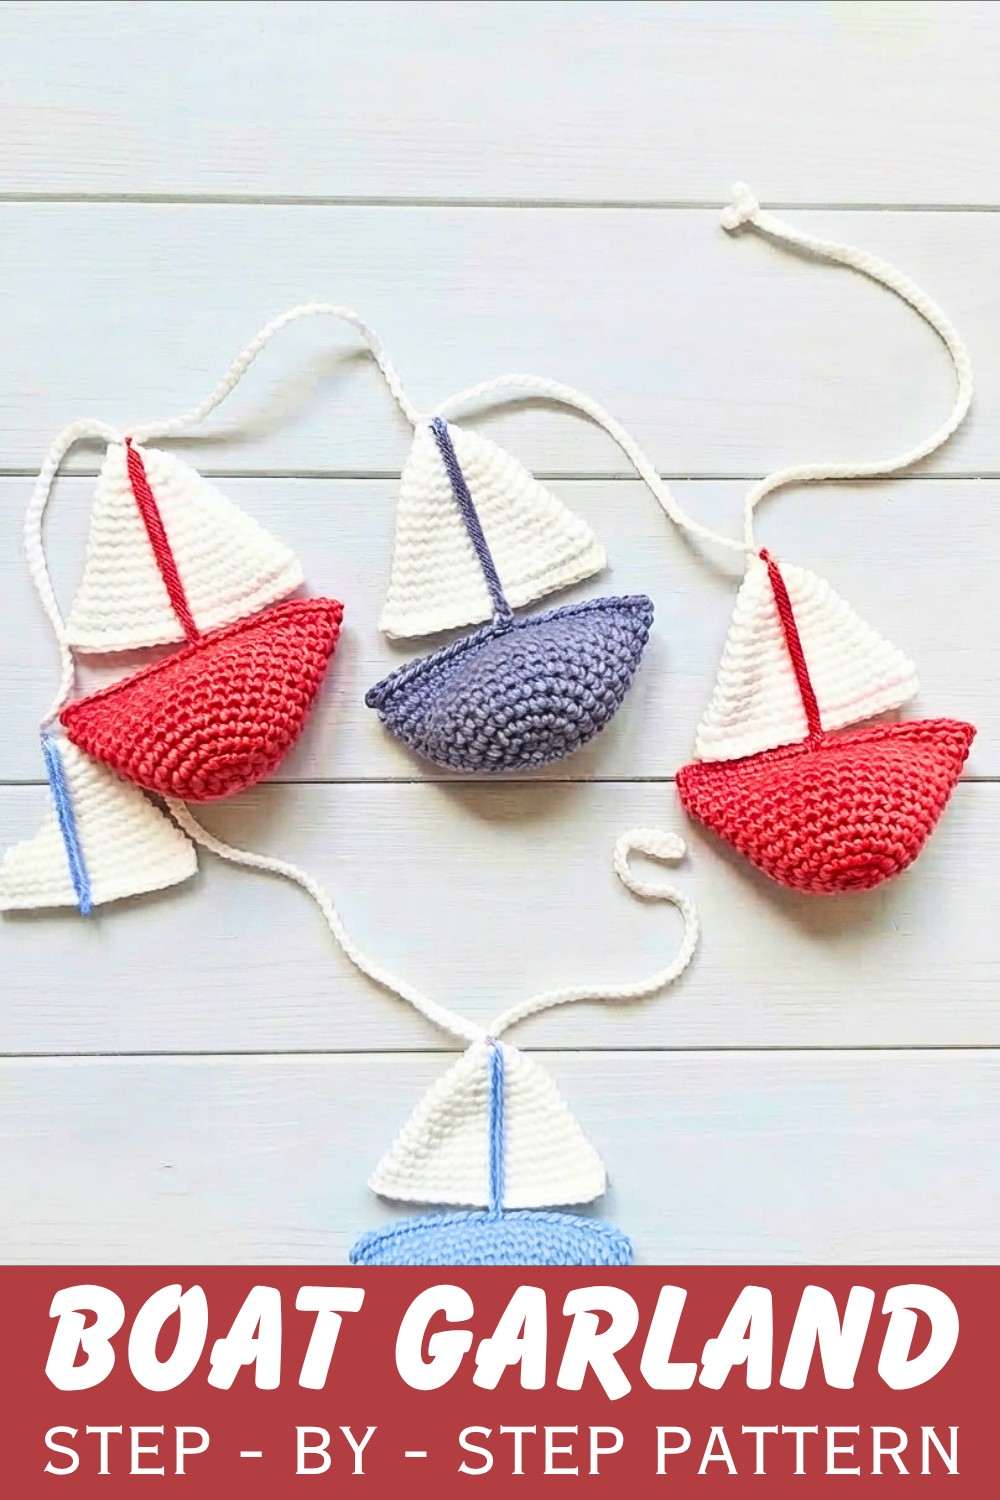
The boats in this garland are small and adorable, with a rounded base and a simple sail shape on top. The colors are soft and playful, making the garland easy to match with different room styles. The boats hang nicely on a strong yarn, creating a charming line of little ships that bring a warm and joyful vibe wherever they are placed.
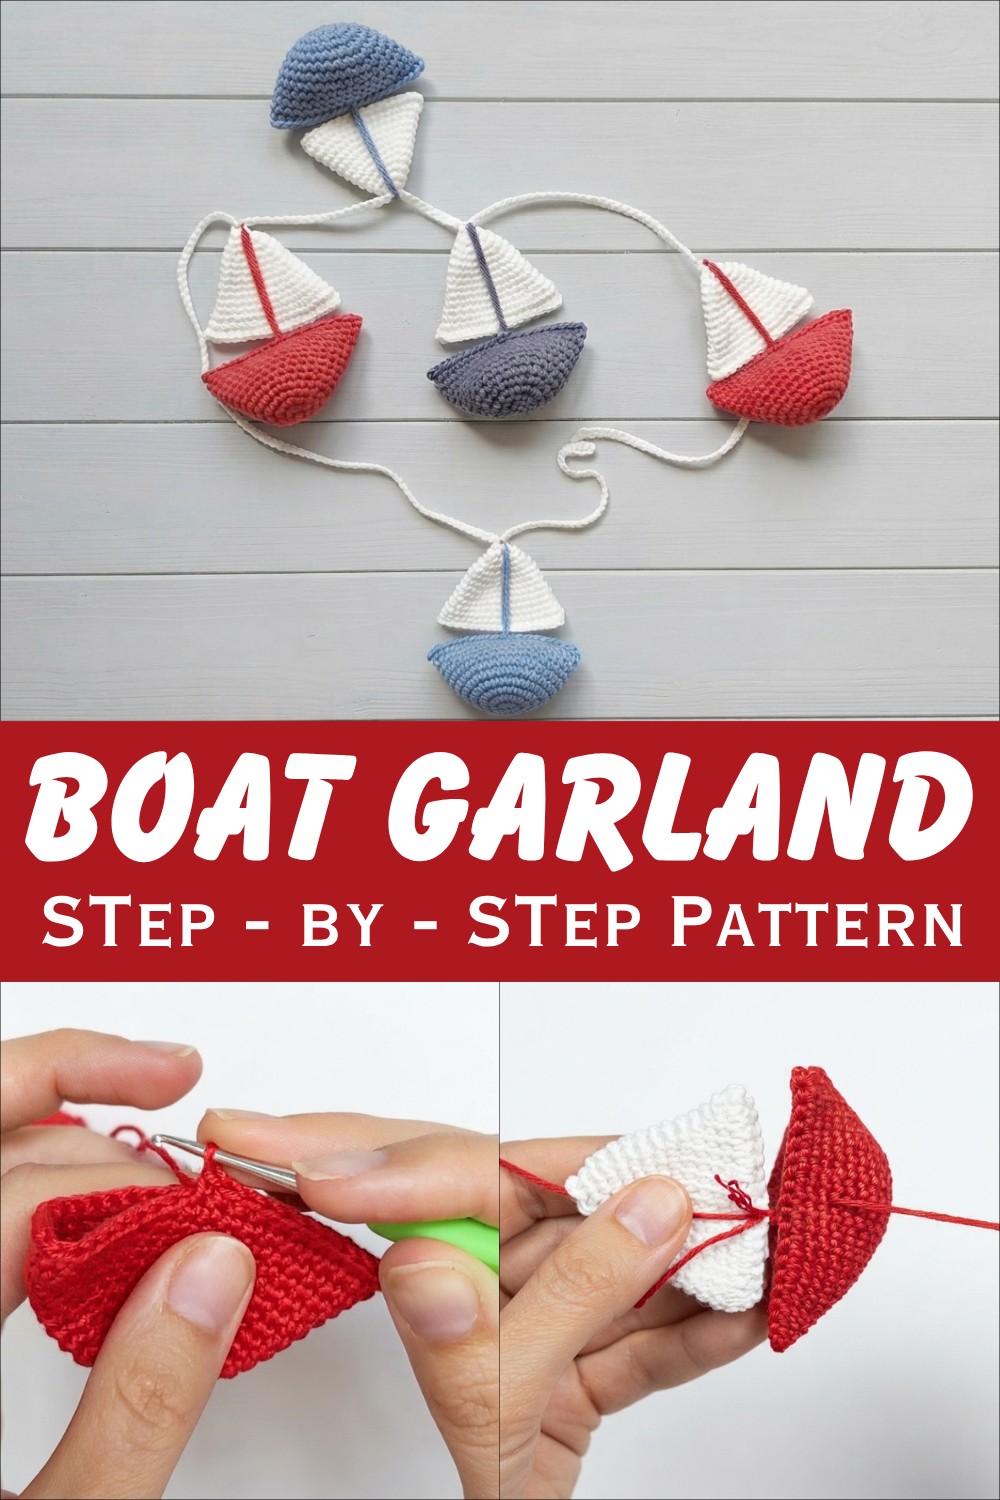
Free Crochet Boat Garland Pattern: Perfect Party Decor
This free crochet boat garland pattern offers a creative way to crochet something special for your space. It can be hung across walls, windows, or shelves to add a touch of handmade charm. Kids will especially love seeing these boats float along the room, sparking imagination and fun.
The detailed and easy-to-follow tutorial comes from Наташа Болди /вязание крючком on YouTube. This channel teaches how to make beautiful crochet designs with clear instructions suitable for beginners and all levels of crocheters.
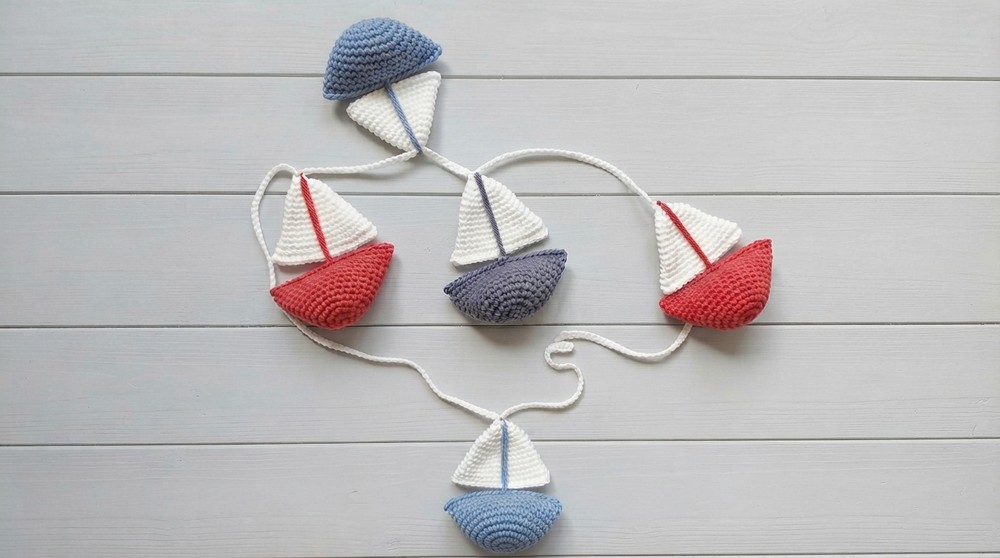
People enjoy making this boat garland because it’s not only pretty but also simple to create. It adds personality to the room and shows off your handwork in a lovely way. Whether as a gift or for your own home, this crochet boat garland brings smiles and a sense of warmth wherever it’s displayed. It’s a wonderful project to enjoy stitching and sharing.
Crochet Boat Garland Pattern
Create an enchanting boat-themed garland perfect for nurseries, parties, or coastal décor. This crochet boat garland pattern combines simple shapes—the boat and the sail—into a charming hanging decoration. With clear step-by-step guidance, it is accessible to intermediate crocheters wanting a thoughtful and delightful project.
Quick Overview of the Pattern
This pattern involves crocheting small boats and matching sails, then assembling them onto a crocheted chain to form a garland. Each boat is crafted with increases shaping a rounded base, stuffed lightly, and closed neat. The sail is a smaller triangular piece created similarly and sewn on the boat. Boats are attached to a long chain with slip stitches spaced evenly to complete the garland.
Notes
- Use consistent tension throughout to maintain even shapes.
- Stuff boats lightly with fiberfill for a soft, yet structured look.
- Sail pieces do not require stuffing.
- Secure stitching when joining pieces is essential to durability.
- The chain spacing can be adjusted according to desired garland length and aesthetics.
- Be mindful of yarn color changes to enhance visual appeal.
Skill Level
This project is suitable for intermediate beginners familiar with fundamental crochet techniques such as the magic ring, single crochet (SC), increases, slip stitch, and working in rounds.
Materials
- Two colors of yarn (choose contrasting or matching shades for boats and sails)
- 2 mm crochet hook
- Scissors
- Large-eye tapestry needle for sewing and weaving ends
- Fiberfill stuffing for filling boats
Measurements / Sizing
- Each boat measures approximately 6 cm wide and 4 cm high before stuffing.
- Sails measure about 4 cm wide and 5 cm high.
- The full garland length depends on the number of boats and spacing over the chain, typically around 1.2 meters for 6 boats with 30 stitches spacing.
Gauge and Stitch Pattern
- Gauge is flexible but approximately 30 SC per 4 cm in rounds with 2 mm hook.
- Worked primarily in single crochet (SC) rounds with consistent increases shaping the pieces.
Stitch Abbreviations
| Abbreviation | Meaning |
|---|---|
| SC | Single crochet |
| INC | Increase (2 SC in 1 stitch) |
| MR | Magic ring |
| CH | Chain stitch |
| SL ST | Slip stitch |
Special Stitches
- Magic Ring (MR): Starting technique to create a tightly closed circle, perfect for amigurumi and circular work.
The Crochet Pattern
Step 1: The Boat
Create the main body of the boat using your chosen yarn color.
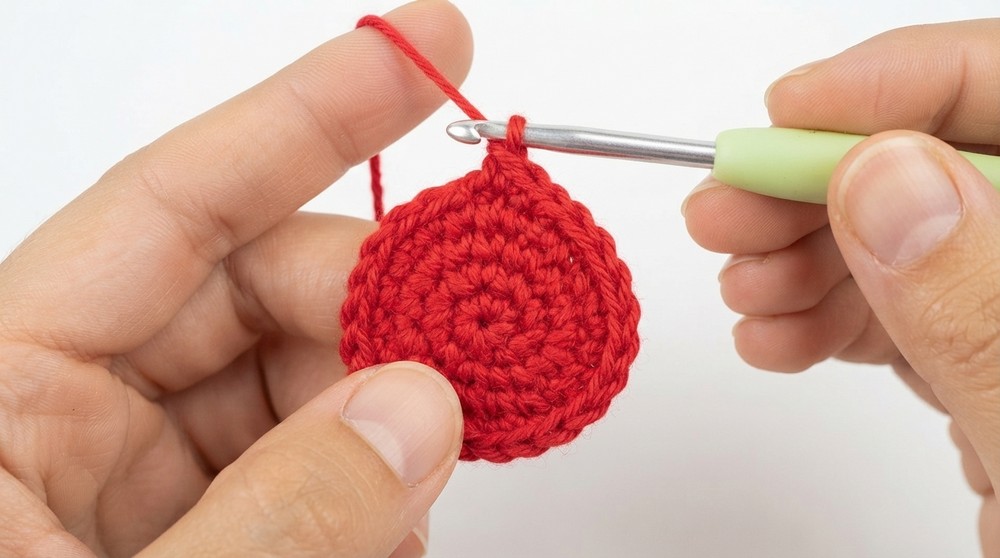
- Round 1: Make a Magic Ring (MR) and crochet 6 SC inside the ring. Pull the ring tight to close. (6 SC)
- Round 2: Increase in every stitch — make 2 SC in each stitch around. (12 SC)
- Round 3: Alternate 1 SC, then 1 INC: 1 SC, INC repeat to end. (18 SC)
- Round 4: Alternate 1 SC, 1 INC again: 1 SC, INC repeat to end. (24 SC)
- Round 5: Work 11 SC, then 1 INC; repeat across round. (26 SC)
- Rounds 6 to 12: Continue increasing by 2 stitches per round, following the pattern demonstrated: evenly space increases to gently expand the circle. Aim to reach 40 SC by Round 12.
- Round 13: Crochet 40 SC evenly around with no increases to build height and structure.
- Closing the Boat:
- Fold the flat crocheted circle in half, aligning edges.
- Crochet through both sides to close the boat’s shape, stitching along the edges.
- Insert a small amount of fiberfill stuffing before completely closing for plush firmness.
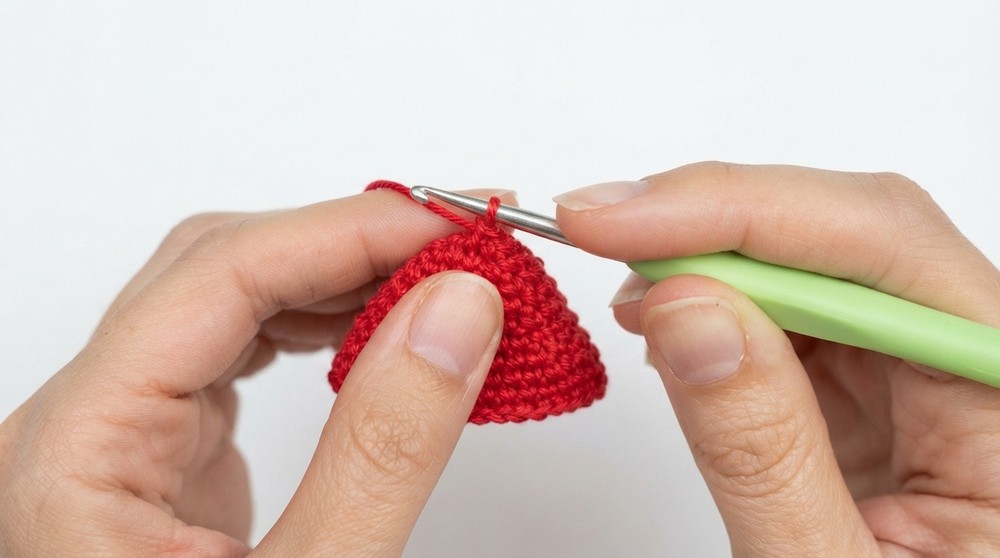
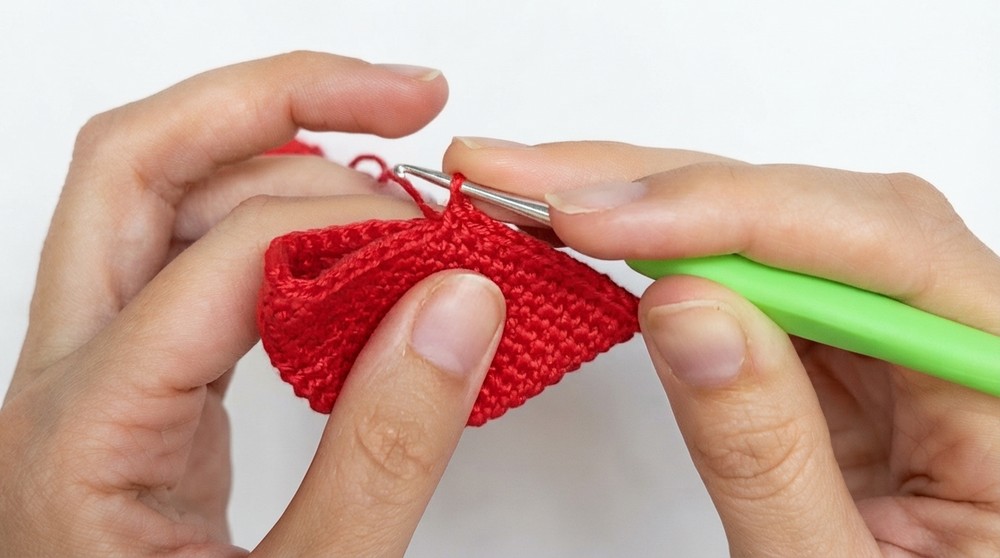
Step 2: The Sail
Make the boat’s sail in a complementary or matching color.
- Round 1: Begin with a Magic Ring and crochet 4 SC inside. Pull tight. (4 SC)
- Round 2: Increase in every stitch: 2 SC in each stitch around. (8 SC)
- Round 3: Alternate 1 SC, then 1 INC: 1 SC, INC repeat to end. (12 SC)
- Round 4: Alternate 2 SC, 1 INC: 2 SC, INC repeat around. (16 SC)
- Rounds 5 to 13: Follow the increase scheme progressively, increasing the number of SC stitches between each INC until you reach 15 SC between increases. This shapes the sail into a broad triangle.
- Round 14: Work 34 SC evenly around with no increases to complete sail size.
- Closing the Sail: Fold the sail and sew or crochet stitches through both sides to close.
- No stuffing is needed for the sail.
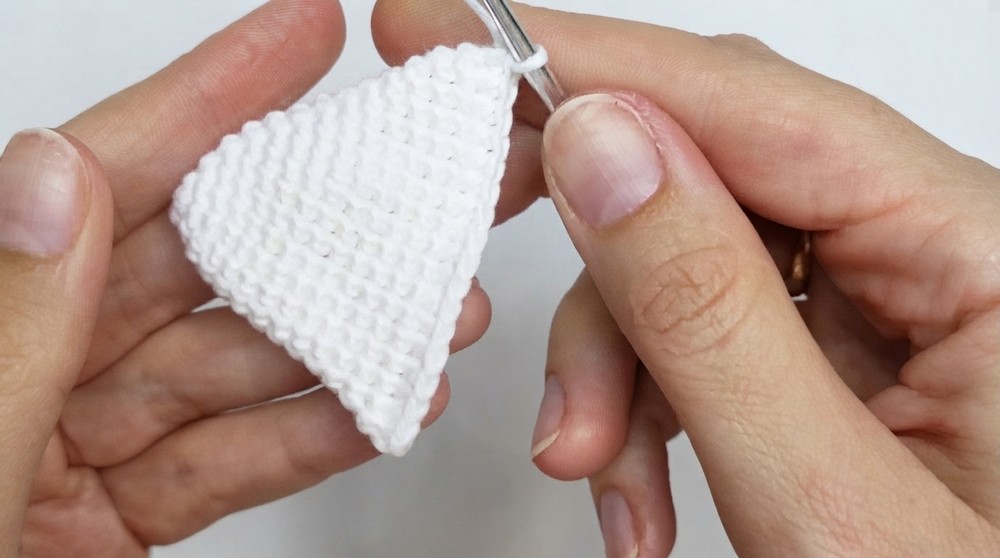
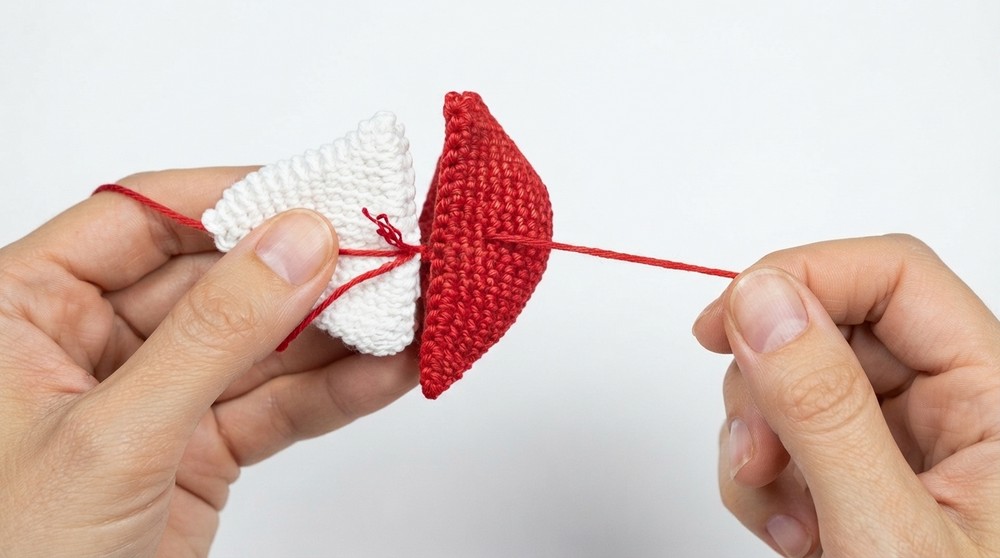
Step 3: Assembly and Garland
Bring your handcrafted boats and sails together into a stunning garland.
- Joining Sail to Boat: Use the yarn and tapestry needle or a crochet hook to join the sail to the center of the boat with a few slip stitches (SL ST) or sewing stitches. Ensure it is centered and secure.
- Making the Garland Chain:
- Chain 15 stitches and connect with a slip stitch to form a loop.
- Chain 70 stitches to provide hanging length for the garland segment before attaching boats.
- Attaching Boats to Chain:
- Using slip stitches, attach each boat to the chain, leaving approximately 30 stitches spacing between boats for a balanced look.
- Be sure to space evenly and secure each boat firmly to avoid slipping.
- When adding multiple boats, end the garland with a boat positioned as a mirror image to the starting one for visual balance.
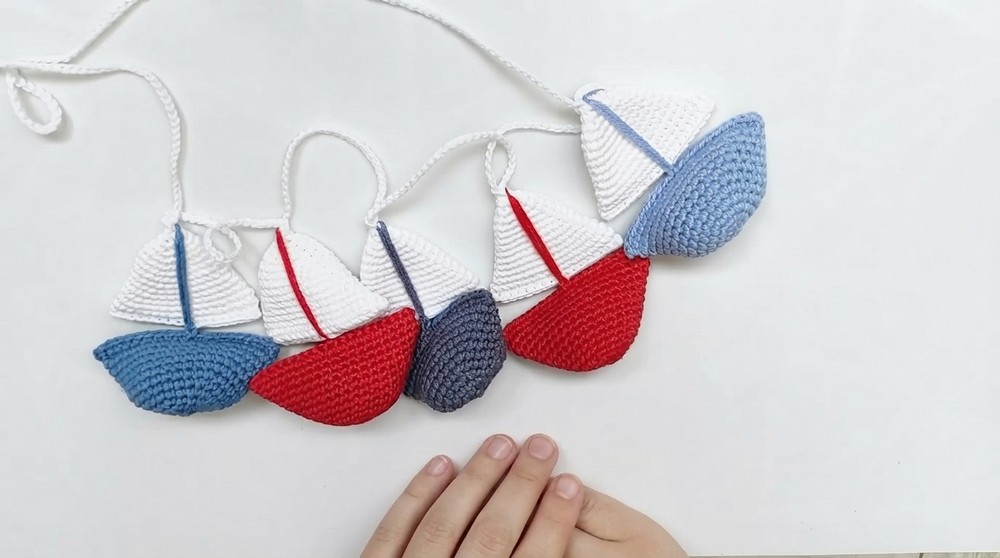
Assembly & Finished Size
With six boats spaced evenly along the chain, the completed garland measures about 1.2 meters (47 inches) long. Each boat hangs approximately 4–5 cm below the chain, making it a delightful decorative piece for hanging in children’s rooms or special events. Adjust spacing on the chain to customize length or density.
Conclusion
This crochet boat garland offers a charming, handcrafted accent perfect for any nautical-themed space. By carefully following the rounds and stitch counts for both the boats and sails, crocheters of intermediate skill can create a playful yet polished decoration. The combination of soft stuffing, neat finishes, and strategic assembly ensures a long-lasting and visually delightful project. Whether created as a gift or for personal décor, this pattern celebrates the meditative joy of crocheting functional art with a touch of whimsy.