Free Crochet Capybara Toy Pattern for Kids and Adults
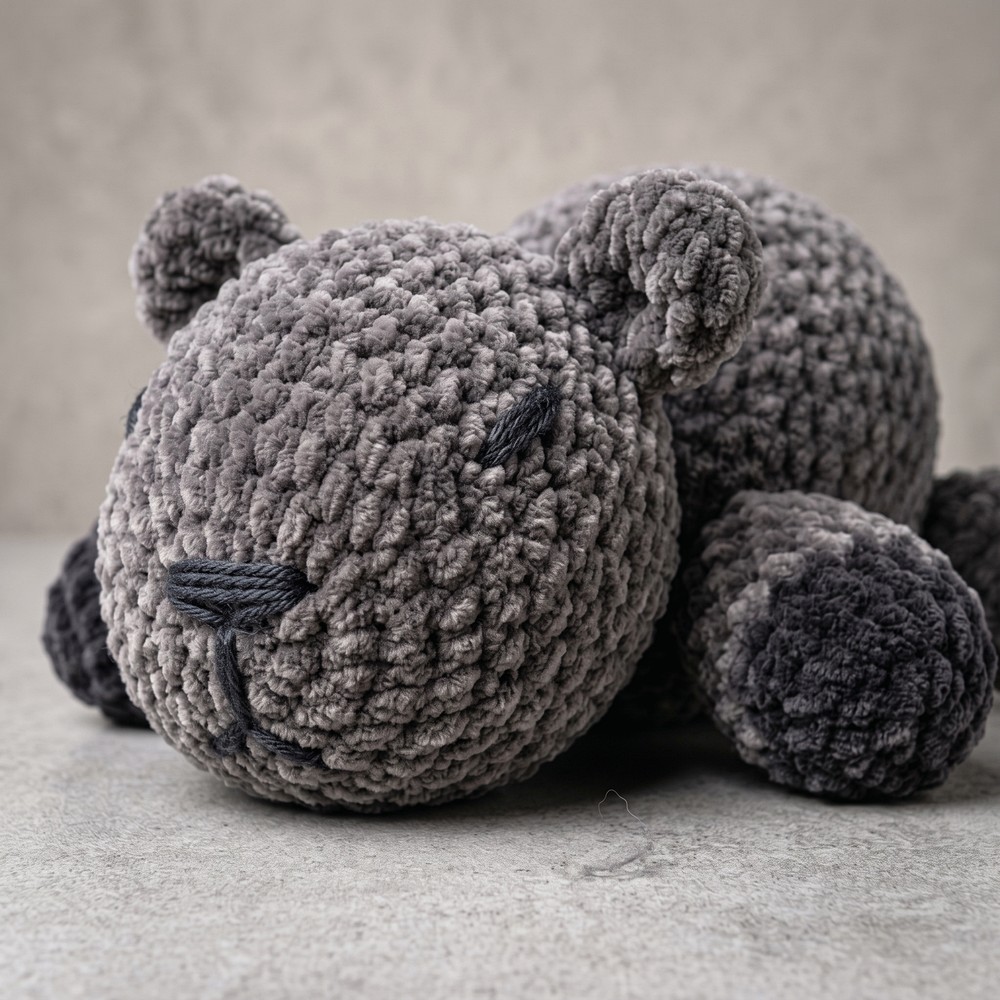
Build playful charm with Free Crochet Capybara Toy Pattern that’s featuring lovable details suited for cozy rooms, cheerful shelves, or thoughtful presents.
A cute crochet toy can bring a little fun and warmth to any room. The Free crochet Capybara Toy pattern is a sweet project for making a small amigurumi capybara with a soft, friendly look.
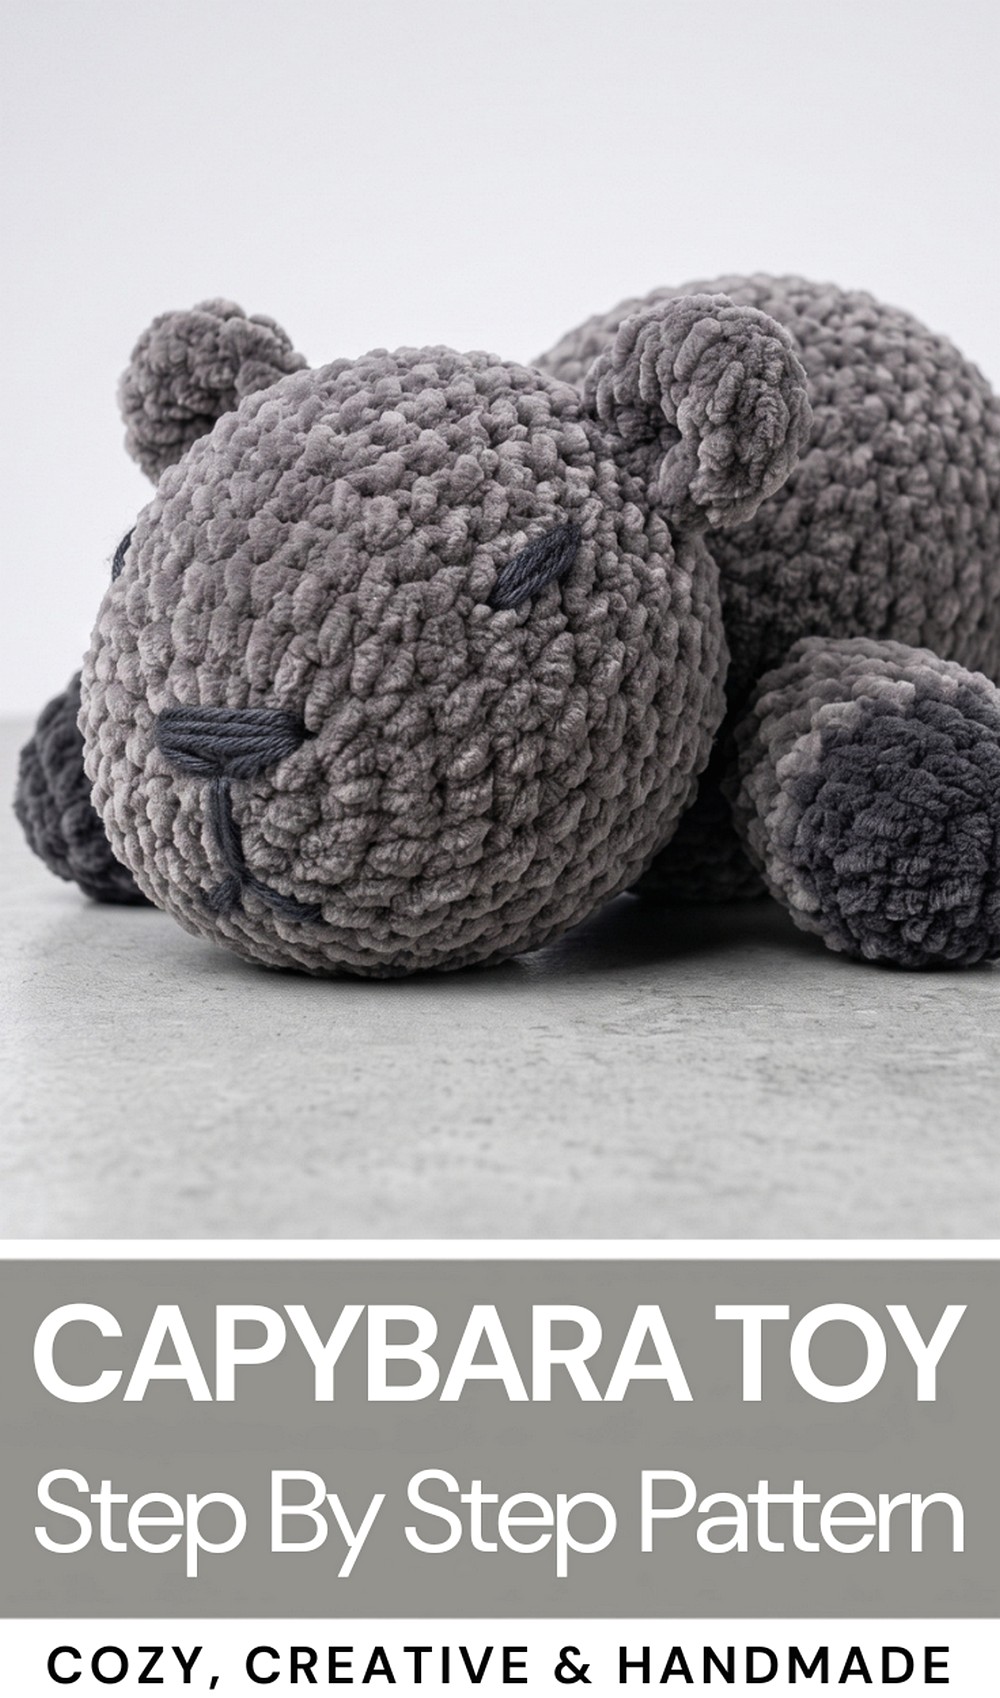
The finished capybara has a simple, rounded body and a cute animal shape. Small ears, a little face, and a gentle expression give the toy a lovable style. The soft crochet surface adds a cozy feel, while the compact size makes the capybara easy to hold, carry, or place almost anywhere.
Capybara Toy Free Crochet Pattern with Cozy Look
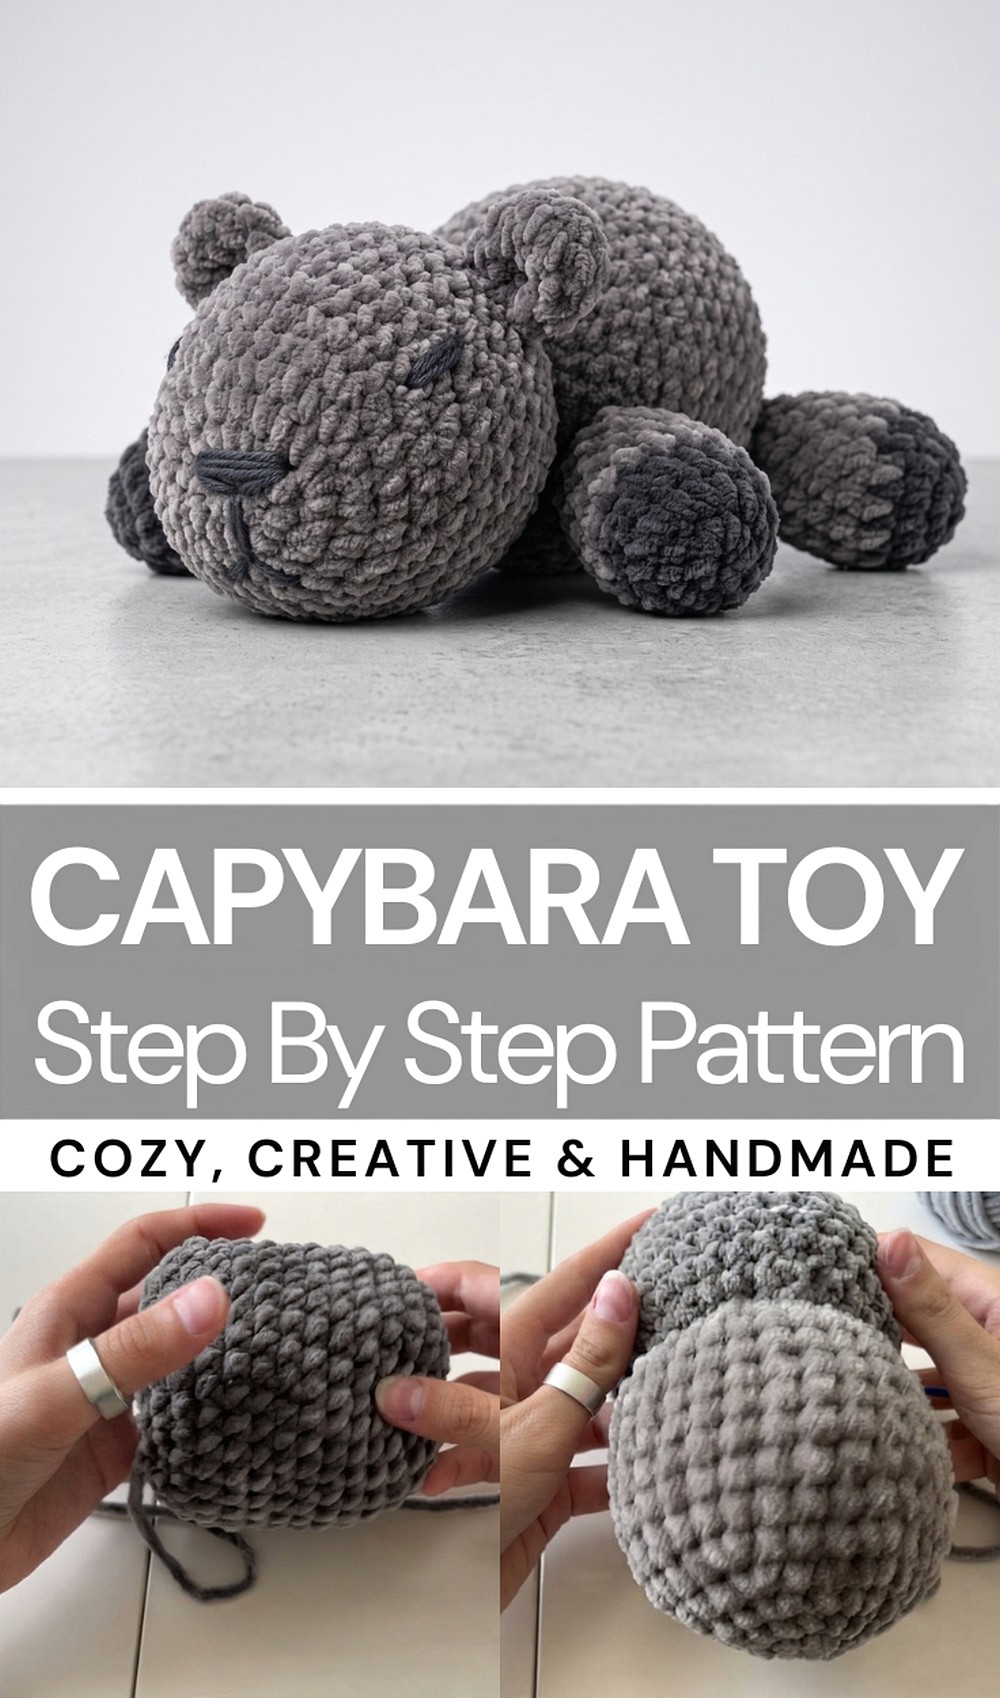
This little crochet animal can look adorable on a shelf, bedside table, desk, or children’s room. The warm brown style gives the piece a natural and cozy look that works well with other handmade decorations. A capybara toy can also become a fun addition to an amigurumi collection or a cute display for animal lovers.
The project has lovely gifting potential too. A handmade capybara can make a thoughtful present for a child, friend, family member, or anyone who enjoys cute animals. The small size makes it suitable as a simple birthday gift, holiday surprise, or special handmade keepsake.
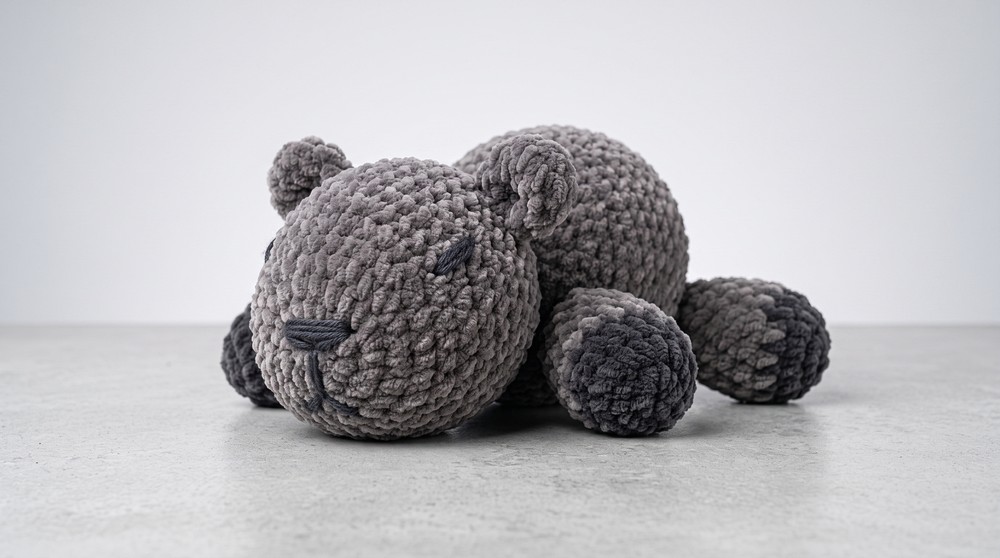
Another nice feature is the friendly personality of the finished toy. The round body and simple face create a calm and cheerful appearance that can bring a smile without needing a complex design. The project can also be enjoyed as a fun crochet decoration when placed with other small figures.
Anyone who loves cute crochet animals may enjoy adding this capybara to a handmade collection. The finished toy feels playful, cozy, and full of character, making it a lovely choice for both decorating and gifting.
Plush Capybara Amigurumi Crochet Pattern
Welcome to the detailed crochet pattern for creating a soft and adorable plush capybara. This step-by-step guide will walk you through crocheting legs, ears, head, and body, followed by assembly instructions to bring your capybara amigurumi to life with embroidered facial details.
Pattern Highlights
- Crocheted entirely in the round using single crochet stitches
- Shaped limbs, realistic ears, and a rounded head and body
- Use of color change in the legs to create a natural look
- Assembly with firm stuffing for a cuddly yet structured plush
- Detailed embroidery for facial features gives the capybara character
Notes
- The toy is constructed in parts: four legs, two ears, a head, and a body, which are sewn together at the end.
- Color changes occur in the legs to simulate natural color variations.
- Color changes and decreases shape the limbs for realistic proportions.
- Stitch markers are helpful for tracking round beginnings when working in continuous rounds.
- Use brown yarn for embroidery for subtle, natural facial expressions.
- Safety with assembly and secure stitching is important for durability.
Skill Level
Intermediate beginner — assumes familiarity with crochet in the round, magic rings, increasing, decreasing, and basic crochet finishing/assembly skills.
Materials
- One skein of plush yarn in your chosen color (grey recommended).
- Crochet hook size 4 mm (alternatively, 4.5–5 mm for a looser fabric).
- Large-eye sewing needle for assembly and finishing.
- Stitch marker for marking rounds.
- Brown yarn for embroidery of eyes, nose, and mouth.
- Fiberfill stuffing.
Measurements / Sizing
- The finished capybara’s size will vary depending on yarn thickness and tension but generally measures approximately 15 to 20 cm in length.
- Legs measure approximately 4 to 5 cm high when finished.
- Ears are small and rounded, fitting proportionally on the head.
Gauge
While exact gauge is not critical, maintaining consistent tension ensures uniformity across parts and smooth assembly.
Stitch Abbreviations
- ch – Chain
- sc – Single crochet
- inc – Increase (2 sc in one stitch)
- dec – Decrease (crocheting 2 stitches together)
- st(s) – Stitch(es)
- magic ring – Adjustable loop for starting rounds
Special Stitches
- Magic Ring: Create a loop allowing the first round to be worked inside and pulled tight to close.
- Increase (inc): Two single crochets worked into the same stitch increase stitch count proportionally.
- Decrease (dec): Crochet two stitches together to decrease stitch count, shaping the amigurumi form.
Crochet Pattern
1. Legs (Make 4)
- Row 1: Begin with a magic ring and work 7 sc into it (7 stitches).
- Row 2: Increase in every stitch to double the stitch count — work inc across, ending with 14 stitches.
- Rows 3-4: Work 14 sc stitches evenly for two rounds maintaining the stitch count (no increases).
- Row 5 (Color Change Round): Change to a different yarn color (darker or lighter shade for contrast) and work 14 sc stitches to create natural shading.
- Row 6: Continue with 14 sc stitches in the new color.
- Row 7: Work a shaping round: 5 sc, dec, 5 sc, dec — total 12 stitches.
- Row 8: Work 12 sc evenly around.
- Row 9: Further decreases: 4 sc, dec, 4 sc, dec — total 10 stitches.
- Row 10: Final round of 10 sc stitches; finish this part by leaving a long yarn tail for sewing during assembly.
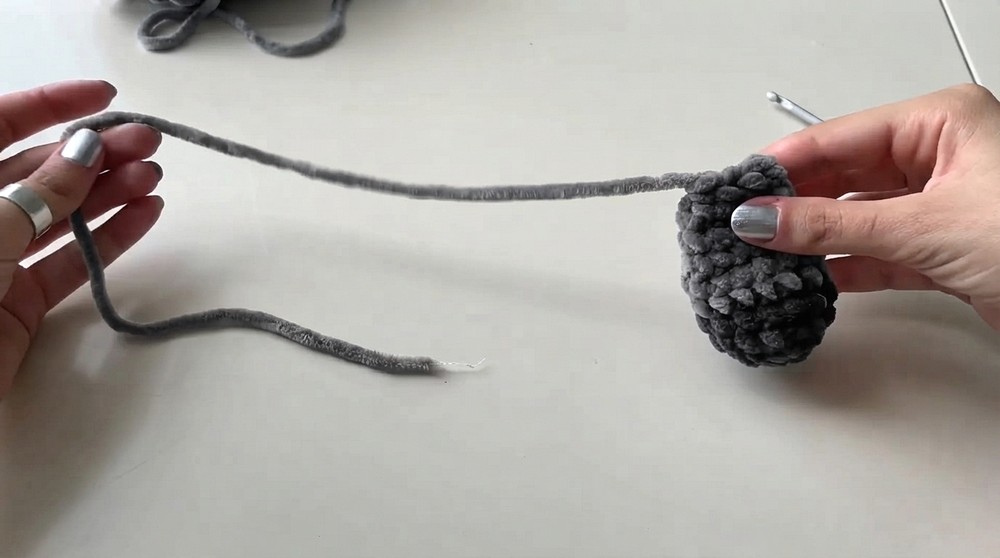
Repeat this process to create 4 identical legs.
2. Ears (Make 2)
- Row 1: Start a magic ring and work 5 sc into it (5 stitches).
- Row 2: Increase all stitches using 5 inc to double stitch count to 10 stitches.
- Rows 3-4: Work 10 sc stitches for two rounds to build ear height.
- Row 5 (Closing the Ear): Fold the work flat and crochet through both layers with 5 sc stitches to close, forming the ear’s shape.
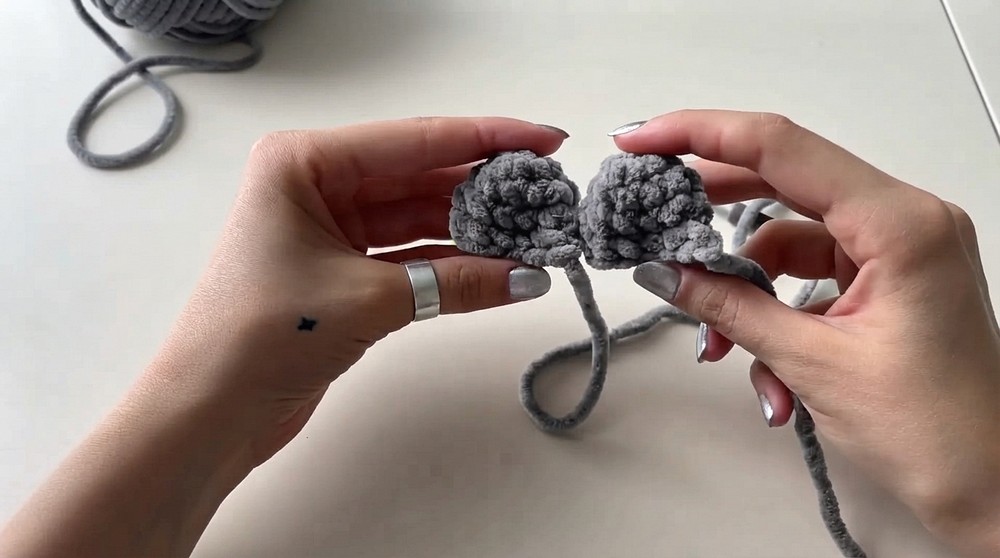
Make 2 ears following these instructions.
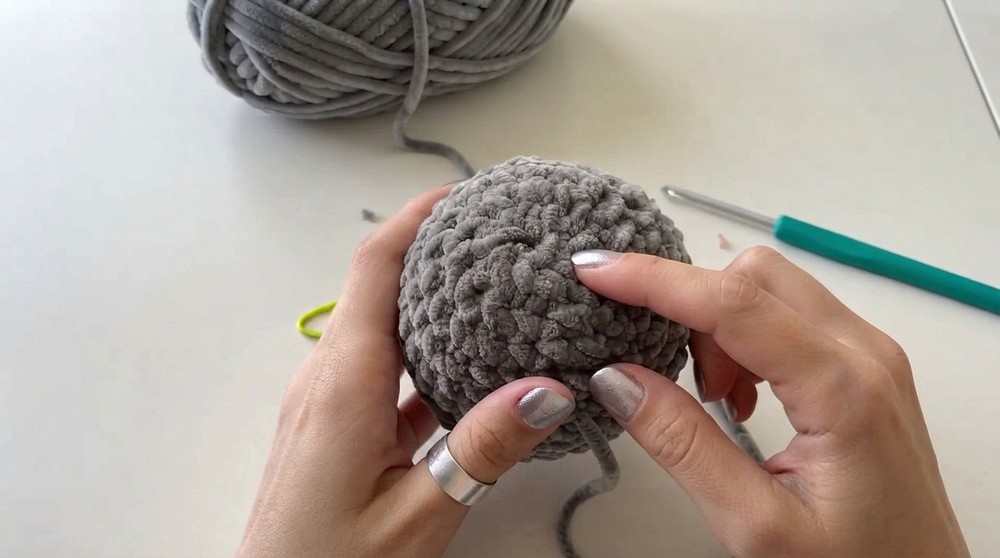
3. Head
- Row 1: Create a magic ring and crochet 6 sc into it.
- Row 2: Increase in each stitch (6 inc) to total 12 stitches.
- Row 3: Work 1 sc, then inc; repeat around for 18 stitches.
- Row 4: Work 2 sc, then inc; repeat around for 24 stitches.
- Row 5: Work 3 sc, then inc; repeat around for 30 stitches.
- Rows 6-12: Work 30 sc stitches evenly for rounds to build head height.
- Row 13: Work 3 sc, then dec; repeat around for 24 stitches.
- Row 14: Work 2 sc, then dec; repeat around for 18 stitches.
- Row 15: Work 1 sc, then dec; repeat around for 12 stitches.
- Row 16 (Closing): Work 6 dec stitches to reduce to 6 stitches, stuff the head firmly with fiberfill and sew closed.
4. Body
- Row 1: Begin with a magic ring and work 8 sc stitches.
- Row 2: Increase in every stitch (8 inc) for 16 stitches total.
- Row 3: Work 1 sc, then inc around for 24 stitches.
- Row 4: Work 2 sc, then inc around for 32 stitches.
- Rows 5-14: Work 32 sc stitches each round to create body length.
- Row 15: Work shaping: 3 sc, then dec repeated 6 times with 2 sc remaining for 26 stitches total.
- Row 16: Work dec, then 2 sc repeated 6 times with 2 sc remaining for 20 stitches total.
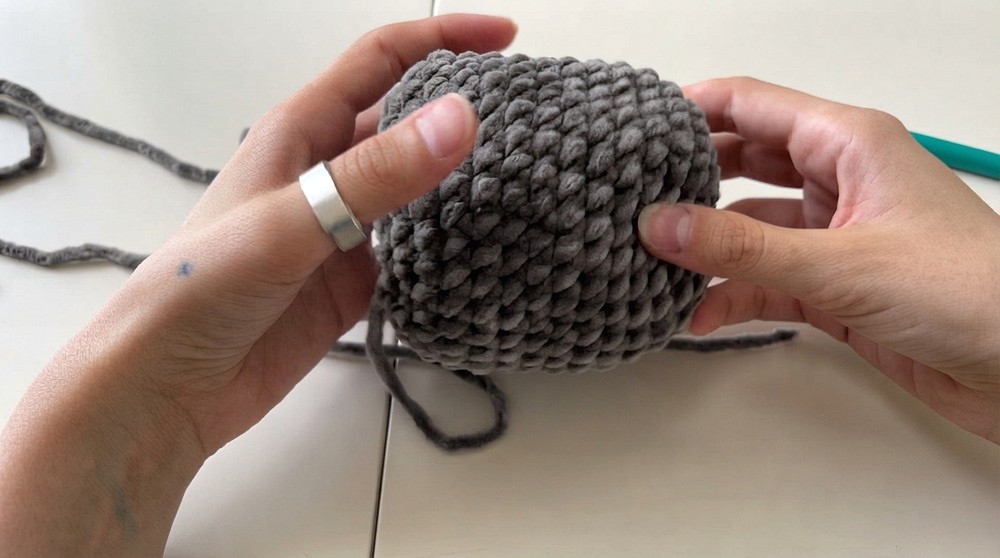
Leave yarn for assembly after finishing.
Assembly & Finished Size
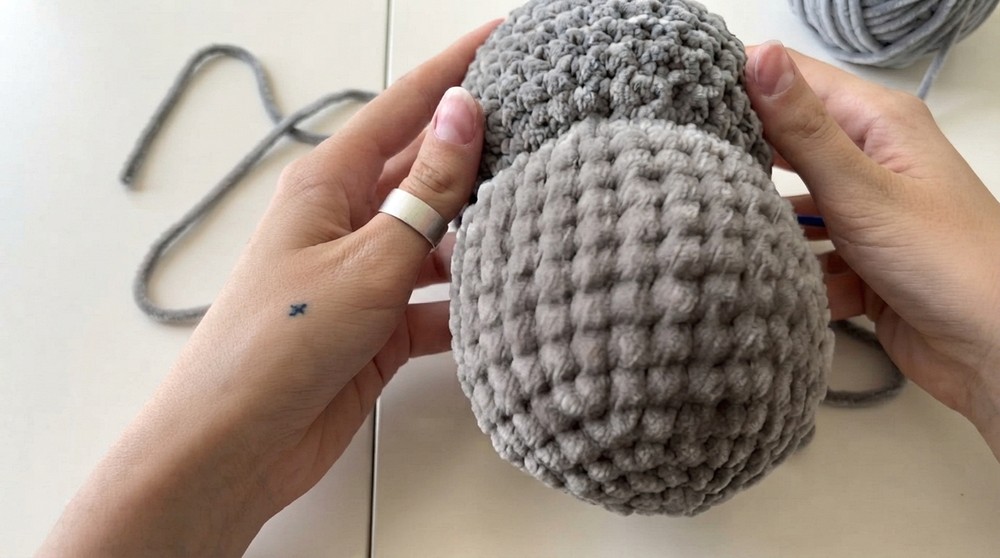
- Attach Head to Body: Position the head at an angle and sew securely to the body, ensuring a natural pose.
- Attach Legs: Sew all four legs evenly spaced and firmly attached to the body.
- Attach Ears: Fold ears in half and sew symmetrically to the head.
- Facial Details: Using brown yarn, embroider eyes, nose, and mouth for a realistic and expressive face.
- Final Touches: Adjust stuffing distribution as needed for desired softness and form. The finished capybara measures approximately 15–20 cm in length.
Conclusion
This plush capybara amigurumi is a delightful project that brings to life the gentle charm of one of the largest rodents in the world. The combination of color changes, shaping through increases and decreases, and skillful assembly results in a soft toy with personality and cuddliness. Through careful embroidery and detailed finishing, your handmade capybara will become a treasured companion or gift.