Free Crochet Pattern Summer Top with Clear Instructions
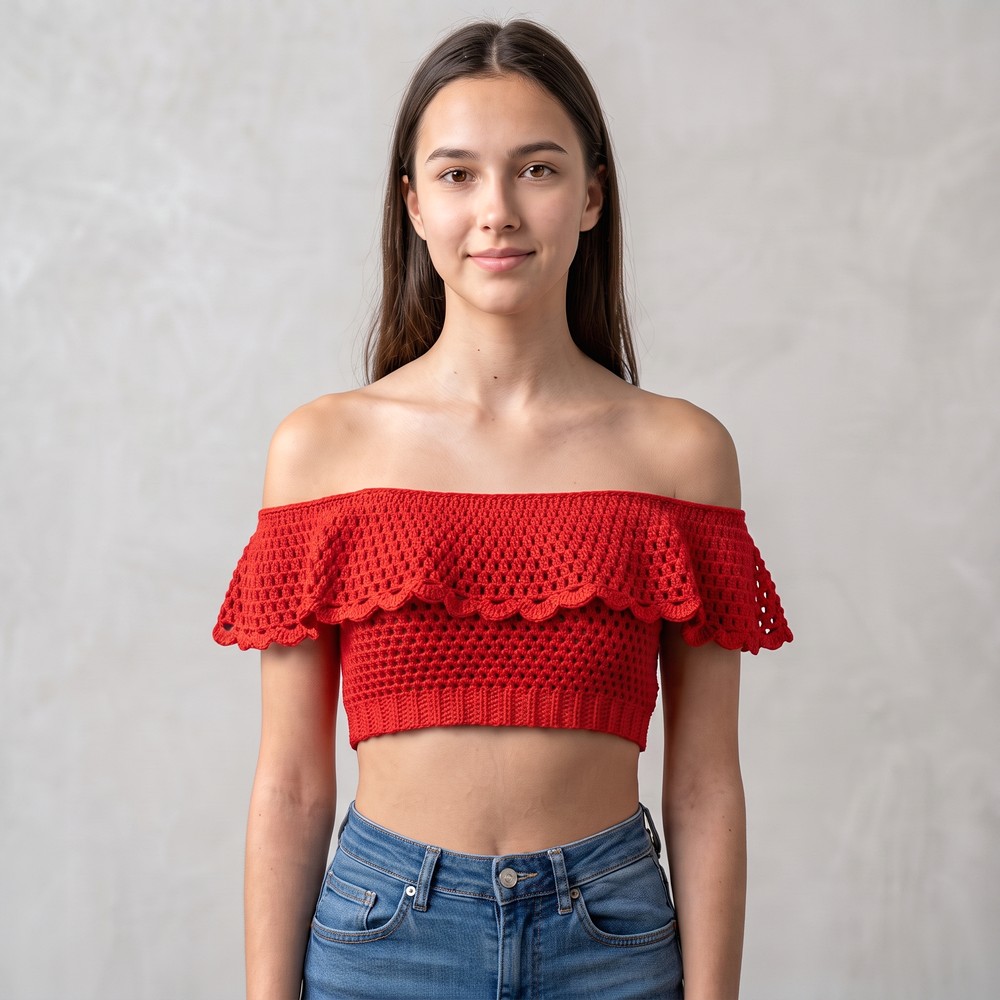
Enjoy warm days comfortably with this free crochet summer top pattern that blends breezy style and lightweight texture perfect for sunny weather.
Summer is the perfect time to refresh your wardrobe with light, breezy pieces that combine comfort and style. A handmade crochet top fits this need beautifully, offering a unique touch to your summer outfits.
This free crochet Summer Top pattern is ideal for those warm days when you want something cool yet chic. The top features an airy design with delicate patterns that create an elegant texture, making it easy to pair with shorts, skirts, or jeans. Its style blends simplicity with a charming handmade flair, perfect for casual outings or beach days.
Summer Top Free Crochet Pattern for Stylish Looks
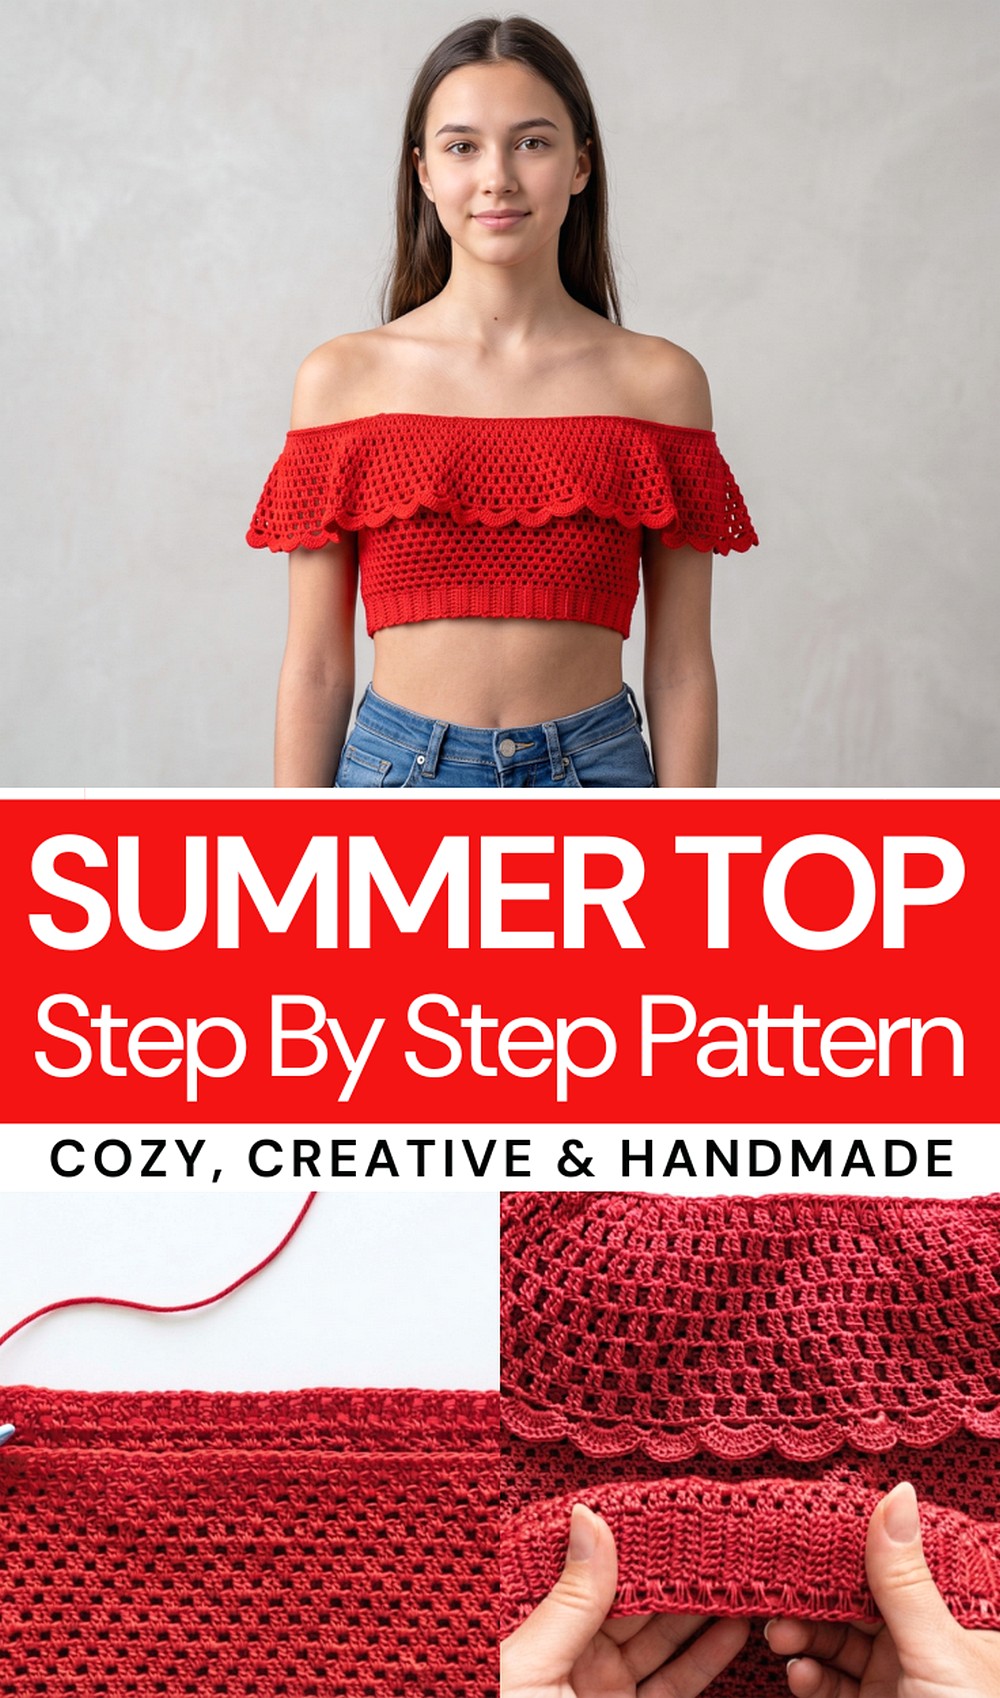
Besides being a wonderful addition to your own closet, this crochet top makes a heartfelt gift. Handmade clothing carries a personal touch that friends and family appreciate. Its lightweight feel and breathable nature also make it a practical choice for anyone living in sunny climates.
The charm of this summer top lies in its versatility and graceful silhouette. Soft curves and openwork details give it a fresh, youthful vibe without sacrificing comfort. Whether layered over a tank or worn on its own, it effortlessly enhances your look with a warm, summery spirit.
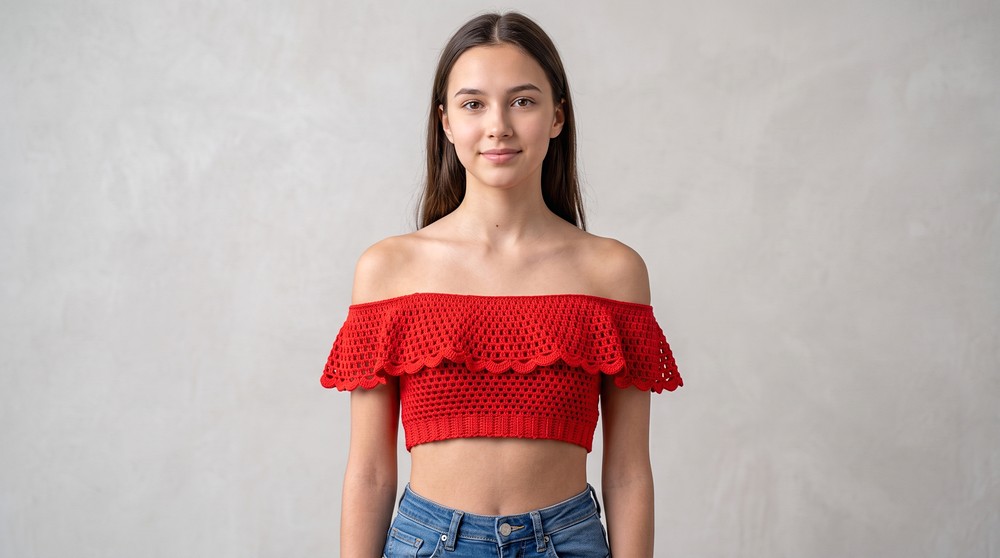
Creating this crochet top not only boosts your crocheting skills but also results in a beautiful piece that celebrates the season’s easygoing charm. It’s a rewarding project that brings both joy and style to your summer wardrobe.
Summer Off-Shoulder Crochet Top Pattern
This beginner-friendly, detailed crochet pattern will guide you step-by-step to create a comfortable and stylish summer off-the-shoulder top. It features a delicate stitch pattern and an elasticized edge for a secure fit, perfect for warm-weather wear.
Pattern Highlights
- Off-the-shoulder design with a delicate lace-like texture
- Worked flat first, then joined in the round
- Elastic band sewn into the top edge for stability
- Adjustable size by modifying foundation chains and row counts
- Uses simple stitches suitable for beginners ready to learn new concepts
Notes
- Make sure to use consistent tension for even stitches
- Stitch markers are recommended to keep track of rounds and edges
- Measure your bust circumference before starting to size the foundation chain
- Elastic band inserted after crocheting adds stretch and keeps the top in place
- Feel free to customize yarn color and hook size based on preference
Skill Level
Beginner to Intermediate — Requires basic knowledge of chaining, double crochet (dc), slip stitches (sl st), and working in rounds.
Materials Needed
- Light cotton or cotton-blend yarn suitable for summer
- Crochet hook size 2.5 mm to 3 mm (depending on yarn weight)
- Elastic band (about 1 cm wide and around 25 cm long or as needed)
- Stitch markers (optional)
- Yarn needle for weaving ends and sewing elastic
- Scissors
Abbreviations
| Abbreviation | Meaning |
|---|---|
| ch | Chain |
| dc | Double crochet |
| sl st | Slip stitch |
| sc | Single crochet |
| inc | Increase (2 dc in 1 stitch) |
| sp | Space |
Stitch Refresher
- Double Crochet (dc): Yarn over (yo), insert hook into stitch, yo and pull through, yo and pull through 2 loops, yo and pull through remaining 2 loops.
- Chain (ch): Yarn over and pull through loop on hook.
- Slip Stitch (sl st): Insert hook, yarn over, pull through stitch and loop on hook in one motion.
- Increase (inc): Work 2 double crochets into the same stitch.
Crochet Pattern Detail
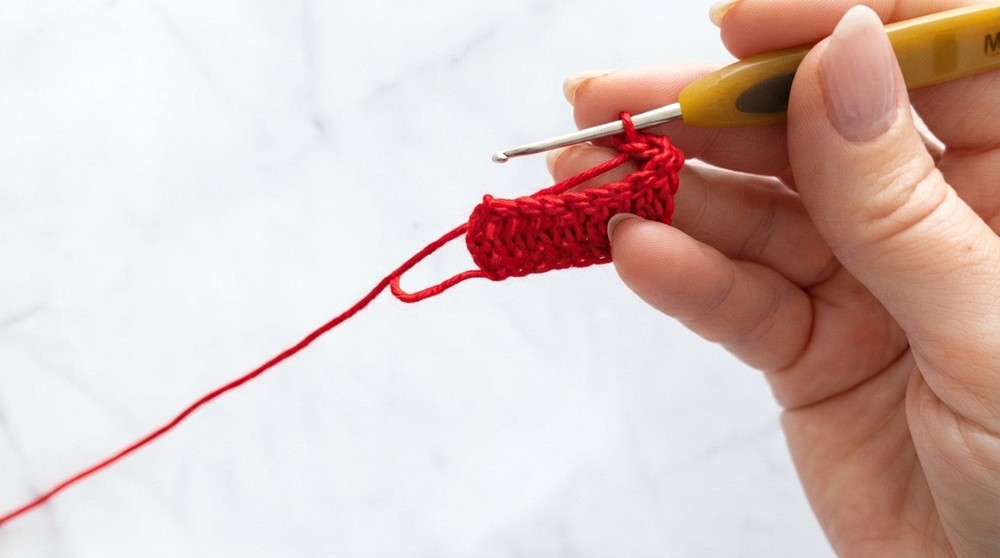
Step 1: Foundation Chain and Bottom Band
- Foundation: Chain 11 (or more to fit under bust circumference).
- Row 1:
- Yarn over and work double crochet (dc) into the 4th chain from hook.
- Work 1 dc in each remaining chain across. (Total 9 dc stitches.)
- Turn your work.
- Row 2 and Onwards:
- Chain 3 (counts as first dc).
- Make 1 dc in each stitch across.
- Turn.
- Repeat until the band length matches the chest circumference (measured flat).
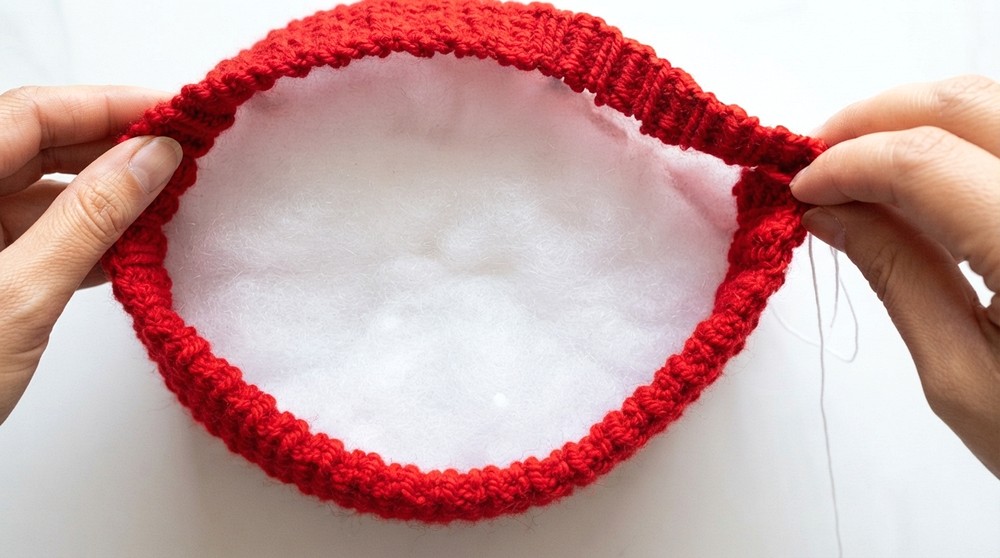
Step 2: Join Band into a Circle
- Fold the band so short edges meet.
- Join edges with slip stitches (sl st) or sew using yarn needle to make a tube.
- This tube forms the base of the top.
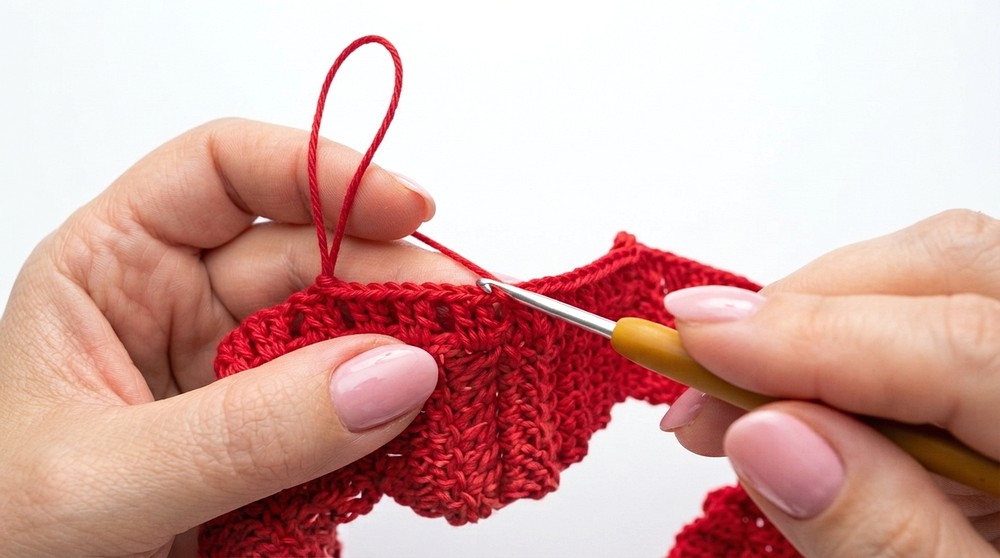
Step 3: Begin Working in the Round — Checkerboard Pattern
- At the joined edge, chain 3 (counts as first dc).
- Dc into the same stitch, chain 1, 2 dc under the next post leg, chain 1, 2 dc under next post leg.
- Repeat this pattern (2 dc clusters separated by chain 1 loops) around until you reach the starting point.
- Join with a slip stitch to the top of the initial chain 3.
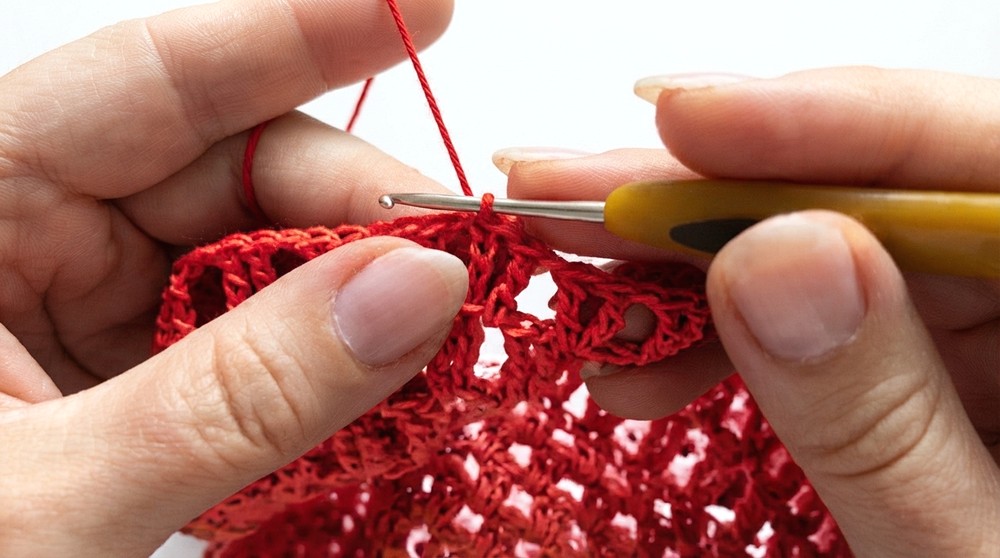
Step 4: Continue Checkerboard Pattern for Body Height
- Chain 3 (counts as dc), turn and work the same pattern:
- 2 dc cluster, chain 1 repeatedly around.
- Work 4 rounds of this checkerboard pattern, ensuring consistent stitch count for uniform texture and breathable fabric.
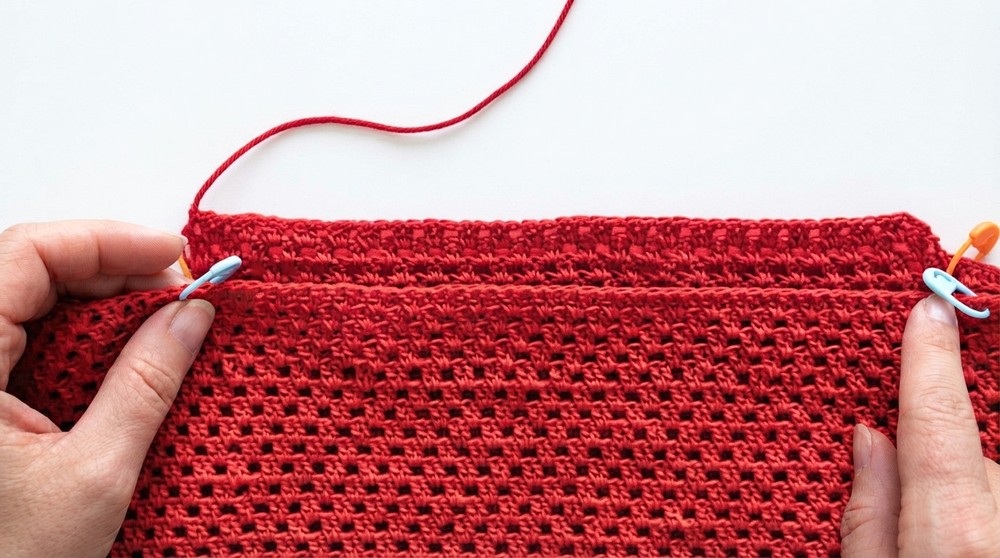
Step 5: Narrow Top for Shoulders
- To taper the fit towards the shoulders, reduce chain spaces, working fewer chain stitches between clusters:
- Chain 3.
- Work 2 dc clusters with no or fewer chain stitches between them depending on desired narrowing.
- Knit 2 decreasing rows between stitch markers on each shoulder side to secure taper.
- This allows the top to fit snugly around shoulders.
Step 6: Create Chain Straps to Form Armholes
- On each shoulder area, chain a length approximately equal to your shoulder/arm measurement (about 25 cm in the demo).
- Attach these chains to the front and back shoulder points using slip stitches or knots.
- Securely weave in ends for sturdy, comfortable straps.
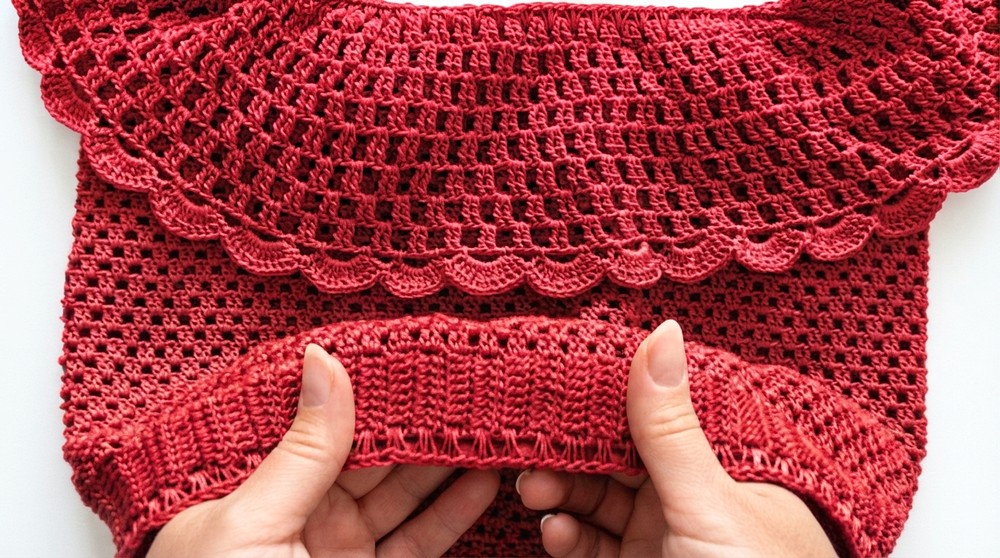
Step 7: Insert Elastic Band to Top Edge
- Using your crochet hook or a yarn needle, pull an elastic band through the chain spaces along the top edge.
- Make sure the elastic is snug but comfortable to keep the top secure off the shoulders.
- Sew elastic ends together securely.
Step 8 (Optional): Bottom Band Elastic
- You may insert an elastic band in a similar manner into the bottom band for added shaping or leave as is for a relaxed fit.
Assembly & Final Touches
- Weave in all yarn ends carefully using a yarn needle.
- Check elastic tension and adjust if needed to allow movement without slipping.
- Block the top gently to settle the stitch pattern evenly (optional).
- Try on to verify fit and comfort. Adjust strap lengths or elastic as necessary.
Finished Size
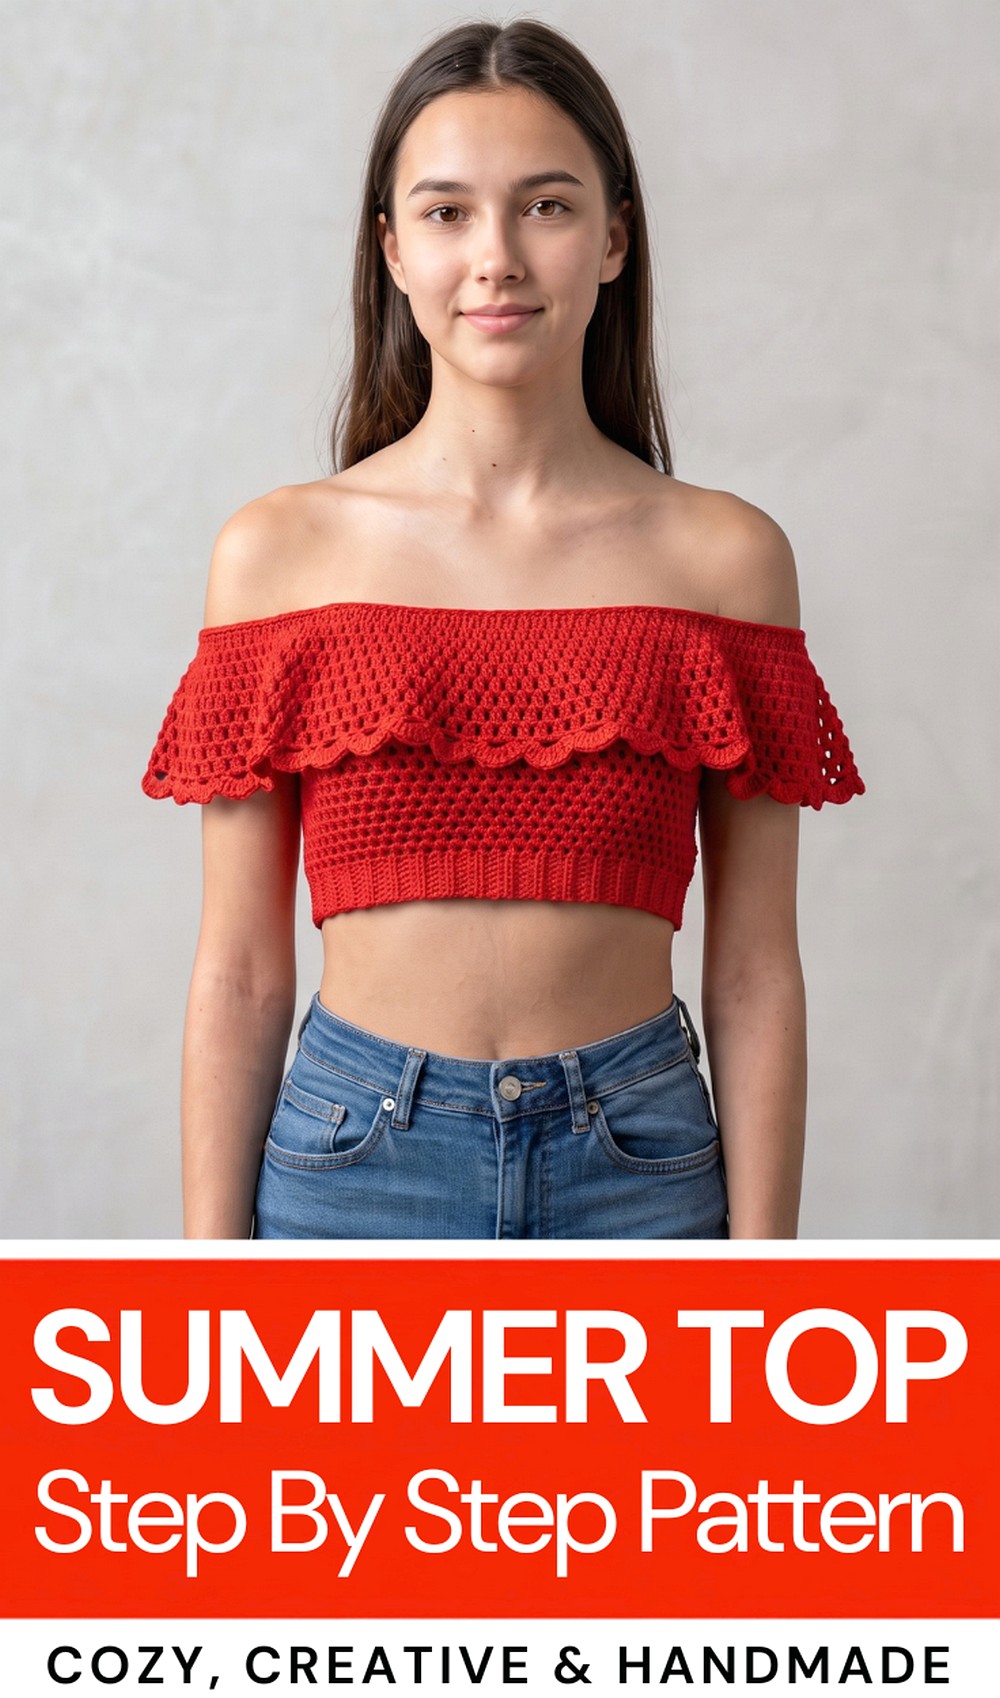
- Fits comfortably around the chest, with off-shoulder style held by elastic bands.
- Length can be adjusted by adding or reducing rows to accommodate personal preferences.
- Straps provide flexible armhole sizing.
Conclusion
This off-the-shoulder summer top pattern offers a beautiful balance of comfort, style, and breathability. Its checkerboard stitch pattern creates an elegant fabric with airy texture, while the elastic edging ensures the garment stays perfectly in place.