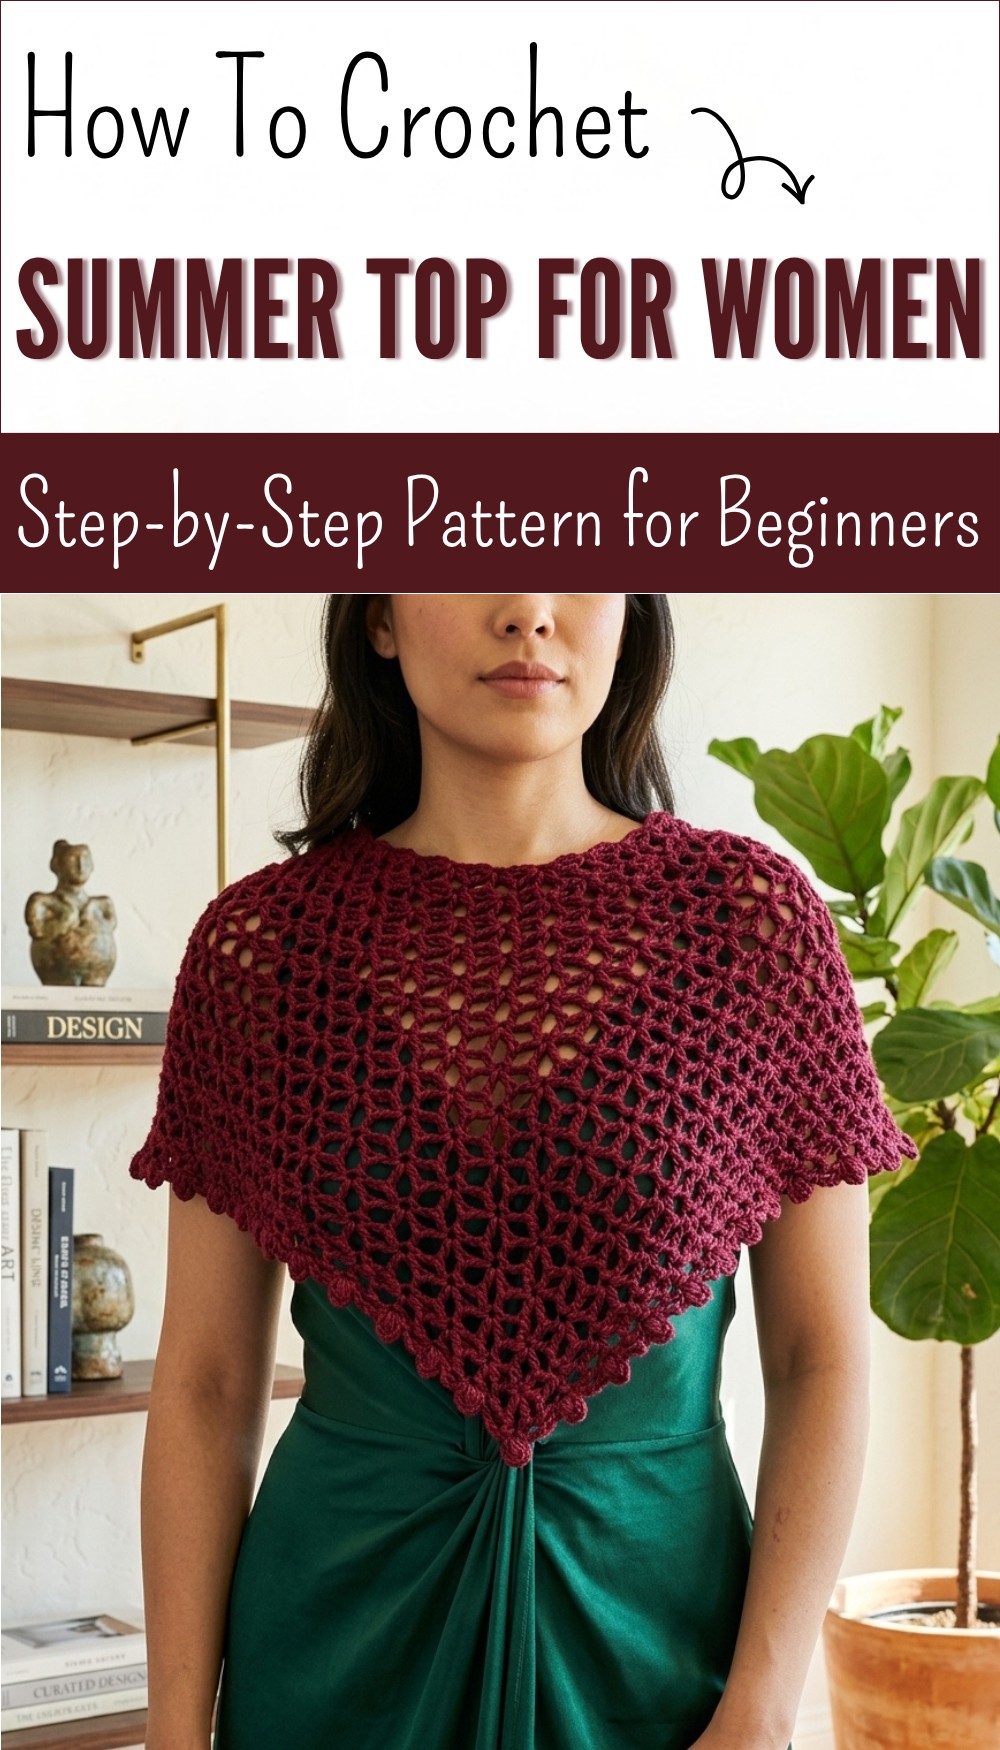
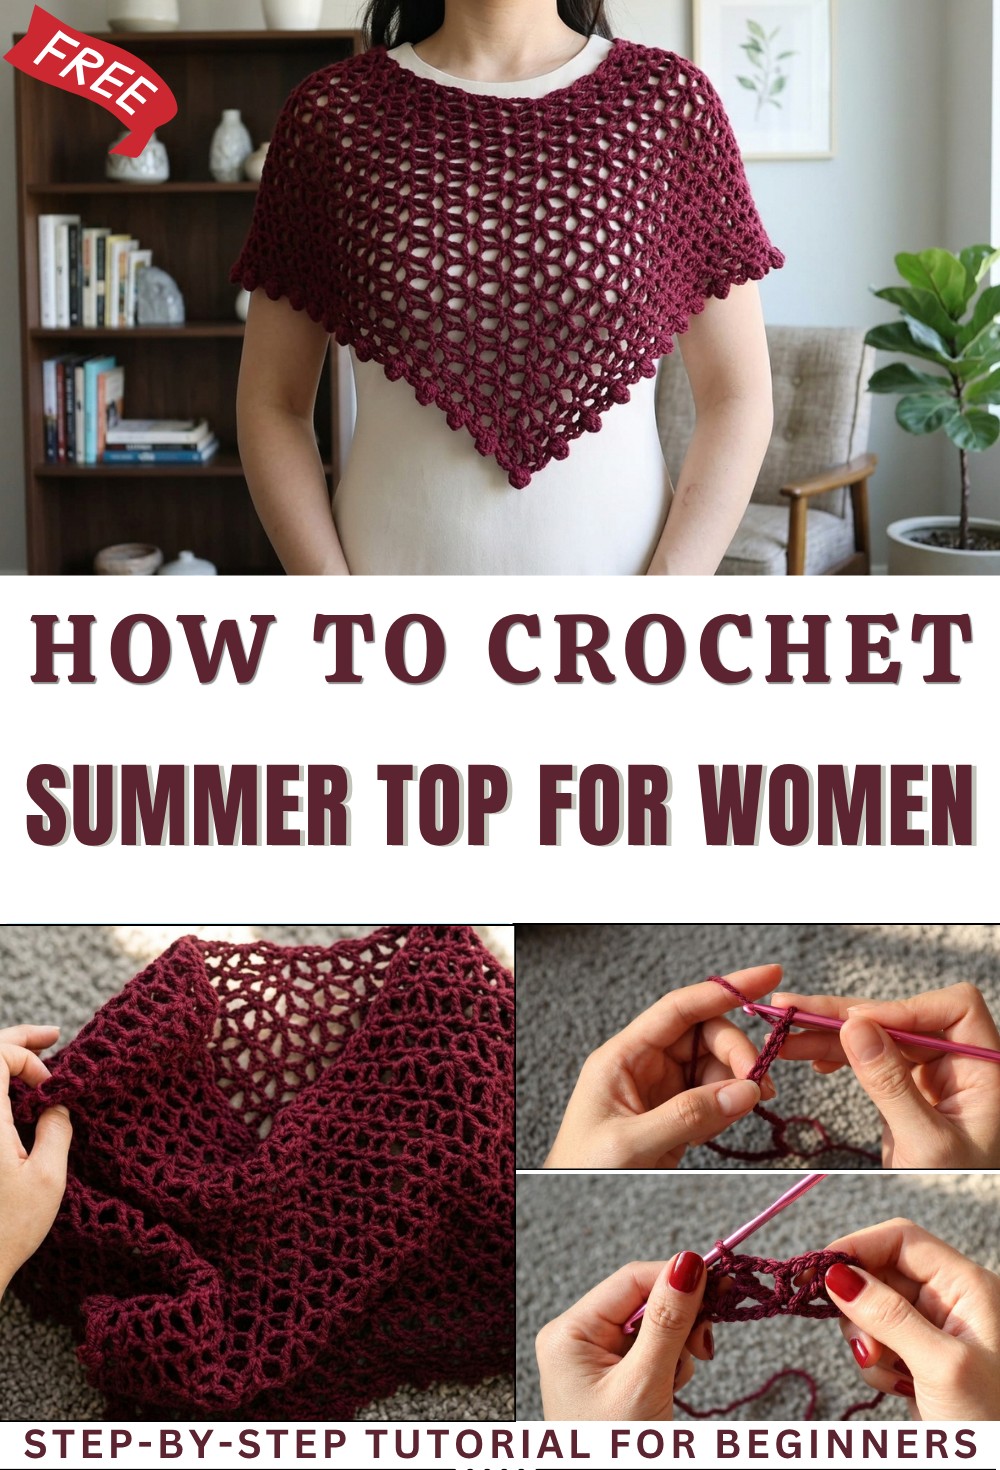
Light Free Crochet Summer Top Pattern for Hot Days
Feel beautiful and cool all day with this free crochet summer top pattern perfect for your warm weather wardrobe and simple stylish looks.
A bright day brings a soft smile as a friend sits under the shade of leafy trees. Threads move gently in caring hands and soon a lovely top appears as light as a breeze and pretty as a flower. This top carries simple beauty with open patterns and an airy shape that keeps you cool when the sun warms the air. Many colors and styles fit different tastes and the top feels like a gift just for you.
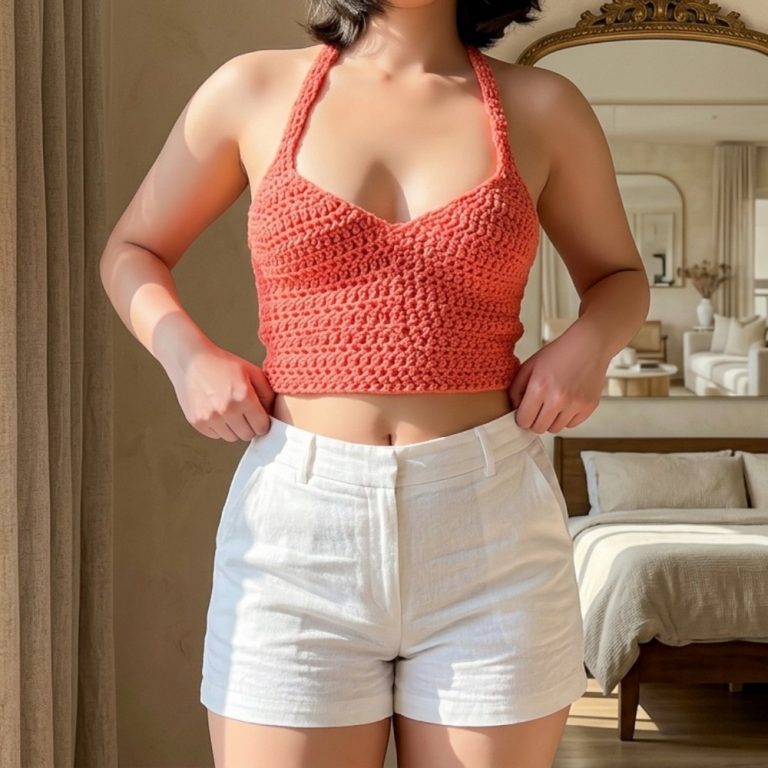
Boho Summer Crochet Top: Free Pattern and Tips
Wearing a piece made from a crochet summer top pattern means feeling comfortable all day without heavy fabrics. The stretchy tie and easy fit make it simple for anyone to wear and easy to match with a skirt or pants or shorts – whatever suits the day best. Washing at home is easy too making this top a smart choice for a busy life. Anyone can find joy in the gentle touch and charming look that adds color and happiness wherever you go.
Crochet summer top Pattern
Materials
- Yarn: Weight 4 (Medium/Worsted) acrylic yarn – approx. 350g
- Hook: 4.5 mm crochet hook
- Stitch Marker: To mark corners
- Scissors
- Yarn Needle: For weaving in ends
Key Abbreviations
- ch = chain
- sl st = slip stitch
- dc = double crochet
- tr = treble (triple) crochet
- sc = single crochet
- st(s) = stitch(es)
- rep = repeat
Special Notes
- The pattern forms two corners for a V-shaped poncho.
- Stitch markers are used to mark the center of the neckline for corner placement.
- Chains and clusters can be adjusted for your own fit or length.
- Pattern consists of repeating rows with “triangle” flower motifs and a puff-stitch border.
Instructions
1. Foundation/Neckline
- Ch 110.
- After the 56th chain, place a stitch marker (this marks the center front).
- Continue chaining until you reach a total of 110 chains.
- Join with a sl st to the first ch, making sure not to twist the chain.
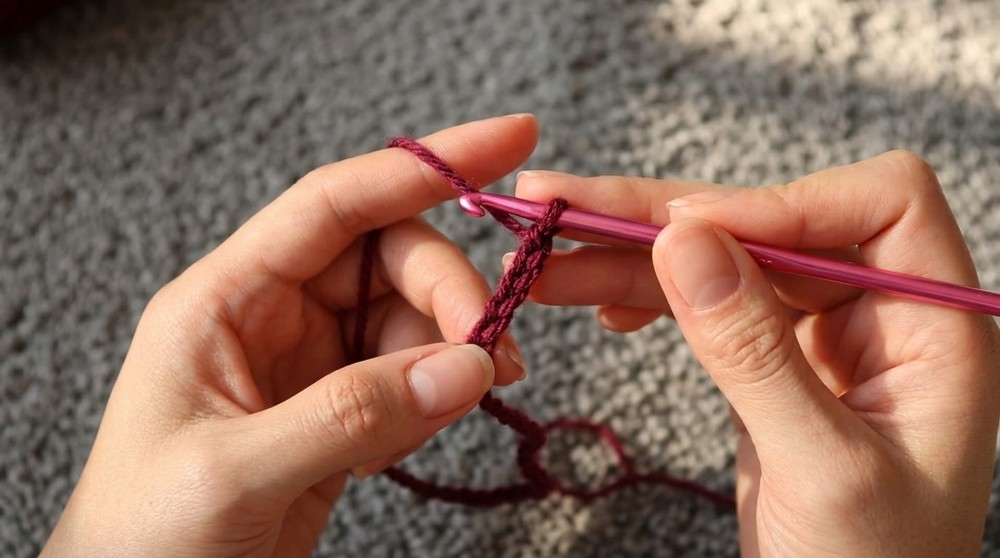
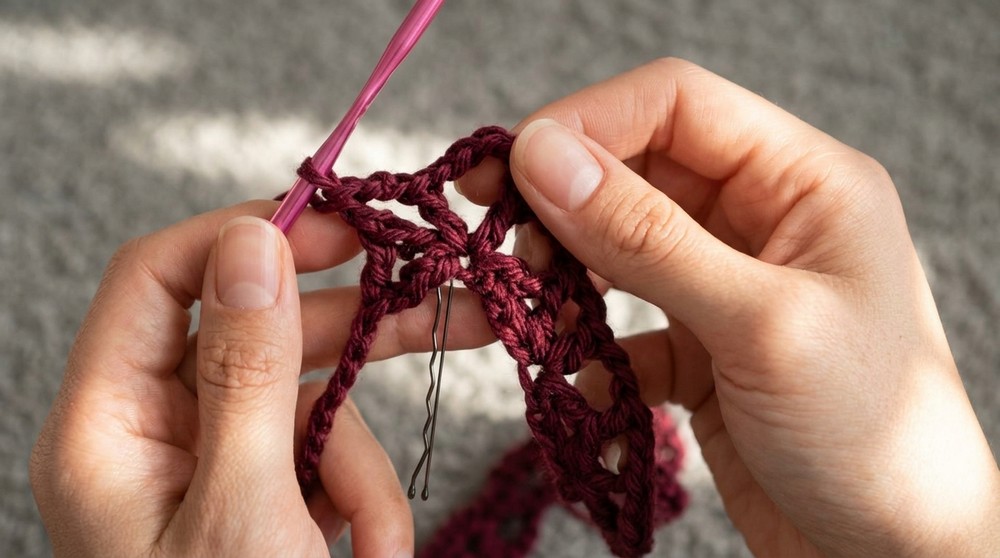
2. Row 1: Setup Row (Triangles and Corners)
- Chain 5 (counts as tr + ch-2).
- Yarn over twice, insert in same ch as join, pull up a loop, [yo, pull through 2] three times (tr made).
- Yo again, skip 5 ch, insert hook in the 6th ch, pull up a loop, [yo, pull through 2] three times.
- Ch 2, dc into same st just worked into (this creates a triangle with a dc).
- Repeat from Step 2:
- Ch 2, yarn over twice, insert in same stitch, make tr.
- Skip 5 ch, in the next (6th) ch, make tr.
- Ch 2, dc in same st.
- Continue pattern until you reach the stitch marker (chain 56).
Corner Increase:
- After reaching the chain marked (center front), complete the triangle and dc as above.
- Chain 5, dc into the same marked chain (this forms a large corner space).
- Chain 2, yarn over twice, insert in same st, make tr.
- Skip 5 ch, tr into next, ch 2, dc in same.
- Continue the pattern down the next side.
- At the very end, complete the final triangle, ch 2, dc into the very first chain to close the round.
- Chain 2, dc in the third chain of the original chain 5 to ensure you end in the middle of the corner.
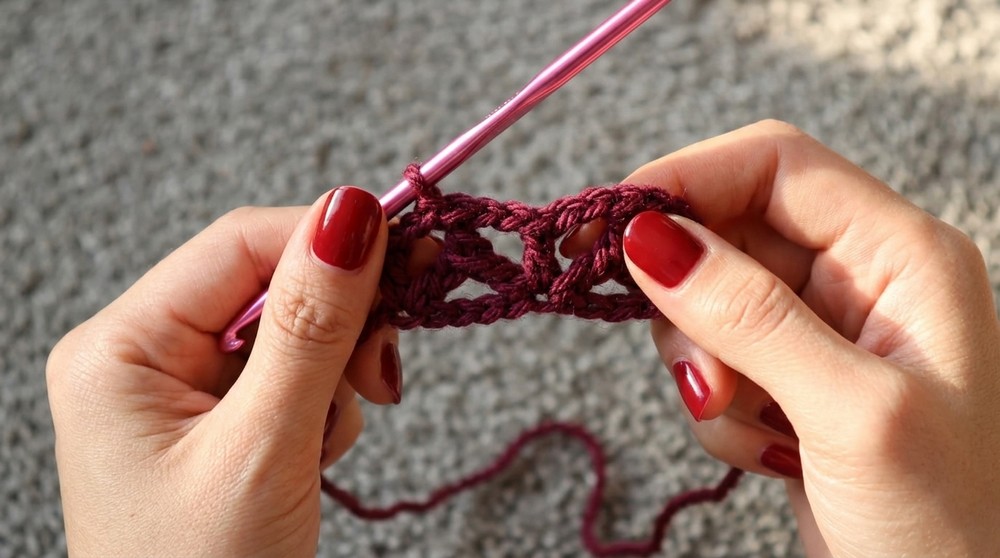
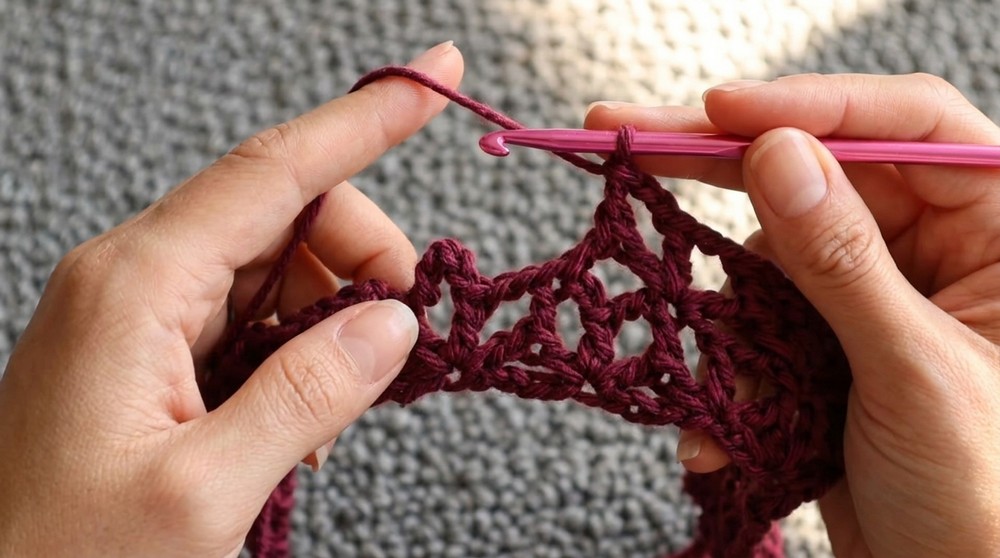
3. Row 2 (Repeat Row): Triangles and Corners
- Sc in the corner ch space to anchor your yarn.
- Ch 5 (counts as dc + ch 2).
- Into same chain-space, yarn over twice, make tr, working as before.
- Skip over all double crochets, work the next leg of triangle into the next triangle (the “V” space between clusters): yarn over twice, insert, pull up loop, [yo, pull through 2] three times.
- Ch 2, dc in same st.
- Continue [triangle, ch 2, dc in same st], always skipping over all dc and working ONLY into the triangles from the previous row.
At Each Corner:
- Into the corner space:
- Complete triangle, ch 2, dc in same space, ch 5, dc in same space (for corner “flare”), ch 2, make triangle (as above), then continue the usual pattern.
- Repeat row around, always finishing in the corner, ensuring you end up centered.
4. Repeat Row 2
- Continue repeating Row 2 until you reach your desired length.
- Sample poncho used 12 rows; adjust for your preferred fit or style.
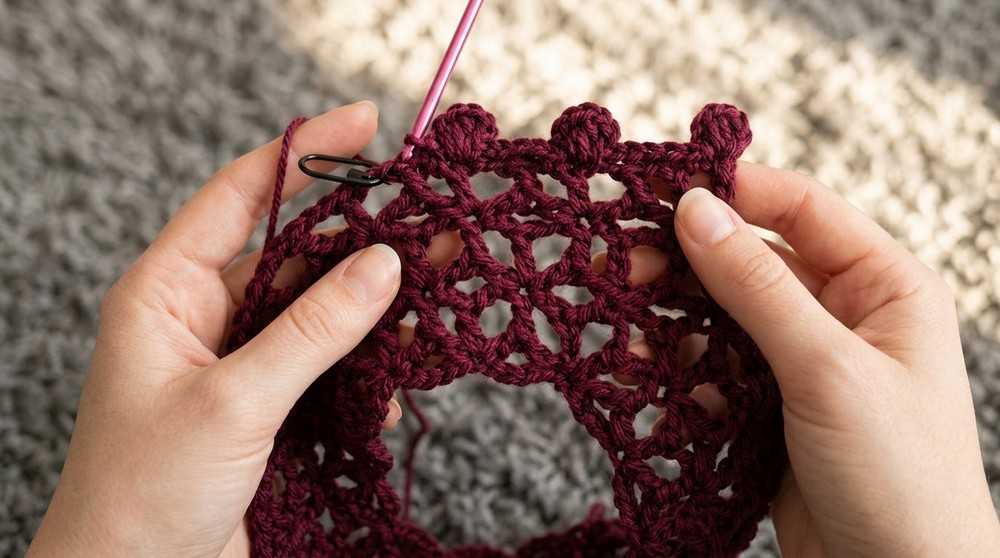
5. Border/Edging: Puff Stitch Scallop
Begin in any corner:
- Sc in the corner ch-5 space.
- Ch 3.
- (Puff stitch): Yarn over, insert in same st, pull up a long loop (to height of ch 3) – repeat 3 times (total 3 long loops on hook).
- Yo, pull through all loops, ch 1 to secure (for a classic puff). Ch 3 again.
- Sc in same st.
- Ch 5, sl st into next dc from previous round (you are now working into dcs instead of triangle spaces).
- Repeat the Puff Stitch Sequence in each dc:
- Ch 3,
- Puff stitch (3x or desired height),
- Ch 3,
- Sc in same dc,
- Ch 5,
- Sl st in next dc.
- At each corner, work the puff stitch directly into the third chain of the corner space to maintain the shape.
- Continue around the whole edge. To finish, sl st to the base of the beginning puff stitch, fasten off, and weave in ends.
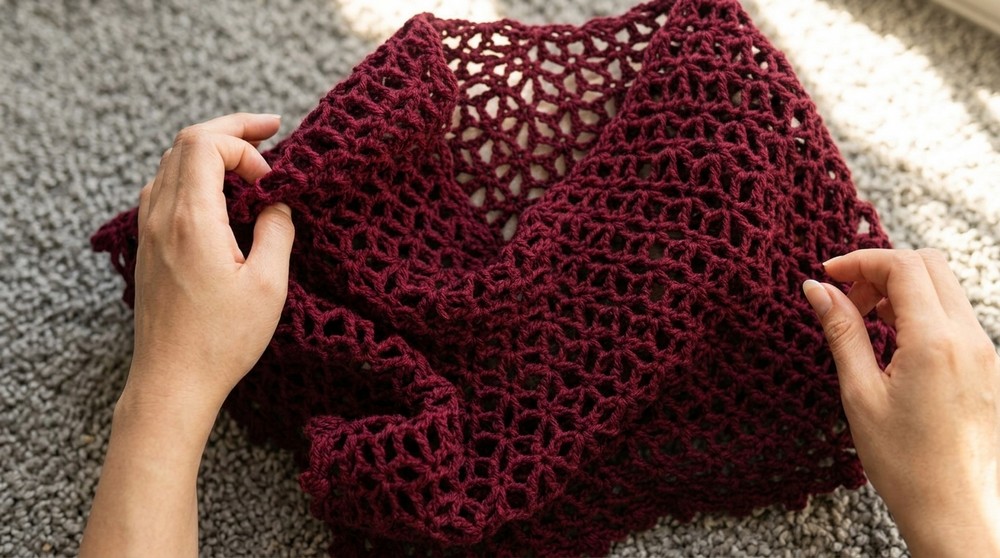
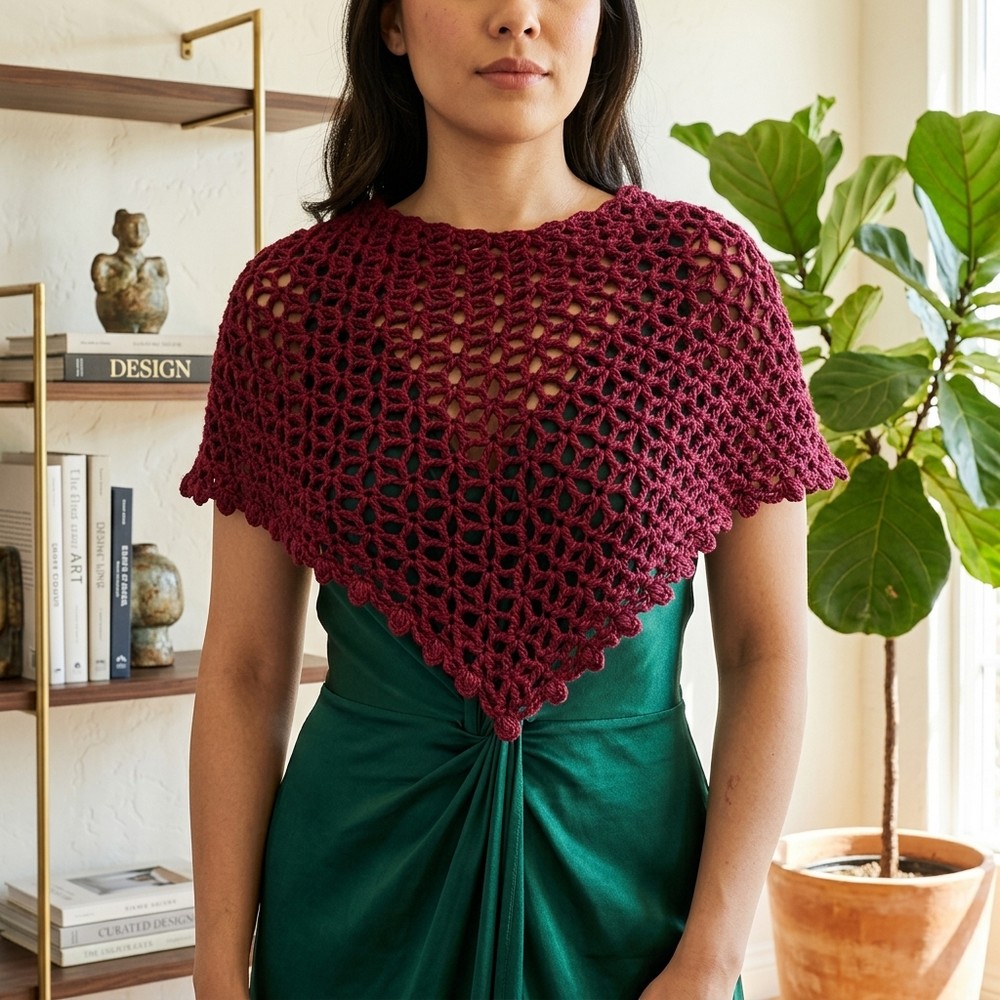
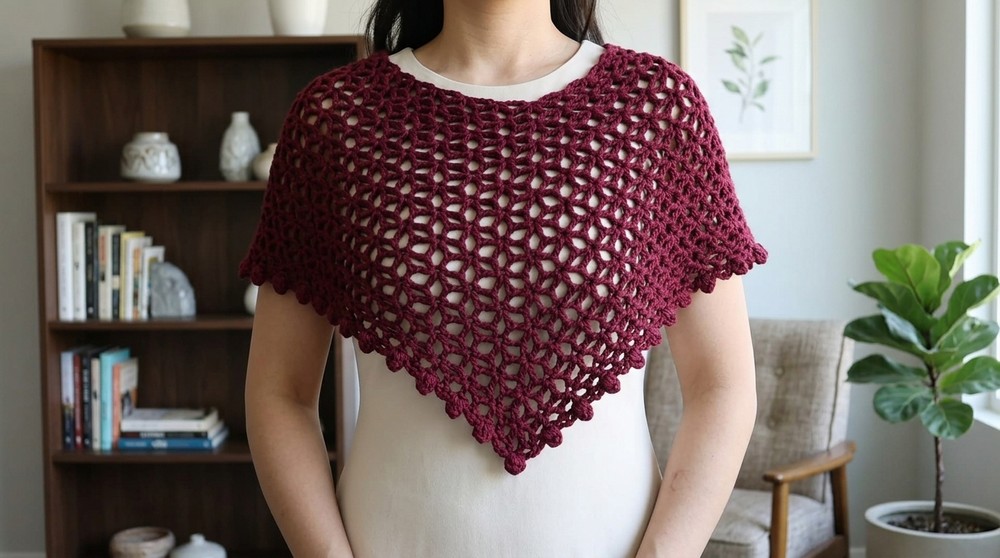
Conclusion
This Flower Lattice Poncho is breezy, elegant, and features beautiful floral triangle motifs with dramatic corners for shape and style. The decorative puff stitch scallop border adds a delicate finishing touch. Easily adjust the overall size by altering the number of pattern rows.
Pattern Corrections & Tips
- Correction: Ensure you always skip double crochets and only work into triangle (V) spaces after the first row.
- Tip: Place markers in corners every row if needed, to keep increases aligned and your poncho symmetrical.
- Tip: For a lighter or larger poncho, simply add more rows before beginning the border.
- Tip: Weaving in puff stitch ends neatly is crucial for a polished finish.
- Tip: Block your poncho after finishing for crisp corners and flower definition.