Free Crochet Owl Earrings | Complete Step-by-Step for Beginners
Make your own cute and lightweight owl earrings using our free crochet pattern a stylish way to showcase your creativity and love for handcrafted fashion.
This adorable pair of little owl earrings offers a charming and colorful finish that perfectly complements any style, featuring delicate wings, bright eyes with tiny black pearls, and a small beak that brings the full design to life. The detailed tutorial from the Meu crochê ponto a ponto channel provides clear, step-by-step instructions to create these beautiful earrings using soft yarn in gentle colors like almond, bubblegum pink, and brigadeiro brown, making them both eye-catching and comfortable to wear. Special thanks to the channel for sharing such an easy-to-follow pattern that anyone can enjoy making.
Beginner Friendly Free Crochet Owl Earrings Pattern
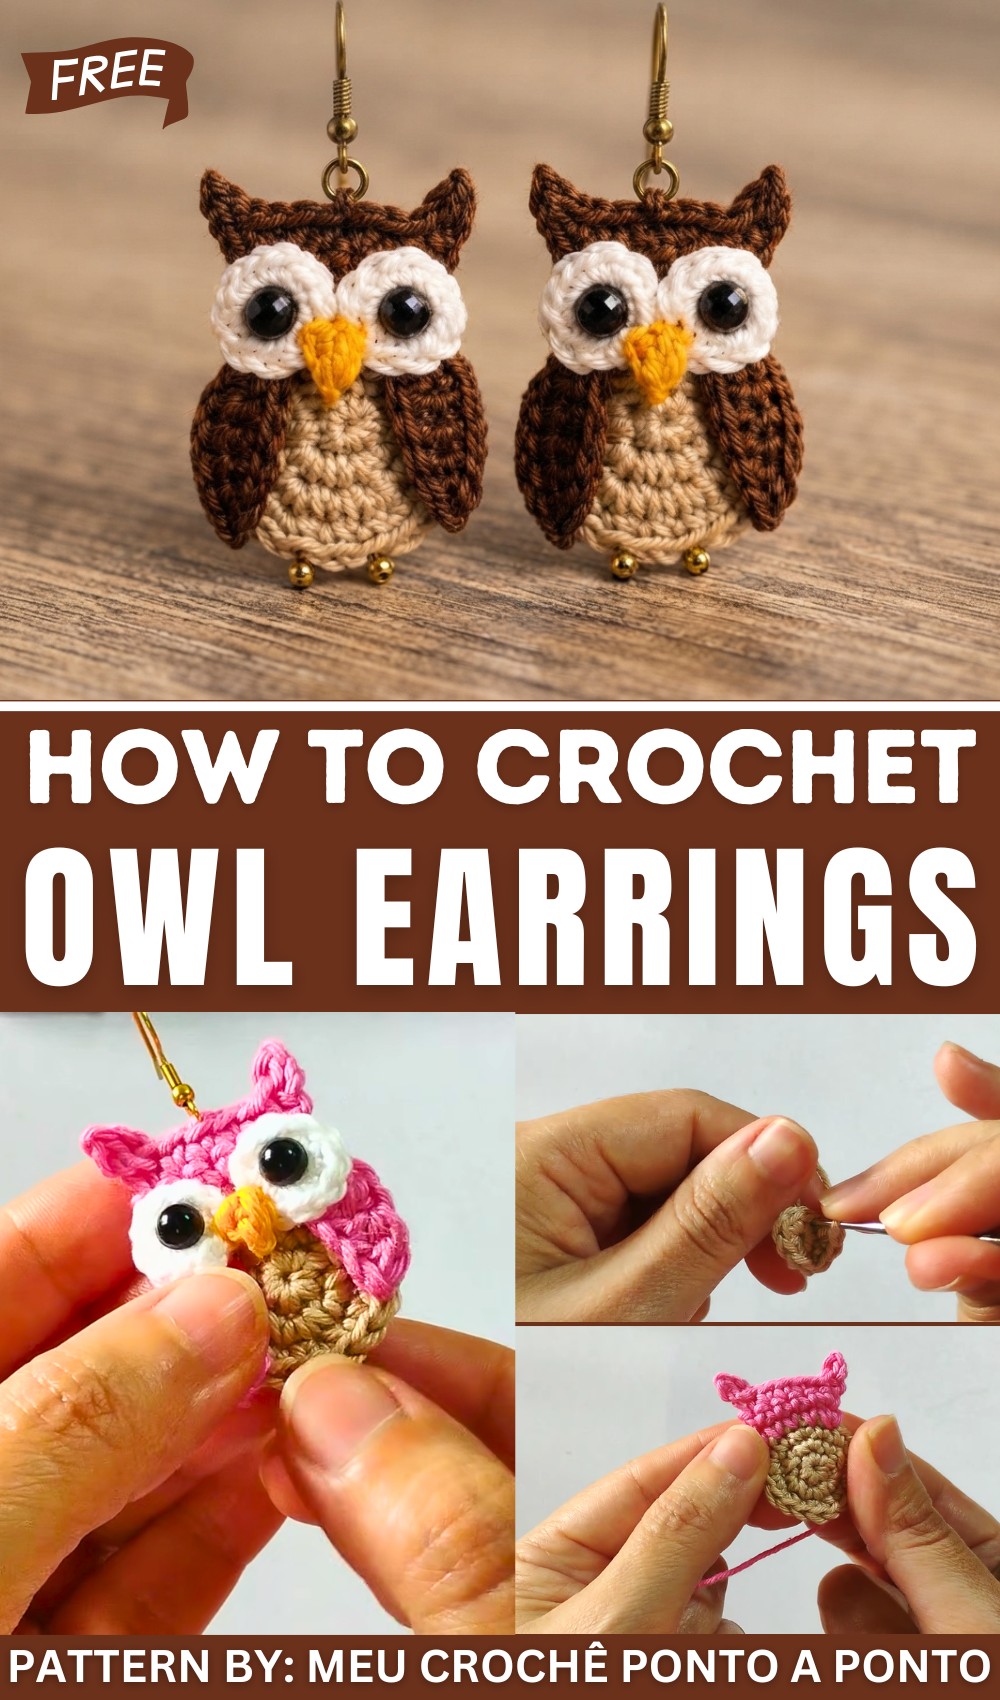
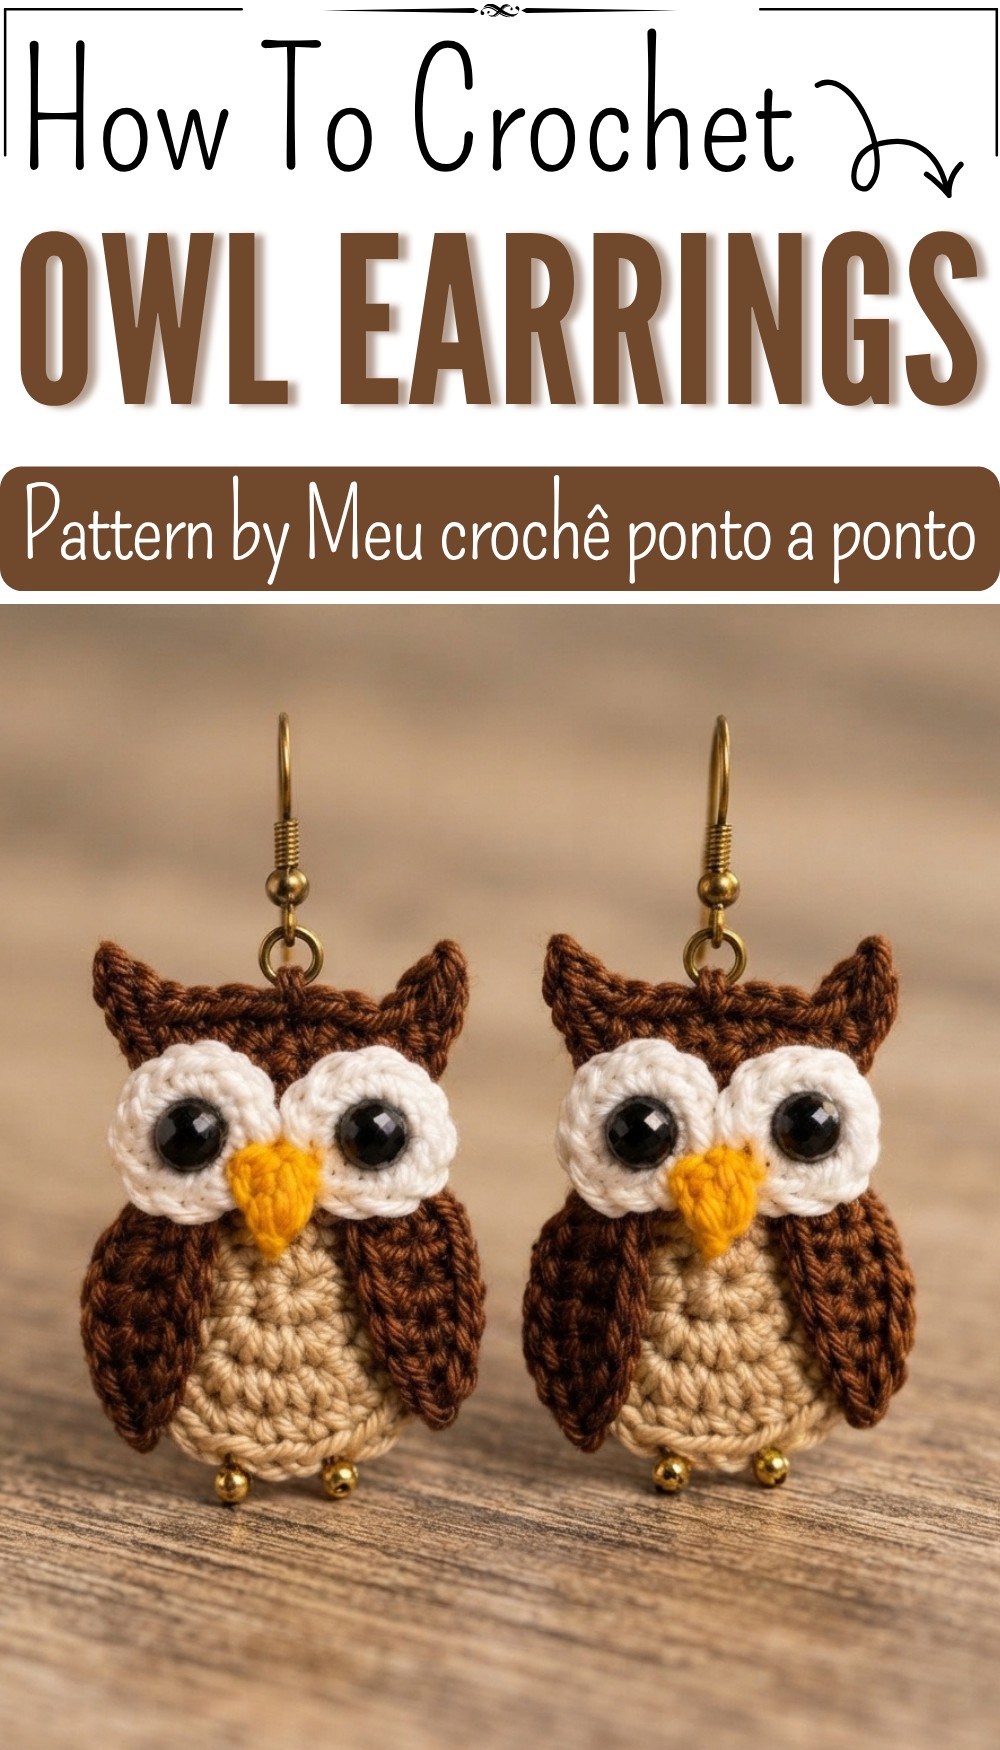
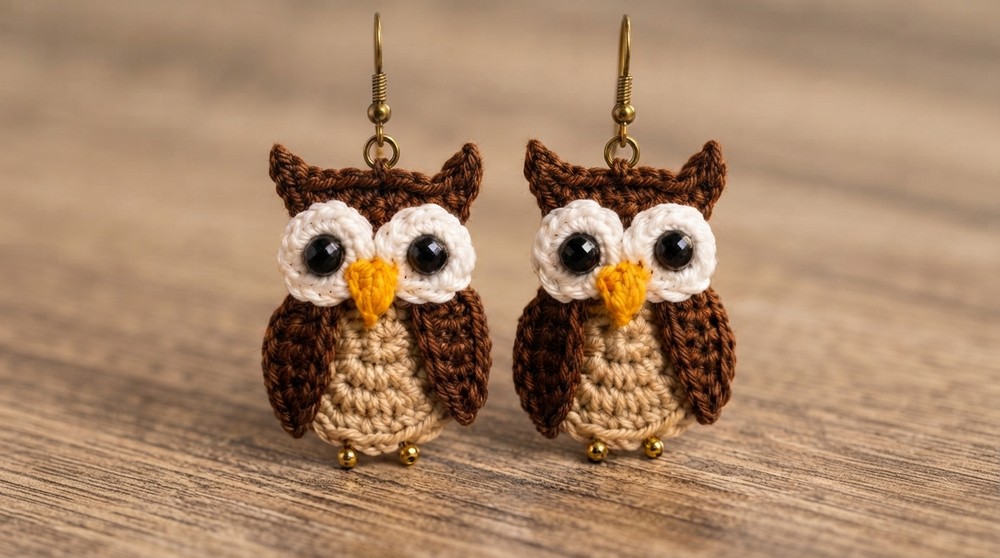
Designed not only as fashion accessories but also as meaningful gifts or unique items to sell, these earrings add a playful and elegant touch to everyday outfits. Their lightweight and small size make them comfortable for long wear, while the handmade quality gives each piece a personal and special feel. The owl shape stands out for its charming round belly, pointed ears shaped with neat chains, and tiny wings that are carefully glued and shaped to create a realistic and attractive look.
What makes this design especially appealing is the clever use of colors and stitches to define the owl’s features with precision, like the white ring eyes accented with black pearl beads and the bright yellow beak placed between the eyes. The combination of beauty and practicality is what makes these earrings a wonderful choice for anyone looking to add something unique and delightful to their collection.
Crochet Owl Earrings Pattern
These crochet owl earrings are a charming accessory perfect for anyone who loves owls and enjoys handmade creations. Besides being a fashionable statement piece, these earrings can also make a unique gift or be a great addition to your craft shop inventory. The detailed steps outlined here will guide you through creating these adorable designs, complete with a cute tummy, wings, eyes, and tiny feet.
Skill Level
Intermediate
Materials
To create a pair of crochet owl earrings, you will need:
- Yarn:
- Amigurumi Yarn in Almond Color: For the tummy.
- Amigurumi Yarn in Bubblegum Pink: For the owl’s head and wings.
- Amigurumi Yarn in Egg Yolk Yellow: For the beak.
- Crochet Hook: 1.5mm hook for precise and delicate work.
- Tapestry Needle: For sewing and weaving in ends.
- Silicone Glue: For attaching elements like the wings and the earring hook (optional, you can also sew).
- T6000 Glue (or equivalent strong adhesive): For gluing the owl’s eyes and feet.
- Round Black Half-Pearl (size 4): For the eyes.
- Small Golden Beads: Two beads for the feet.
- Earring Hooks: Two hooks.
- Scissors: For trimming yarn and finishing threads.
Special Stitches
The following stitches are used throughout the design:
- Magic Ring: A loop of yarn that allows you to crochet tightly around it for a seamless, closed circle.
- Chain Stitch (ch): Yarn over, pull through the loop on your hook to create a basic stitch.
- Single Crochet (sc): Insert the hook into a stitch, yarn over, pull up a loop, yarn over again, and pull through both loops on the hook.
- Slip Stitch (sl st): Insert the hook into a stitch, yarn over, and pull through both the stitch and the loop on the hook.
- Half Double Crochet (hdc): Yarn over, insert the hook into the stitch, pull up a loop (three loops on the hook), yarn over, and pull through all three loops.
- Double Crochet (dc): Yarn over, insert the hook into the stitch, yarn over, pull through two loops twice to complete the stitch.
- Increase: Work two stitches into the same stitch.
Stitch Abbreviations
- ch = Chain
- sc = Single Crochet
- hdc = Half Double Crochet
- dc = Double Crochet
- sl st = Slip Stitch
Useful Tips
- Keep your tension consistent to maintain the same size for both earrings.
- Use stitch markers to keep track of your rows, especially when working in small, delicate rounds.
- For a polished look, weave in all yarn ends firmly, and consider using glue for extra security.
- The black half-pearls can be replaced with tiny black buttons, safety beads, or embroidered details to suit your style.
Detailed Pattern Instructions
Part 1: Owl’s Tummy (Almond Yarn)
Round 1:
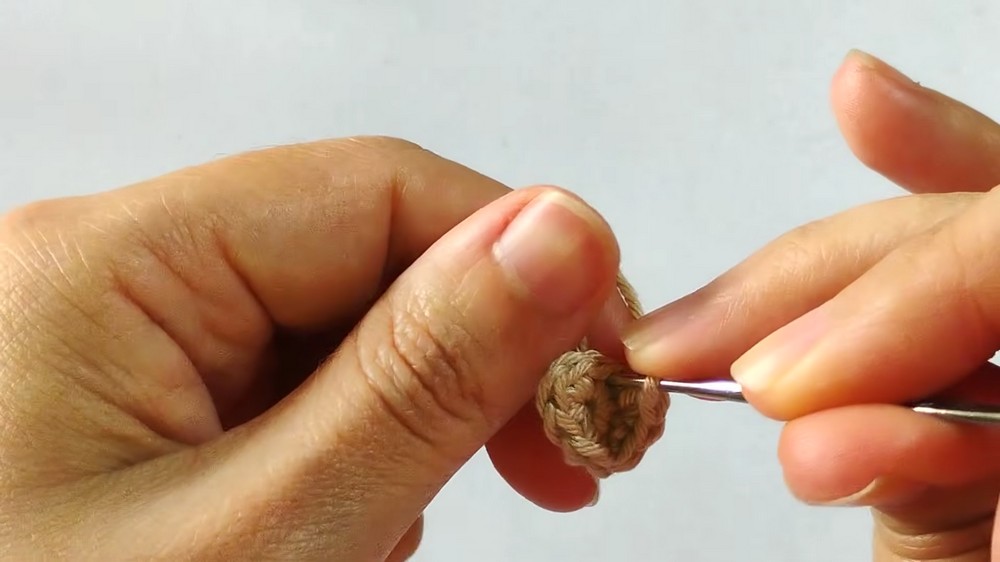
- Start with a magic ring. Work 6 single crochet (sc) into the magic ring.
- Pull the ring tightly to close and join with a slip stitch (sl st) at the beginning stitch.
Round 2:
- Chain 1. In the same stitch, create 1 sc (this is your first increase).
- Continue making 2 sc in each stitch around, for a total of 12 stitches.
- Tighten the small thread tail from the magic ring as you crochet to secure the base.
Round 3:
- Chain 1. In the same stitch, work 1 sc.
- Alternate between 1 increase and 1 sc for the entire round. You should have 18 stitches at the end of this round.
- Join with a slip stitch (sl st) and cut the yarn, leaving a tail. Using a tapestry needle, weave in the loose ends before cutting off any excess.
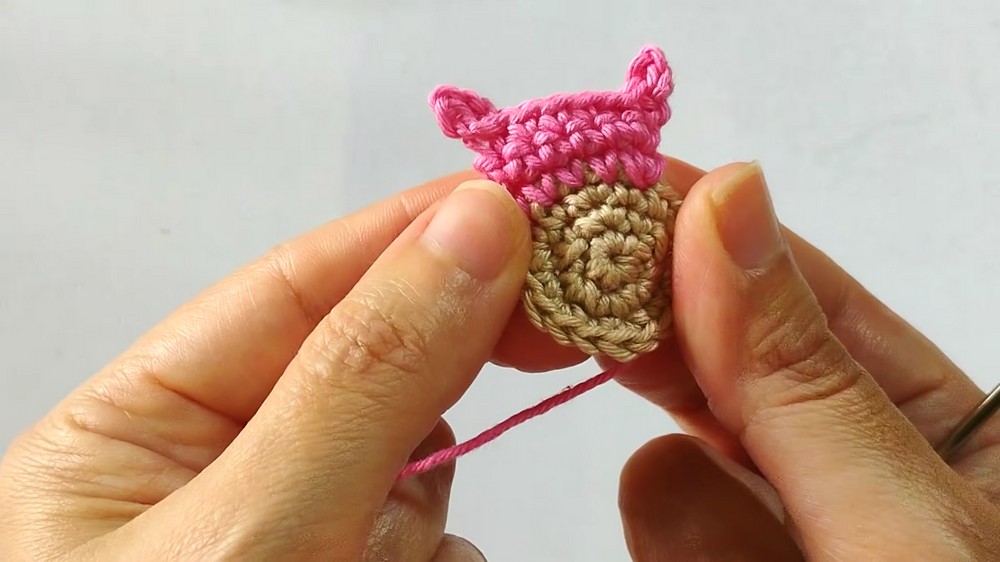
Part 2: Owl’s Head (Bubblegum Pink Yarn)
Row 1:
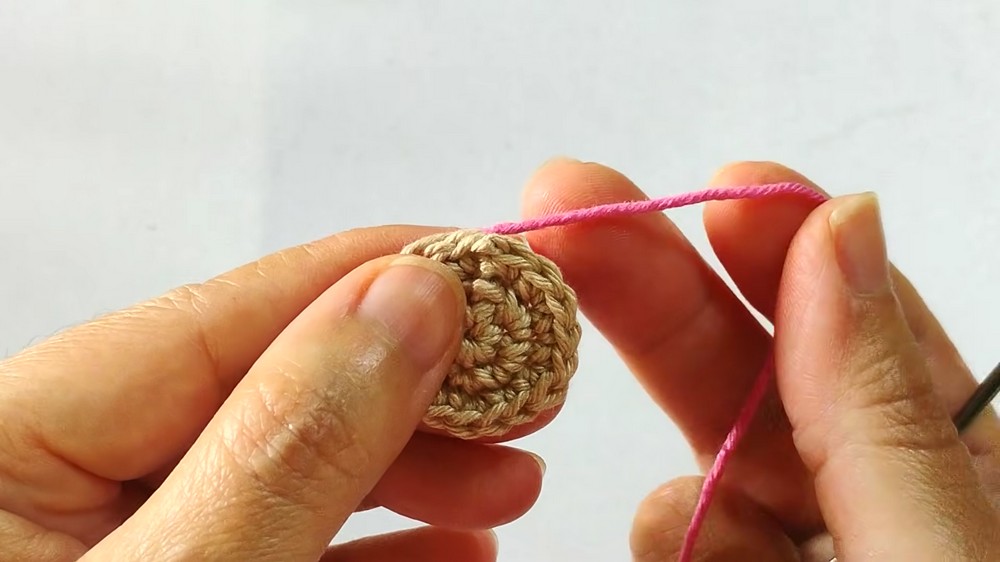
- Join the pink yarn to the last stitch of the tummy.
- Chain 1. Work 1 sc in the same stitch and continue working 5 sc across the next 5 stitches.
Row 2:
- Chain 1, turn the piece, and work 1 sc into each stitch across. In the last stitch, work 2 sc for an increase. You should now have 7 stitches.
Row 3:
- Chain 3. Skip 1 stitch and make a sl st into the next stitch, creating the first ear.
- Continue by working 1 sc in the next 5 stitches and repeat the ear formation:
- Chain 3, skip 1 stitch, and make a sl st in the next stitch.
- Cut the yarn and leave a long tail to attach the earring hook.
Part 3: Wings (Bubblegum Pink Yarn)
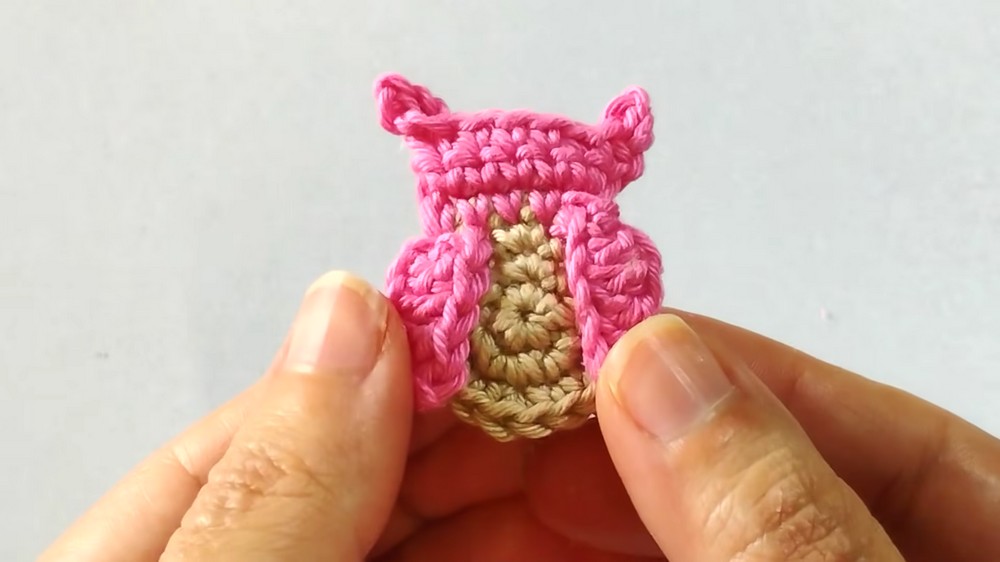
Wing for the Left Side:
- Attach pink yarn to the first stitch on the left side of the head.
- Chain 6.
- Starting from the second chain from the hook:
- Work 1 sc, 1 hdc, 2 dc, and 1 sc in the chains.
Wing Attachment:
- Turn the owl. Insert a needle into a nearby stitch, pulling the loose thread inwards.
- Securely glue or sew the wing onto the side.
Wing for the Right Side:
- Repeat the above instructions, attaching the yarn on the right side of the owl’s tummy.
Part 4: Eyes
- Use white Anne yarn and start with a magic ring.
- Inside the ring, work 10 sc and join with a sl st at the beginning stitch.
- Leave a small hole in the center of the ring. Cut the tail and secure it at the back of the ring using the tapestry needle.
- Glue the black half-pearls to the center of each eye using T6000 glue.
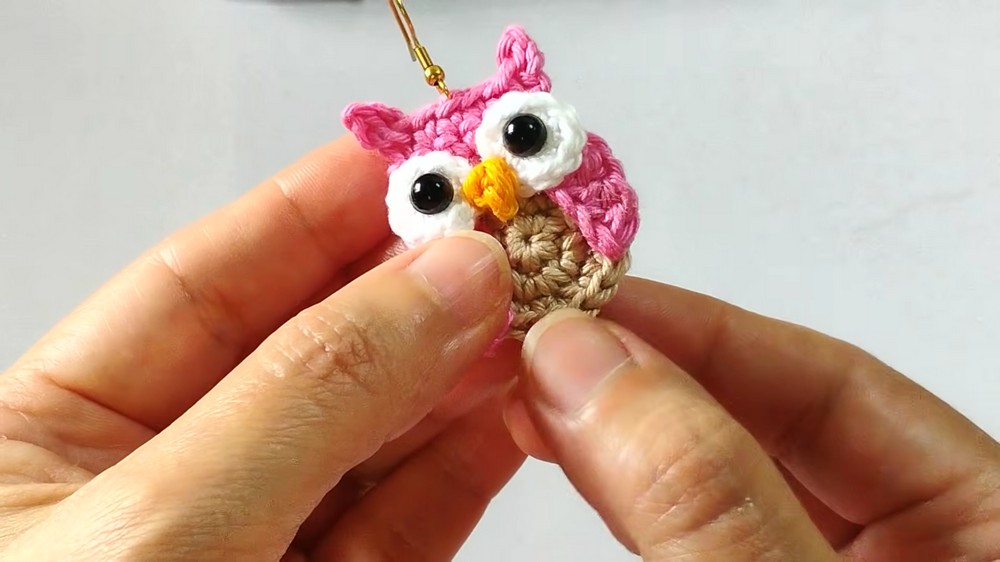
Eye Attachment:
- Use silicone glue to attach each eye onto the owl’s head, positioning them symmetrically. Adjust as needed.
Part 5: Beak
- Use the egg yolk yellow yarn to make a small chain.
- Chain 2, then work 1 sc into the first chain.
- Lengthen the loop, cut the yarn, and leave tails for attaching the beak.
- Insert a tapestry needle and sew the beak between the eyes, securing it at the back. Optionally, use glue to reinforce the placement.
Part 6: Earring Hook and Feet
Earring Hook Attachment:
- Insert the tapestry needle through the center top of the owl’s head.
- Loop the thread through the earring hook and guide it back through the stitches.
- Tie a knot at the back and weave in the loose ends to secure.
Feet Attachment:
- Use two small golden beads to create the owl’s feet.
- Dab a small amount of T6000 glue onto the bottom corners of the tummy and place a bead on each spot.
Conclusion
These crochet owl earrings are an enchanting statement piece and are ideal for anyone seeking to make personalized accessories. The combination of simple crochet stitches and small embellishments makes the creation process rewarding and enjoyable. Experiment with different colors and beads for unique variations, and share them as thoughtful gifts or sell as adorable handmade creations.