Free Crochet Purse Pattern with Complete instructions + Tutorial
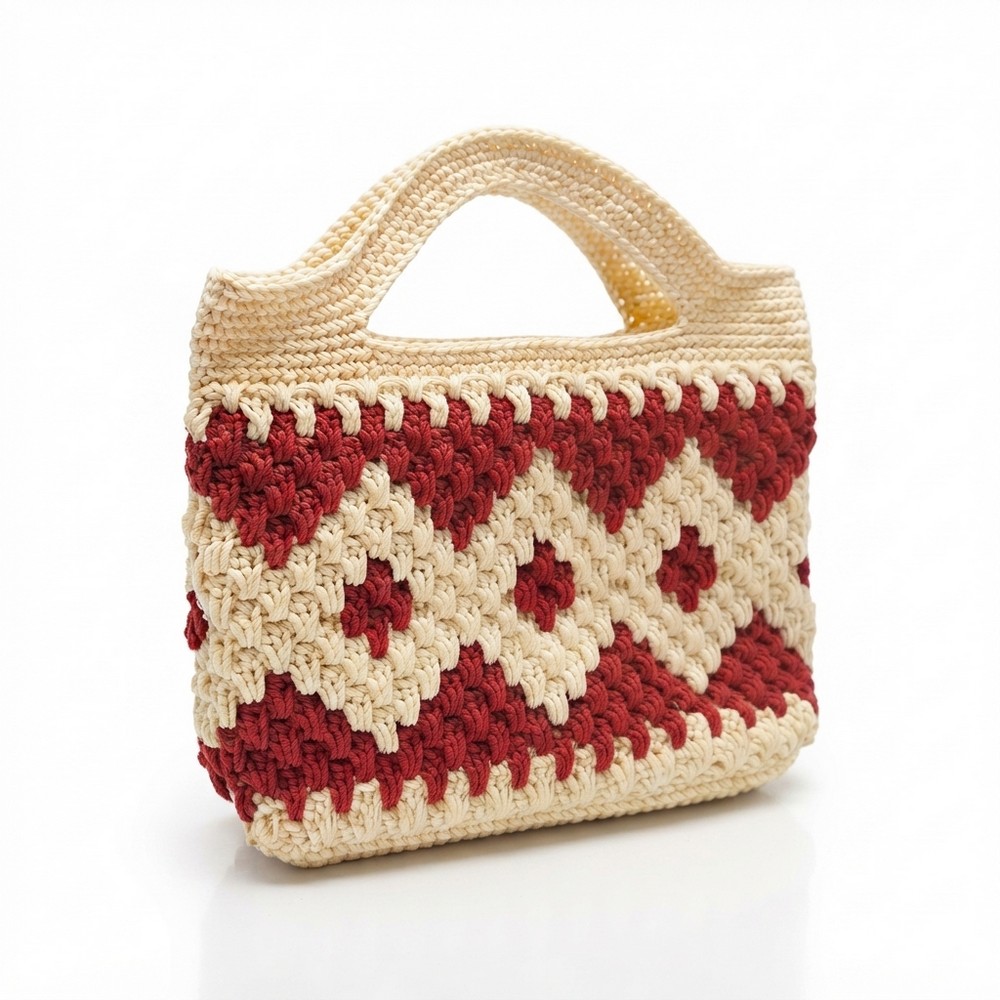
Carry your essentials in style with this Free Crochet Purse Pattern, featuring clear instructions to stitch a functional and fashionable accessory effortlessly.
I’ve always enjoyed making things with my hands, and recently I found a wonderful way to add a special touch to my bag collection. While browsing for new projects, I came across a Free crochet Purse Pattern that looked both practical and beautiful. This purse is a handmade accessory that combines style and function, perfect for daily use or gifting to someone special.
Beautiful Free Crochet Purse Pattern for Every Occasion
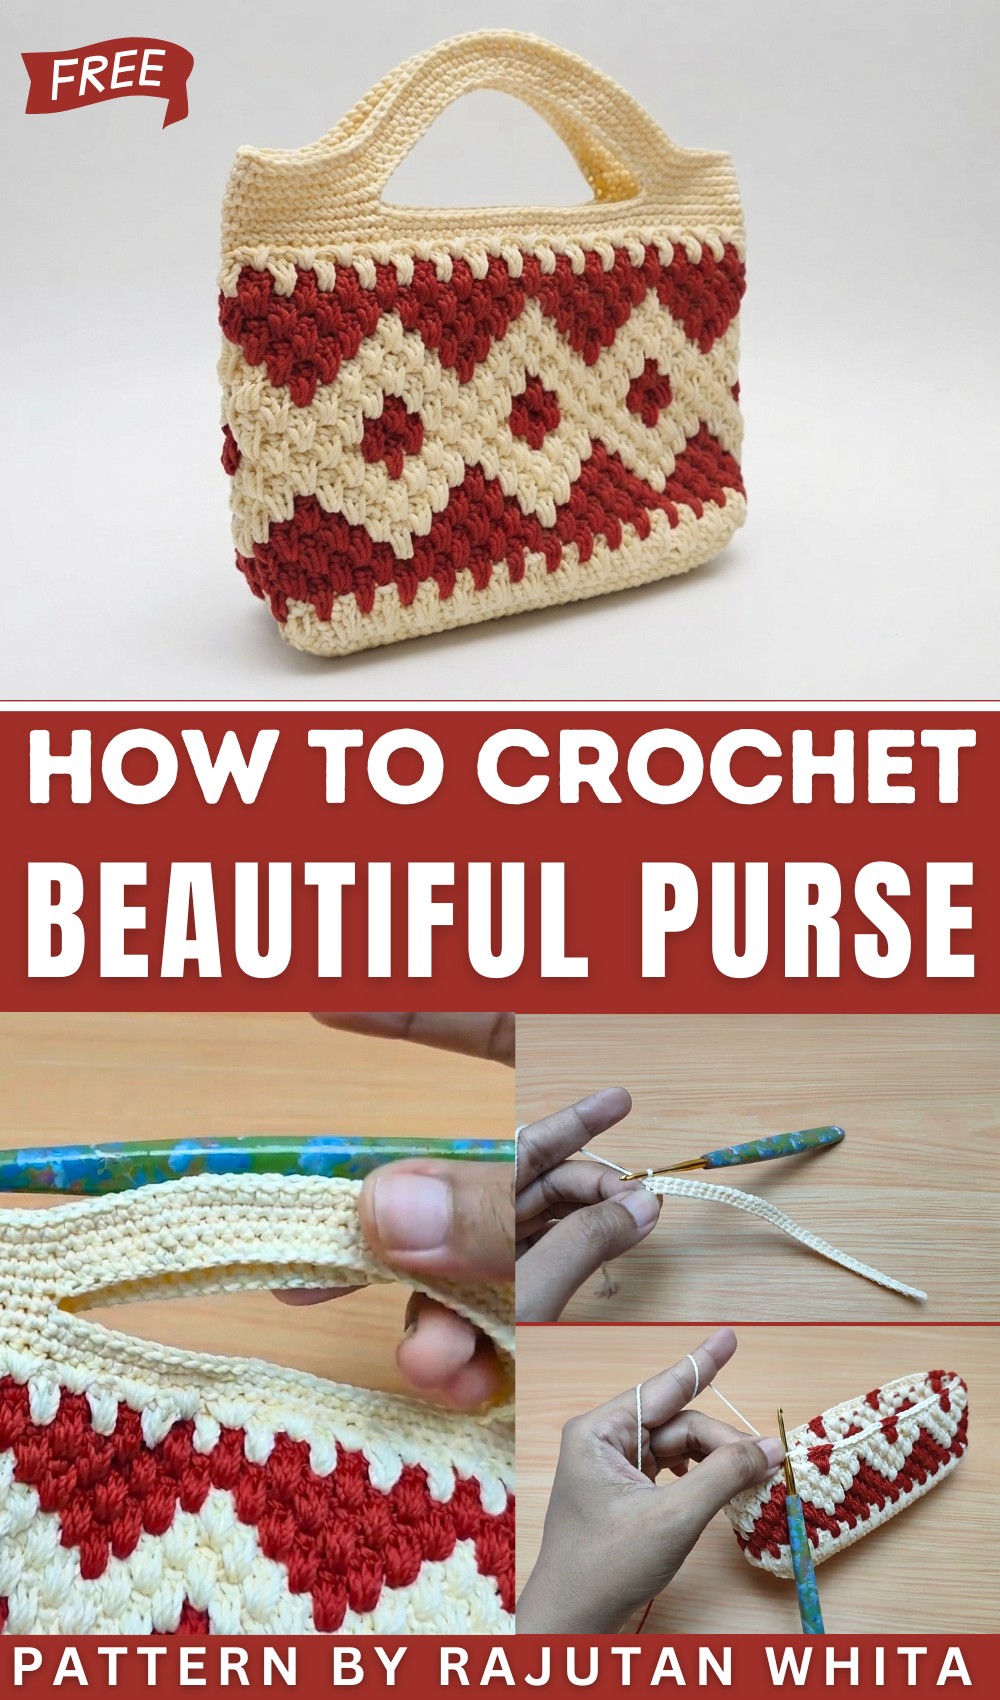
The tutorial for this pattern comes from the YouTube channel Rajutan Whita, which offers clear and easy-to-follow videos for crochet lovers of all levels. The video guide breaks down every step smoothly, making it simple to follow even if you’re new to crocheting. Watching the process helped me feel confident and enjoy each stage of making this purse.
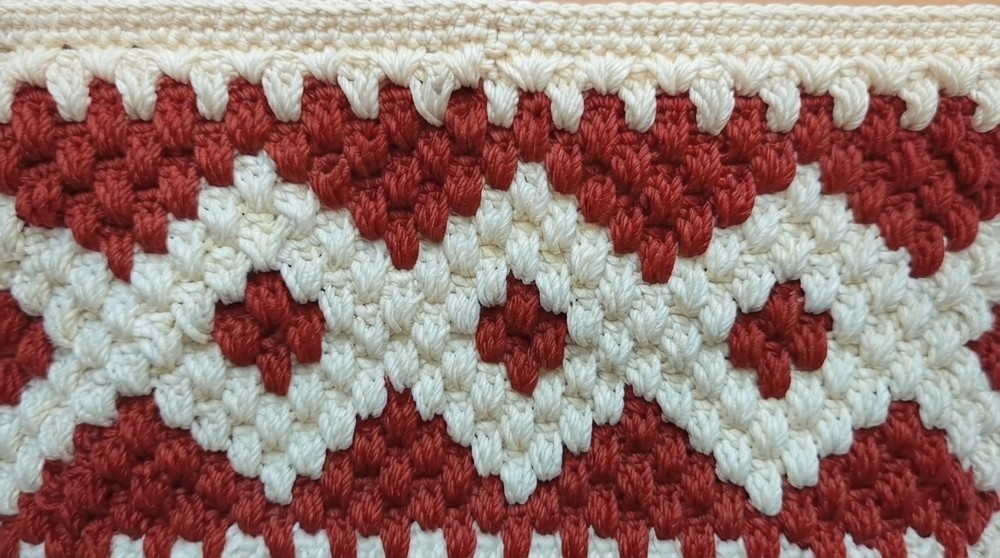
What I love most about this crochet purse is its unique appearance and texture. The purse has a rectangular shape with wallet-inspired motifs in warm beige and bright red tones. The design includes clusters and carefully placed stitches that create a soft mosaic-like texture, adding depth and interest. It feels sturdy yet comfortable to hold, with a strong handle that makes carrying easy. The style is both casual and eye-catching, making it a great statement piece for everyday use.
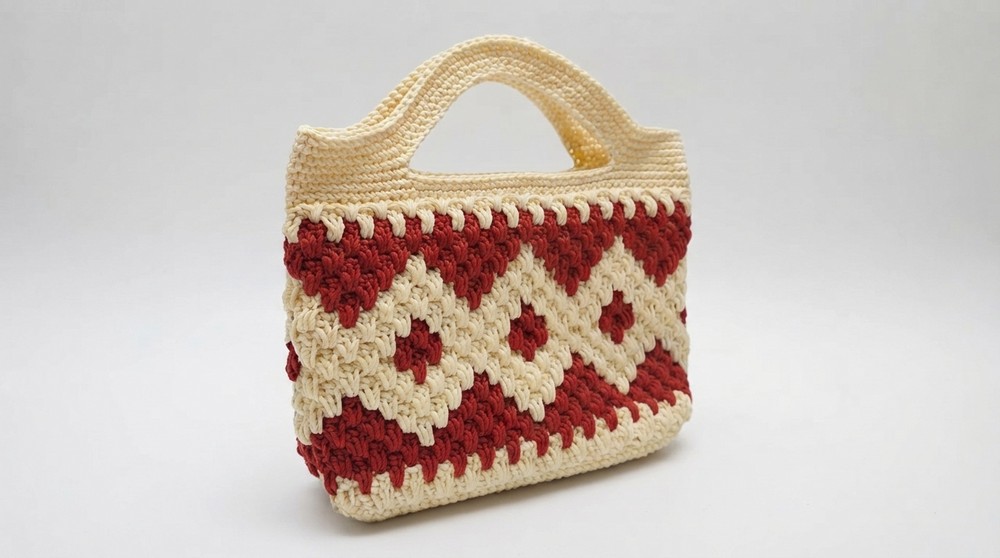
Beyond its beauty, this purse offers plenty of space for essentials, making it a practical choice for anyone who likes handmade bags. It also makes a thoughtful gift thanks to its handmade charm and artistic details. If you’re looking to try something new and add a lovely accessory to your collection, this Free crochet Purse Pattern from Tutorial (LINK BELOW) is definitely worth a try.
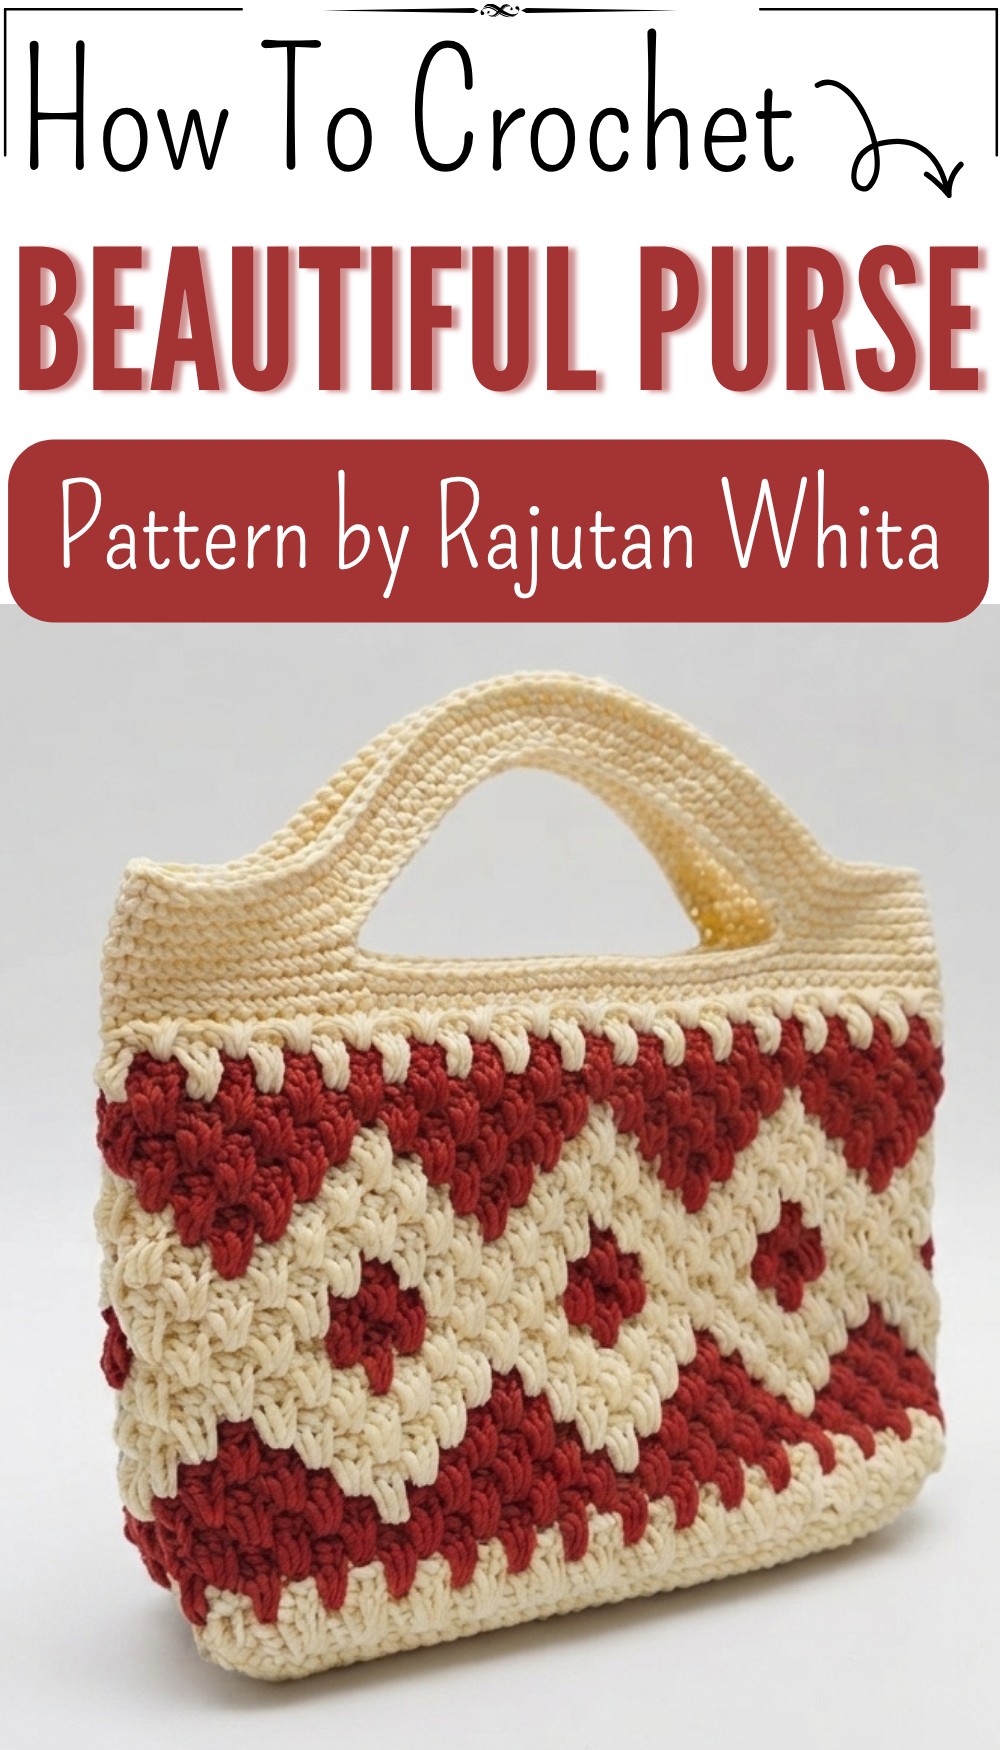
Certainly! Here is the complete, beginner-friendly crochet pattern for the Ethnic Motif Wallet based directly on the tutorial transcription, formatted according to the gold standard for clarity and ease of use. All stitches are in bold.
Ethnic Motif Crochet Wallet Pattern
Introduction
Hello Crochet Lovers, welcome to TutorialRajut.Id! In this tutorial, we will learn how to make a beautiful ethnic motif wallet, using a striking color combination of beige and red.
Quick Overview Of Pattern
- Create a sturdy rectangular base.
- Work a tapestry-style tapestry motif using 3 double crochet clusters and extended dc rows in a colorwork pattern.
- Seamlessly work all around the base for tidy edges.
- Add a neat single crochet trim and sturdy handles for function.
- Option to add a zipper, button, or inner lining for finishing.
Notes
- The main motif is worked in tapestry crochet, carrying unused yarn for clean colorwork.
- Work clusters of 3 double crochet (3dc inc) for texture.
- Keep edges straight by counting stitches.
- You can customize the dimensions by changing the starting chain or row count.
Skill Level
Beginner to Confident Beginner
(Skills: working in rows, changes of color, tapestry crochet basics, making handles.)
Materials
- Yarn: Onitsuga Polycherry Yarn or similar, 2 colors (Beige & Red)
- Hook: Size 3/0 (approx. 2.0–2.5mm)
- Notions: Tapestry needle, stitch markers, scissors, meter/ruler, matches (to finish off ends, optional)
- (Optional): Zipper, magnetic button, or lining fabric
Measurements / Sizing
- Base: 15.5cm long × 3.5cm wide
- Final Height: Approx. 13cm
- Width: Follows the base (approx. 15.5cm)
Gauge
- Not crucial. Ensure your stitches are neat and fabric is firm to hold wallet shape.
Stitch Abbreviations
- ch — Chain
- sc — Single Crochet
- dc — Double Crochet
- sl st — Slip Stitch
- tch — Turning Chain
- inc — Increase (work 2 or more stitches in one space)
Special Stitches
- Extended Double Crochet (edc):
Yarn over, insert hook into stitch, yarn over and pull up loop (3 loops on hook),
yarn over and pull through 1 loop (now 3 loops remain),
yarn over and pull through 2 loops (2 loops remain),
yarn over and pull through final 2 loops (complete stitch). - 3 Double Crochet Increase (3dc inc)/Cluster:
Work 3 dc in the specified stitch or space.
The Crochet Pattern
1. Base (Beige)
- Make a slip knot with beige yarn.
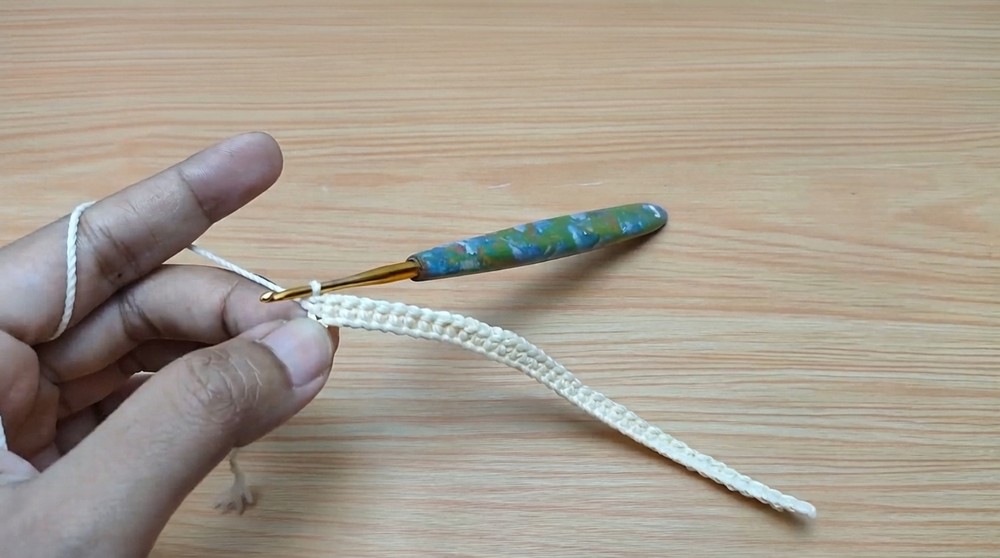
- Ch 40.
- Row 1: Starting in 2nd ch from hook, work 1 sc in each ch across. (39 sc)
- Ch 1, turn.
- Row 2–9: 1 sc in each stitch across. (39 sc per row, 9 rows total)
- At row 9, your piece should measure about 15.5cm × 3.5cm.
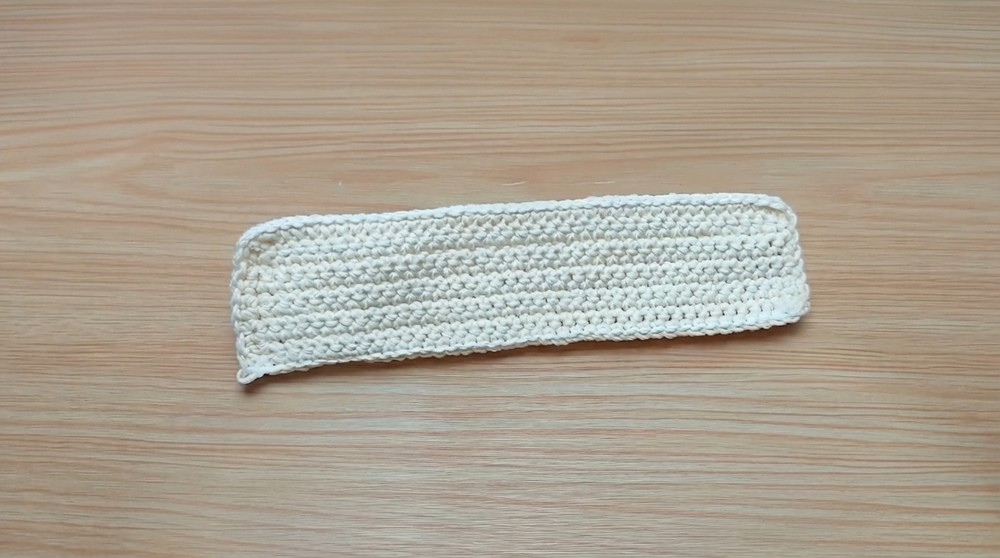
2. Single Crochet Border
- Ch 1, turn your work.
- Along the long edge, sc in each st (39 sc).
- At the corner, mark the first stitch as needed.
- Along the short (side) edge, work 9 sc evenly (use stitch marker for easier counting).
- Repeat sc 39 on the next long edge, and sc 9 on the final short edge.
- Total around: 96 sc
- Join with a sl st to the first sc.
3. Tapestry Motif Section (Main Wallet Body)
You will now work in the round and start the tapestry motif with clusters and color changes.
General Rules for Motif:
- Carry unused yarn inside your stitches (tapestry technique) for clean colorwork.
- Each Cluster = 3 dc in same stitch (“3dc inc”).
- End each round with a sl st to the first dc (unless otherwise stated).
- The motif builds for 19 rows: pattern is mirrored after row 10.
Row 1 (Beige):
- Attach beige yarn.
- Ch 3 (counts as dc), 2 dc in the same st (3dc inc = 1 cluster).
- Skip 2 stitches, in next stitch: 3dc inc.
Repeat across all stitches.- You get 32 beige clusters.
- Join with sl st to top of first dc.
Row 2 (Beige, Extended DC Clusters):
- Use Extended DC for this row.
- Attach red thread to start carrying it (do not use it yet—just carry inside).
- Ch 3 (counts as 1 edc), edc in the same stitch twice more (3 edc in one stitch/cluster).
- In the 2nd stitch skipped in previous row, work 3 edc (to center clusters).
- Continue: work extended dc clusters in the 2nd skipped stitch, repeating into each space between clusters.
- Sl st to starting edc.
Row 3 (Red):
- Switch to red on final sl st.
- Ch 3 with red, 2 dc in the same st (3dc inc = 1 red cluster).
- Place cluster in the middle dc of each cluster from the previous row.
- Continue to end of row, finish with sl st to first dc.
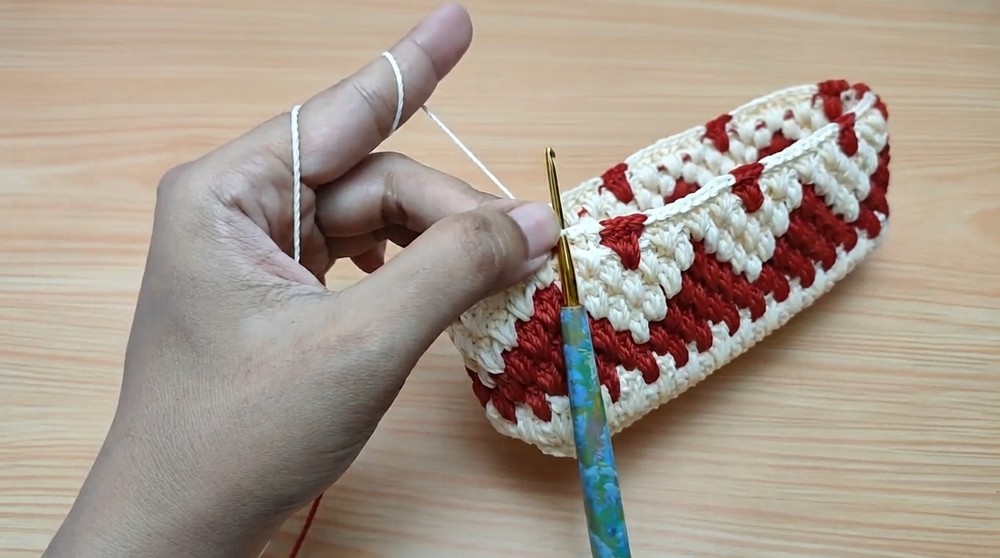
Row 4 (Red):
- Repeat same as Row 3 for a second row of red clusters.
- Sl st to finish.
Row 5:
- Switch to beige.
- 1 beige cluster, then 3 red clusters (switch at final yarn over of 3rd cluster dc).
- Repeat this pattern: 1 beige, 3 red, to the end of the row.
- Sl st to finish.
Row 6:
- Start with beige, make 2 beige clusters.
- Next, 2 red clusters.
- Repeat: 2 beige, 2 red to the end.
- Sl st to finish.
Row 7:
- Start with beige, make 3 beige clusters.
- Next, 1 red cluster.
- Repeat: 3 beige, 1 red to the end.
- Sl st to finish.
Row 8:
- All beige clusters (32 clusters).
- Carry red inside but do not use it.
Row 9:
- Start with 2 beige clusters, then 1 red cluster, 1 beige cluster.
- Repeat: 2 beige, 1 red, 1 beige to the end.
- Sl st to finish.
Row 10:
- Start with 2 beige clusters, then 2 red clusters.
- Repeat: 2 beige, 2 red to the end.
- This is the midpoint row.
Rows 11–19:
- Mirror the motif pattern done in Rows 9–1.
- Row 11 = Row 9,
- Row 12 = Row 8,
- Row 13 = Row 7,
- Row 19 = Row 1.
Row 19 (Final):
- Work 32 clusters (3 sc in each cluster position instead of dc for neatness).
- Fasten off, and weave in all ends.
4. Top Trim
- Attach beige yarn to the top edge at the side (anywhere).
- Work 1 sc in each stitch around the opening.
- Continue in spiral rounds (no joining) for 2 rounds.
- Fasten off.
5. Handles
(Optional: If making handles attached directly rather than separate straps.)
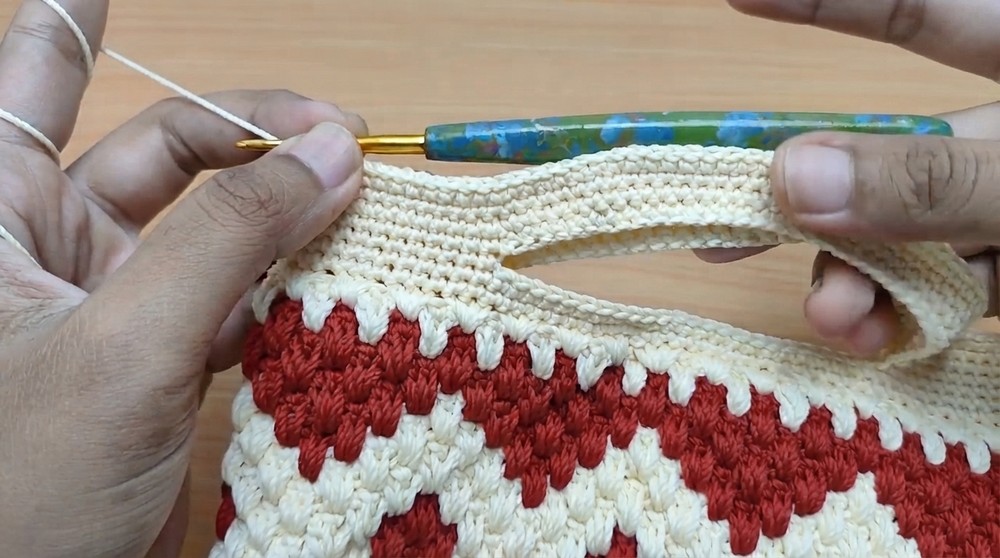
- On the top row, count equal spaces from each side to find handle placement. Mark with stitch markers.
- From first marker, sc in marked stitch.
- Ch 35 for handle, skip stitches to next marker and sc in the marked stitch to anchor handle.
- Repeat on opposite side.
- Continue to sc around opening, and when you come to the chain handles, sc in each ch to reinforce.
- Work 4 rounds of sc around the opening (including over the handles).
- Join with sl st at the end, fasten off, and weave in ends.
Assembly & Finished Size
- Add inner, zipper, or button: Sew in an inner pouch if desired, or add a zipper or magnetic snap.
- Final size: ~15.5cm wide, 13cm high.
- Shape bag and press gently if needed.
Conclusion
Congratulations! You’ve completed your ethnic motif crochet wallet. Your wallet is neat both outside and inside thanks to tapestry technique, and you can personalize with a lining, zipper, or beads as you wish. Enjoy your new accessory, and see you in the next tutorial. Happy crocheting!