Free Crochet Briochet Bag Pattern for Trendy Accessories
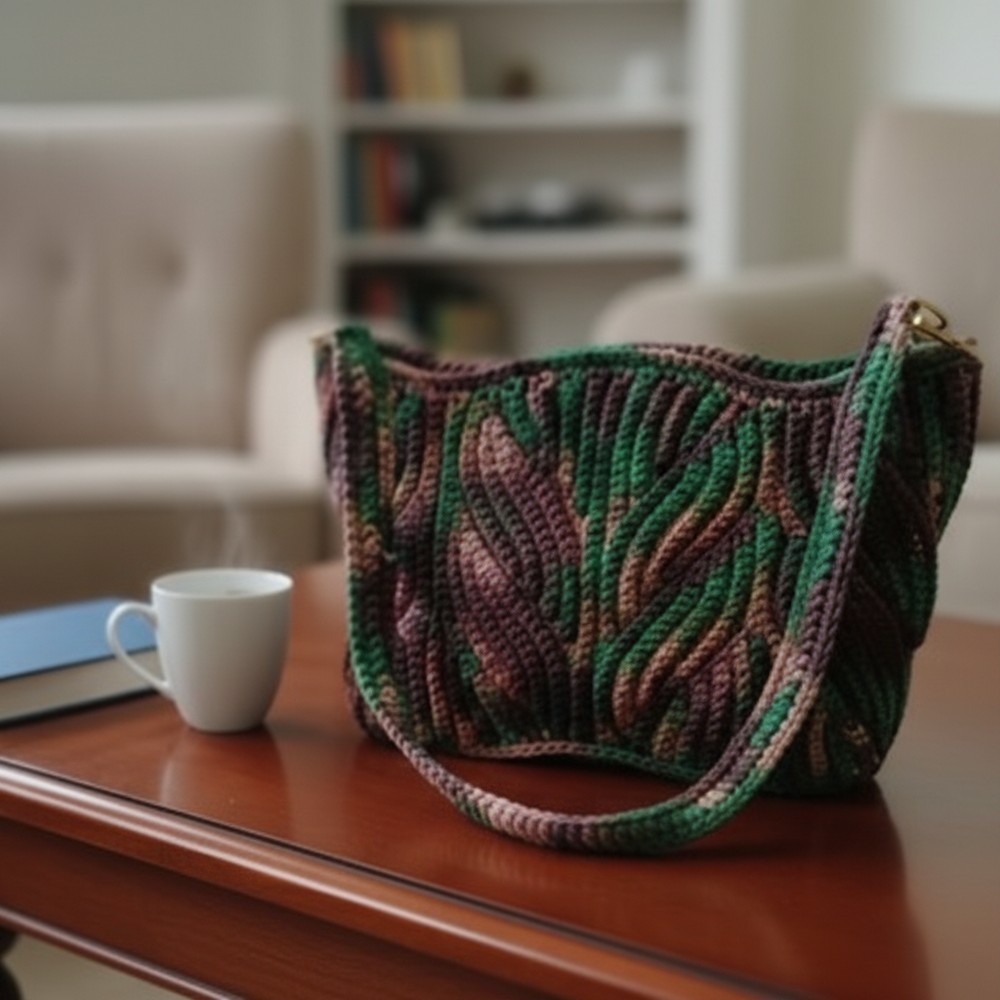
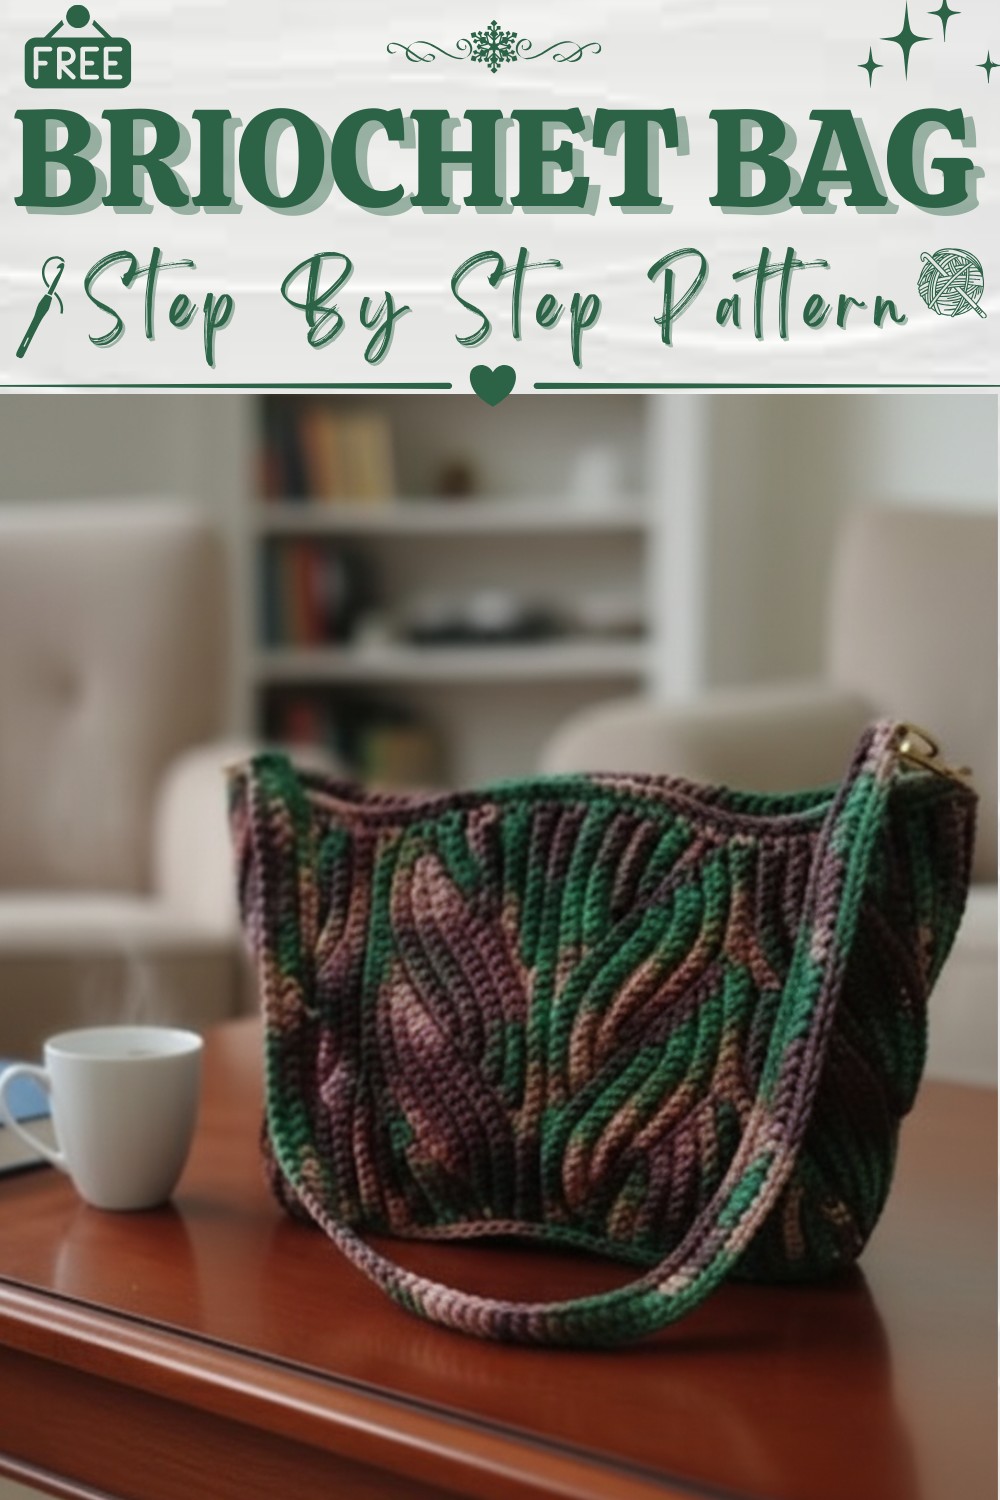
Turn your wardrobe with this Free Crochet Briochet Bag Pattern that’s a beautiful stylish bag that’s easy to make and perfect for everyday use.
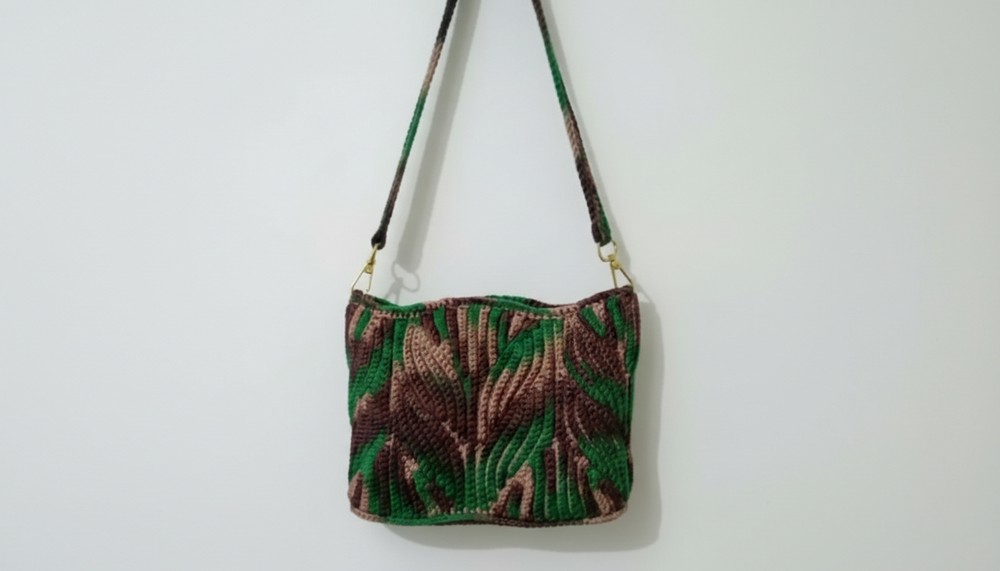
Have you ever wished for a bag that looks different from all the rest and feels special to hold? With graceful curves and soft waves, this bag catches the eye and brings a bit of style to your daily life. Carry your phone, wallet, or a small book with comfort and ease, whether you’re running errands or enjoying a relaxed day out. The secret to its lovely shape and puffed texture is found in the Crochet Briochet Bag pattern, a design that adds both beauty and strength to your bag.
Free Crochet Briochet Bag Pattern Step by Step Instructions
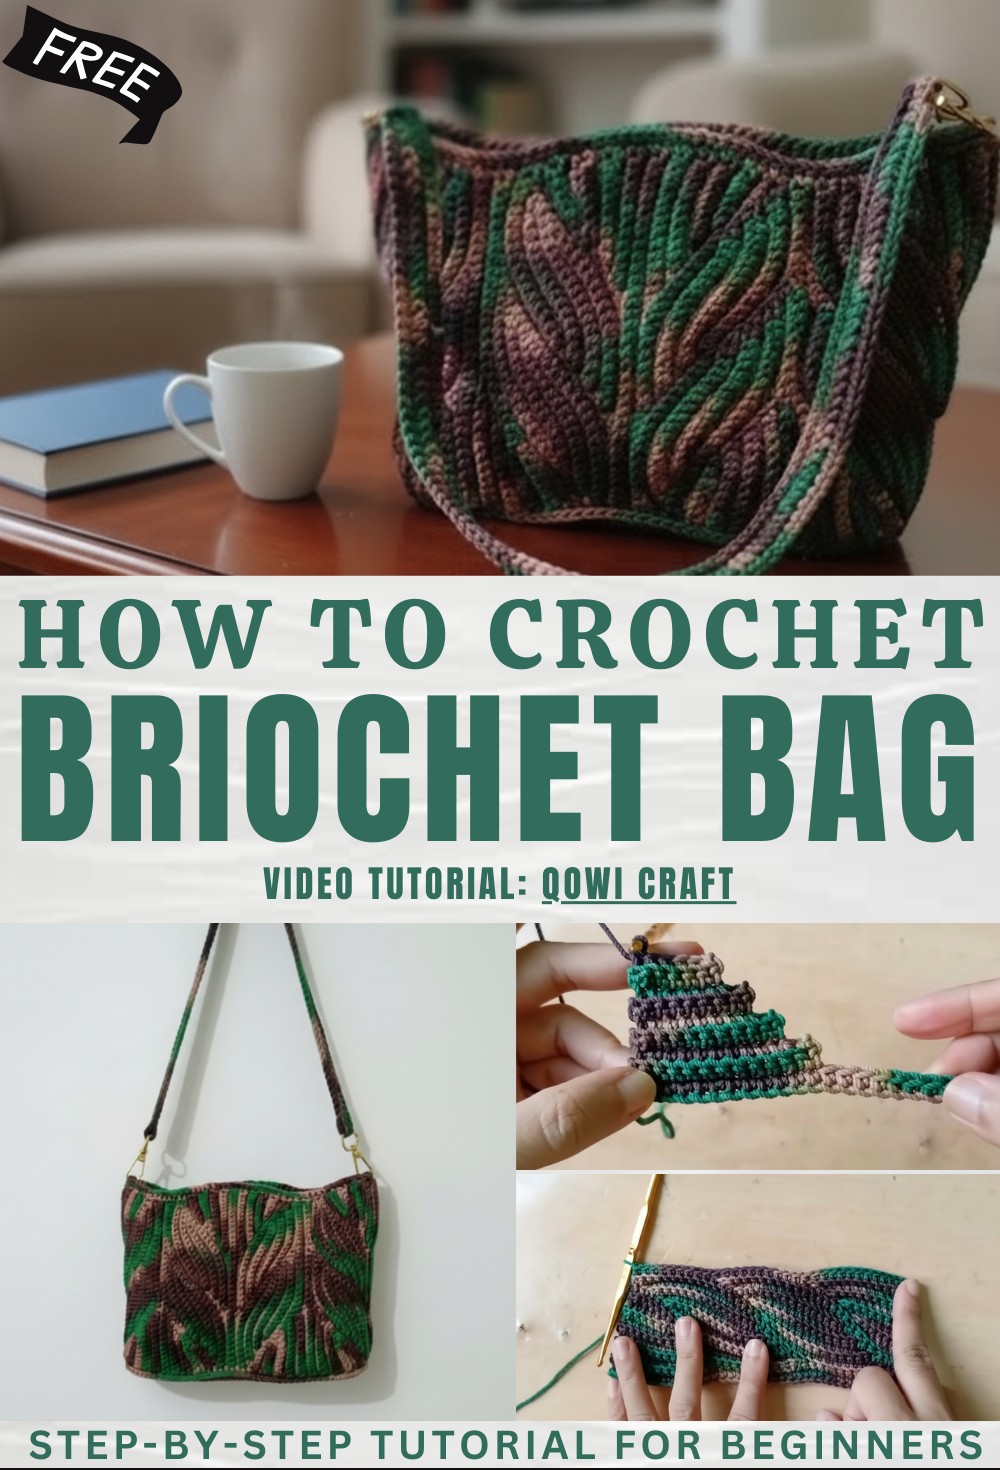
This pattern lets you play with colors and sizes, so each bag becomes your own creation. Even if you use simple colors or prefer something bright, your bag will always stand out. Strong, useful, and pretty, this bag is more than just for carrying things, it’s a part of your story wherever you go.
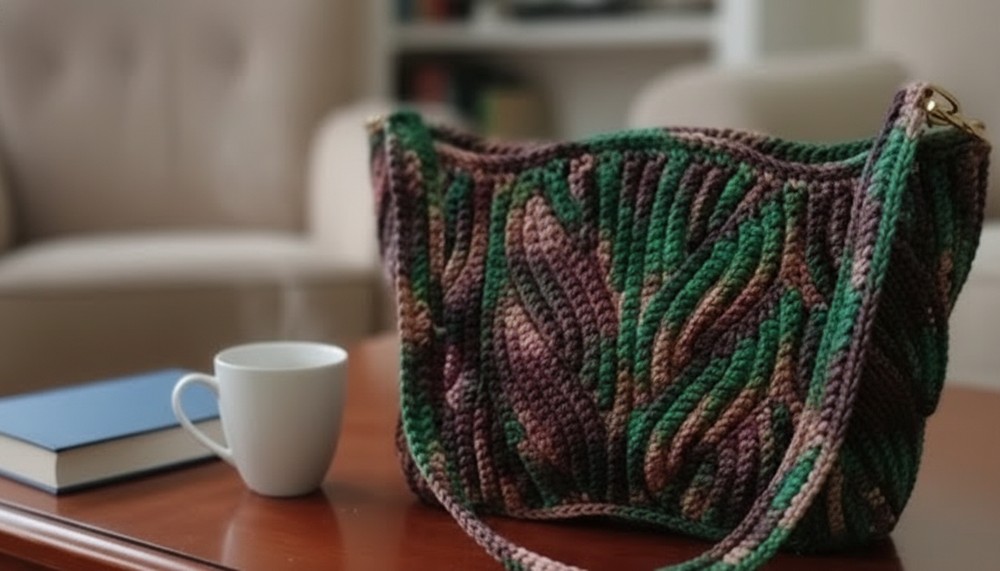
Crochet Brio Motif Shoulder Bag Pattern
In this pattern, I’ll guide you step-by-step to crochet a beautiful brio motif shoulder bag. This bag is constructed in sections using single crochet in back loop only (BLO) to create softly textured motifs that form the bag body. You’ll learn to crochet and join motifs, assemble the bag, work a sturdy base, and create a functional and decorative strap.
Quick Overview Of Pattern
- The bag is made of 8 repeated brio motifs, each worked in rows of single crochet BLO.
- Motifs feature graduated row counts to create gently shaping.
- Motifs are joined to form the bag body.
- The bag base is separately crocheted as a rectangle and sewn to the body.
- Edges are finished with single crochet and crab stitch for durability and a polished look.
- A simple yet strong cord strap is added, with optional single crochet for extra thickness.
Notes
- Pattern uses US crochet terms.
- Work all specified single crochet stitches in the back loop only unless noted.
- Adjust bag and strap length as desired.
- Use a stitch marker for seamless motif transitions and round joins.
- Keep your slip stitches around the base slightly loose for smooth edges.
Skill Level
Beginner to Intermediate
(Basic single crochet skills, increasing, decreasing, joining, and simple cord-making.)
Materials
- Worsted weight yarn (approx. 250–300g, color of your choice)
- Crochet hook appropriate for yarn (commonly 3–4 mm)
- Yarn needle (for sewing and weaving in ends)
- Scissors
- Stitch markers
- Bag hooks/clasps (optional)
Measurements / Sizing
- Motif height/width: Approx. 8–9 cm per motif (before assembly, varies by yarn)
- Bag width: ~32–34 cm (8 motifs x 4 cm each after joining)
- Bag height: ~20–24 cm (after assembly)
- Strap: ~50 cm (adjustable to preference)
- Base: ~4×22 cm (adjust as desired)
Gauge
- Not critical. Match motif and base size for bag assembly.
- Adjust hook or yarn weight if needed for larger/smaller bag.
Stitch Abbreviations
- ch – chain
- sc – single crochet
- BLO – back loop only
- sl st – slip stitch
- rep – repeat
- st(s) – stitch(es)
Special Stitches
Single Crochet Back Loop Only (sc BLO)
Insert hook into back loop of the stitch only, yarn over, pull up a loop (2 loops on hook), yarn over, pull through both loops.
Crab Stitch (Reverse Single Crochet)
Working from left to right, insert hook in next stitch, yarn over, pull up a loop, yarn over, pull through both loops.
The Crochet Pattern
A. Bag Body – Brio Motifs
Work in rows, turning at the end of each row. All stitches BLO.
First Motif:
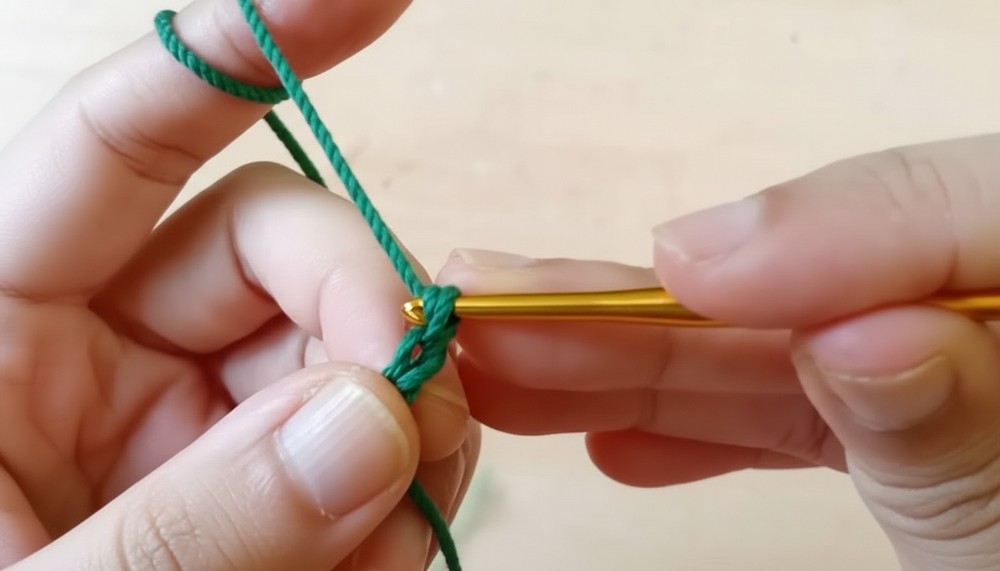
- Foundation: Ch 33.
- Row 1: Sc in 2nd ch from hook and each across (32 sc).
- (Row count starts now)
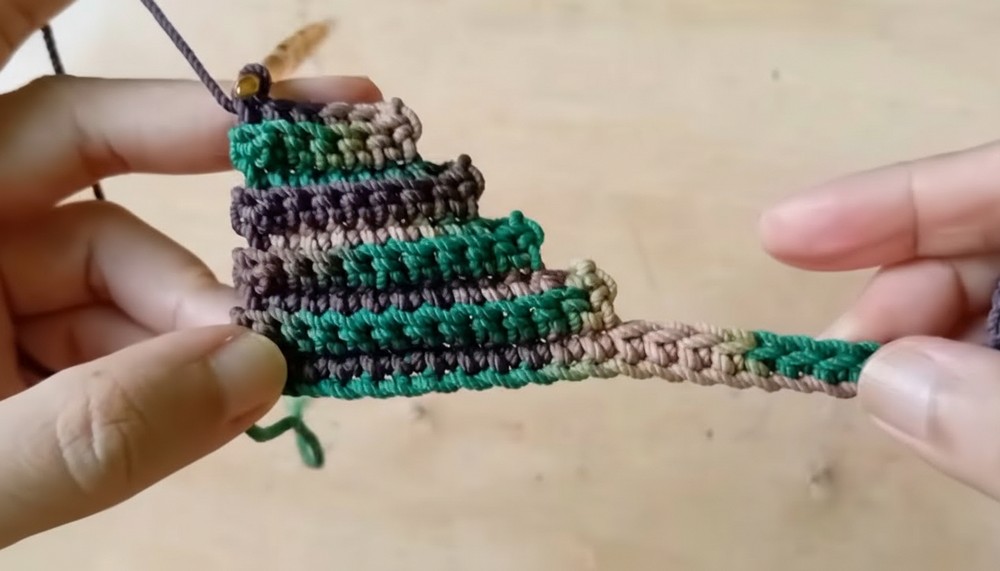
- Rows 2–3: Sc BLO across the first 12 sts (12 sc).
- Rows 4–5: Sc BLO across the first 10 sts (10 sc).
- Rows 6–7: Sc BLO across the first 8 sts (8 sc).
- Rows 8–9: Sc BLO across the first 6 sts (6 sc).
Transition/Descent:
7. Row 10: Sc across next 22 sts to marked position.
- At each “descending” edge, join the front loop of the current st to the front loop of the 7th st down.
- To do this, slightly pull up the loop, insert hook in front loop of target st, pull yarn through both loops to join; repeat at each descent.
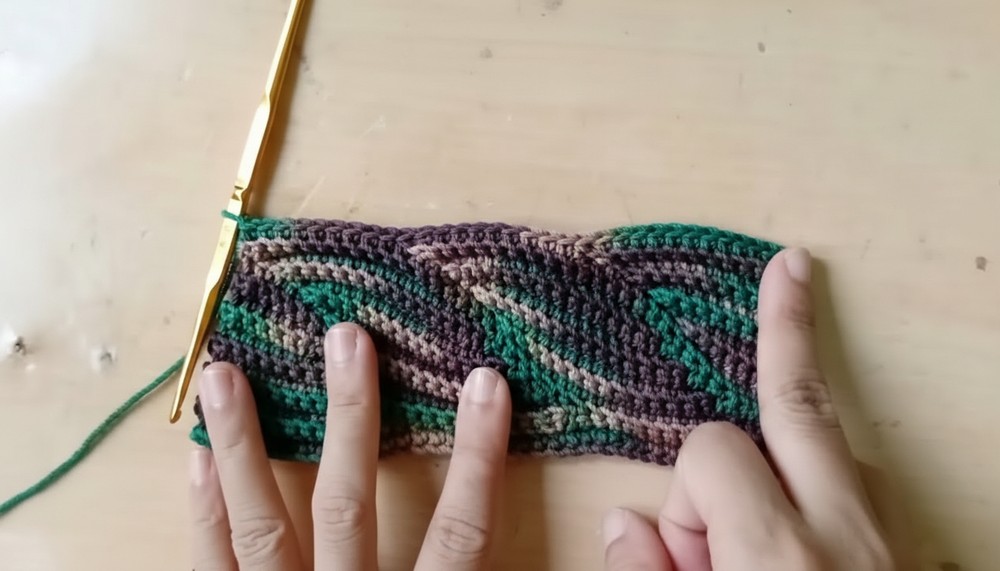
Continue single crochet along to next marked point, working as above for each drop/decline section.
Second Motif:
- Row 1: Sc BLO 16 sts.
- Row 2: Sc BLO 14 sts.
- Row 3: Sc BLO 16 sts.
- Row 4: Sc BLO 14 sts.
- Row 5: Sc BLO 16 sts.
- Row 6: Sc BLO 14 sts.
- Row 7: Sc BLO 16 sts.
- Row 8: Sc across 32 sts, working declines as described before.*
Repeat motifs as follows:
- Motif 1: 12, 10, 8, 6 (twice each, alternating, then decrease)
- Motif 2: 16, 14, alternately, as above
- Motif 3: as Motif 2
- Motif 4: 6, 8, 10, 12 (twice each, alternating, then increase)
Make 8 total motifs, repeating this four-part motif sequence 8 times for the bag body.
Joining Motifs for Bag Body
- After completing all 8 motifs, join the ends:
- With right sides facing, slip stitch to join the starting and ending rows together, forming a circular bag body.
- Ch 1 before starting sl st, then sl st across to last st.
- Turn bag right side out.
B. Bag Base
- Chain 13.
- Rows 1–42:
- Sc in 2nd ch from hook and in each across (12 sc).
- Ch 1, turn.
- Work back and forth in sc for 42 rows.
- Edging:
- Sc around all four edges of the rectangle, placing 2 sc in each corner.
- Join with sl st to first sc.
C. Attaching Bag Base to Bag Body
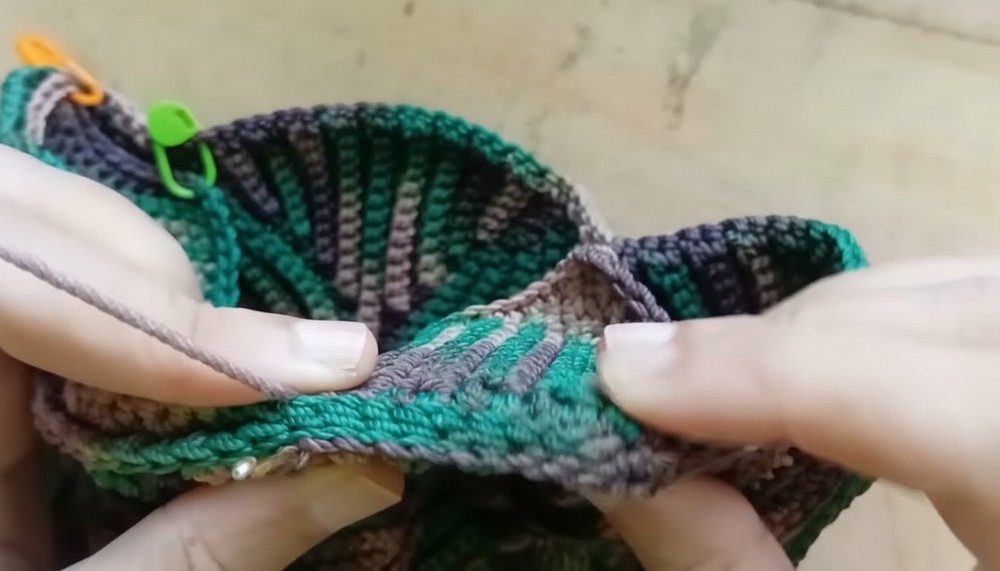
- Place base inside the circle made by the body.
- Working through both layers, use slip stitch to join edge of base to bottom of bag body all around.
- Place a marker at the start.
- Work evenly and do not pull stitches tight; keep edge flat and neat.
- Fasten off and weave in any ends.
D. Bag Top Edging
- With right side facing, join yarn at any top edge st with a slip knot.
- Sc around top edge in each st. Join with sl st.
- (Optional) Work a round of reverse single crochet (crab stitch) for a firm, decorative edge:
- Ch 1, then working from left to right, crab stitch in each sc around.
- Join with sl st, fasten off, and weave in ends.
E. Bag Strap
- Cord Strap:
- Make a slip knot, ch 2.
- Sc in 1st ch.
- Turn work a little, insert hook in nearest edge, pull up a loop, sc.
- Continue twisting cord and sc along edge, repeating until cord measures desired length (~50 cm).
- (Optional) Sc around cord to make it thicker and sturdier.
- At each end, leave enough yarn to attach securely.
- Attaching Strap:
- Sew ends of strap securely into top corners of bag, adding bag hooks or directly attaching as you prefer.
- At the end of joining, finish with sl st, cut thread, and tidy up loose ends.
Assembly & Finished Size
- Make sure all ends are securely woven in.
- Bag should measure approximately 32–34 cm wide and ~20–24 cm tall, with a ~50 cm strap (all sizes adjustable).
- Add any desired closures, lining, or embellishments.
Conclusion
Congratulations on completing your brio motif shoulder bag! This practical yet stylish bag showcases beautiful crochet motifs and sturdy construction. Adjust motif counts and strap length as desired to make your bag uniquely yours.