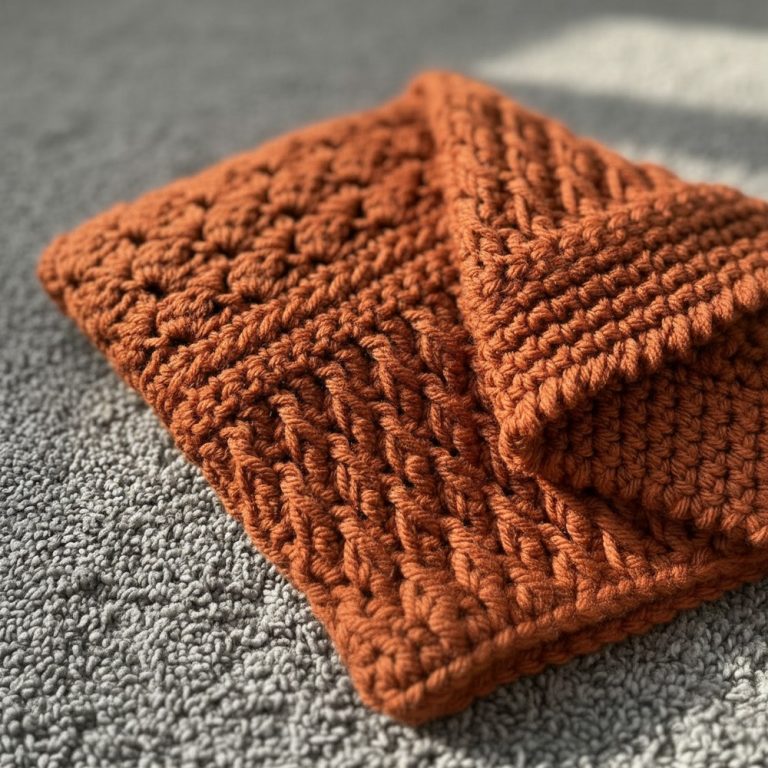
Free Rotating Square Base Crochet Pattern (Neat Corners!)

Build eye-catching dimensional pieces elegantly through this free crochet rotating square base pattern that enhances texture and form with smooth rotational symmetry.
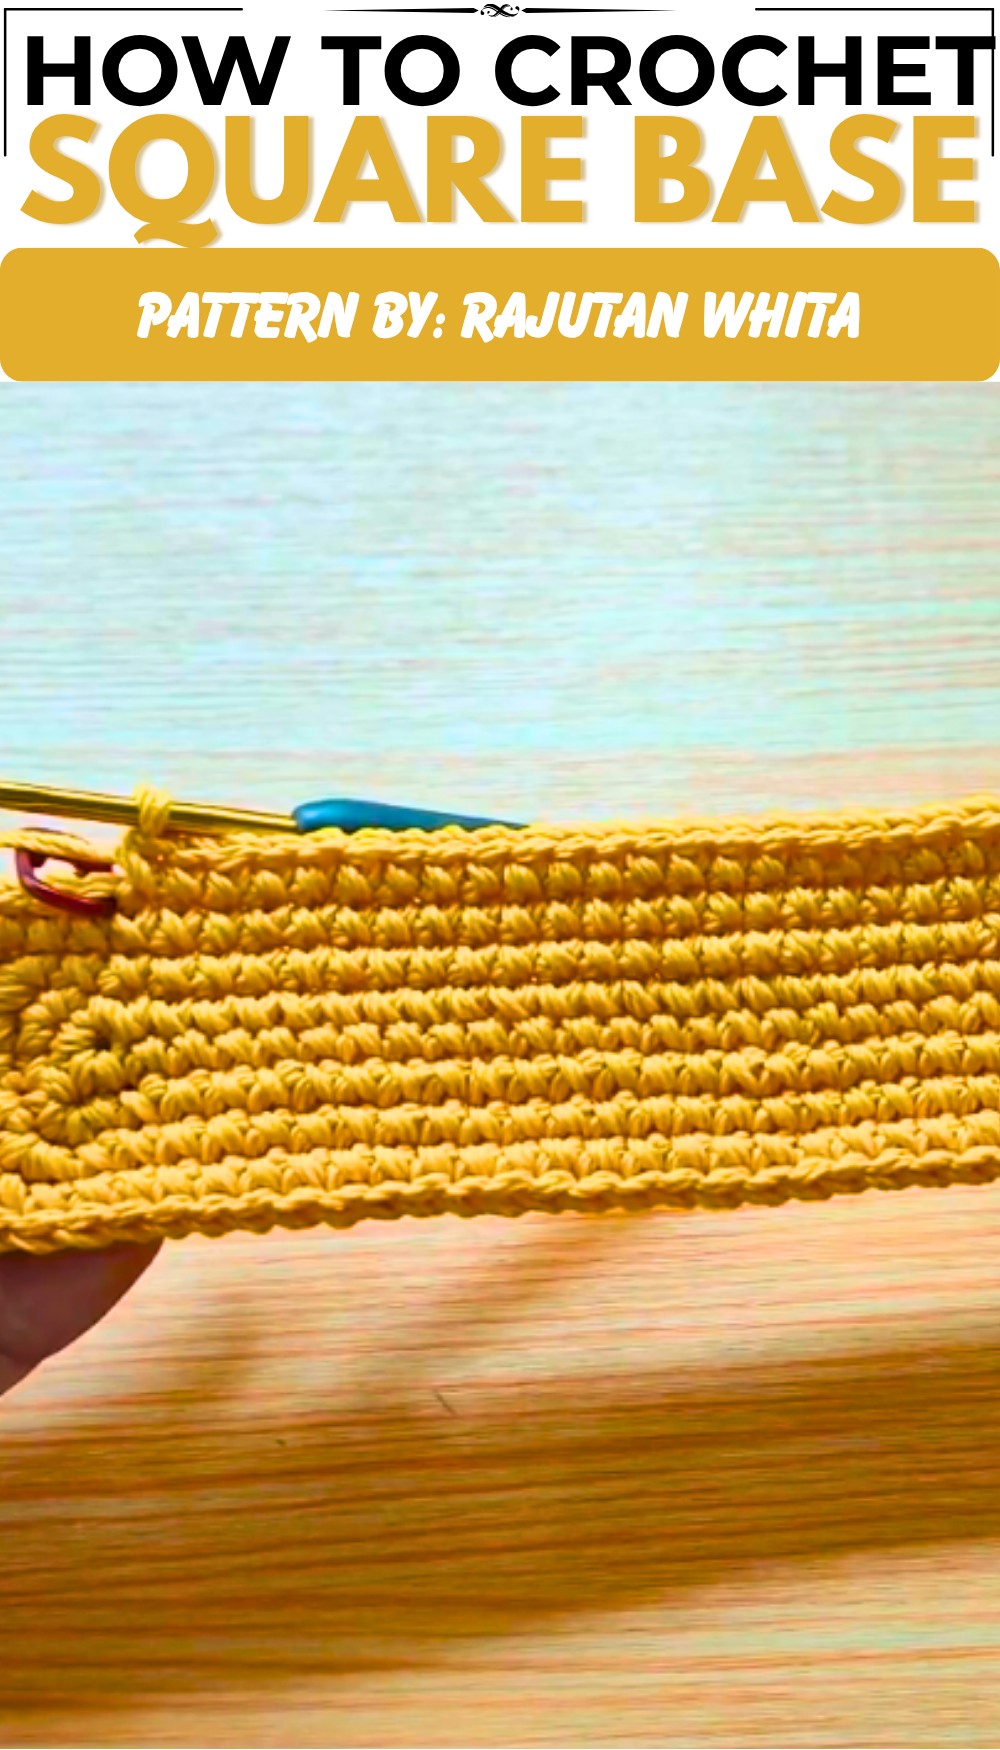
Have you ever noticed how the most beautiful handmade bags have a perfectly flat and sturdy bottom? That special, professional touch is surprisingly easy to achieve. With the Free crochet Rotating Square Base pattern, you can give your projects the solid foundation they deserve. This wonderful technique is clearly explained in a video from the creative mind at Rajutan Whita, making it accessible for every crocheter.
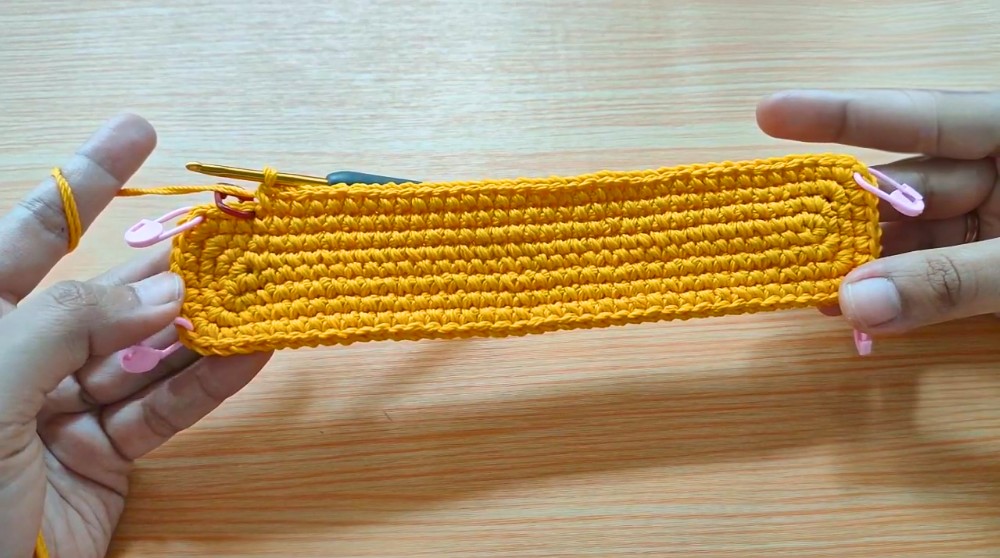
The appeal of this base is in its flawless, seamless appearance. Unlike traditional methods that can leave a visible joining line, the rotating technique creates a continuous spiral of stitches. The result is a smooth, unblemished square or rectangle of dense fabric. It has a beautiful, clean look with a satisfying geometric precision. This method ensures your base is firm and will hold its shape, providing excellent structure for whatever you choose to build upon it.
Free Crochet Pattern: Rotating Square Base for Beginners
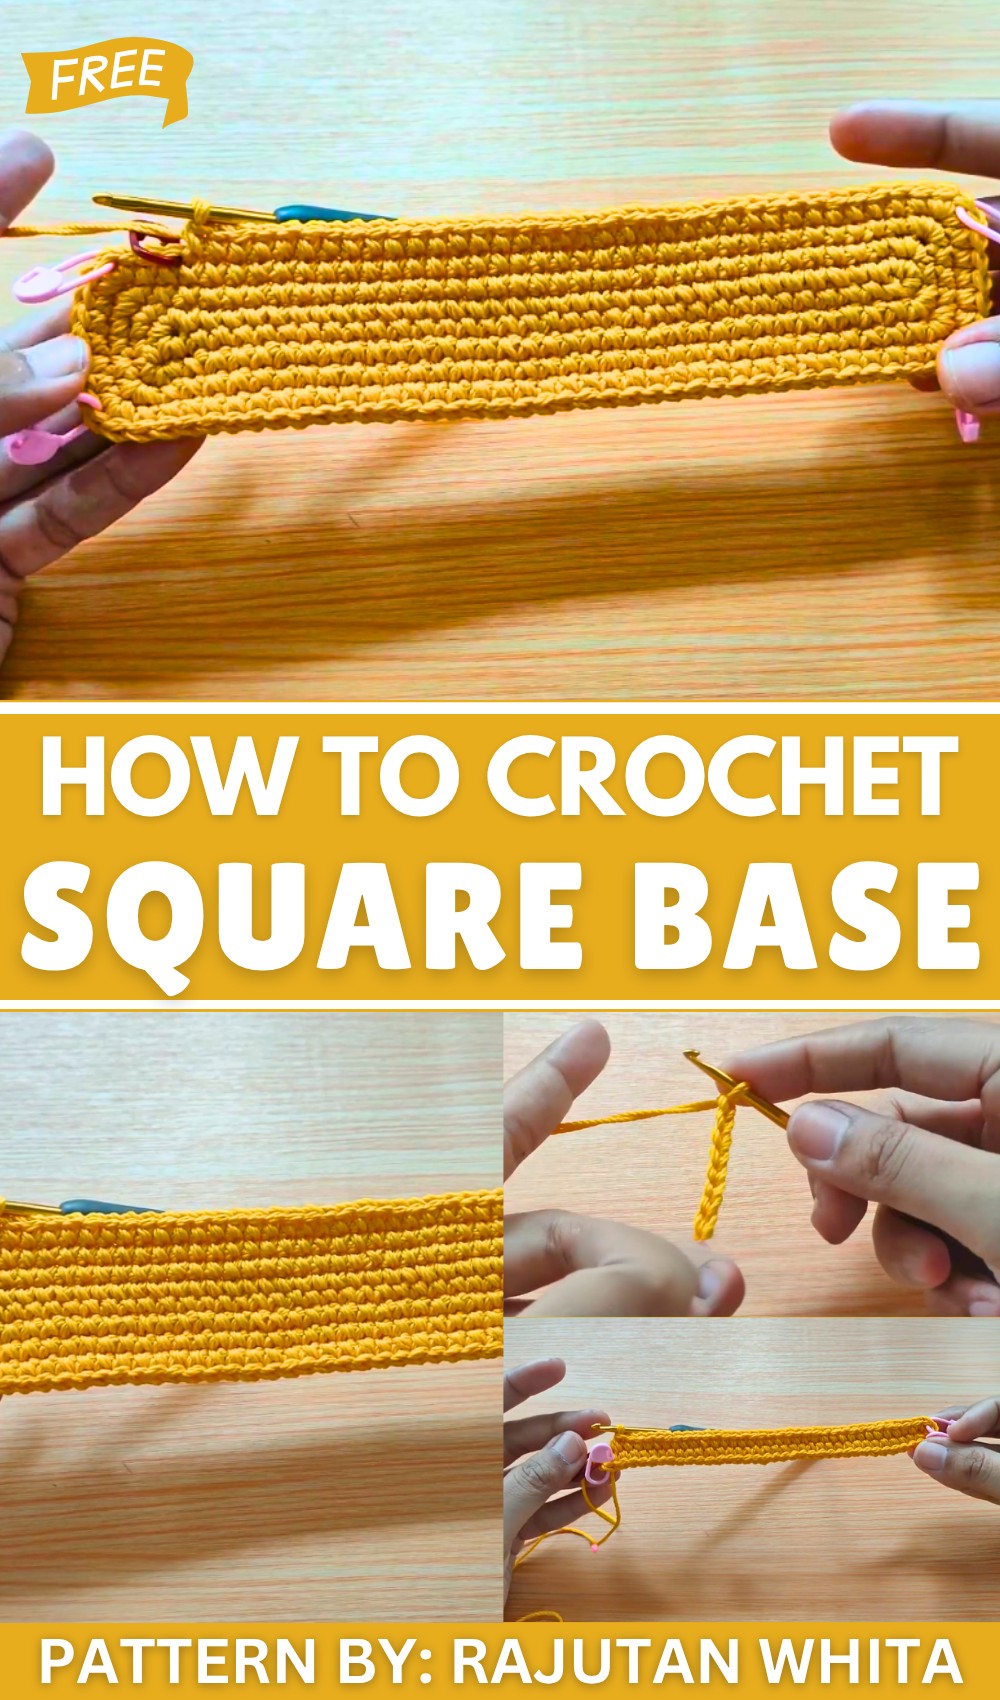
This versatile base is the starting point for an incredible variety of projects. It is the perfect foundation for a stylish market tote, a sturdy basket for organizing your space, or even a chic holder for a plant pot. Because it provides such great stability, your finished items will stand up on their own, looking polished and store-bought rather than floppy and purely homemade.
Makers will find so much joy in this pattern because it’s a fundamental skill that elevates the quality of their work. It’s incredibly satisfying to create such a perfect, functional foundation. Learning this technique opens the door to designing countless other items with confidence, knowing you can give them the strength and elegance they need, right from the very first stitch.
Rectangular Crochet Bag Base Using Continuous Rotating Method
This detailed pattern guides you through crocheting a sturdy and well-shaped rectangular bag base using the continuous rotating round technique. Worked with doubled Poly Cherry yarn and a 3.0 mm hook, this method involves strategic corner increases and stitch marker placements to maintain a neat, stable rectangle ideal as the foundation for bags or baskets. The measured combination of chain foundation, consistent single crochet stitches, and grouped corner increases produces a flat, even base.
Quick Overview of the Pattern
- Begin with a foundational chain tailored to desired length.
- Work continuous rounds of single crochet (SC), increasing stitch count only at corners to preserve shape.
- Utilize stitch markers diligently to locate and re-mark corner center stitches during expansion.
- Continue increasing for four rounds to achieve target dimensions.
This modular yet precise approach is perfect for handmade bag bases requiring both strength and exactly measured size.
Notes
- Maintaining consistent tension is important to prevent warping.
- Stitch markers serve as crucial guides to mark corner center stitches during each round’s increases; move them up as instructed.
- Doubling the yarn adds sturdiness needed for a bag base and contributes to a firm fabric.
- The continuous rotating method means you do not join rounds with slip stitches; instead, join rounds seamlessly to work in spirals.
- Measuring as you go ensures your base aligns with intended dimensions.
Skill Level
This pattern is recommended for intermediate beginners familiar with:
- Single crochet (SC) stitches
- Working in continuous rounds (spirals)
- Using stitch markers
- Increasing stitches effectively
Understanding strategic increases for shaping is helpful but clearly explained.
Materials
- Poly Cherry yarn, doubled for sturdiness
- 3.0 mm (Size 5/0) crochet hook
- Measuring tape for dimension checking
- Scissors
- Lighter to finish and seal yarn ends
- Five stitch markers
Measurements / Sizing (Optional Schematic)
- Target base dimensions: approximately 20 cm (length) x 4 cm (width)
- Each SC stitch approximately equals 0.5 cm (measured from gauge swatch)
- Foundation chain length and number of stitches calculated accordingly (24 repeats of 4 stitches = 96 stitches total in foundation)
Gauge and Stitch Pattern
Gauge
- An 8 SC by 8 row swatch resulting in 4 cm x 4 cm establishes gauge
- One SC stitch = approximately 0.5 cm
- Gauge influences number of stitches in foundation chain and number of rounds
Stitch Pattern
- The work consists entirely of single crochet (SC) stitches
- Corner increases comprise 3 SC stitches worked into one stitch, creating required expansion to maintain a flat rectangular shape
- The continuous rotating method is used so rounds are worked without joining and turning.
Stitch Abbreviations
| Abbreviation | Meaning |
|---|---|
| ch | Chain |
| sc | Single Crochet |
| st(s) | Stitch(es) |
Special Stitches
- Increase (inc): Work 3 single crochet stitches into the same stitch (corner stitch) to create expansion and shape corners flatly.
- Continuous Rotating Method: Work in rounds spirally without joining rounds by slip stitch; simply continue to next stitch at end of round.
The Crochet Pattern
Preparation & Gauge
- Create an 8 sc by 8 row gauge swatch with doubled yarn and 3.0 mm hook.
- Measure carefully; each stitch should be approximately 0.5 cm in width.
- Calculate your foundation chain accordingly using target base size. For a 20 cm length, chain enough stitches so when multiplied by 0.5 cm per stitch, it reaches approximately 20 cm.
- The example uses a chain of 36, but after counting repeats, 96 stitches are needed for 24 motif repeats. This number may be adjusted as desired.
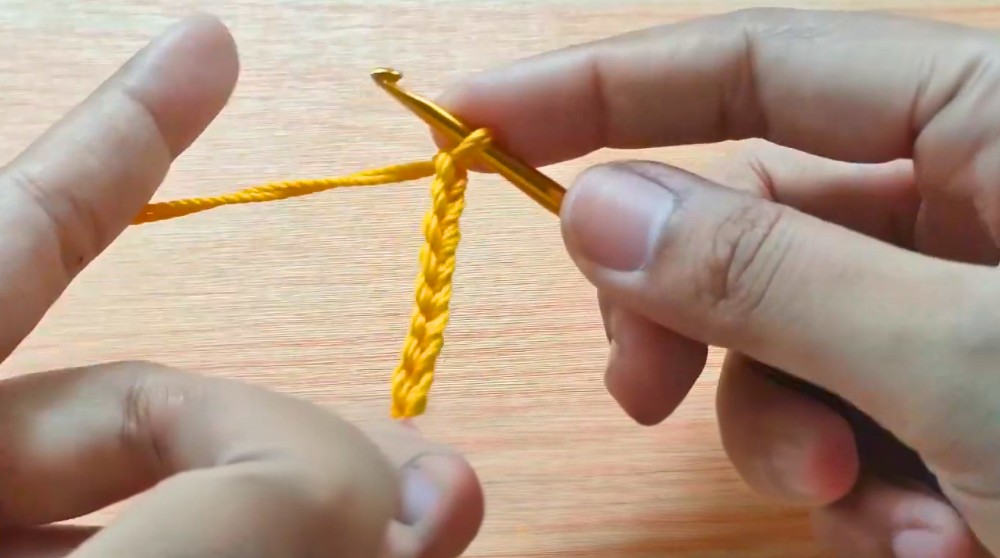
Step 1: Foundation Chain
- Chain 36 stitches.
- This will serve as the bottom length of your rectangular base.
Step 2: Round 1 – Establishing Corners and Bottom Edge
- Beginning in the second chain from the hook, work 3 single crochet (SC) stitches into the first chain to form a corner.
- Then work 1 SC into each chain across the bottom length.
- Upon reaching the other end, work 3 SC stitches into the final chain to form the opposite corner.
- Continue edging along the bottom side, completing the rectangular outline.
- Place five stitch markers as guides: one on each corner and others placed evenly along the length (exact placement per tutorial).
Step 3: Round 2 – First Increase at Corners
- As you crochet continuously round, upon arriving at the first stitch marker corresponding to a corner:
- Work an increase by placing 3 SC stitches into the corner stitch, expanding the corner.
- Place a new stitch marker in the center SC stitch of this 3-stitch increase.
- Continue to crochet 1 SC stitch in each stitch along the sides between corners, maintaining even tension.
- Upon reaching the next corner marker, repeat the 3 SC increase, again marking the second stitch of the trio as the new corner center.
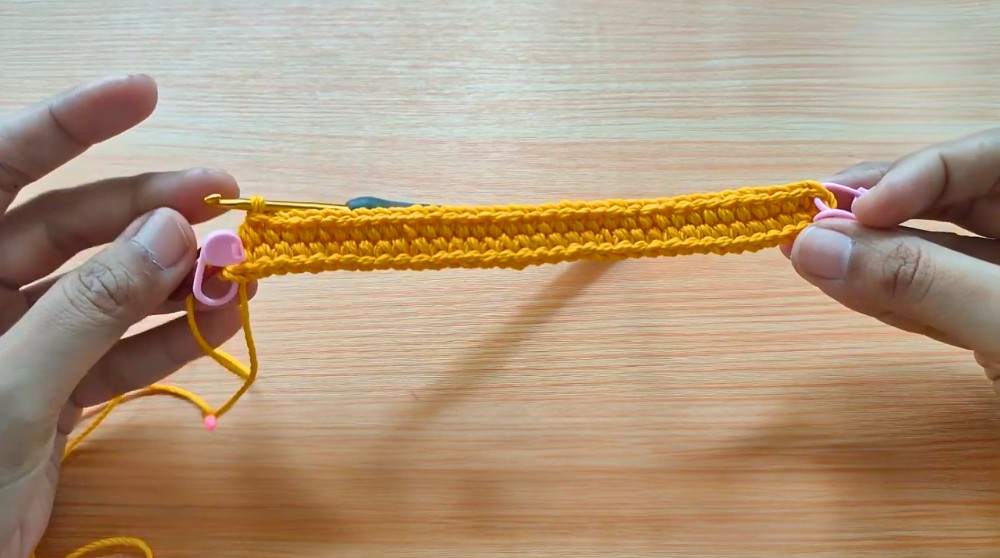
Step 4: Round 3 – Repeat Increasing Corners
- Repeat the process of Round 2 for all corners:
- At each corner marked by stitch markers, crochet 3 SC into one stitch to increase.
- Move each stitch marker to the center SC of the new 3-stitch corner group after completing the round.
- Crochet 1 SC stitches evenly on the straight sides between corners.
- This step ensures the rectangular shape expands evenly and remains flat.
Step 5: Round 4 – Maintain Shape with Corner Increases
- Continue the same pattern as previous rounds:
- Insert 3 SC into each corner stitch identified by the position of stitch markers higher up on the corner group.
- Move stitch markers accordingly to the center stitch of each new 3 SC corner cluster.
- Crochet 1 SC along sides between corner increases.
- This completes the gradual, even shaping of the base. The piece measures approximately 20 cm x 4 cm now.
Finishing
- After completing four rounds of continuous increasing in corners:
- Verify measurements to ensure base is flat and correctly sized (~20 cm length by 4 cm width).
- Continue advancing your stitch markers carefully to mark the center corner stitches in subsequent rounds to maintain shape if you choose to work more rounds.
- Fasten off securely.
- Use scissors to cut yarn and lighter to seal ends to prevent fraying.
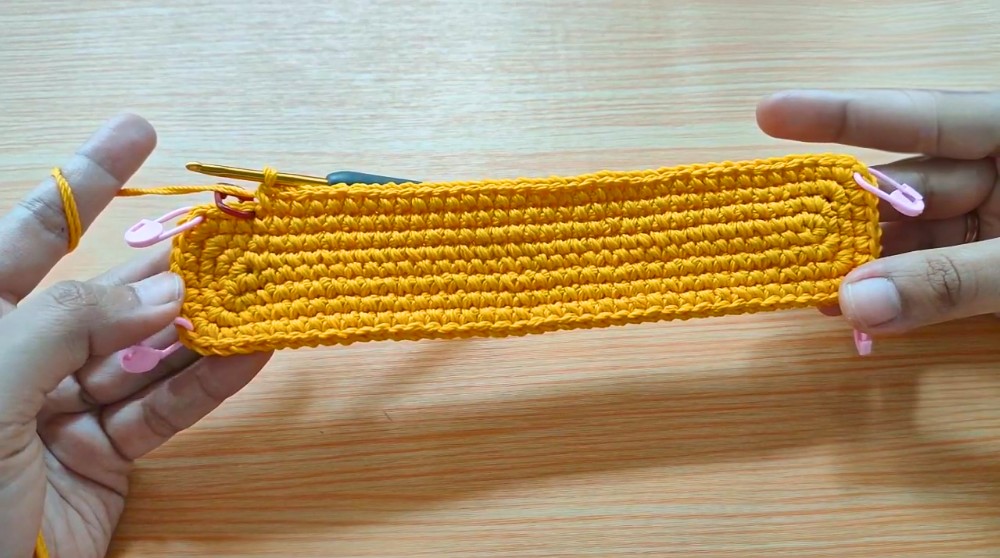
Assembly & Finished Size
The finished rectangular base should be a flat, stable rectangle measuring approximately 20 cm in length and 4 cm in width. It serves as an excellent foundation for crocheted bags, baskets, or containers.
The continuous round, spiral method combined with carefully placed corner increases ensures there are no puckers or bulges, maintaining clean and crisp edges.
Use this base to build upward with your preferred stitch pattern and create functional, durable rectangular crochet projects.
Conclusion
This rectangular bag base pattern demonstrates an effective construction method using continuous rotating rounds with strategic corner increases. By doubling Poly Cherry yarn and using a 3.0 mm hook, the fabric remains firm and sturdy, perfect for supporting heavier or structured projects.
Following the step-by-step foundation chain, precise corner increases, and dedicated stitch marker placement ensures your base maintains correct dimensions and a flat surface. The continuous method avoids round joins, resulting in a seamless, refined piece. With some practice, this versatile technique can be adapted to any rectangular size or project, providing you with a reliable foundation for diverse crochet creations.