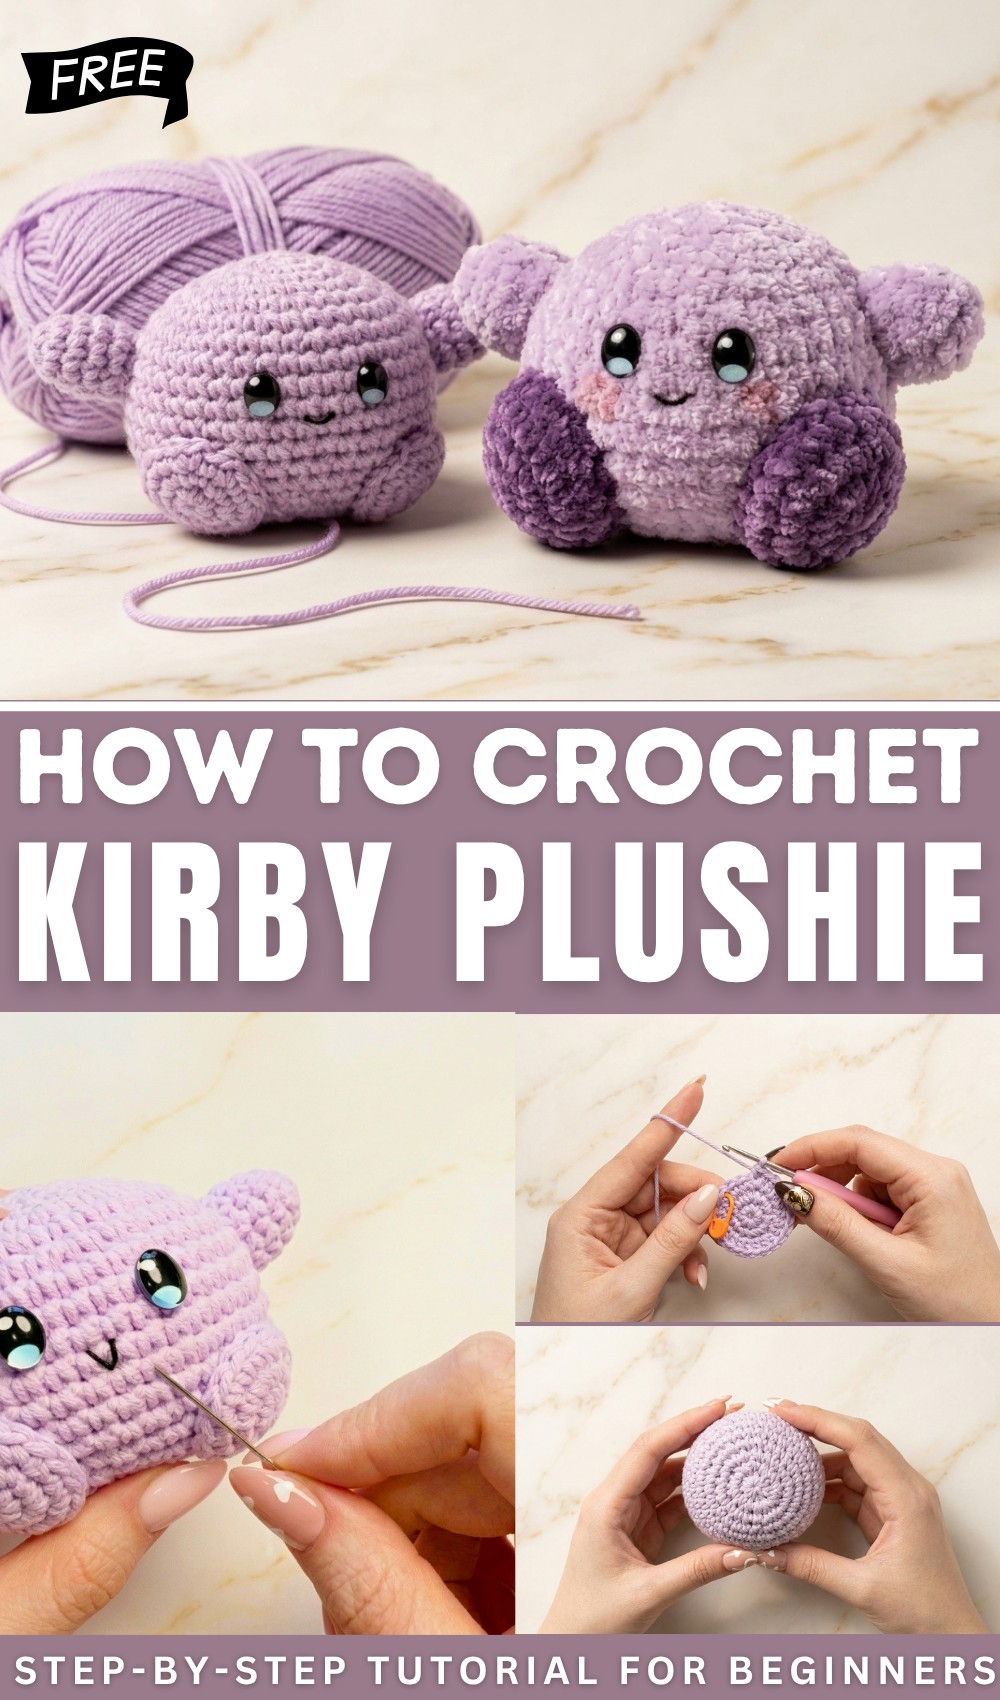
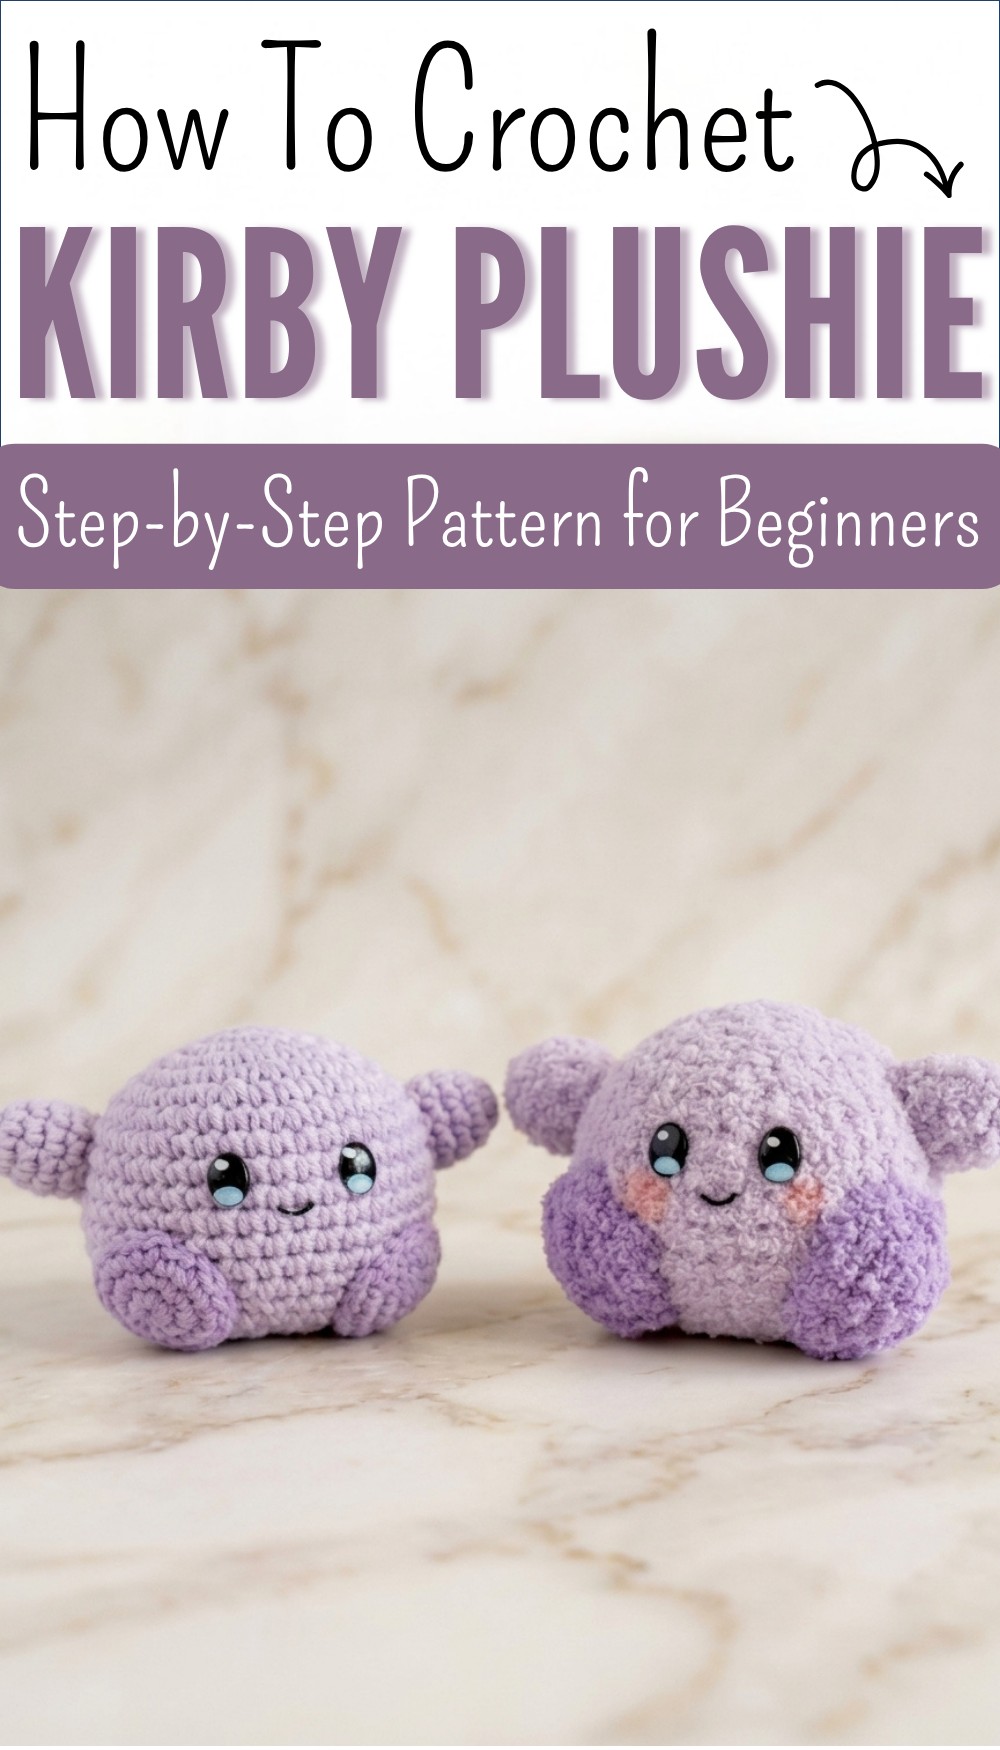
Crochet Kirby Plushie Free Pattern Step by Step
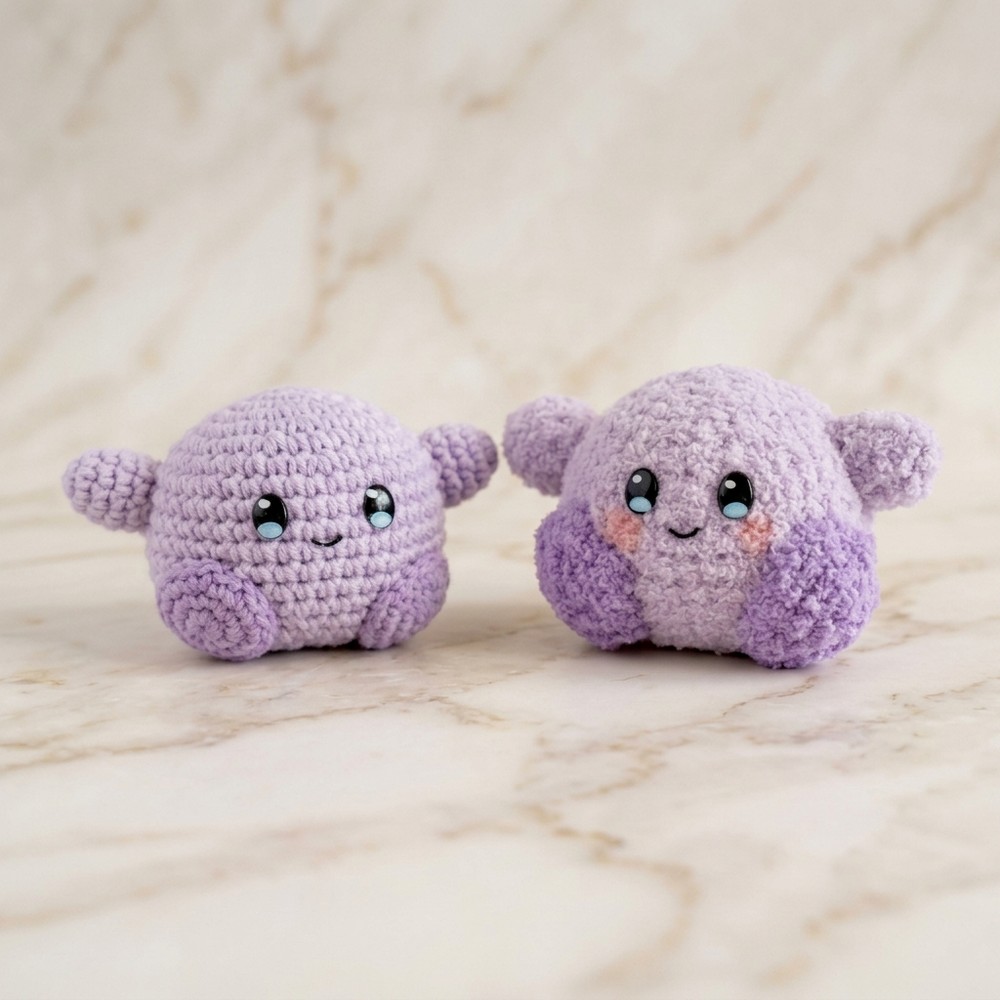
Bring joy to playtime with this free crochet Kirby plushie pattern that offers soft feel adds cute charm & suits gifts decor and collectible.
It can sit on a shelf, rest on a bed, or stay close as a small cheerful companion. The guide is easy to understand so anyone can follow it without stress or confusion. The finished plush looks bright, soft, and full of personality, giving a warm and happy feeling. It offers comfort, creativity, and joy, turning simple material into a lovable figure that adds charm and fun to everyday spaces.
Kirby Plushy Free Crochet Pattern
Materials
- Yarn:
- Body & hands: Pink (cotton, acrylic, or fluffy yarn)
- Feet: Brighter/darker pink or red
- Embroidery thread or felt: Black, blue, white (for face)
- Hook: 2 mm or 2.5 mm (adjust as appropriate for your yarn)
- Stuffing: Polyester fiberfill
- Notions:
- Tapestry needle (for sewing and embroidery)
- Scissors
- Stitch marker (recommended)
- Hot glue gun (optional, for attaching parts)
- Felt (optional, for facial embellishments)
Key Abbreviations (US Terminology)
| Abbreviation | Meaning |
|---|---|
| MR | Magic ring |
| ch | Chain |
| sc | Single crochet |
| inc | Increase (2 sc in same st) |
| dec | Decrease (sc2tog, invisible decrease) |
| sl st | Slip stitch |
| st(s) | Stitch(es) |
| FLO | Front loop only |
Special Notes
- Work in continuous rounds; use a stitch marker to mark the first stitch.
- Standing stitch: Begin each new round with a chain stitch, not counted as a stitch.
- Invisible decrease is worked in the front loops only (FLO).
- For assembly, parts may be sewn or glued as desired.
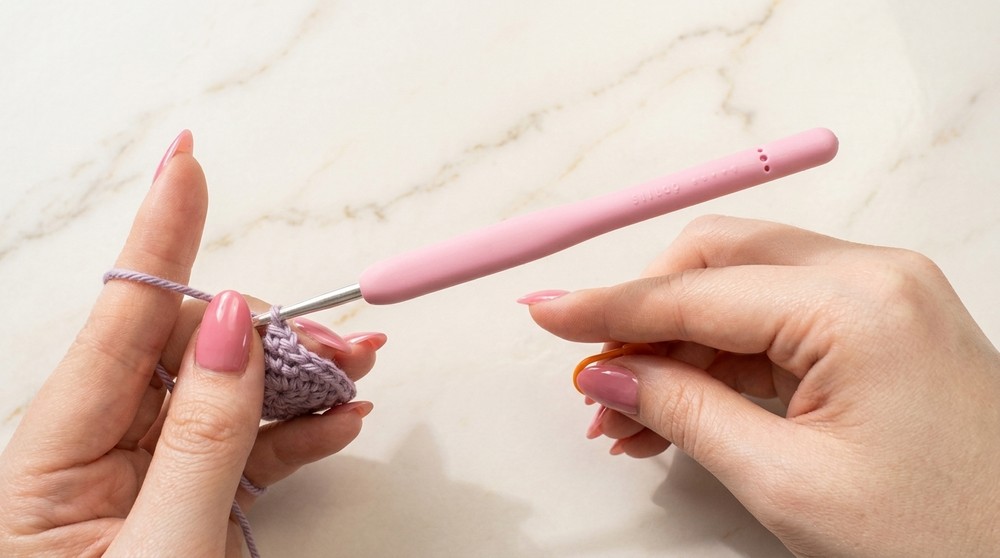
Body
- Magic ring, 6 sc in MR
(Do not count the slip knot.) - Sl st to close the round.
- Standing stitch: ch 1 (does not count as a stitch).
Rounds
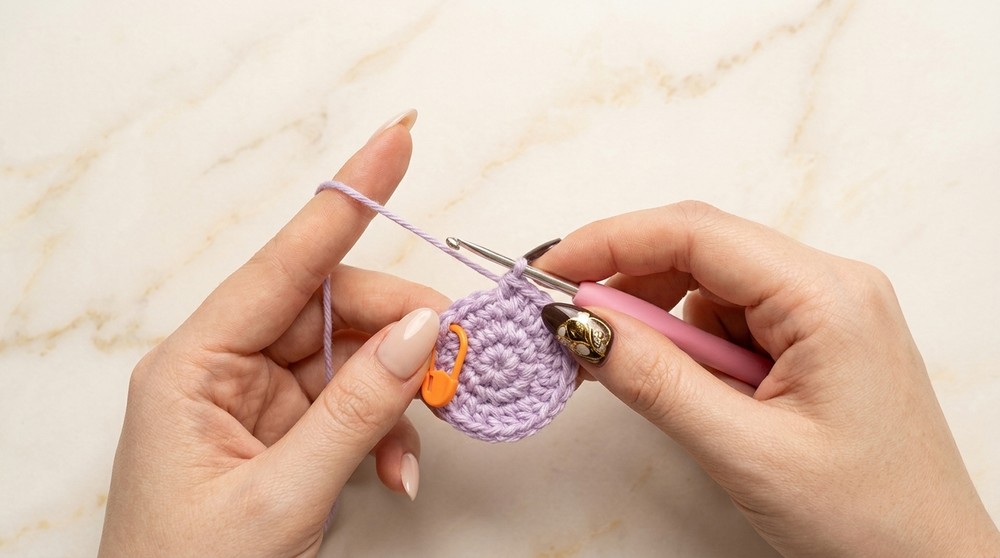
- Round 1: 6 sc in MR (6 sts)
- Round 2: 6 inc — 12 sts
- Round 3: (sc, inc) x6 — 18 sts
- Round 4: (sc, inc, sc) x6 — 24 sts
- Round 5: (3 sc, inc) x6 — 30 sts
- Round 6: (2 sc, inc, 2 sc) x6 — 36 sts
- Round 7: (5 sc, inc) x6 — 42 sts
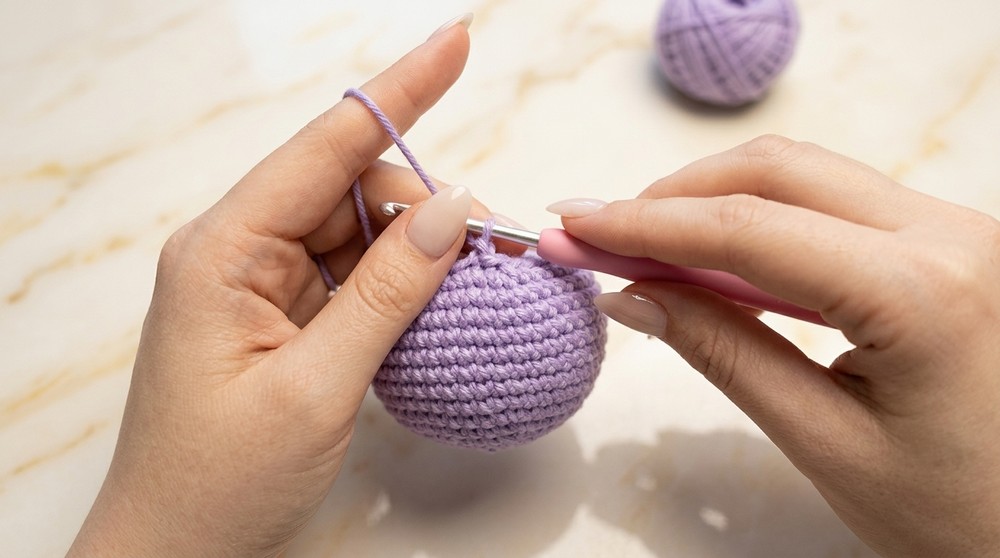
- Rounds 8–14: sc in each st around — 42 sts each round
- Round 15: (5 sc, dec) x6 — 36 sts
- Round 16: (2 sc, dec, 2 sc) x6 — 30 sts
- Round 17: (3 sc, dec) x6 — 24 sts
- Round 18: (sc, dec, sc) x6 — 18 sts
- Round 19: (sc, dec) x6 — 12 sts
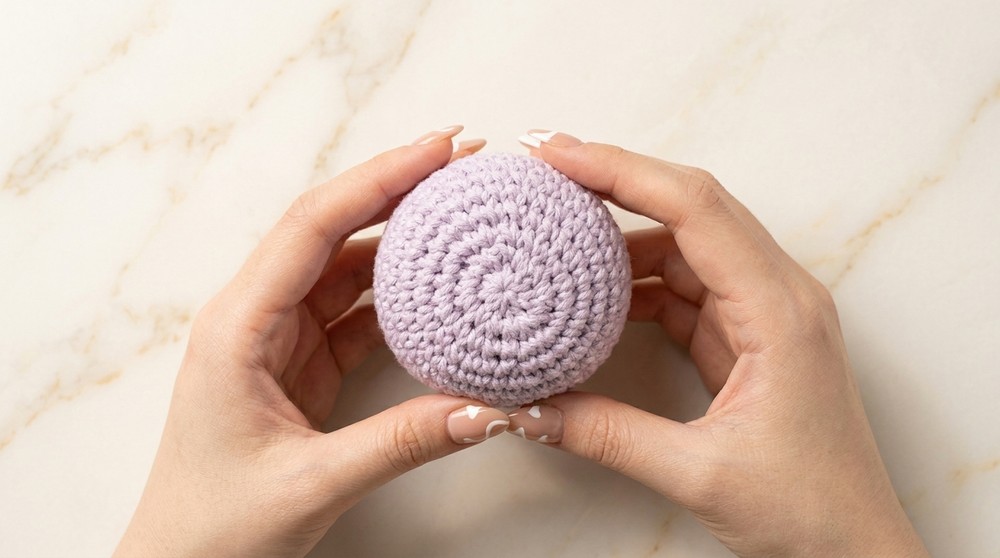
Finish:
- Stuff firmly with polyfill before closing.
- Fasten off, leaving a long tail.
- Use a tapestry needle to weave through the front loops only of each remaining stitch, pull tight to close the hole. Weave the tail in securely.
Hands (Make 2)
- Magic ring, 6 sc in MR
- Sl st to close. Standing stitch (ch 1).
- Round 2: (sc, inc) x3 — 9 sts
- Rounds 3–5: sc in each st around — 9 sts per round
- Stuff lightly.
- Fasten off, leaving a long tail if sewing. (Short if gluing.)
Feet (Make 2)
- Magic ring, 6 sc in MR
- Sl st to close. Standing stitch (ch 1).
- Round 2: 6 inc — 12 sts
- Round 3: (sc, inc) x6 — 18 sts
- Stuff lightly.
- Fasten off, leaving a long tail if sewing. (Short if gluing.)
Assembly
- Attach the hands:
- Sew or glue to the sides of the body.
- Attach the feet:
- Sew or glue at the bottom, slightly in front.
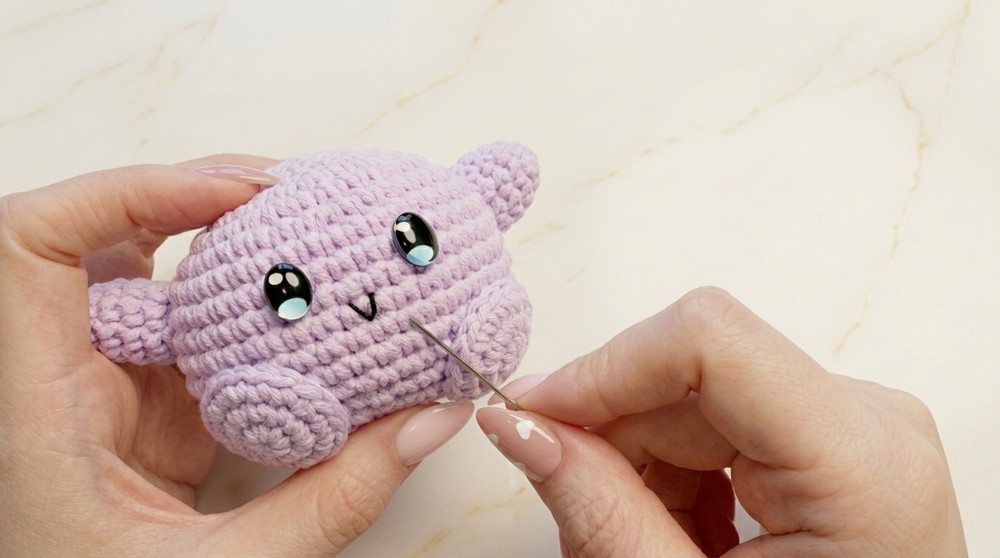
- Face details:
- Option 1: Embroider eyes and mouth with black, blue, white thread.
- For mouth, use tapestry needle to create a curved loop: bring the thread out, create a loop, and secure at the other end.
- Option 2: Cut felt shapes and glue to the face using hot glue.
- Option 1: Embroider eyes and mouth with black, blue, white thread.
Pattern Correction
- Slip knot and slip stitch do not count as stitches.
- Use standing stitch (ch 1) at the beginning of each round—do not count as a stitch.
- Invisible decrease: Insert hook into FLO of next two stitches, pull up loop, yarn over, pull through all loops.
Tips
- Use a stitch marker for accuracy in counting stitches.
- Fluffy yarns make the plushy extra soft, but can be challenging for beginners to see stitches.
- Ensure all parts are securely attached for durability.
- Adjust stuffing for desired plushiness.
Conclusion
With these straightforward, beginner-friendly steps, you have crocheted your very own Kirby plushy. Customize face details for unique expressions, and attach hands and feet for a classic Kirby look.